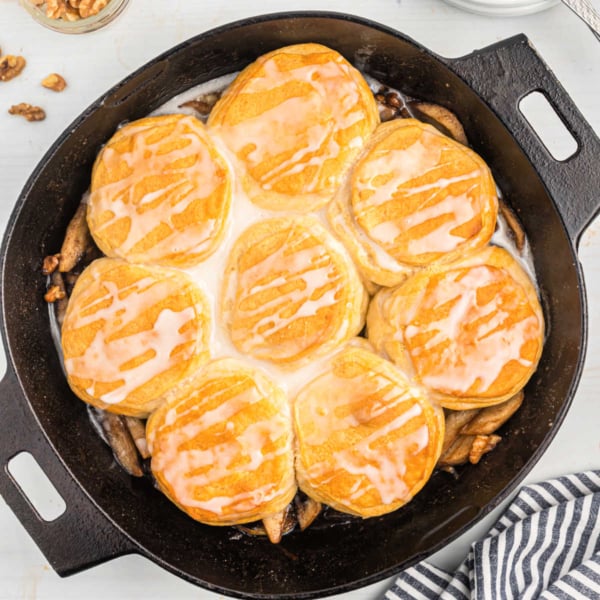
Favorite Spring Recipes

Trending Right Now

Spoil Yourself With Shugary Sweets
My name is Aimee and I’m the author here behind Shugary Sweets! And yes, “SHUGARY” is spelled correctly. It’s a take on my last name. Grab a cup of your favorite beverage and look for your next idea to satisfy your sweet tooth. More about me
What’s New

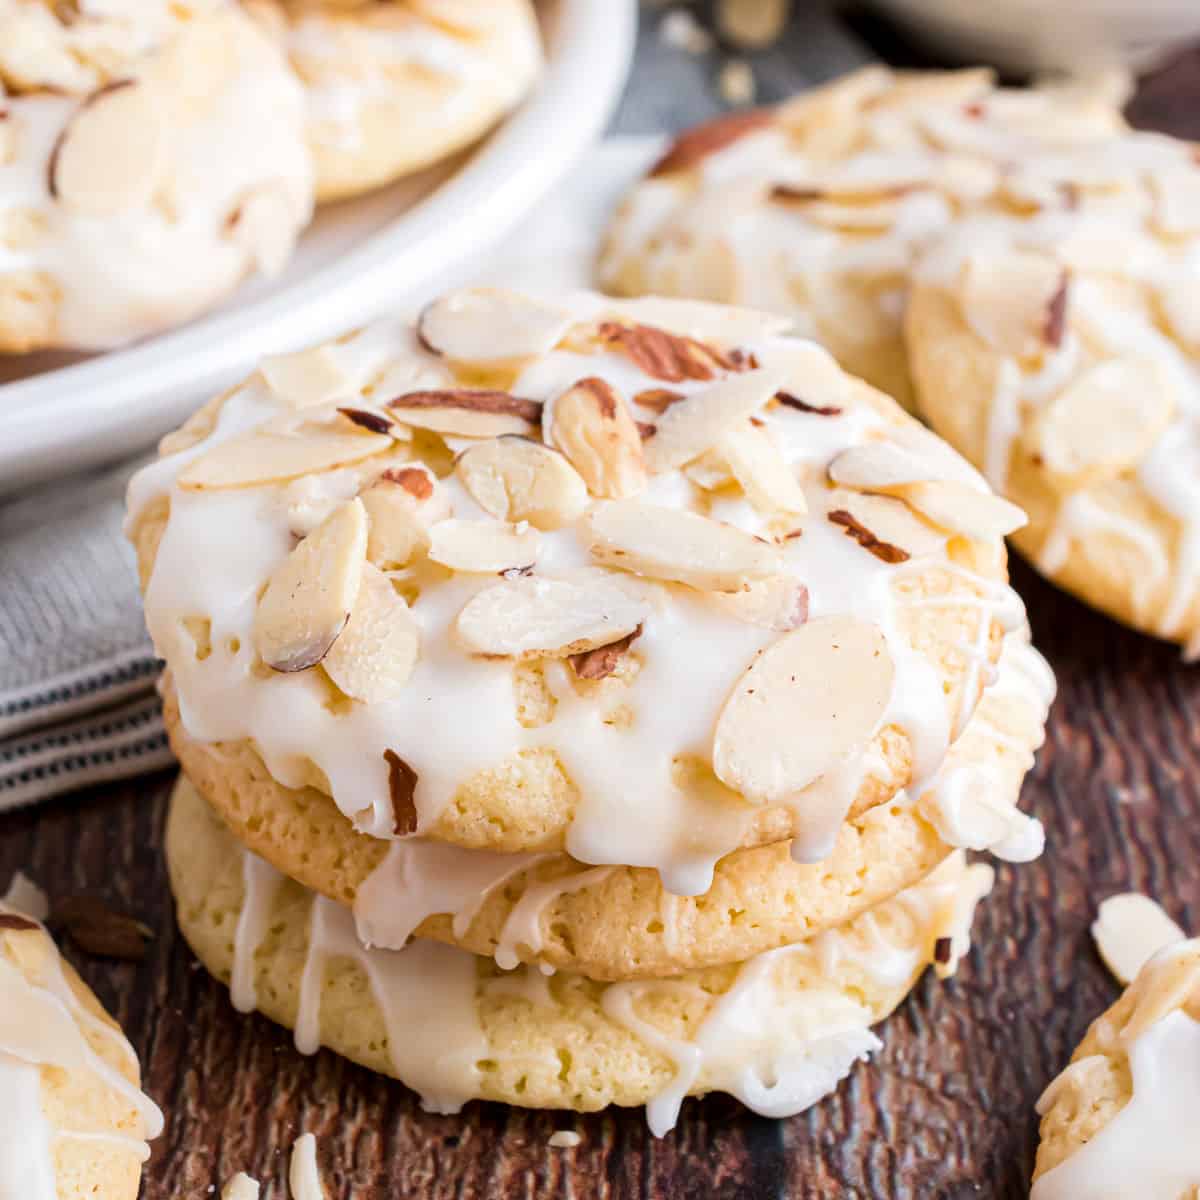
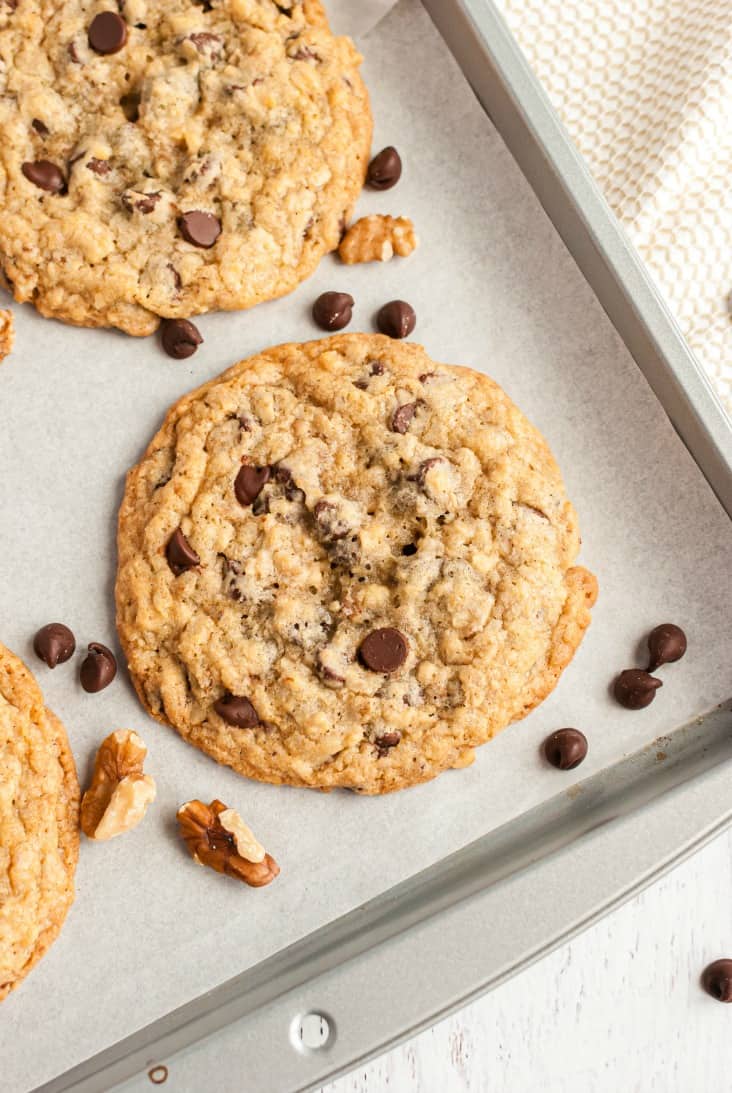
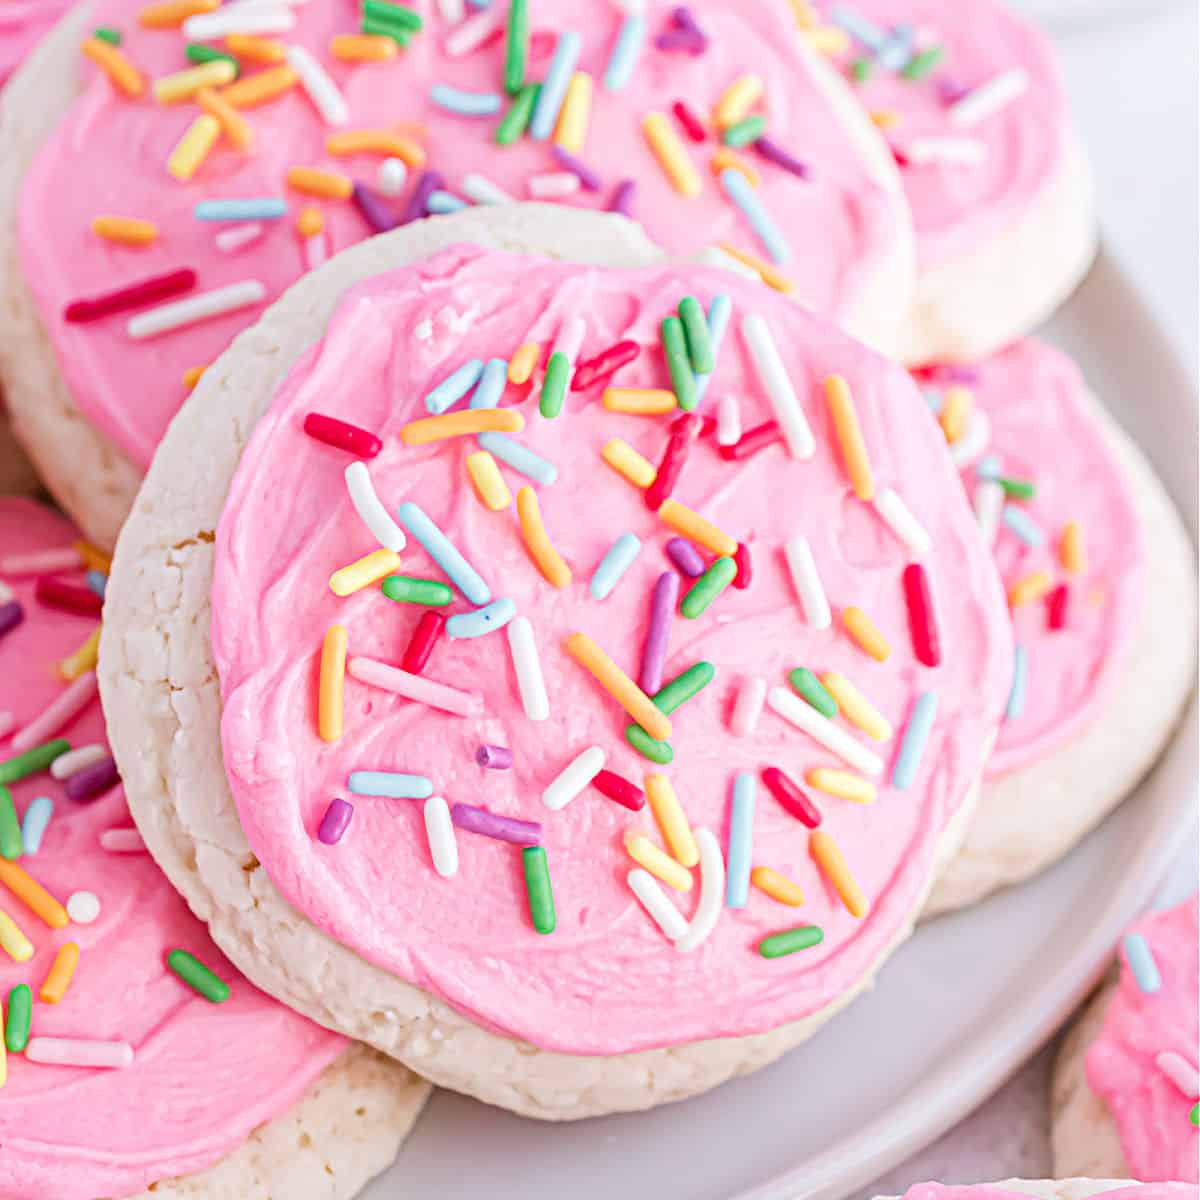
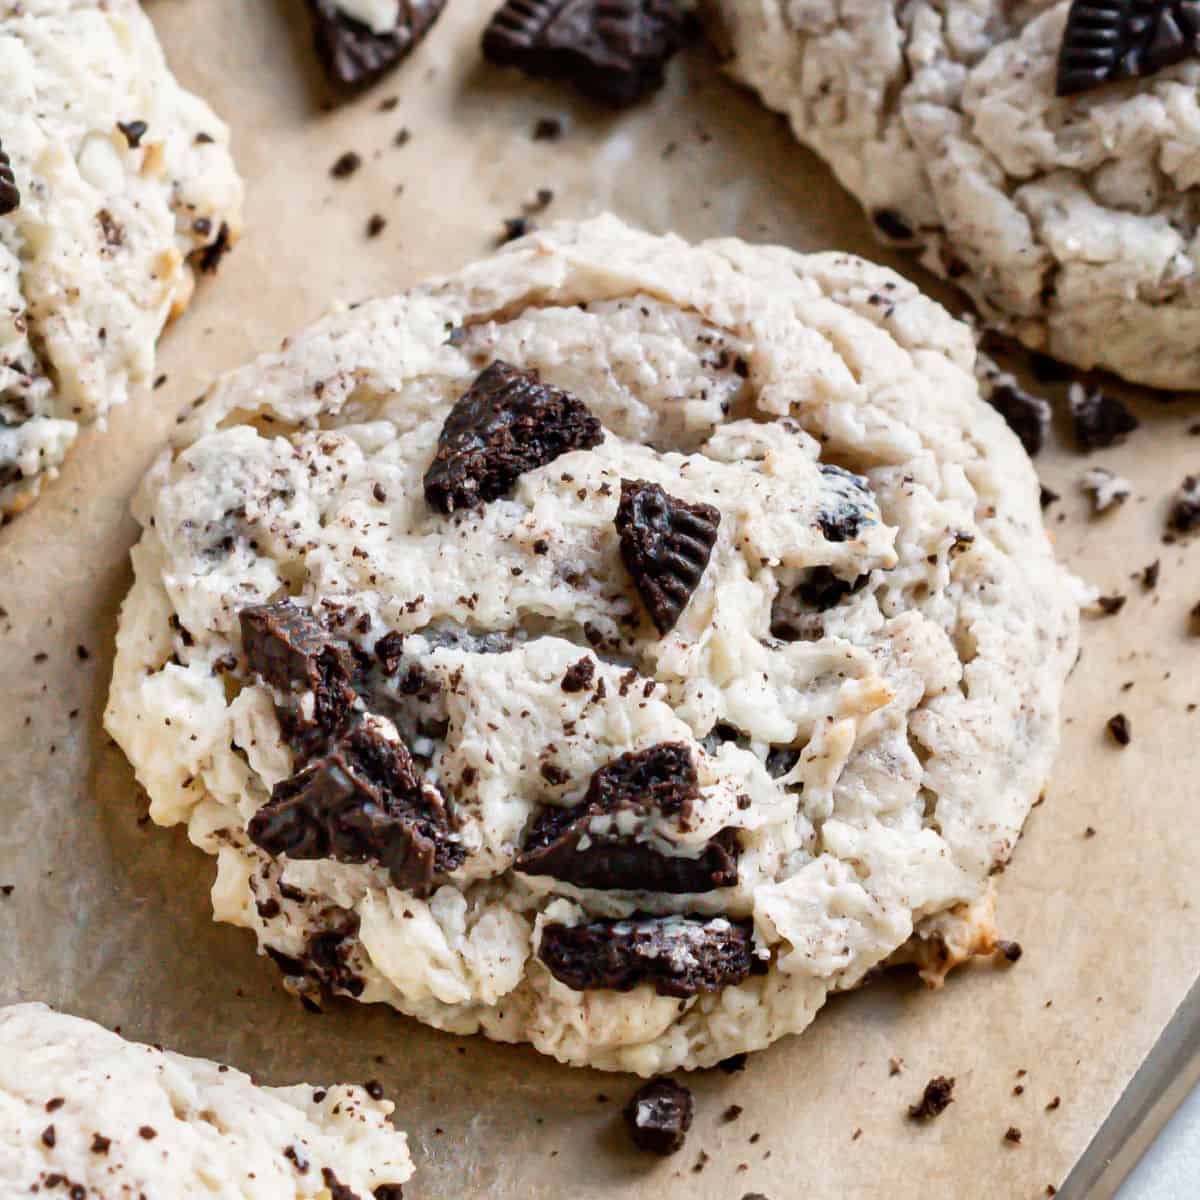
Best Cookie Recipes

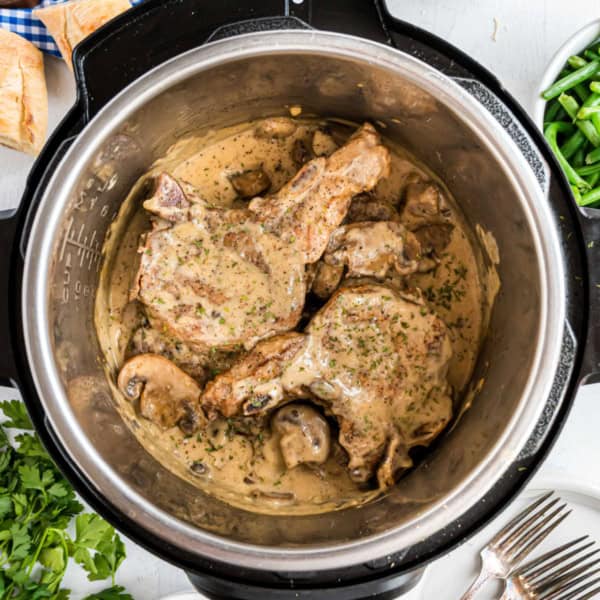
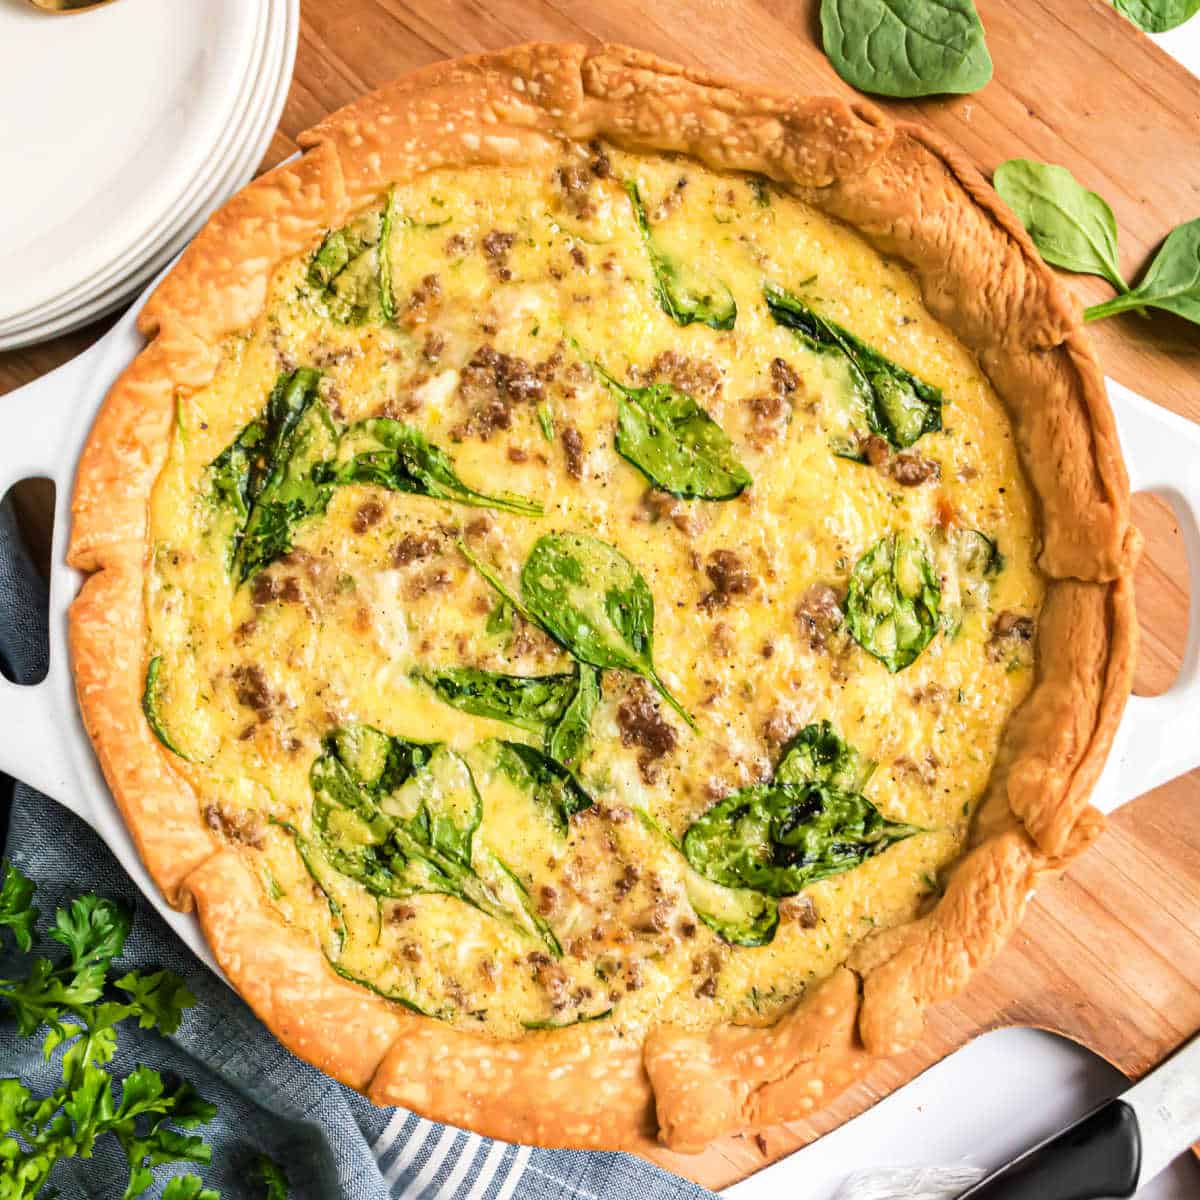
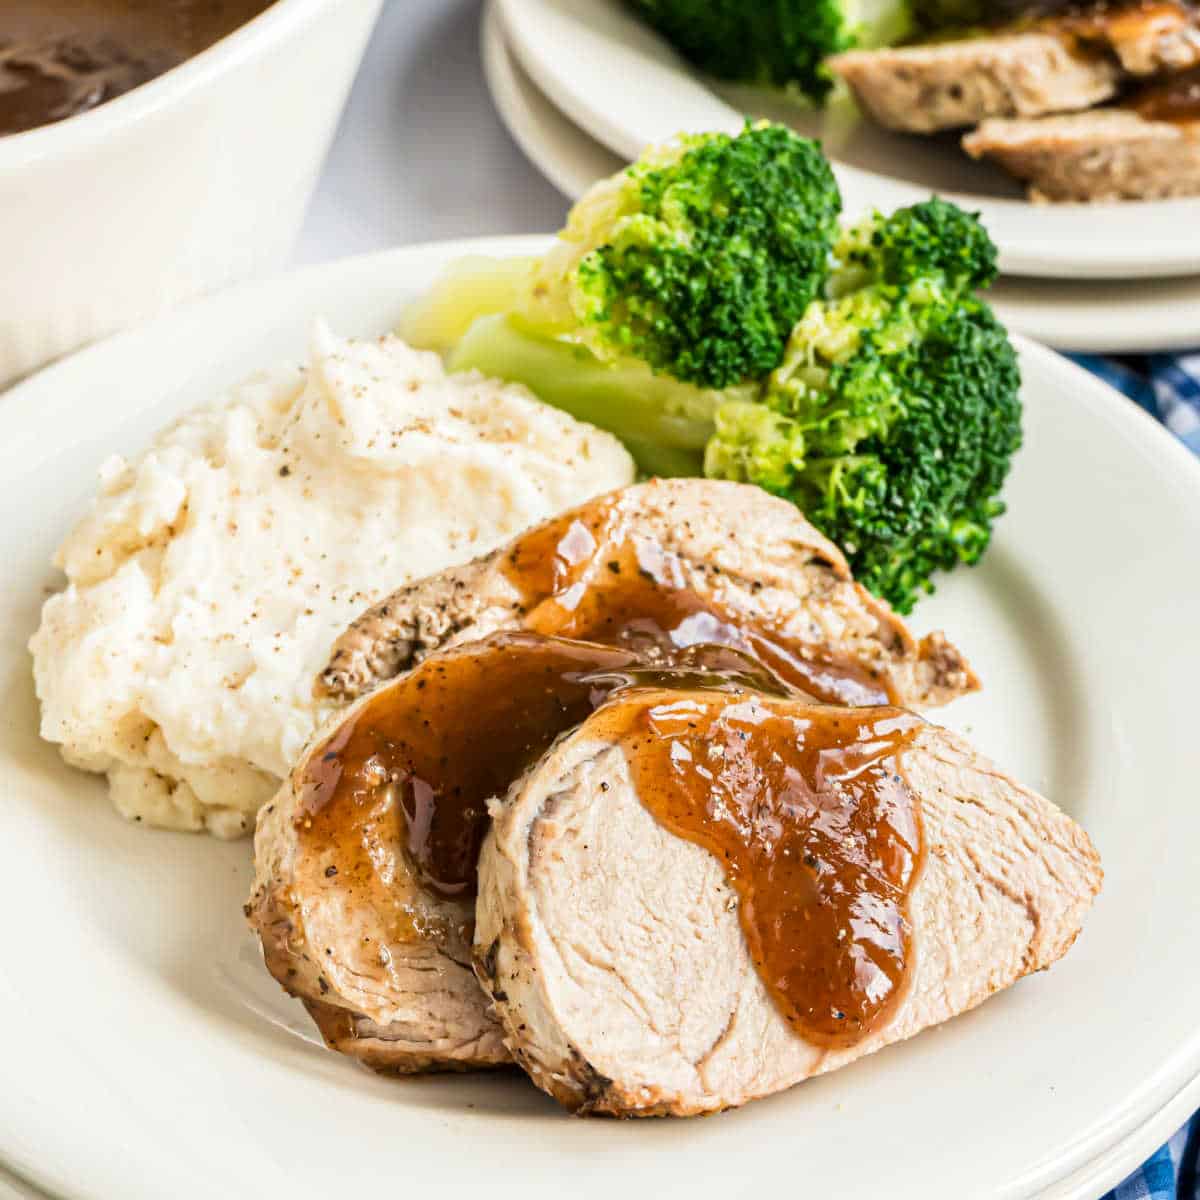
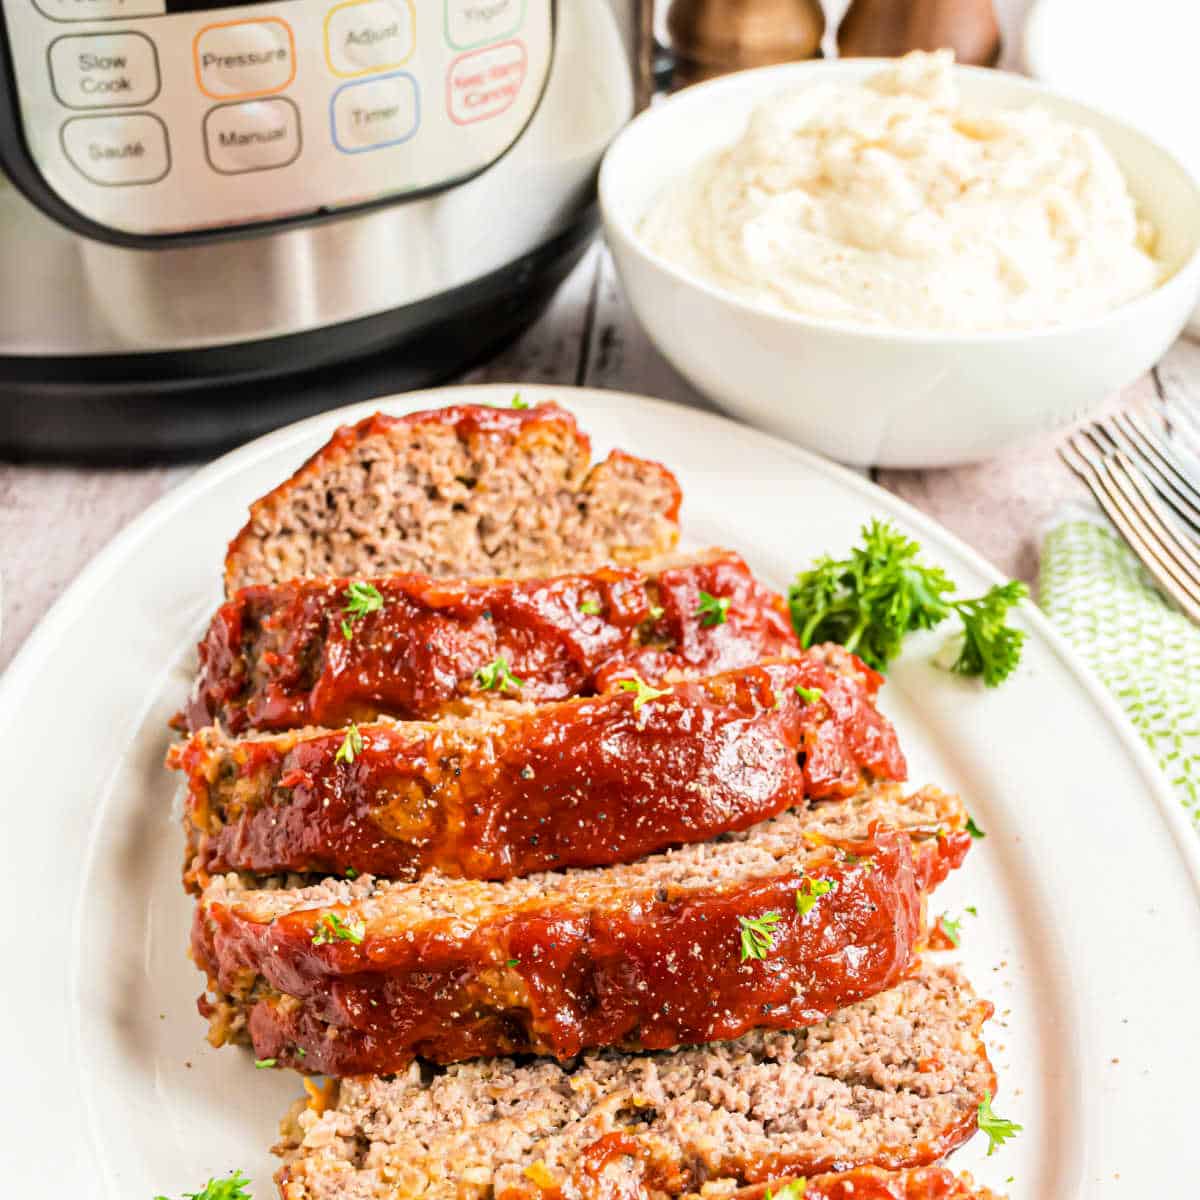
Easy Dinner Recipes


Explore Recipe Categories


Featured in: