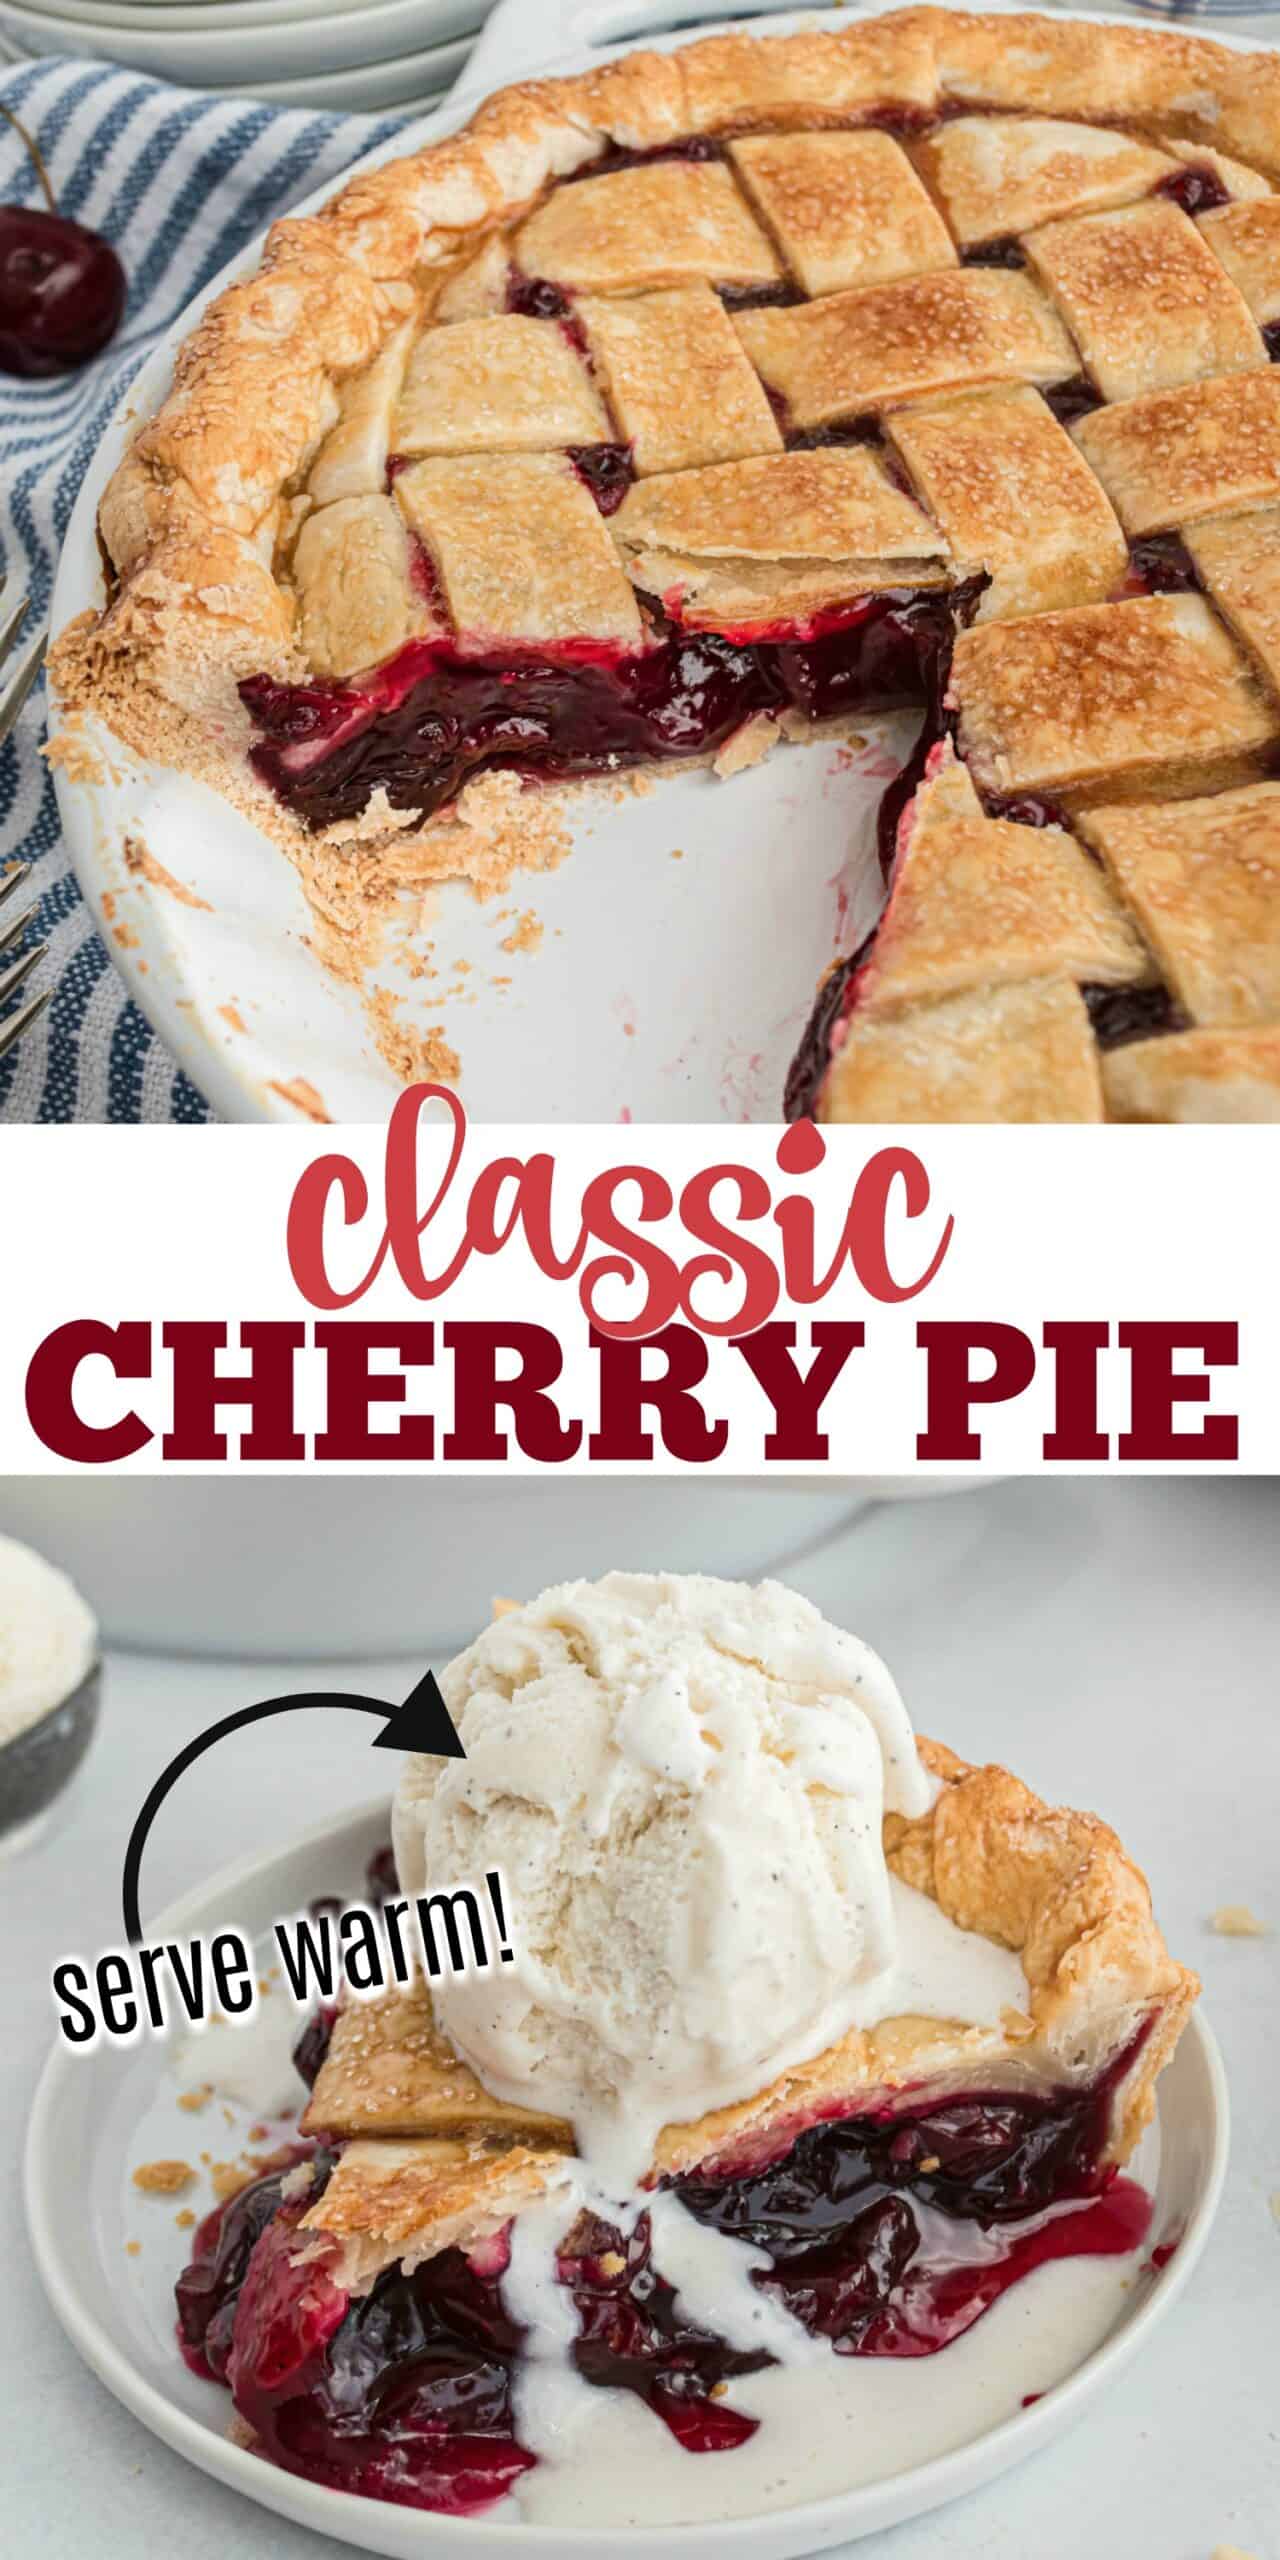
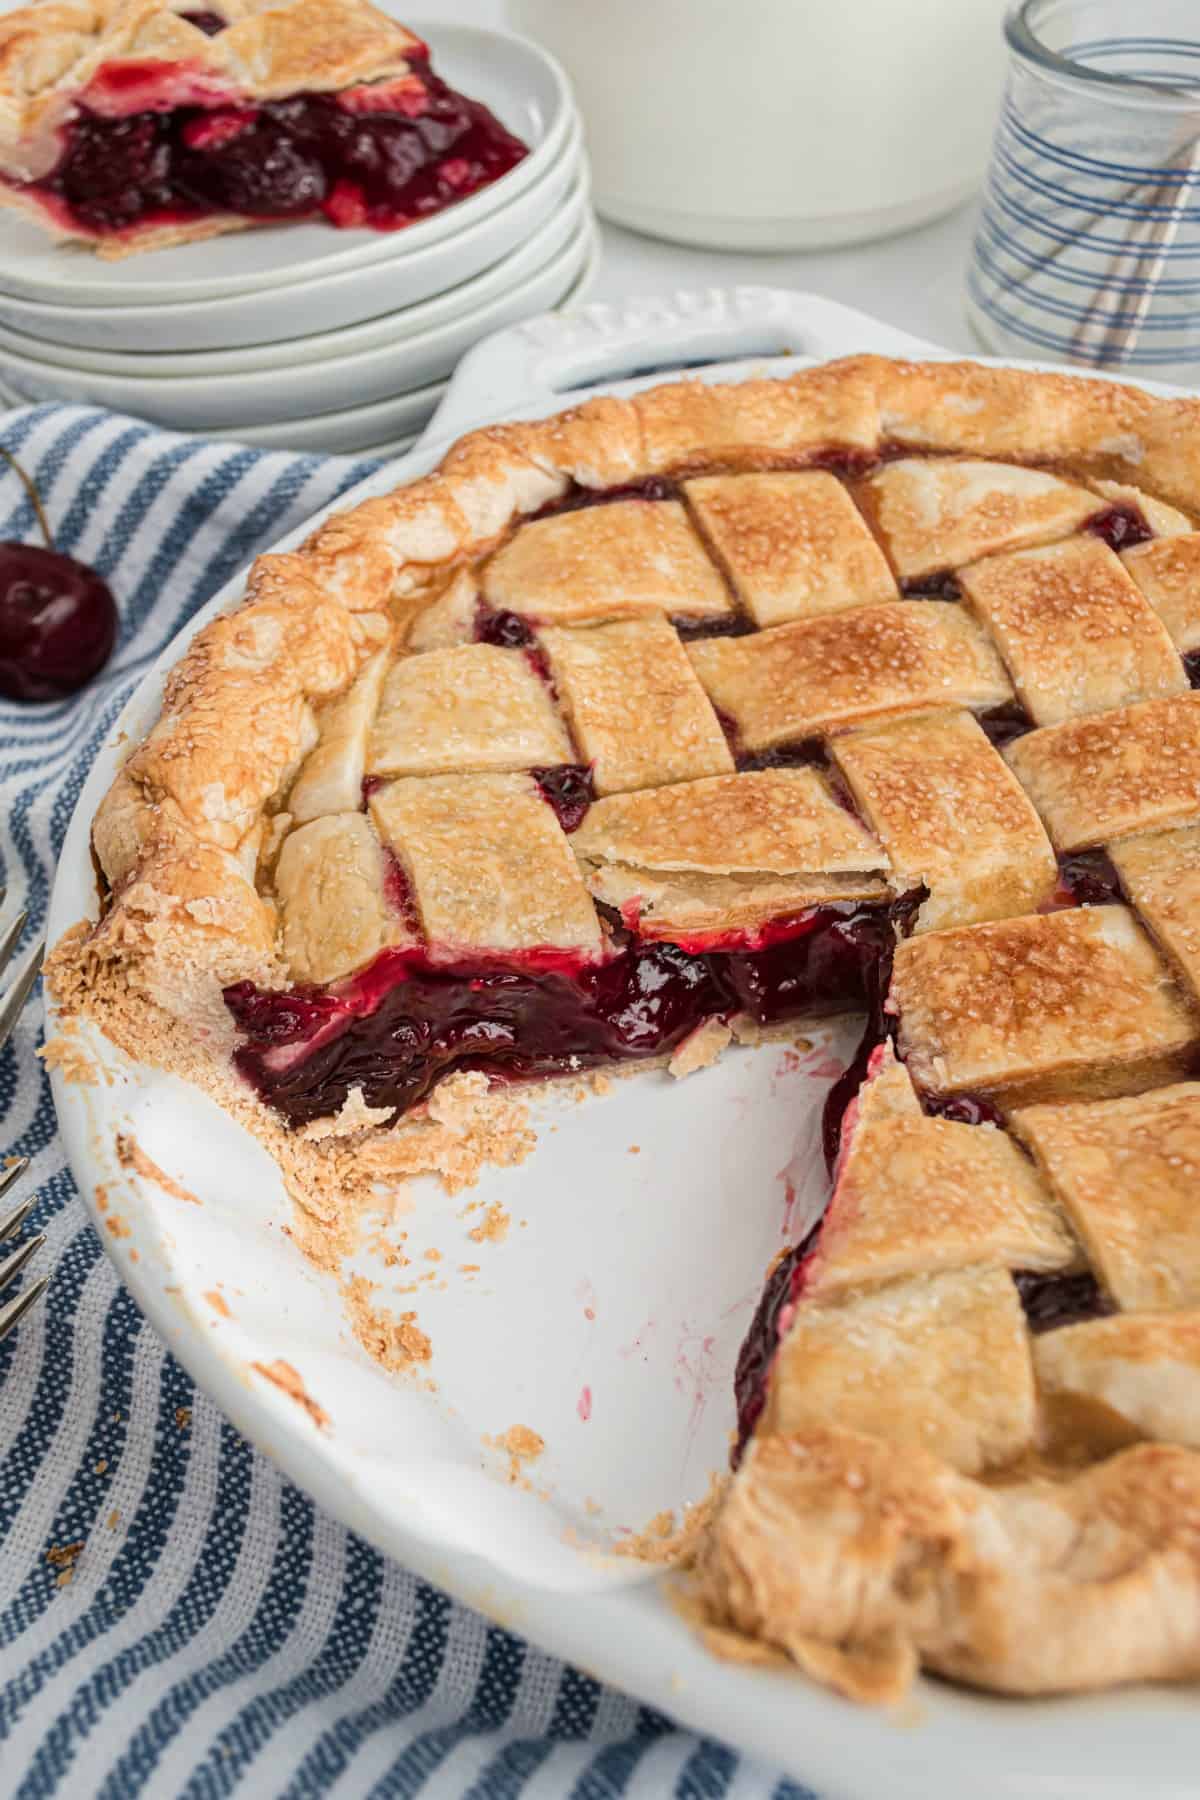
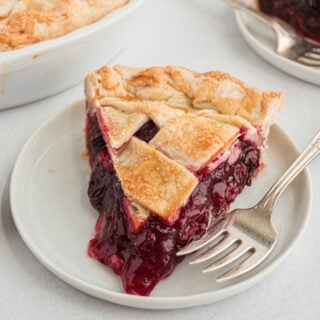
A good old-fashioned Cherry Pie is hard to beat. Full of real cherries and just a touch of cinnamon spice, this is the BEST Cherry Pie recipe you will ever make!
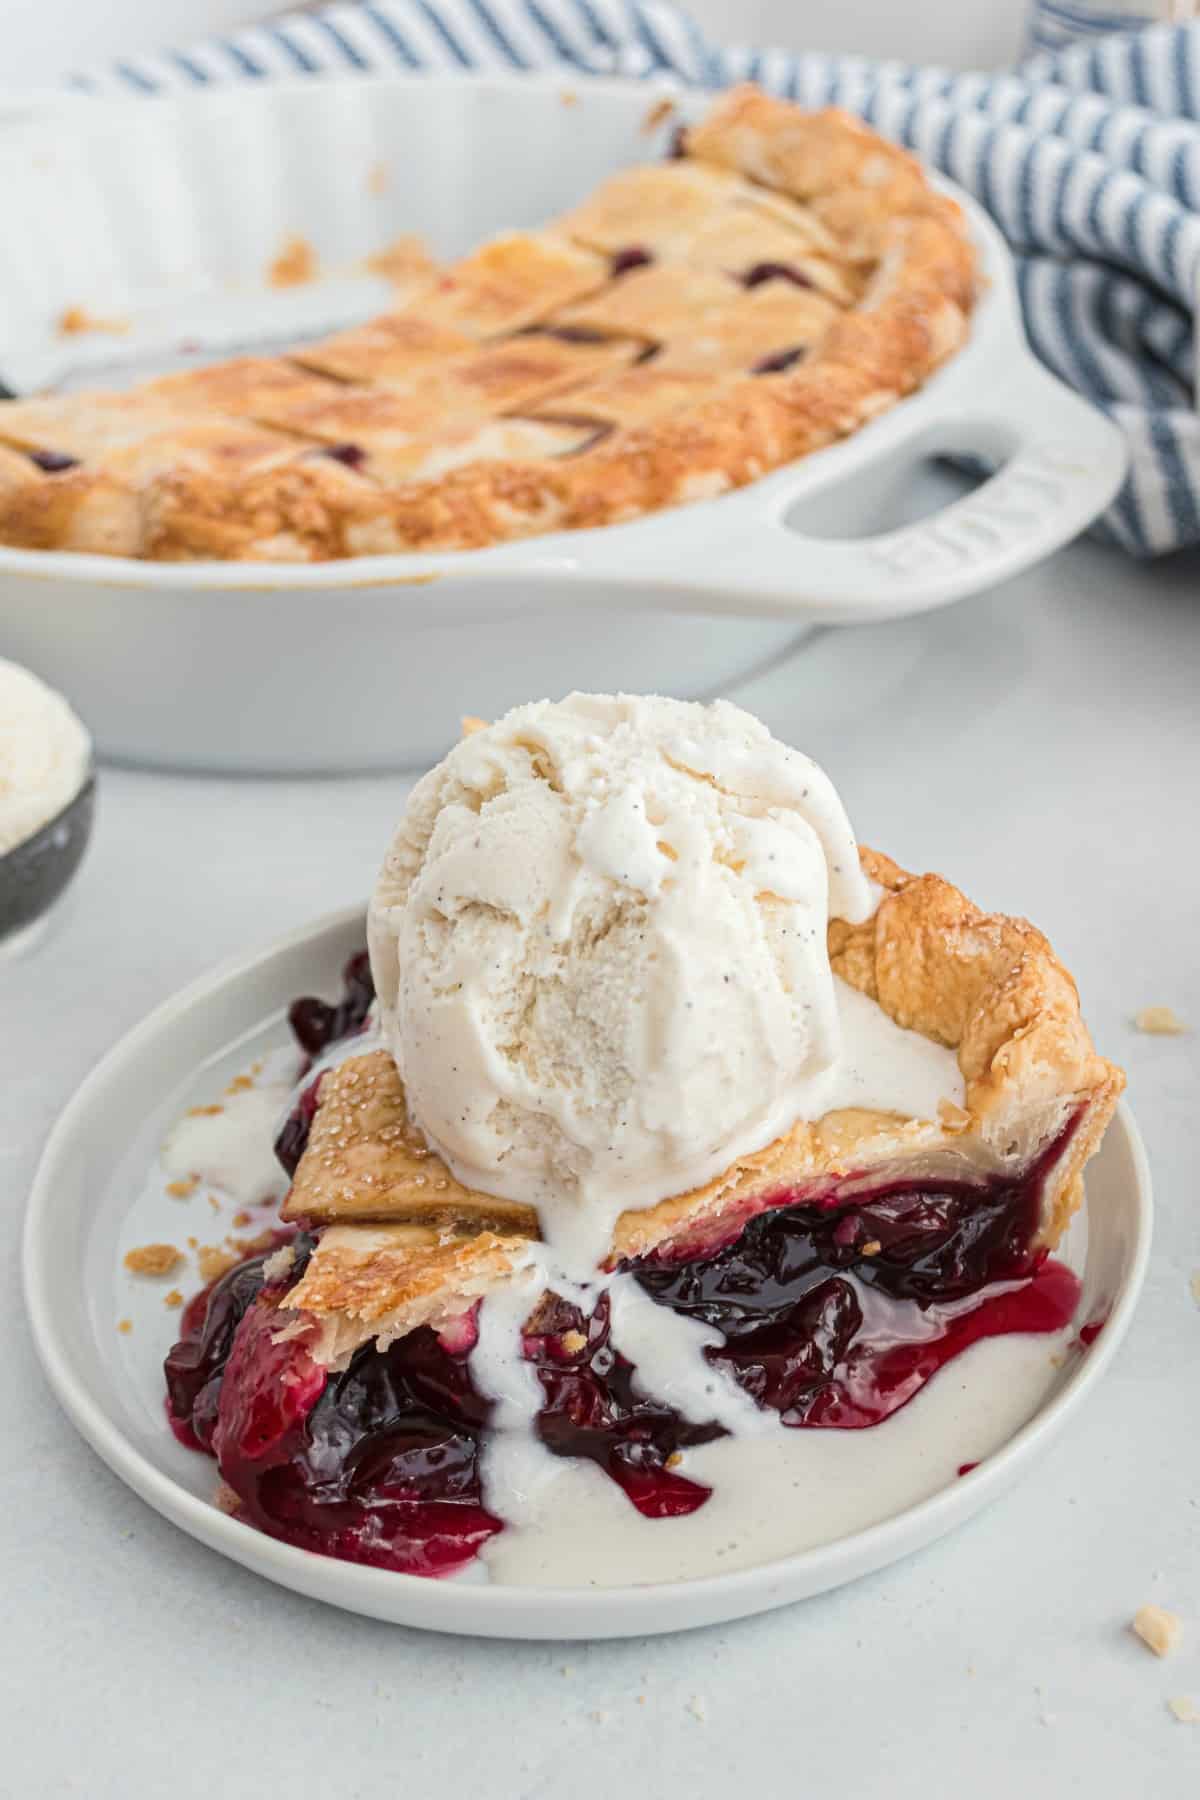
Make it easier and use this filling to whip up a batch of Cherry Hand Pies instead! Or change up the filling and make Blueberry Pie. Don’t forget a scoop of homemade ice cream on top!
What makes this recipe the BEST
When God made cherries, I’m pretty sure he had pie in mind.
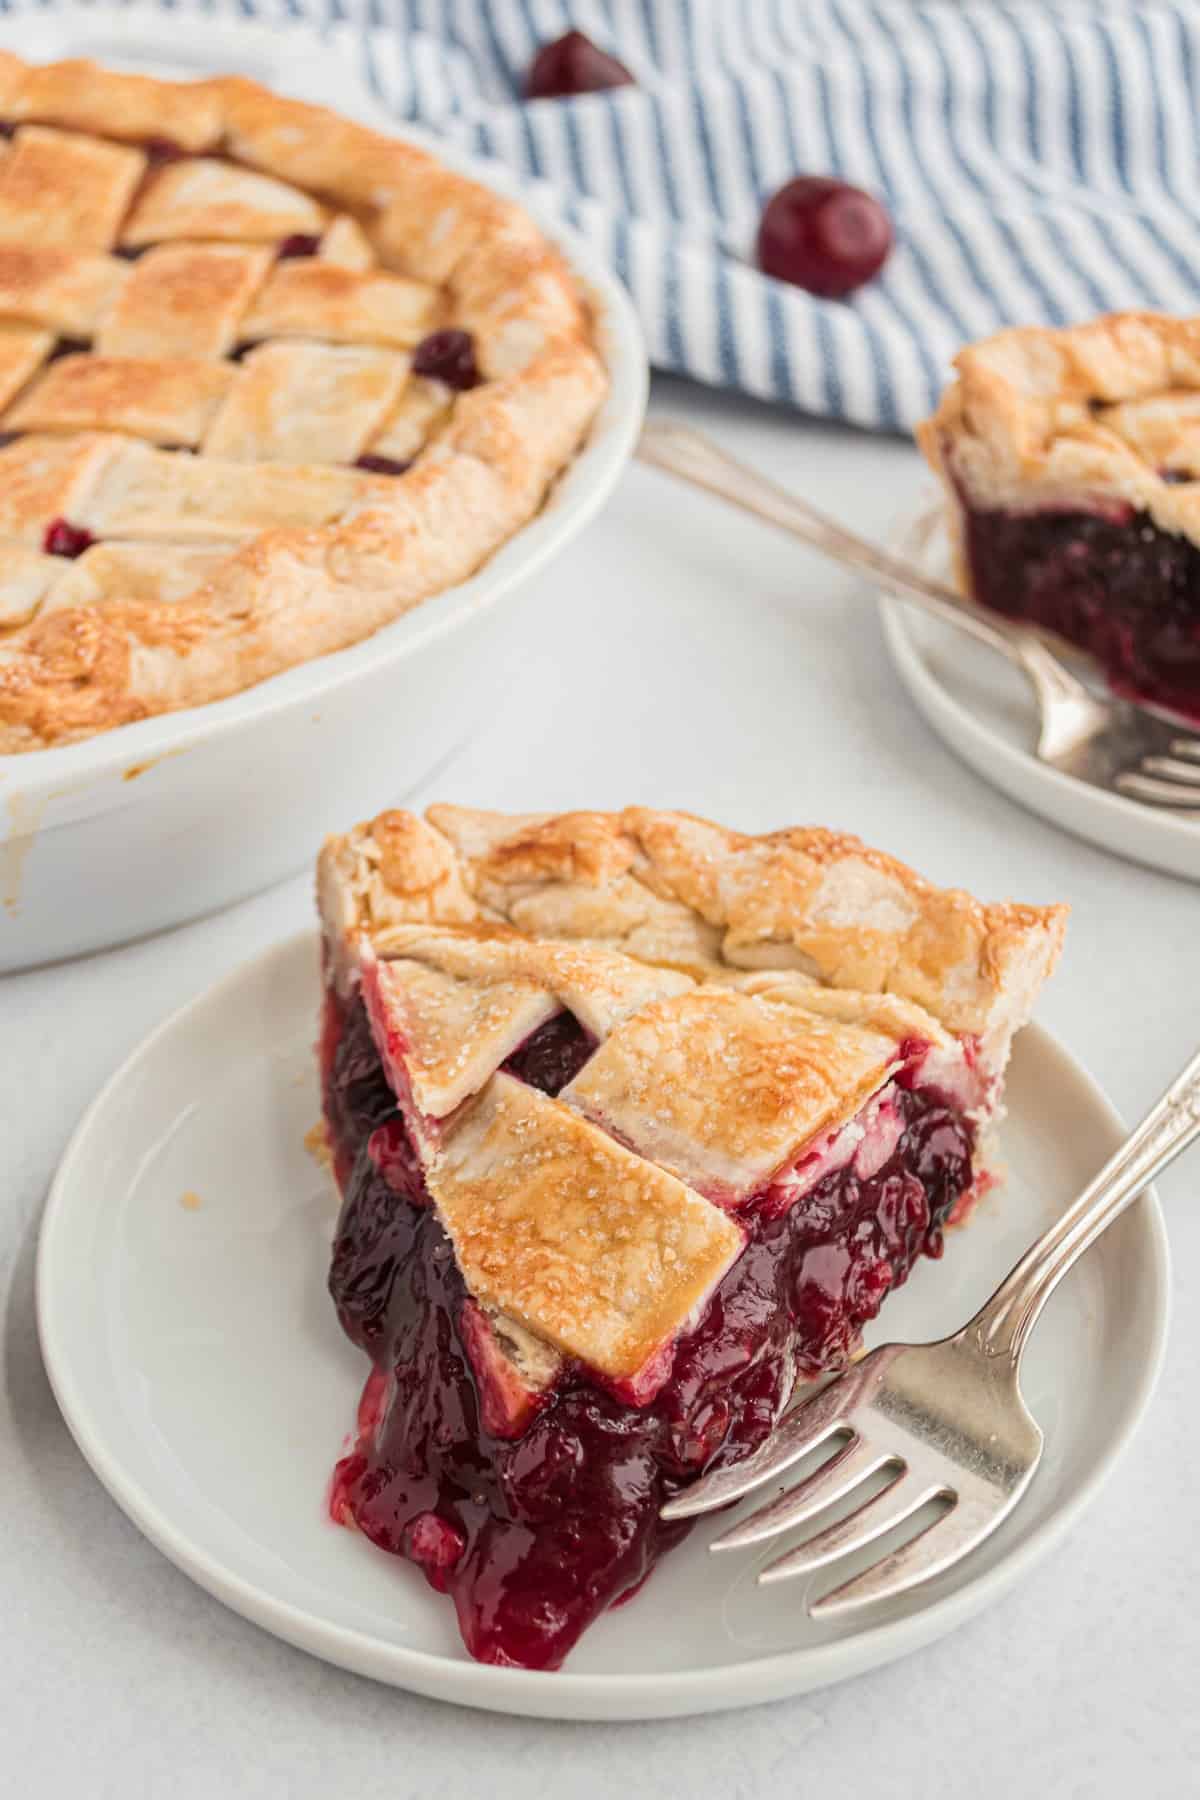
The velvety texture of softened sugary cherries pairs beautifully with flaky pie crust.
I’ve tried plenty of cherry pie recipes over the years and, when it comes to a straight up delicious pie, the recipe I’m sharing with you today is the hands down winner.
Calling this “the best ever cherry pie” might seem like a bold statement. That is, until you try a slice.
I love this recipe so much for a few reasons:
- It uses real cherries. You have your pick of using fresh, frozen or canned, but there’s no cloying artificial “cherry” flavor in this pie. Just juicy cherries mixed with a bit of sugar, lemon juice and cinnamon.
- No soggy crust. I’ve written before about my struggles making pie crust from scratch so I’m all about the convenience of refrigerated prepared ones. You add your own touch to the pie crust by brushing with egg white. This extra step prevents sogginess so every bite of crust is flaky and buttery.
- Lattice topping. Speaking of homemade touches, nothing makes a pie charming like a lattice topping (see it in our peach pie recipe too). In this recipe, I’ll walk you through how to form that gorgeous pattern step by step.
On top of all of that, this pie is easy to make and has a short ingredients list. Use it in our easy cherry slab pie recipe too!
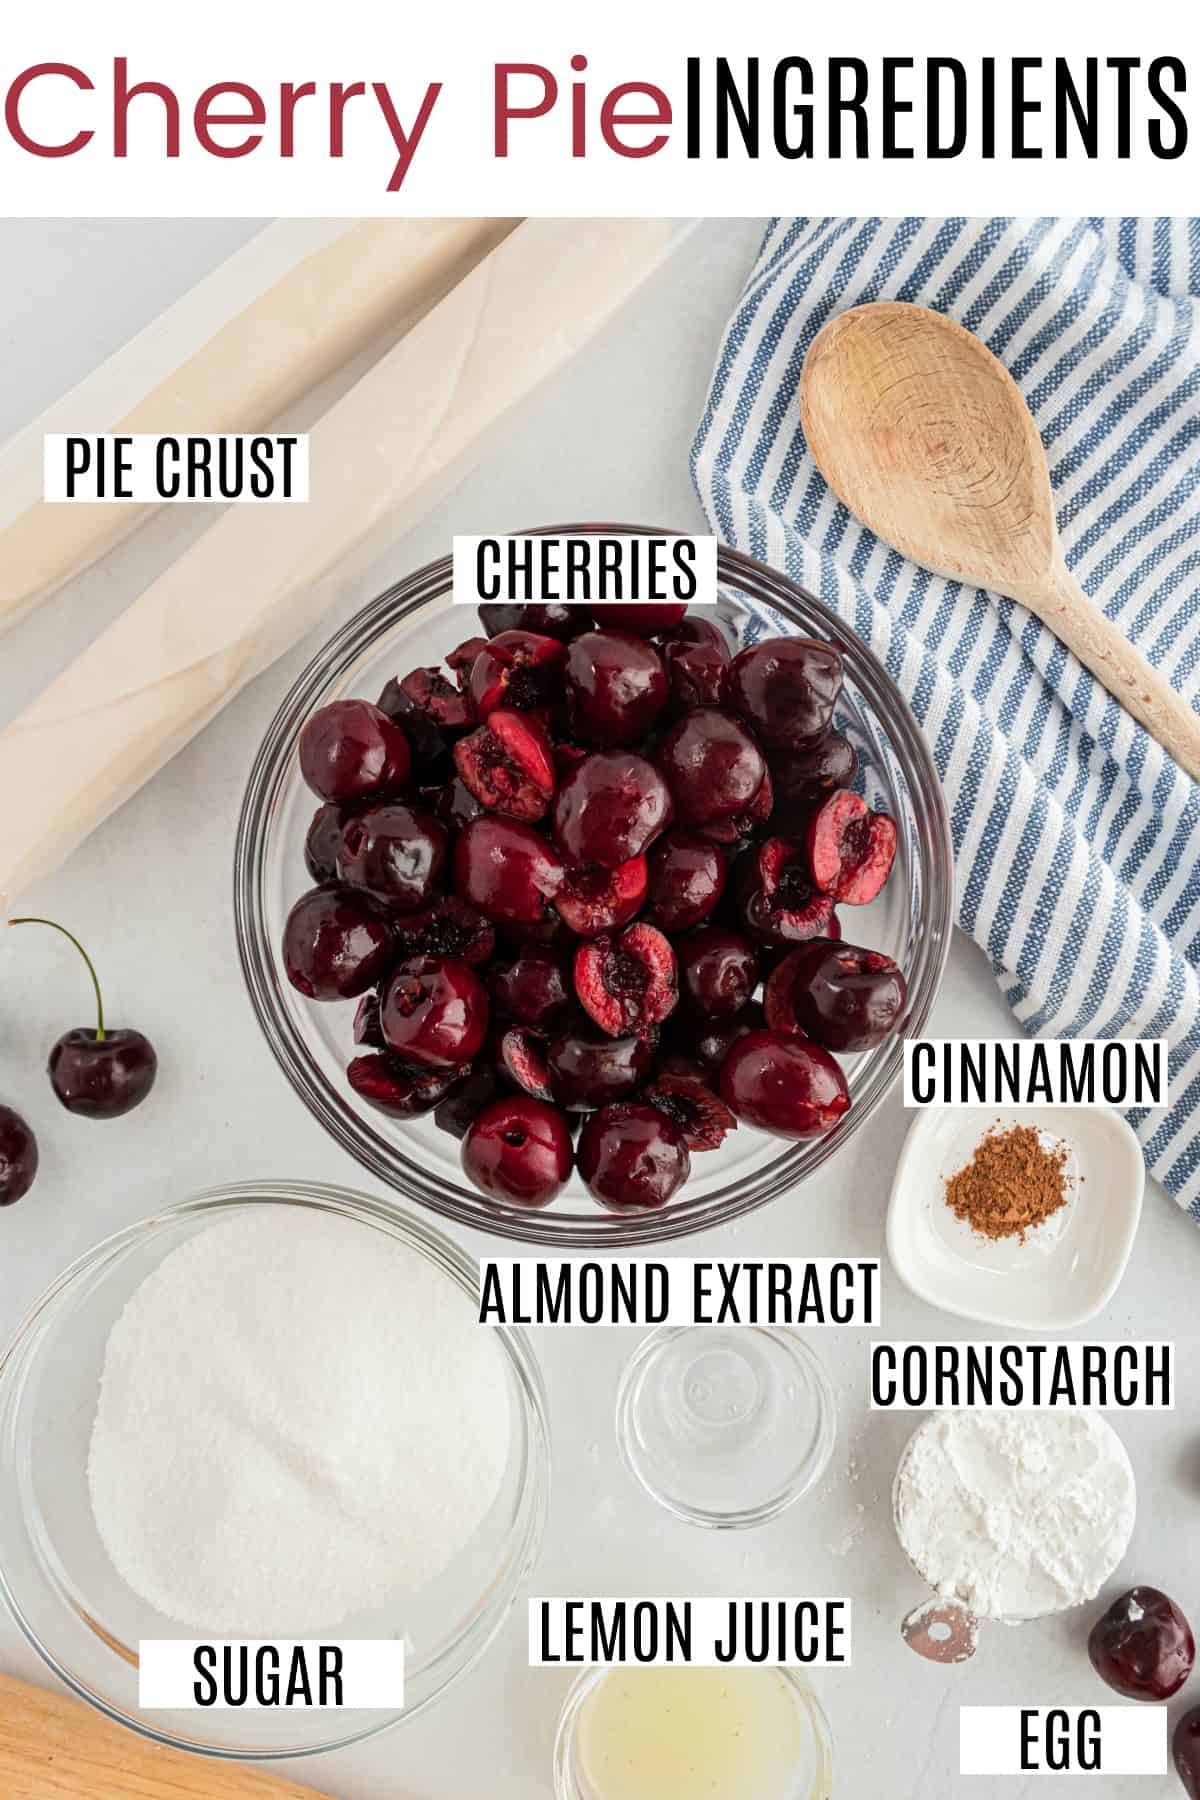
Ingredients Notes
Cherries:
- Fresh Cherries- I used fresh sweet cherries this time around because they were in season and on sale.
- Frozen cherries will work in this pie recipe too. Just thaw them completely and drain out any excess liquid before using.
- Likewise, canned cherries are also a fine choice if you drain the juices first (not to be confused with cherry pie filling, canned cherries are usually found near the canned fruit). Note that, if using canned cherries, you’ll need about 3 cans to make this pie.
Almond extract: my secret ingredient. It pairs so nicely with the fresh cherries (I love it in my cherry hand pies too)!
Crust: Feel free to substitute your favorite homemade pie crust recipe (or give my pie crust recipe a try). Make enough to form 2 full sized crusts.
Step by Step Instructions
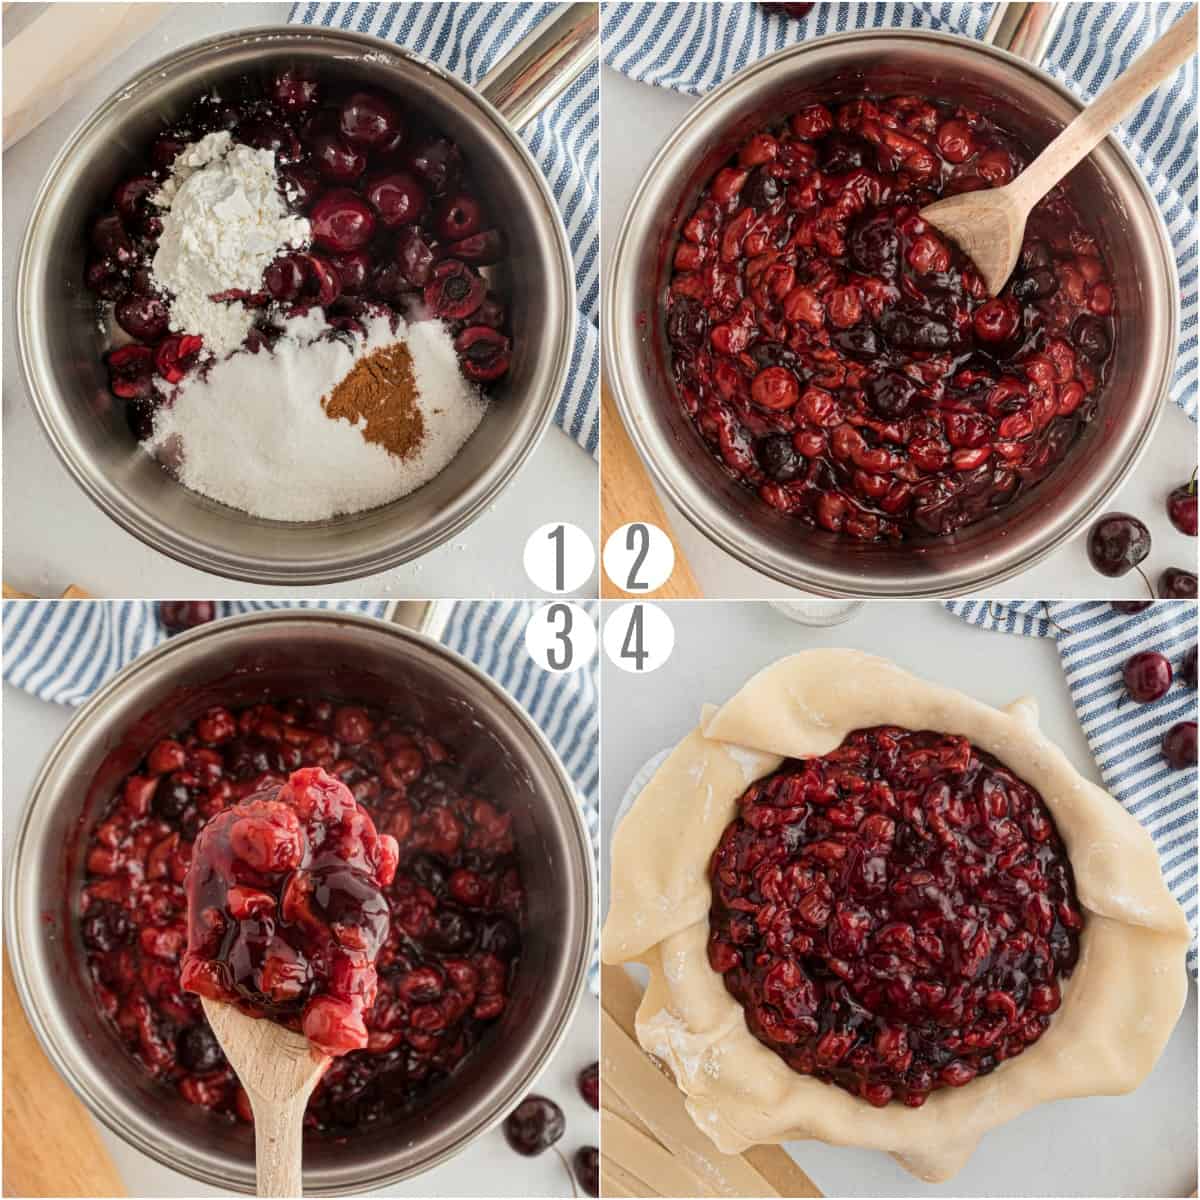
STEP 1. Prepare the filling
In a large saucepan combine cherries, granulated sugar, lemon juice, cinnamon and almond extract.
Heat over medium heat and bring to a boil, stirring frequently. Reduce heat and cook on low for 8-10 minutes or until mixture has thickened and is a gel-like consistency.
Remove from heat and allow to cool slightly.
STEP 2. Roll out the crust
On a lightly floured surface, roll out one of the pie crusts and lay it in a 9-inch pie plate. The crust should drape over each edge by about one inch.
Brush the bottom of the crust with the egg white then pour the cooled cherry filling over it.
STEP 3. Lattice crust
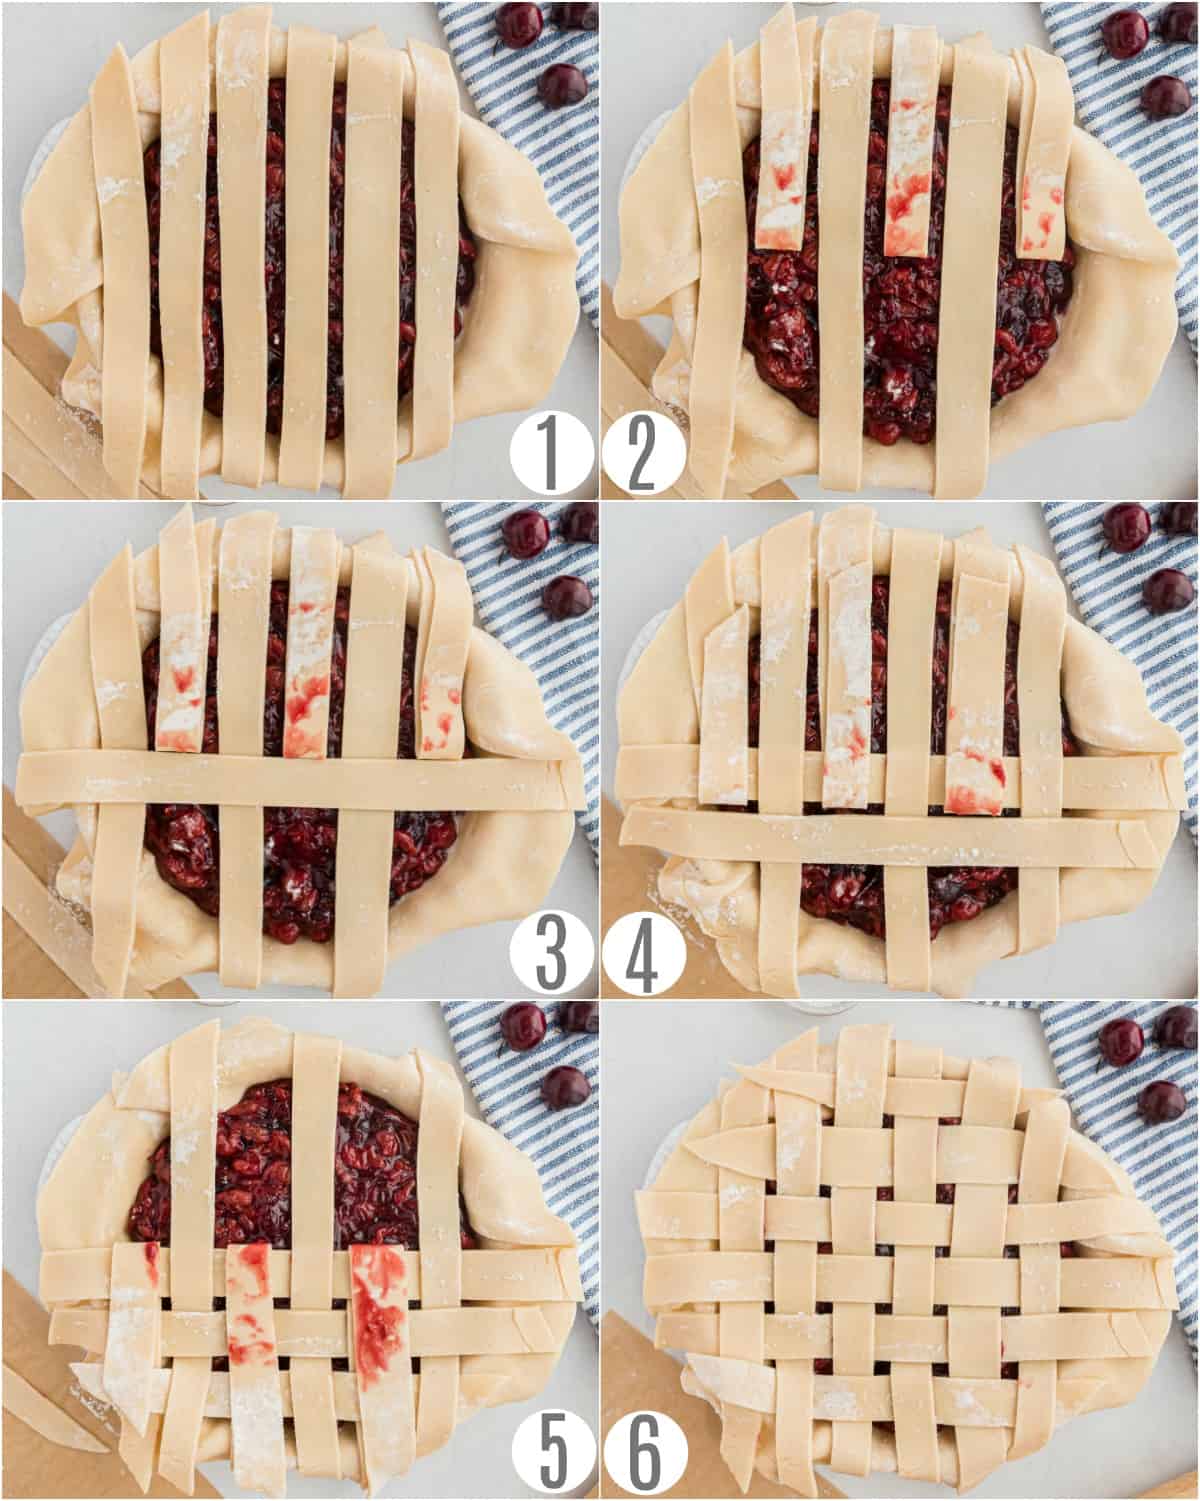
Use the second pie crust to form the lattice. Roll it out on a floured surface until it is about ⅛” thick. Cut the crust into 12 strips of equal width.
Lay 6 strips across the top of the pie, all going in the same direction and evenly spaced.
Fold every other strip back half way. Lay one of the remaining 6 strips of pie crust perpendicular across the middle of the pie and unfold the other strips of crust so they lay across the perpendicular strip that was just placed on the pie.
Now, fold the other 3 strips back and lay the next perpendicular strip across the pie.
Repeat the process until the entire top of the pie is covered with the lattice weave.

Roll the excess pie crust around the edge toward the middle of the pie to form a nice neat edge.
Brush the whole top of the lattice with an egg wash and sprinkle with coarse sugar.
STEP 4. Bake
Bake the pie at 425 F for 10 minutes and then reduce the oven temperature to 375 and bake for an additional 45-50 minutes.
Remove and let cool for at least 3 hours before serving.
Recipe FAQs
Cherry pie filling is already thickened and ready to use. Canned cherries usually come in a syrup, that I rinse off before using in my recipe.
If you don’t have a fancy cherry pitter, then you can remove the pits by hand by poking/twisting them out with a chopstick, toothpick, or paper clip. Or slice the cherry in half and remove the pit easily.
Personally I love the dark sweet cherries, but a combination of Ranier and dark cherries is also delicious and lovely!
Tips and Tricks
- Check the pie frequently while baking to make sure the crust isn’t getting too brown. If it’s browning quickly, you can cover the edges with foil or pie shields.
- How can you tell when fruit pie is done baking? The top crust will be golden brown and the filling will be bubbling through the lattice. Let the filling bubble at least 5 minutes before removing the pie.
- Storing: Cover with plastic wrap and store cherry pie in the refrigerator for up to 5 days.
- Freezing: Follow the recipe as usual, bake as directed then freeze the pie in an airtight container.
- Festive: use this filling in our Christmas Hand Pies recipe! So easy.
Whether you’re new to making homemade fruit pies or an old pro, you need to try this recipe. You’ll love everything about this Cherry Pie, from the bright red cherries bubbling through the pretty lattice topping to the delicious taste.
More Easy Pie Recipes
Old Fashioned Dessert Recipes
See all Desserts recipes

Cherry Pie
Ingredients
For the filling:
- 4 cups sweet cherries pitted
- 1 cup granulated sugar
- 2 Tablespoons lemon juice
- ¼ cup cornstarch
- ½ teaspoon cinnamon
- ½ teaspoon almond extract
For the crust:
- prepared refrigerated pie crust package of 2, or homemade pie crust (for two crusts)
- 1 egg white beaten
- 1 egg yolk
- 1 Tablespoon water
- coarse sanding sugar optional
Instructions
- In a large saucepan combine cherries, granulated sugar, lemon juice, cornstarch, cinnamon and almond extract. Mixture will be very thick, especially if using fresh cherries. Heat over medium heat and bring to a boil, stirring frequently. Reduce heat and cook on low for 8-10 minutes or until mixture has thickened and is a gel-like consistency Remove from heat and allow to cool slightly completely before pouring into the prepared pie crust.
- On a lightly floured surface, roll out bottom pie crust and lay it in a 9-inch pie plate. The crust should drape over each edge by about one inch. Brush the bottom of the crust with the egg white. Pour the cooled filling into the crust.
- To make the lattice top crust, roll out the second pie crust until it is about ⅛” thickness. Cut the crust into 12 strips of equal width. Lay 6 strips across the top of the pie, all going in the same direction and evenly spaced.
- Fold every other strip back half way. Lay one of the remaining 6 strips of pie crust perpendicular across the middle of the pie and unfold the other strips of crust so they lay across the perpendicular strip that was just placed on the pie. Now fold the other 3 strips back and lay the next perpendicular strip across the pie.
- Repeat the process until the entire top of the pie is covered with the lattice weave. Roll the excess pie crust on the edges toward the middle to form a nice neat edge. Combine an egg and a Tablespoon of water to make an egg wash and brush it over the crust. Sprinkle with coarse sugar, if desired.
- Bake at 425 for 10 minutes and then reduce the oven temperature to 375 and bake for 45-50 minutes. Check the pie frequently to make sure the crust isn’t getting too brown. If the crust begins to brown too quickly, cover with foil or use a pie shield.
- Remove and cool for 3-4 hours before serving.
Notes
- If using frozen cherries, thaw first, then drain excess liquid.
- Can use canned cherries, but drain juice first. Will need about 3 (14.5 oz cans) of cherries
- Swap out the prepared pie crust for my delicious homemade pie crust instead!
- Brush bottom crust with egg white wash before filling to prevent soggy crust.
- How do you know a fruit pie is done? The top crust will be golden brown and the filling will be bubbling through the lattice or cuts in the top crust. Let the filling bubble at least 5 minutes before removing the pie.
- Cover with plastic wrap and store in the refrigerator for up to 5 days.
- Freezing – bake as directed and freeze in an airtight container.
Nutrition
Classic cherry pie recipe using fresh cherries and topped with a buttery lattice pie crust!


If using frozen blueberries, does everything else remain the same??
Here’s our blueberry pie recipe: https://www.shugarysweets.com/blueberry-pie/
I’ve heard that a cherry pie made with cornstarch should not be frozen but I see that you say yours can be frozen. Have you had any issues when freezing and thawing a cherry pie? Do you freeze after baking or freeze raw after making the pie? Thanks for your help with this!
I usually use tart cherries in my pie which makes it it tart and sweet at the same time. Where did you add the cornstarch for the filling ? I love your blog, keep it going.
In step one 🙂 Thank you!
Sorry didn’t read the added note after the recipe. Since I don’t have any fresh picked cherries and can use frozen this will be a wonderful treat for my husband who would choose pie over any dessert!
Enjoy 🙂
Can we use frozen cherries for this pie? It looks delicious!
Yummy! I love pie and this cherry pie is on point!! So easy to make too.