Yield: 8 treats
Spider Rice Krispie Treats
Prep Time
15 minutes
Additional Time
15 minutes
Total Time
30 minutes
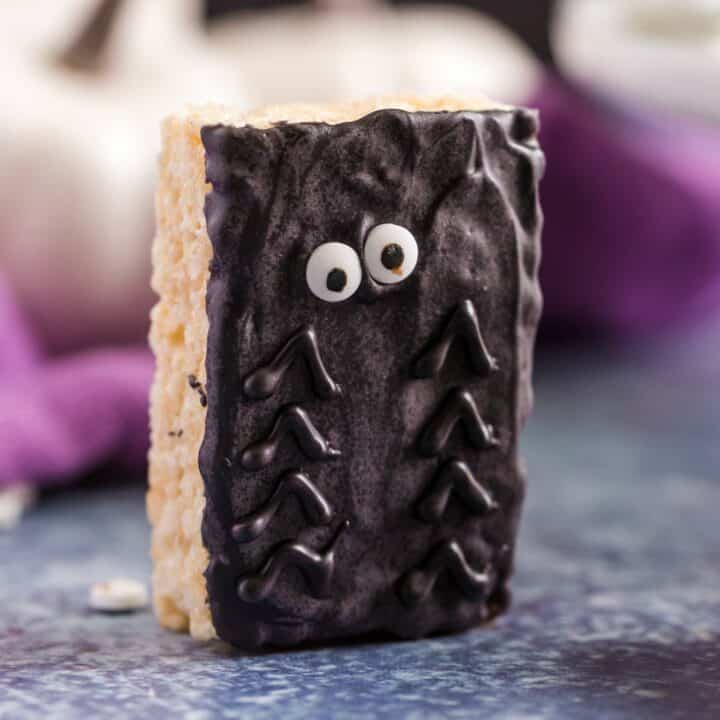
Spooky Halloween Spider Rice Krispie Treats are the perfect party idea. This recipe is so easy, even the kids can make them!
Ingredients
- 8 large Rice Krispie Treats- store bought or homemade
- 10 ounce Ghirardelli dark chocolate melting wafers
- 16 candy eyes
Instructions
- Prepare a batch of Rice Krispie Treats, or unwrap individual store bought treats. Make treats in a 9-inch square baking dish and cut into 8 large rectangles, or 16 small.
- Melt ghiraradelli dark chocolate wafers in glass bowl in microwave for one minutes. Stir until smooth. Add an additional 15-30 seconds if needed.
- Dunk the top of each rice krispie treat square into the melted chocolate, spreading smooth with an offset spatula as needed.
- Immediately place a pair of candy eyes onto each treat while the chocolate is still soft. Allow to set, about 10-15 minutes.
- Once chocolate has set onto the rice krispie treats, spoon remaining chocolate from the bowl into a small ziploc bag. Snip off the corner of the bag and pipe 8 legs onto each treat. Allow to set. ENJOY!
Notes
- Use my homemade rice krispie treat recipe or but the store bought Rice Krispies Treats for an easy alternative.
- Good chocolate matters. I love using Ghirardelli Dark chocolate wafers. They not only melt smooth, but taste amazing too.
- Make sure to allow the first layer of chocolate to set before adding the chocolate "legs." Otherwise it will ooze right into the first layer.
- See blog post for more recipe tips and tricks.
Nutrition Information:
Yield:
8Serving Size:
1Amount Per Serving: Calories: 388Total Fat: 13gSaturated Fat: 8gTrans Fat: 0gUnsaturated Fat: 5gCholesterol: 3mgSodium: 182mgCarbohydrates: 63gFiber: 3gSugar: 30gProtein: 4g
*Nutrition facts are an estimate and not guaranteed to be accurate. Please see a registered dietitian for special diet advice.