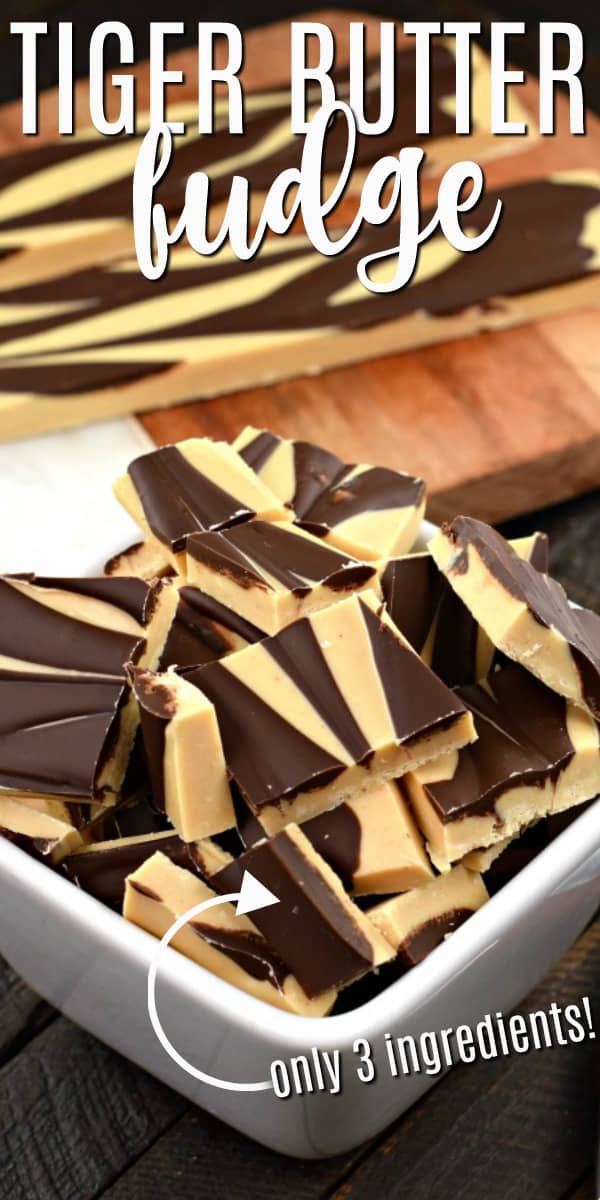
Creamy and soft, this 3 ingredient easy Tiger Butter Fudge recipe is a chocolate peanut butter lover’s dream! Make a batch today in just minutes!

Love chocolate and peanut butter? You’ve got to try our buckeye brownie cookies next. Or give this easy buckeye pie a try.
What is Tiger Butter Fudge
If you’re looking for an easy 3 ingredient fudge recipe, this Tiger Butter is the answer.
It’s basically a swirl of chocolate and peanut butter that looks something like a tiger’s stripes.
It’s super easy to make and pretty popular around the holidays, but I love it all year long.
All you need is a microwave, a bowl, a baking sheet, and three ingredients. This recipe takes MINUTES to prepare (and will be devoured in minutes too, haha).
Have you ever been to a good chocolate store? I like to visit and get ideas. Is that odd?
I used to frequent Rocky Mountain Chocolate Factory. Then, I’d head back to my kitchen and get to work making copycat recipes of treats like Avalanche Bars and Krispie Treat Fudge.
Ingredient Notes
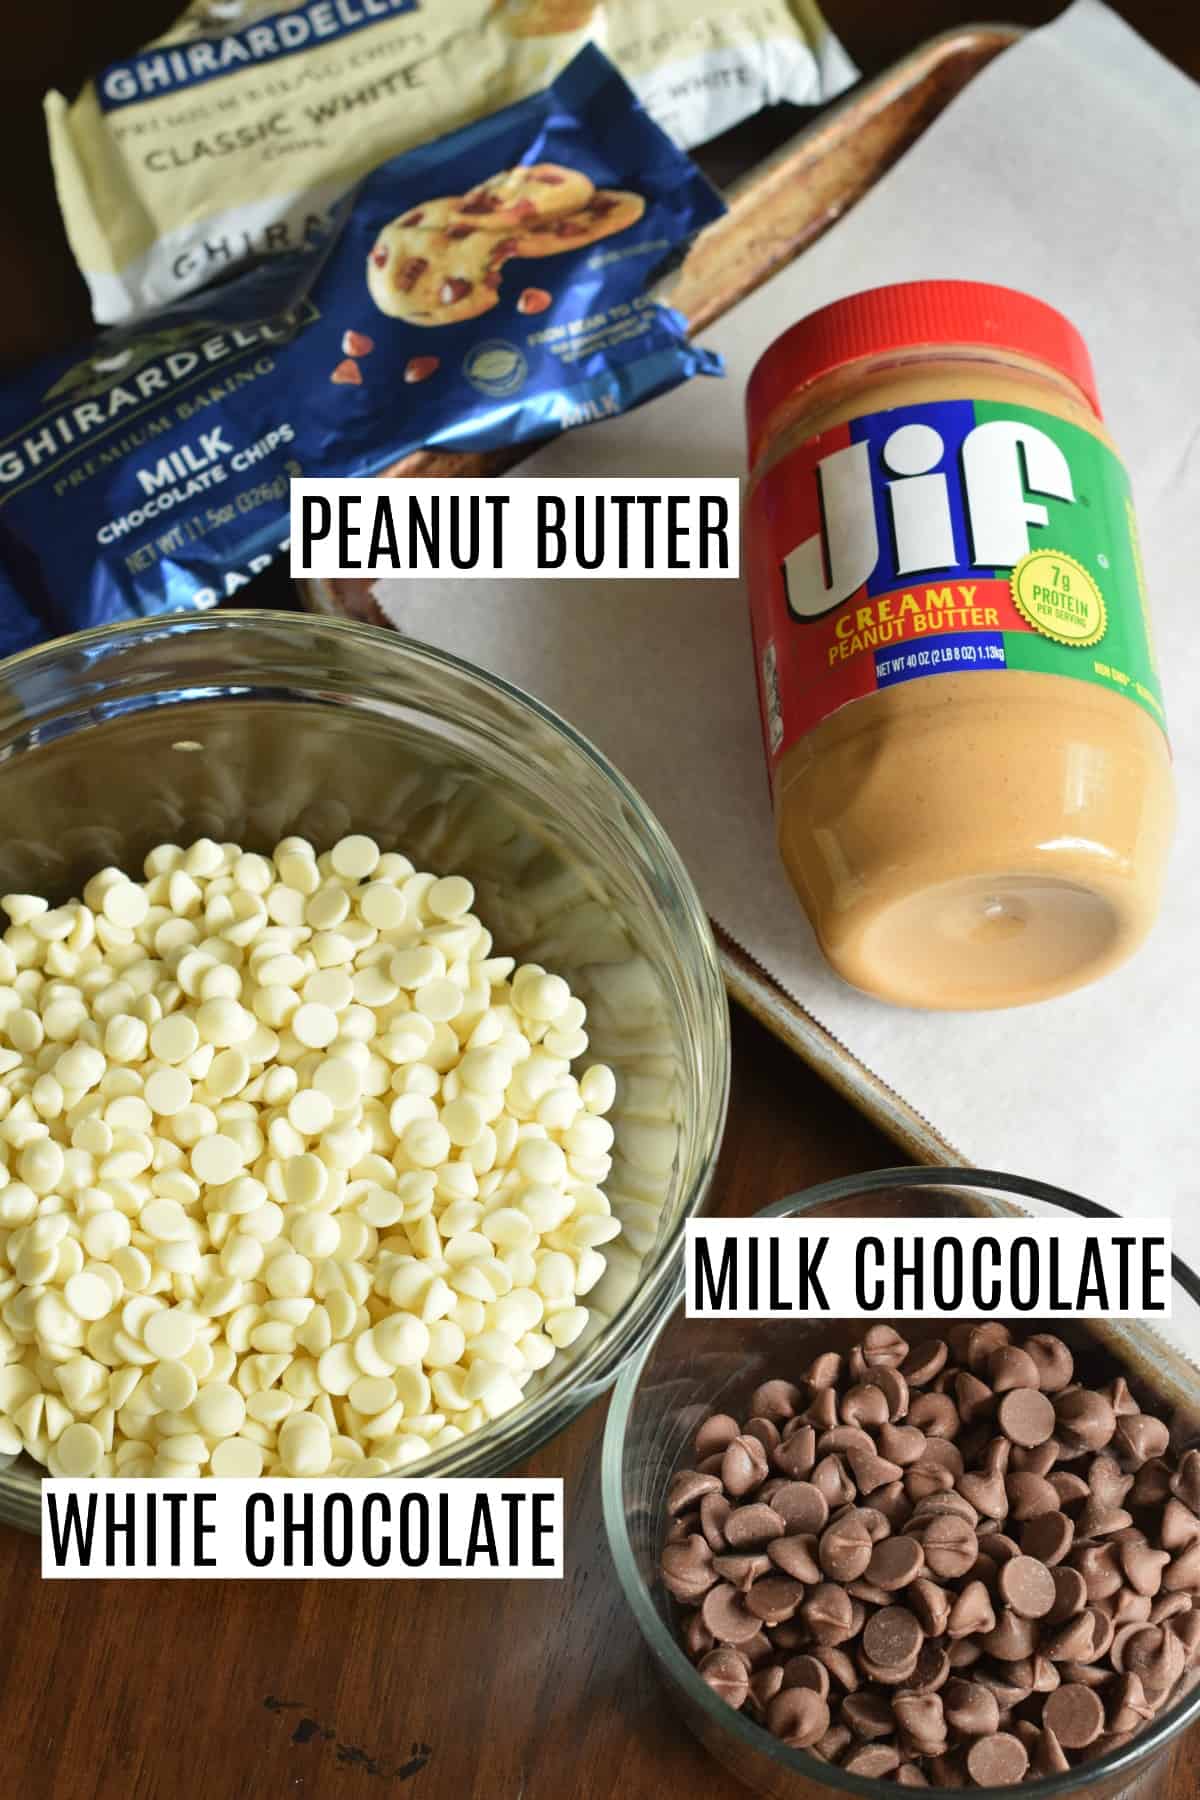
Chocolate.
You want a GOOD chocolate here, friends. You’re already saving money by making your own fudge instead of buying it, so this is not the time to cut corners and use dollar store chocolate bars.
To make this fudge you need both milk chocolate and white chocolate. I use ghirardelli morsels because I find them to be the best quality for the price point and available at most grocery stores.
The chocolate should be tasty enough that you’d enjoy eating it all on its own.
Peanut Butter.
Use creamy peanut butter for this recipe.
I recommend the traditional shelf-stable kind (Jiff or Skippy) rather than the natural varieties that you have to keep in the fridge.
The oil separation from natural peanut butters is likely to affect the texture of this fudge, making it less smooth and more likely to get crumbly.
Step by Step Instructions
Here’s where you see just how EASY this recipe is to make. Unlike my homemade peanut butter cups and buckeye bars, this is just a matter of melting the chocolates and peanut butter.
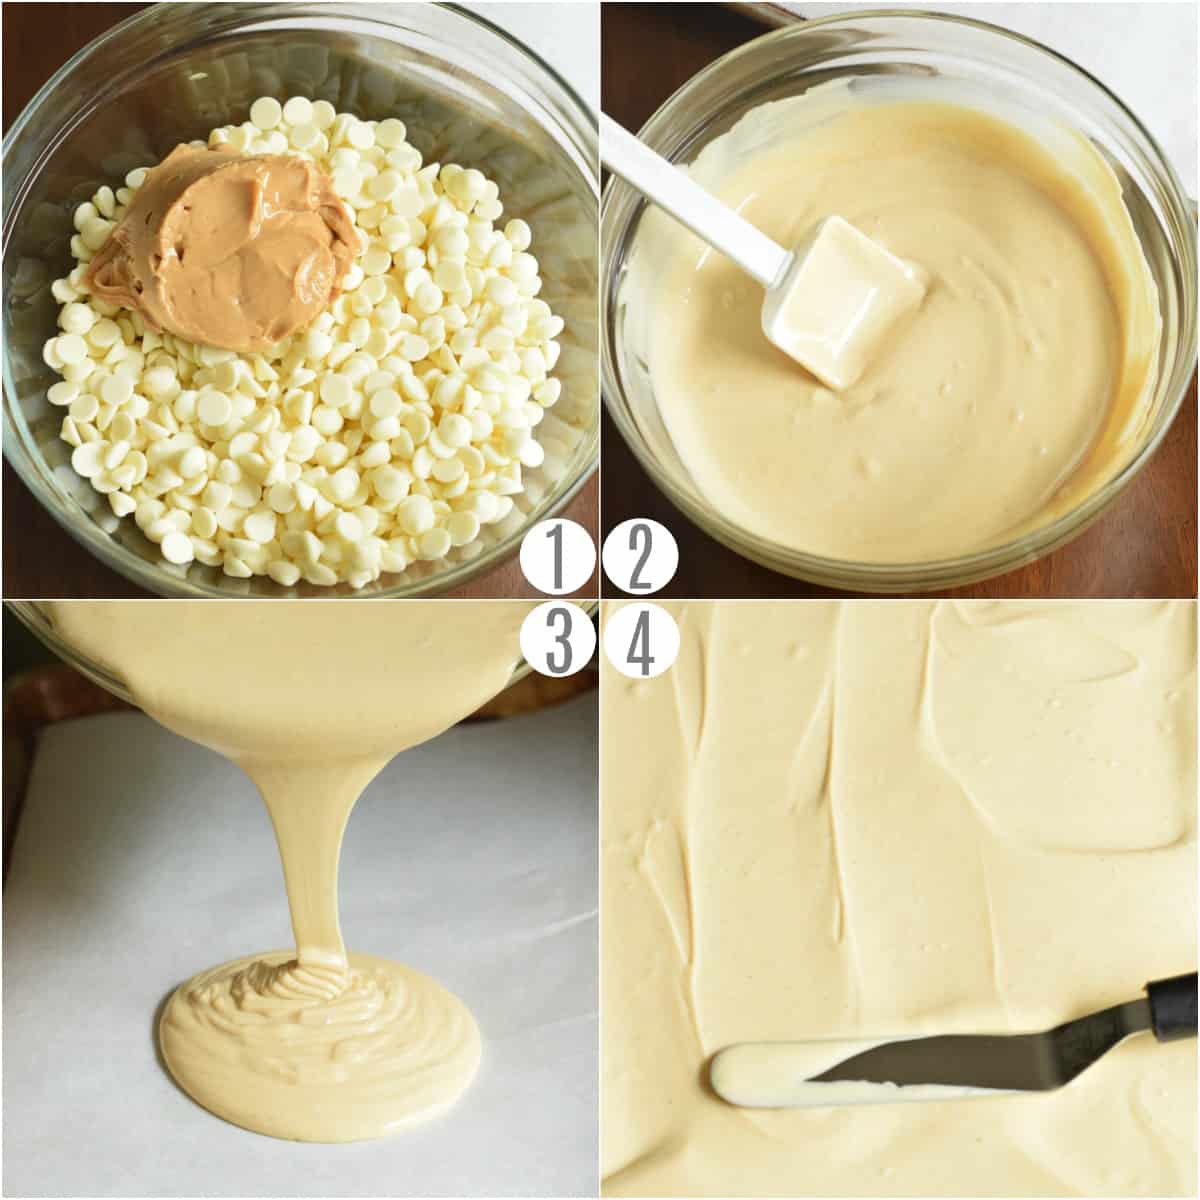
STEP 1. Melt the white chocolate and peanut butter together.
I do this by placing the peanut butter and white chocolate morsels in a microwave safe bowl and microwaving them for 1 minute.
Then, stir to encourage melting and continue heating in 30 second increments, stirring between each, until everything is melted.
Pour this mixture into a prepared baking sheet.

STEP 2. Add milk chocolate
Melt milk chocolate in a separate bowl, using the same method. Drizzle the milk chocolate over the white chocolate peanut butter mixture in the pan.
Using a knife, pull chocolate so that the two blend together.

Recipe FAQ’s
This fudge will keep just fine at room temperature, covered, for about a week. If you like your fudge cold (or your home tends to run warm), you can also store this covered in the fridge.
Yes! Swap out the milk chocolate and use your favorite Ghirardelli dark chocolate morsels instead.
Definitely. To do this, I recommend using a double burner style pan, so that you don’t accidentally scorch your chocolate. With a pot of water and double burner on top (or second pot/bowl that is heat safe) bring water to a gentle boil. Add morsels/peanut butter and stir until smooth. Don’t let any of the water get into the double boiler.

Homemade Candy Recipes
See all Candy recipes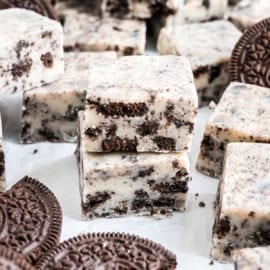

Pin this now to find it later
Pin It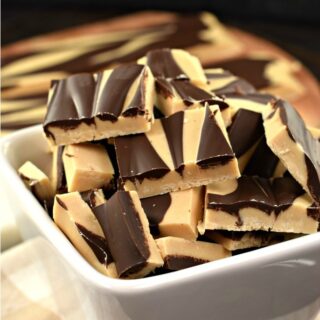
Tiger Butter Fudge Recipe
Ingredients
- 2 bags white chocolate chips 11 ounce each
- ½ cup creamy peanut butter
- 8 ounce milk chocolate chips
Instructions
- Melt white chocolate and peanut butter together until creamy. I do this in the microwave. Starting at one minute, stir, add 30 second intervals of heating, then stirring until smooth. Spread on parchment lined cookie sheet (I use a 15x10x1-inch pan).
- Melt milk chocolate and drizzle over white chocolate. Using knife you pull chocolate so that the two blend together. Allow to cool and set. Cut into squares. Eat and enjoy!
Notes
- This fudge will keep just fine at room temperature, covered, for about a week. If you like your fudge cold (or your home tends to run warm), you can also store this covered in the fridge.
- Use regular creamy peanut butter and not a natural one that has a separated oil.
- Swap out the milk chocolate for dark chocolate if desired!

This is one of the best and easiest fudges, ever!
Left Colorado Springs about 5 years ago. I can’t wait to try this. Thank you!!
Let the baking season begin! I had to give this a test run this weekend and it was delicious – adding to the holiday list!