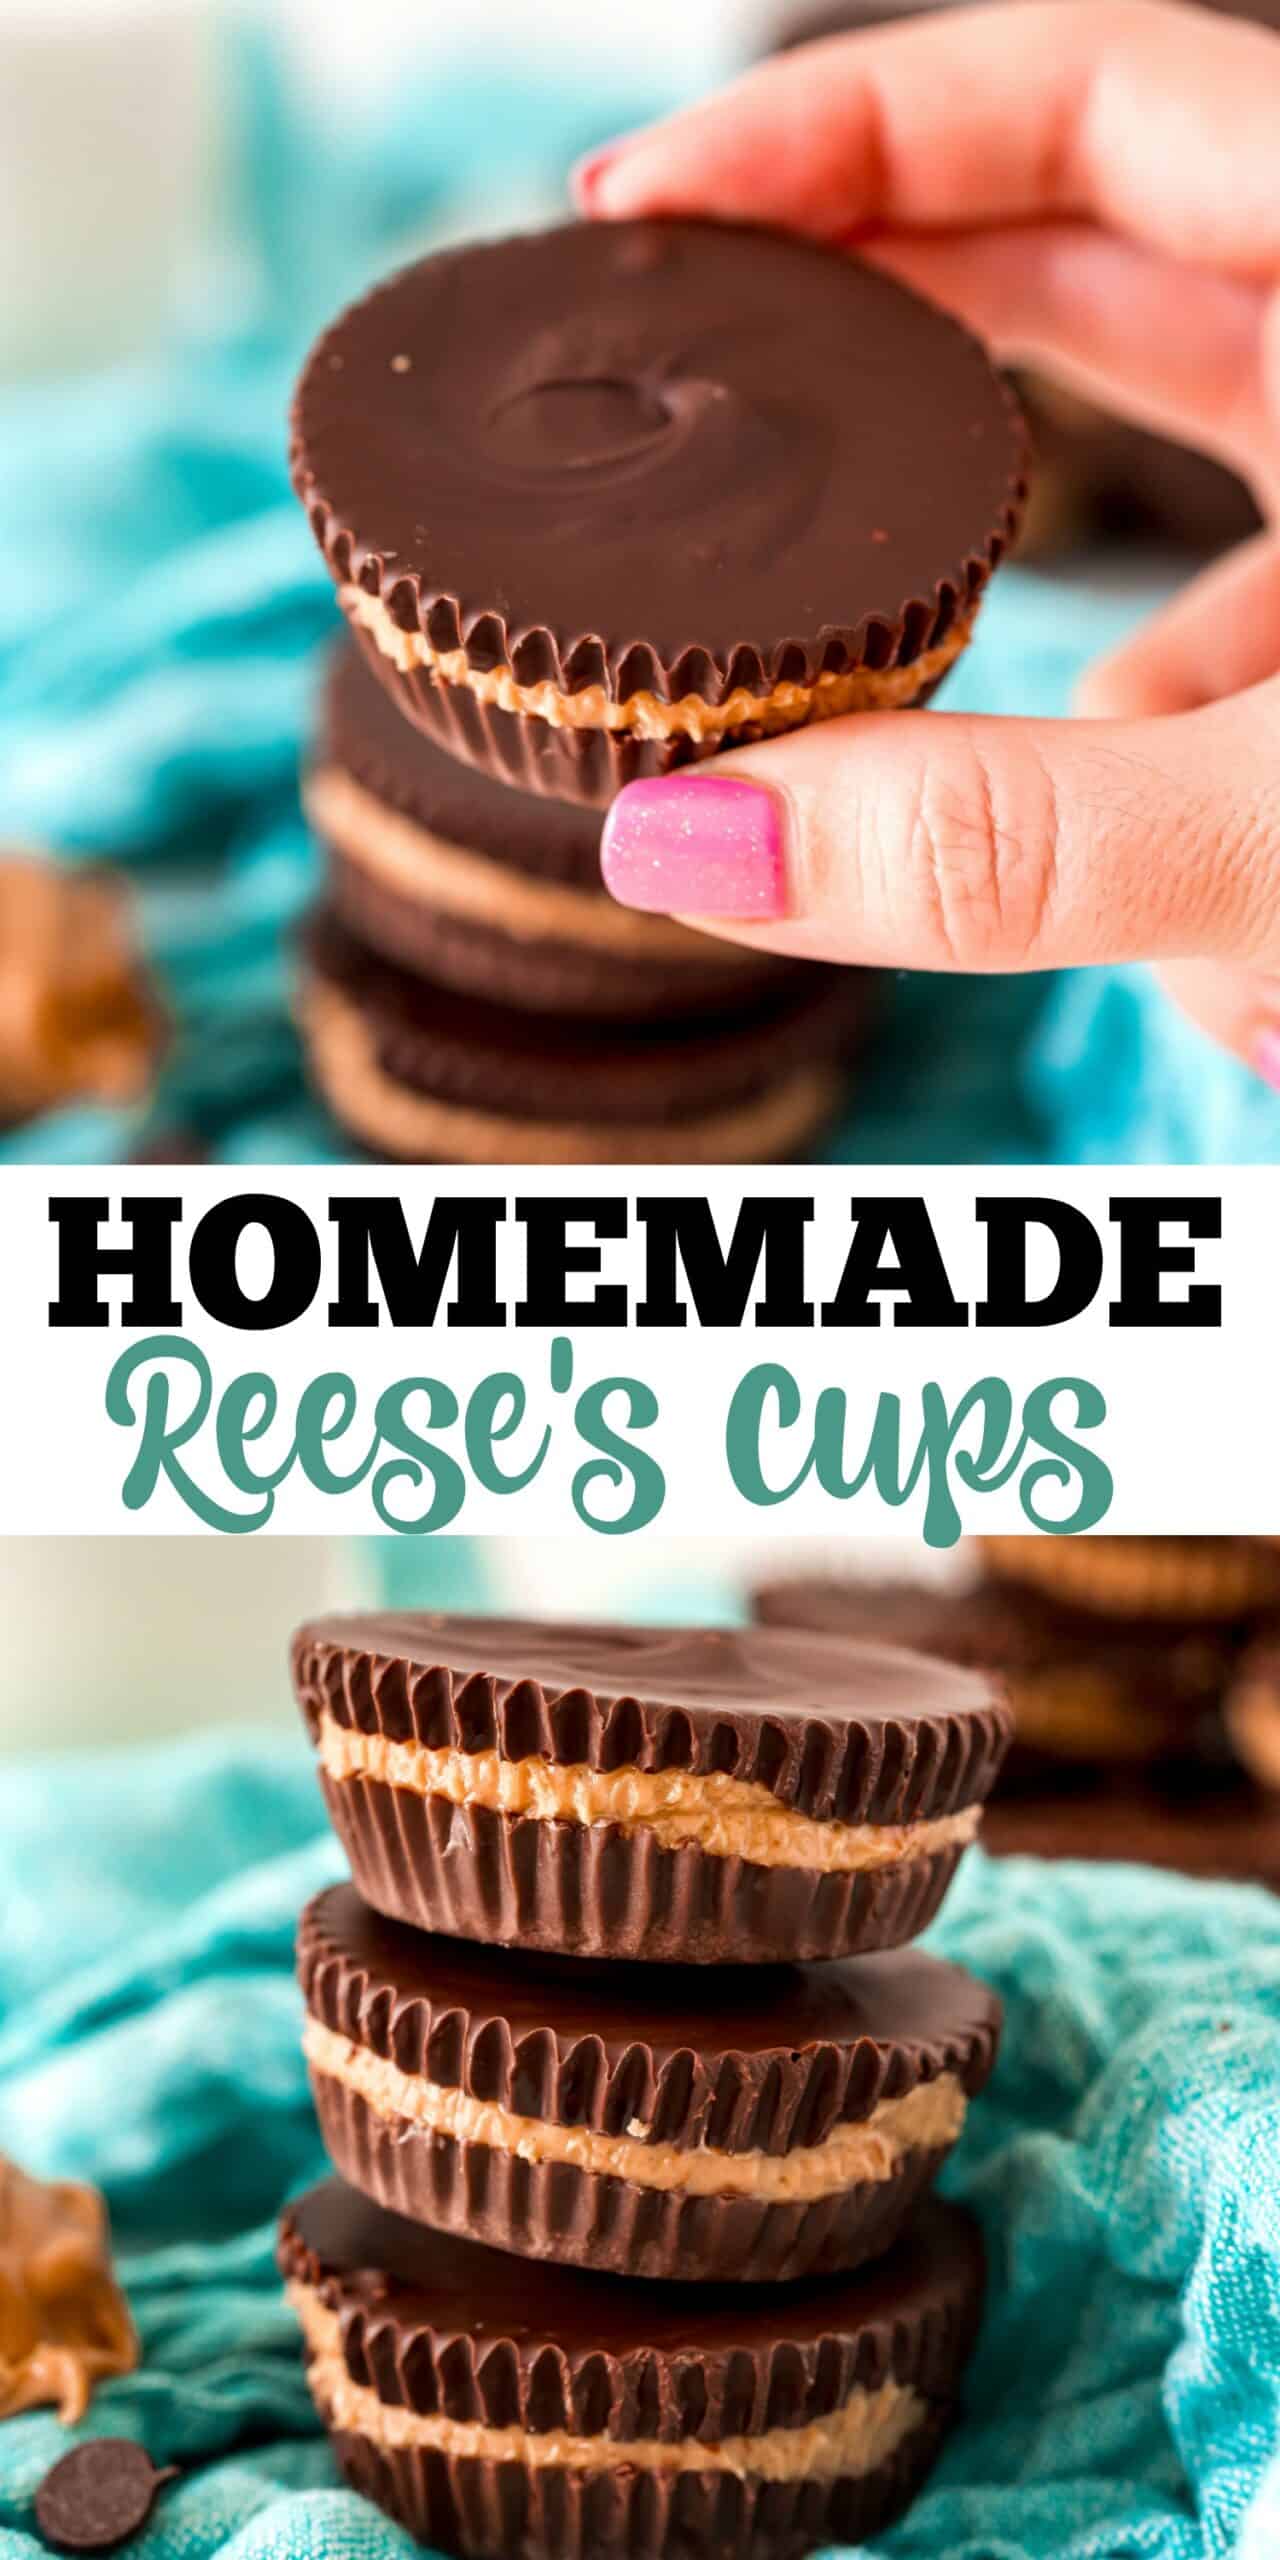
Skip the packaged candy and make Peanut Butter Cups at home! Easy Homemade Reese’s have all the irresistible taste of the original, without any of the preservatives. Only 4 ingredients!
If you love chocolate and peanut butter, this is the dessert for you. I love creating copycat recipes and I think YOU will love this one.
Copycat Reese’s Peanut butter Cups
I know I have more than a few readers who can’t get enough chocolate and peanut butter recipes. From easy Buckeye Bars to Chocolate Peanut Butter Lasagna, there’s so many options on my site!
For most of us, a Reese’s Peanut Butter cup was our first introduction to this beloved pairing when we were kids.
At Halloween, Reese’s was always in high demand during trick-or-treating. Last time my kids went trick-or-treating, that was definitely still the case.
Making copycat recipes of my favorite candy is something of a compulsion for me.
From Orange Peel Candy to Reese’s eggs, and this Cadbury Egg inspired treats, I get such a kick out of recreating store bought goods in my own kitchen.
Sure, Reese’s aren’t exactly a gourmet luxury. You can find them inexpensively just about everywhere.
So you might be wondering: Why make your own Reese’s?
First things first: because it’s fun! You can pat yourself on the back and feel accomplished WHILE eating tasty peanut butter cups, too, so it’s a win-win.
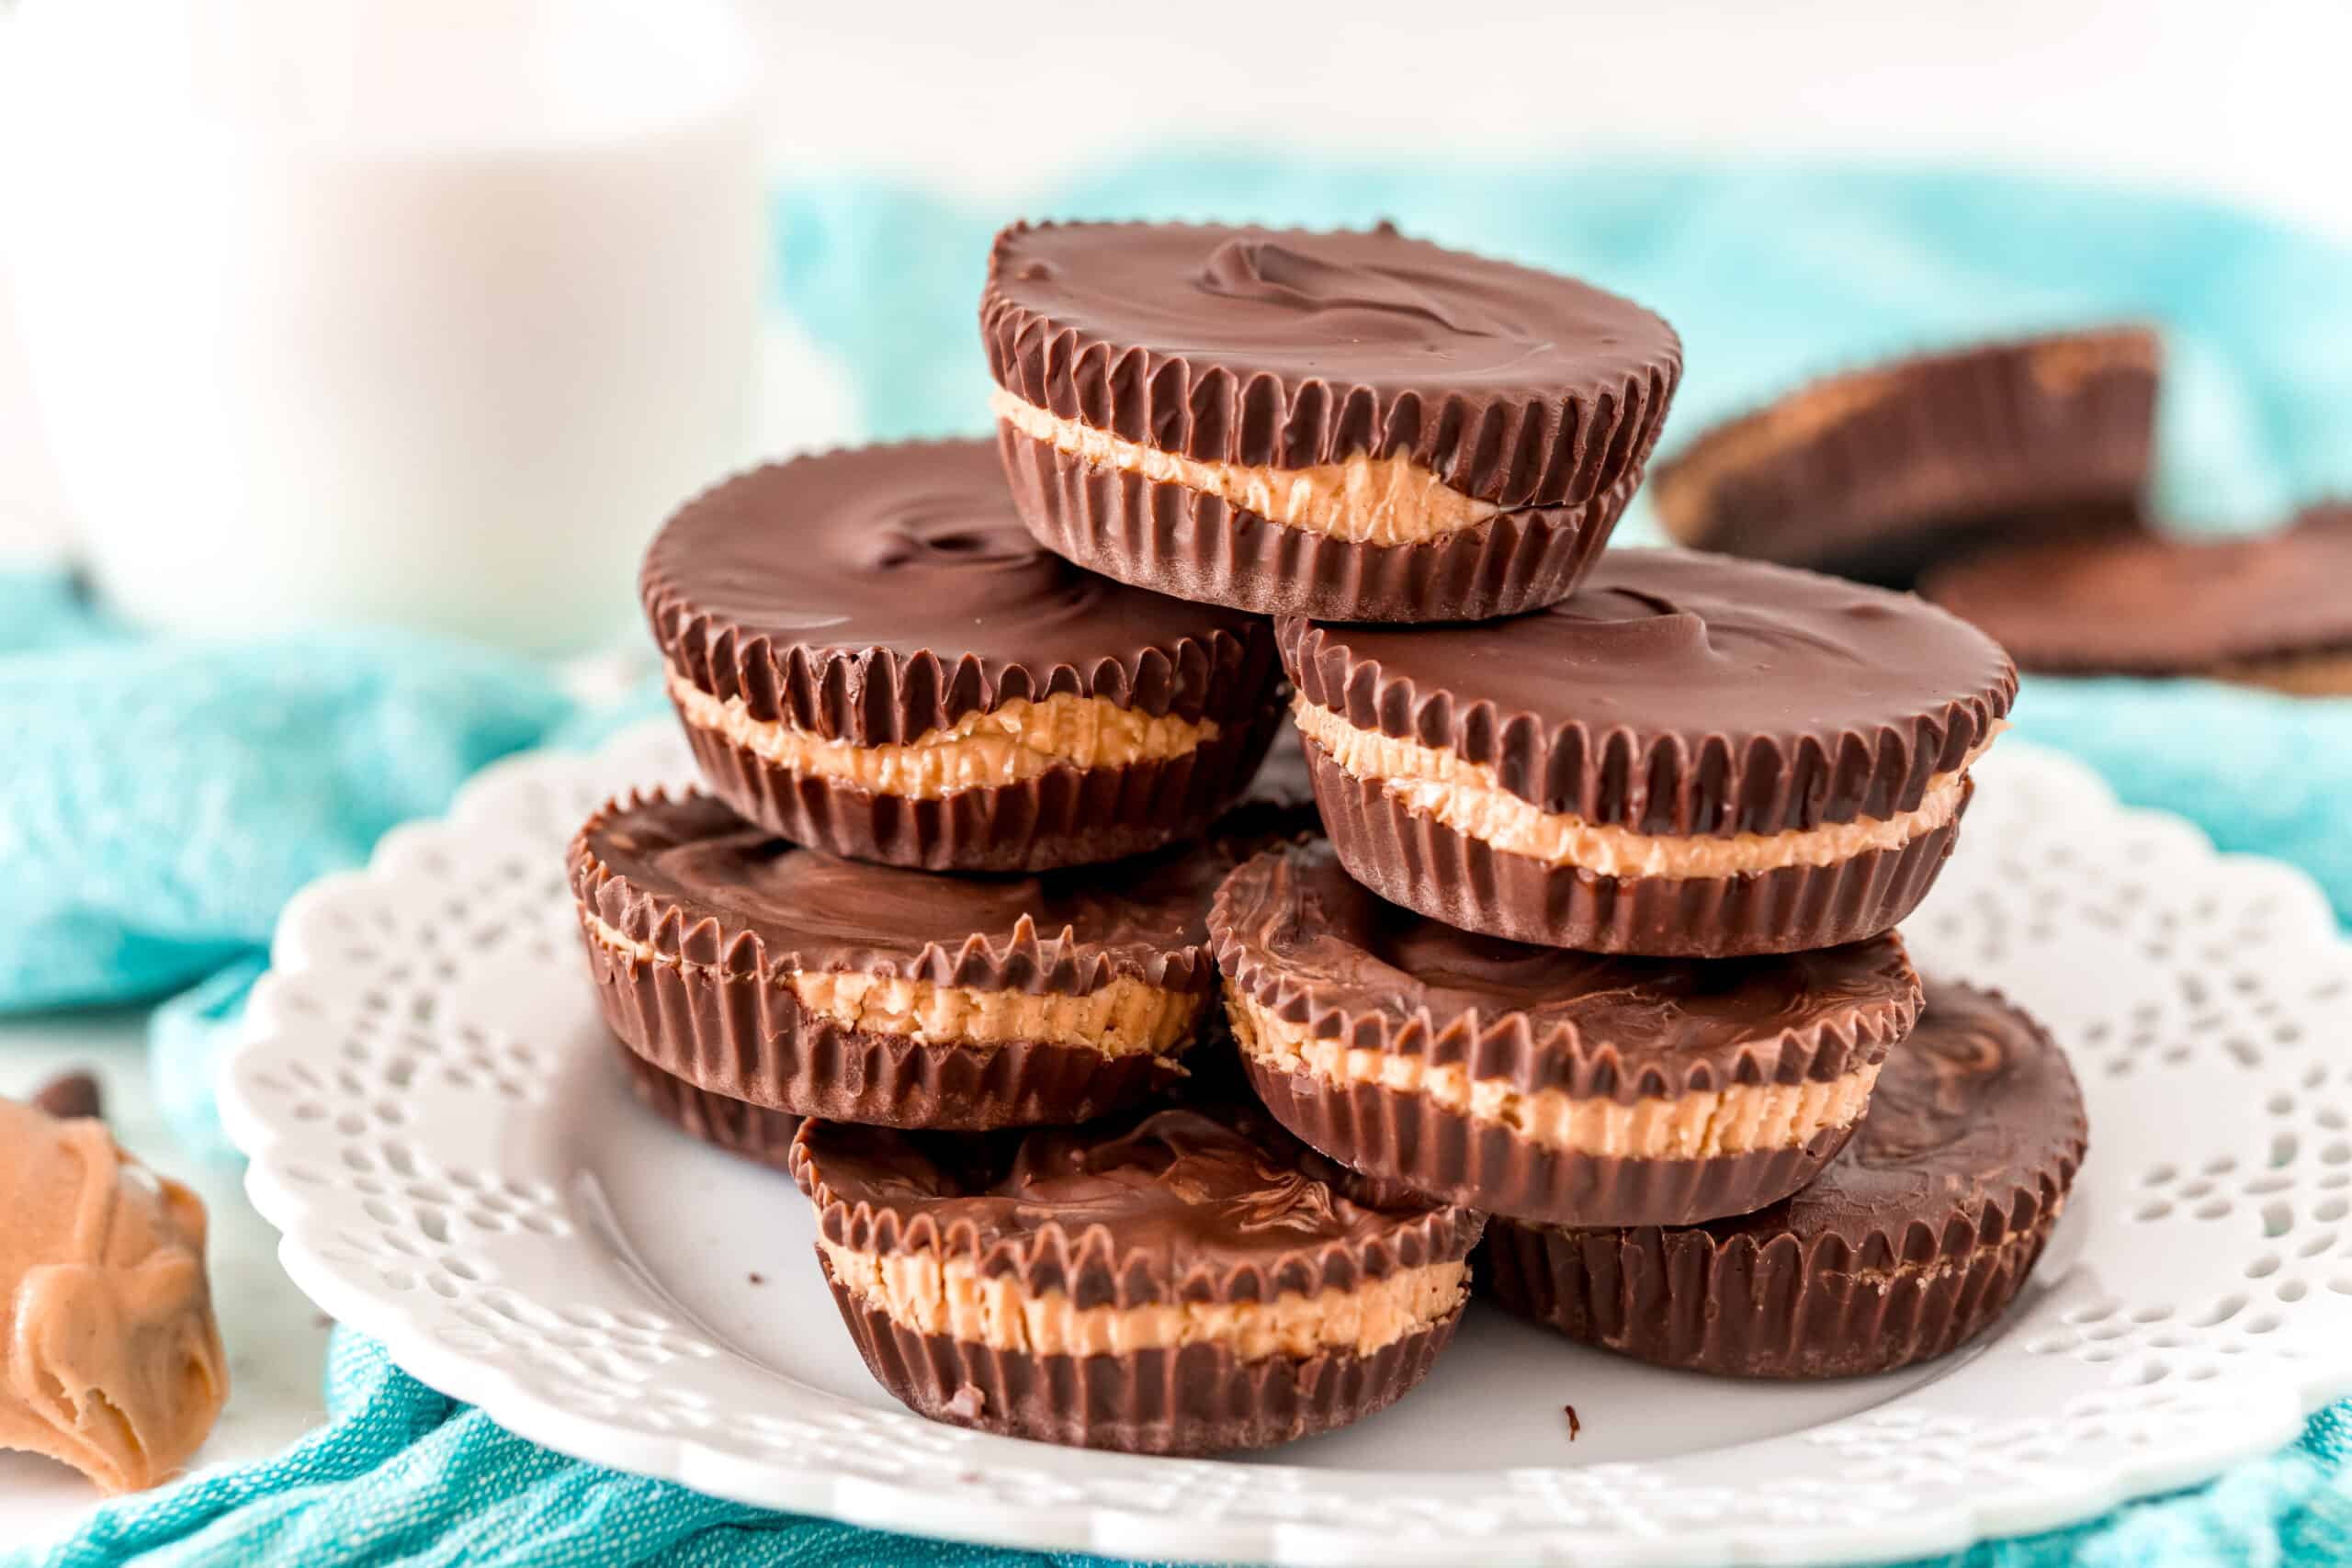
Most importantly, though: Homemade Peanut Butter Cups taste SO much better than the packaged kind. The chocolate is richer, the peanut butter. . . well, peanuttier. These homemade Reese’s are just plain more delicious.
And even though no one is under the delusion that Peanut Butter Cups are a health food, it’s nice to know that your homemade ones aren’t laden with all kinds of preservatives and unidentifiable ingredients.
Who can resist the combination of chocolate and peanut butter? My readers love this combo in Buckeyes as well as the perfect Chocolate Peanut butter cheesecake!
Ingredient Notes
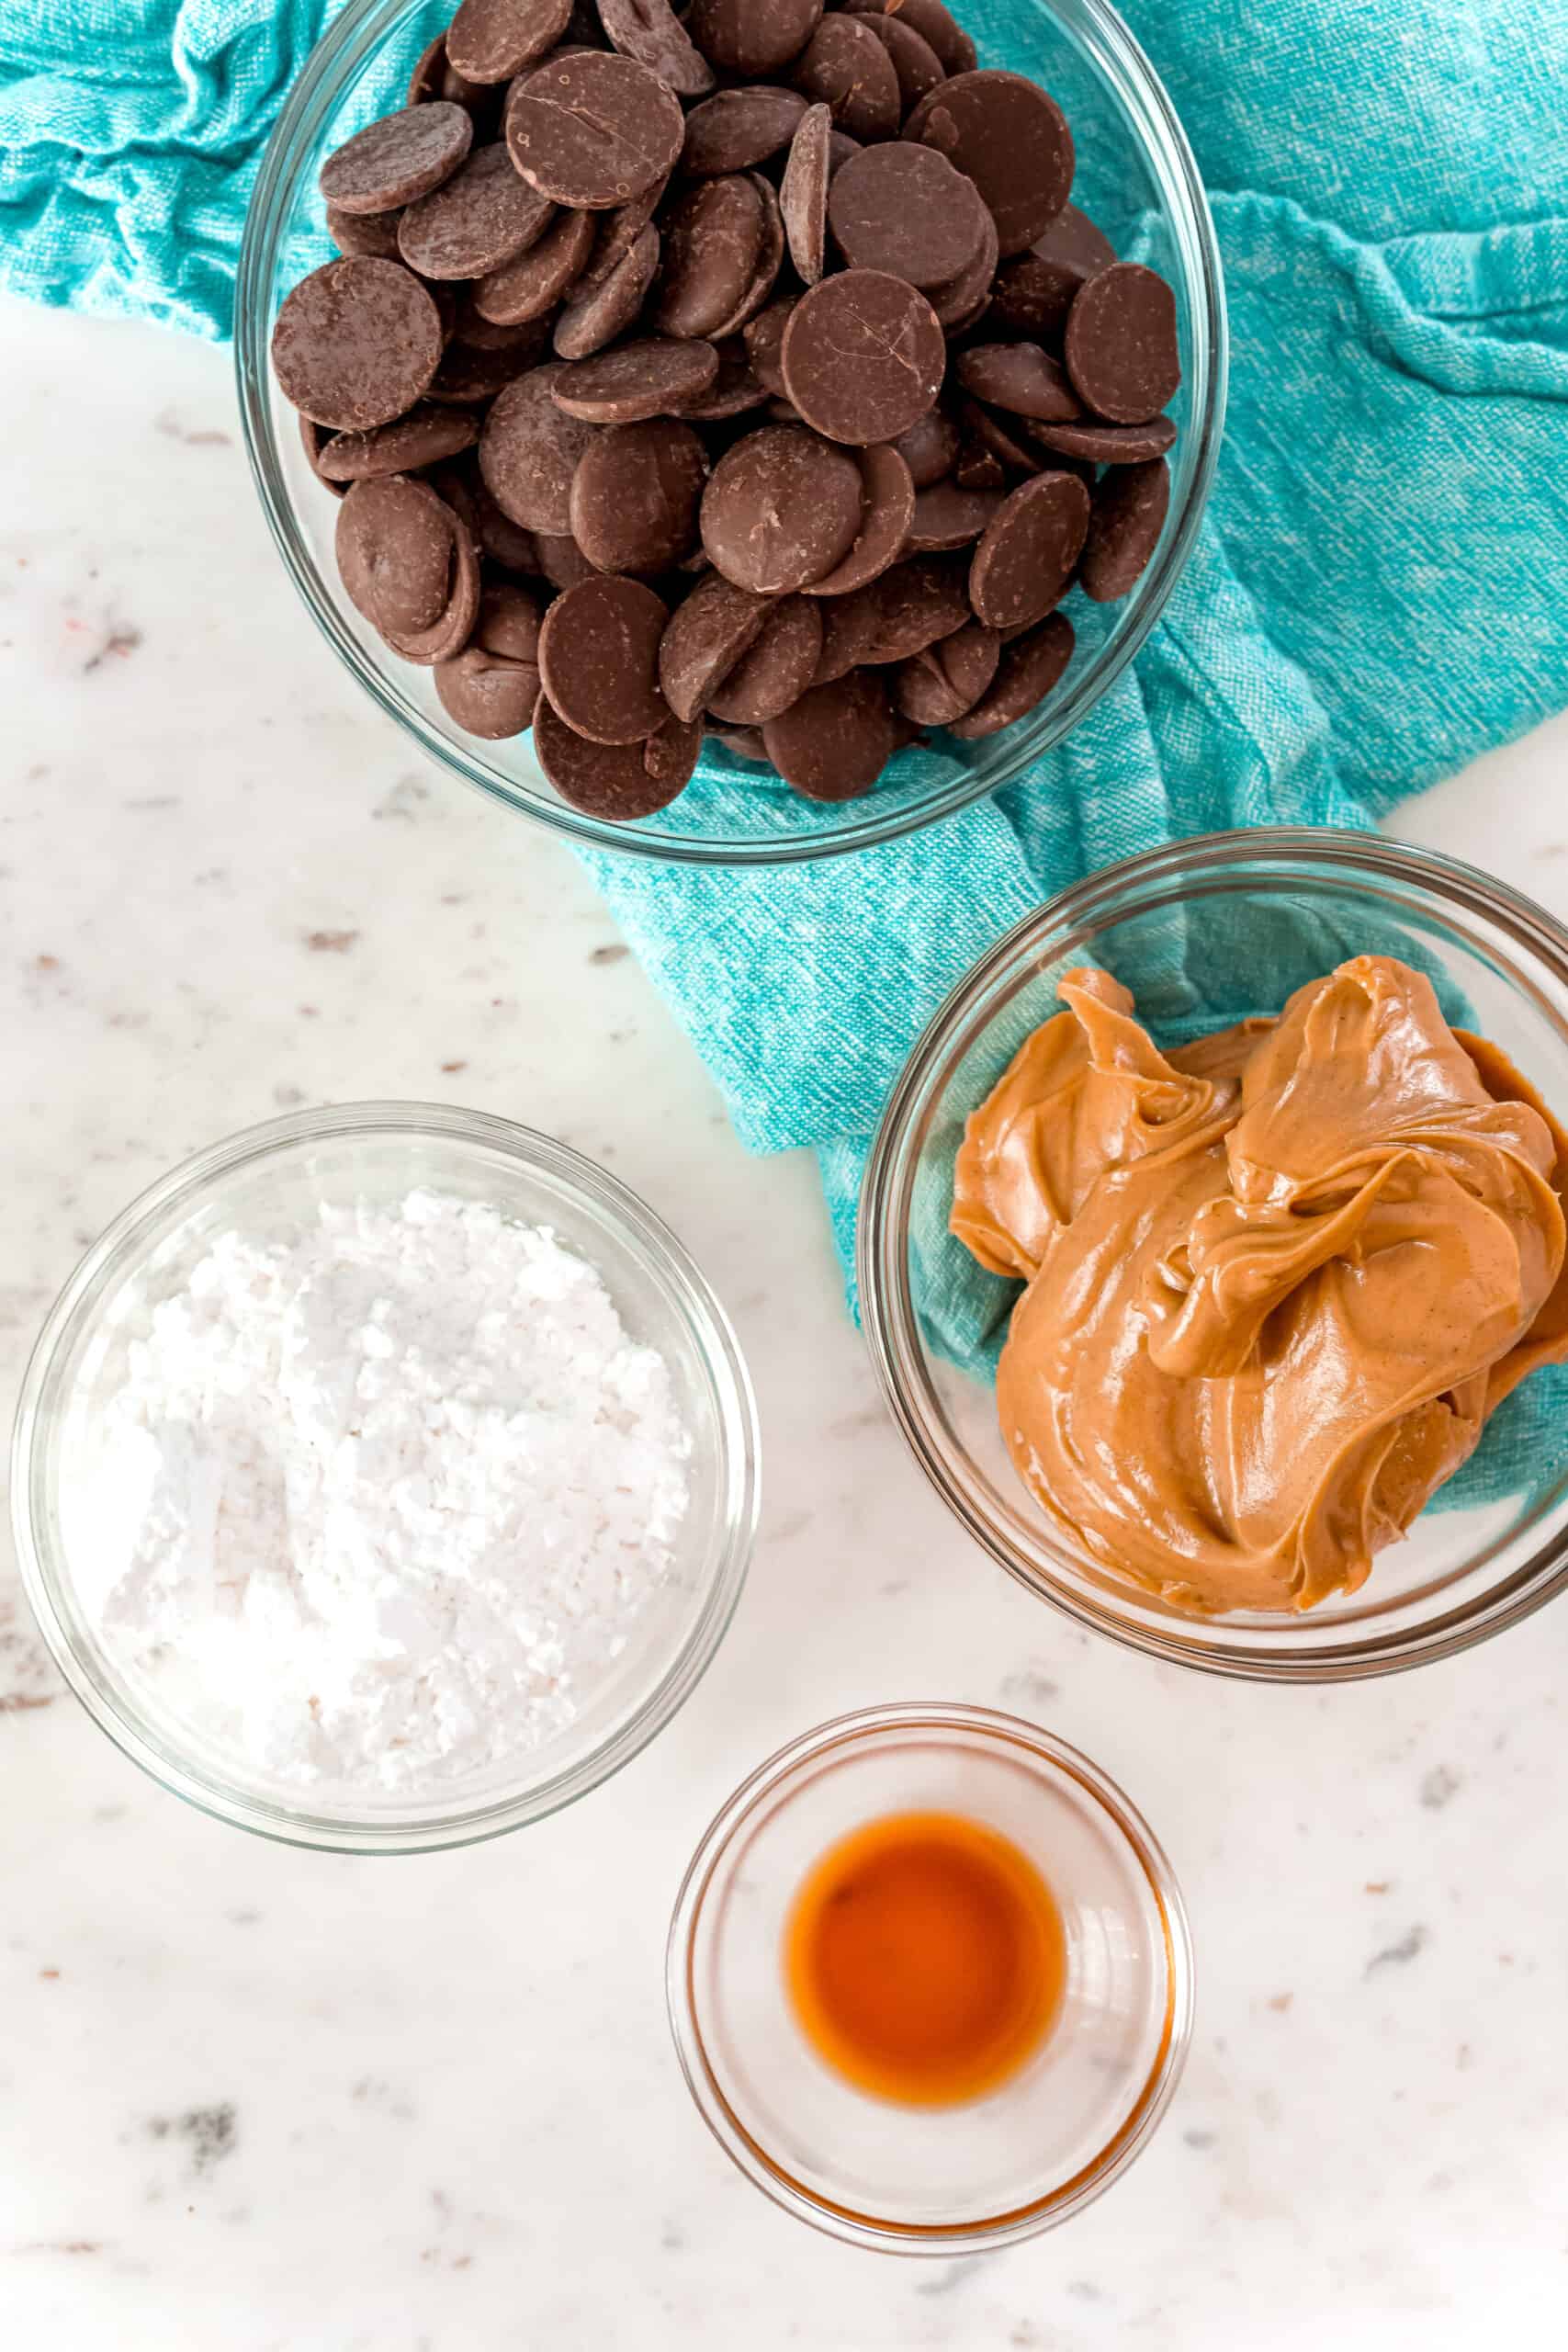
This peanut butter cups recipe has just 4 ingredients:
- chocolate melting wafers
- peanut butter
- powdered sugar
- vanilla extract
You don’t need any special equipment either (just a cupcake pan and liners) and they come together easily. If you love easy candy recipes, try my homemade chunky candy recipe next!
How to Make Peanut Butter Cups
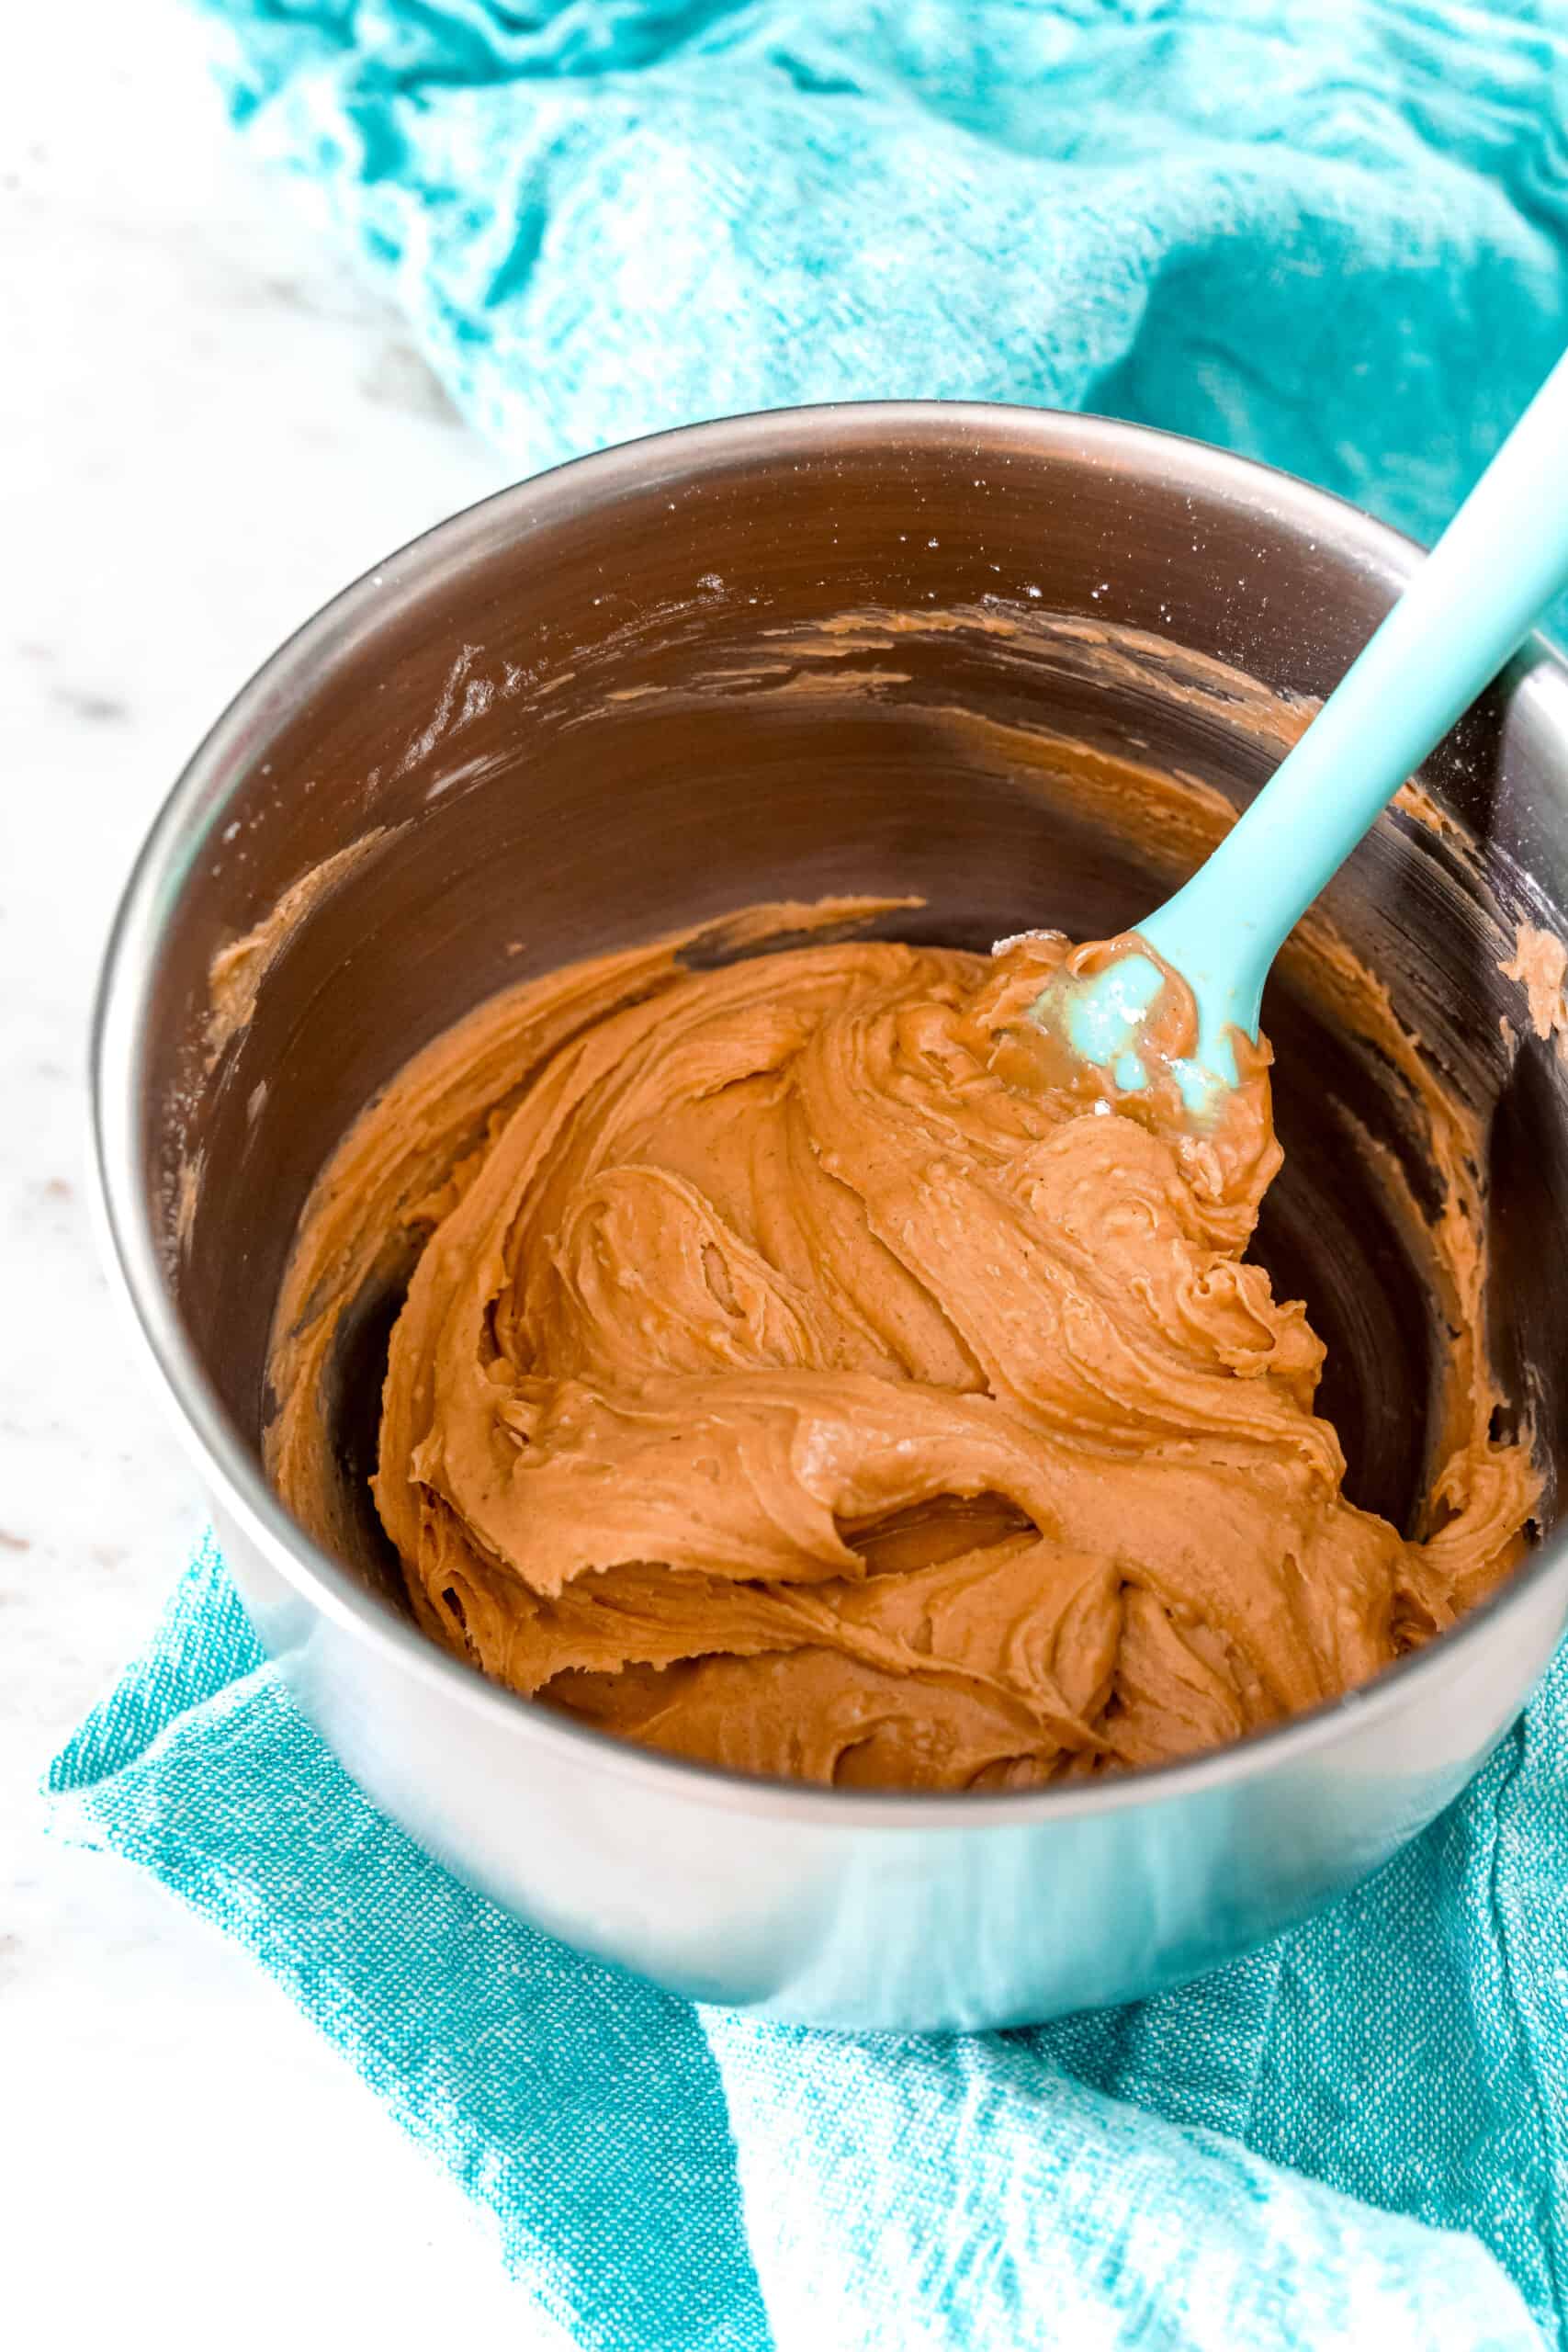
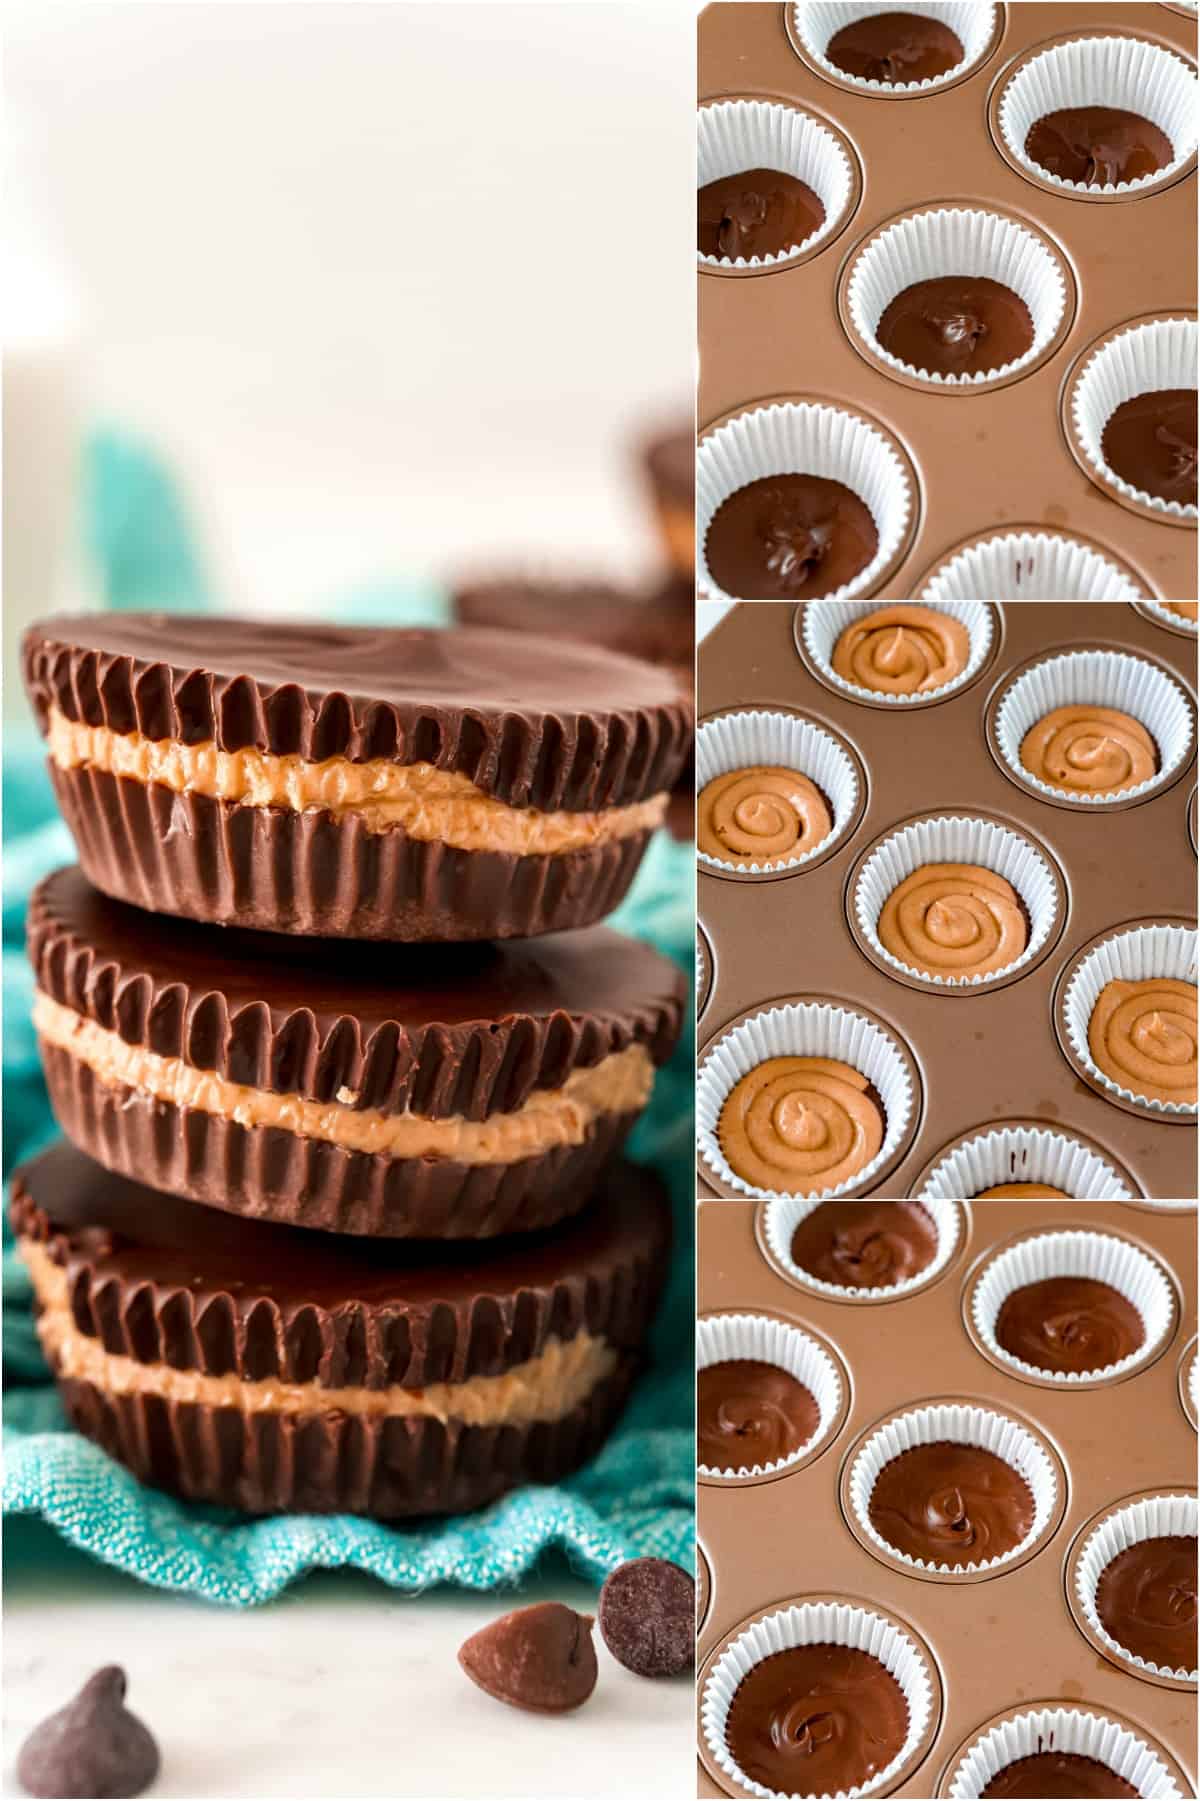
Peanut butter filling.
Combine the peanut butter, powdered sugar and vanilla in a bowl. Stir together well until the mixture is creamy and smooth. Transfer to a pastry bag or a ziploc bag with the corner snipped off.
Chocolate.
Melt the chocolate candy wafers in the microwave. I recommend doing this in 30 second intervals, stirring between each one, until the candies are melted.
Assemble.
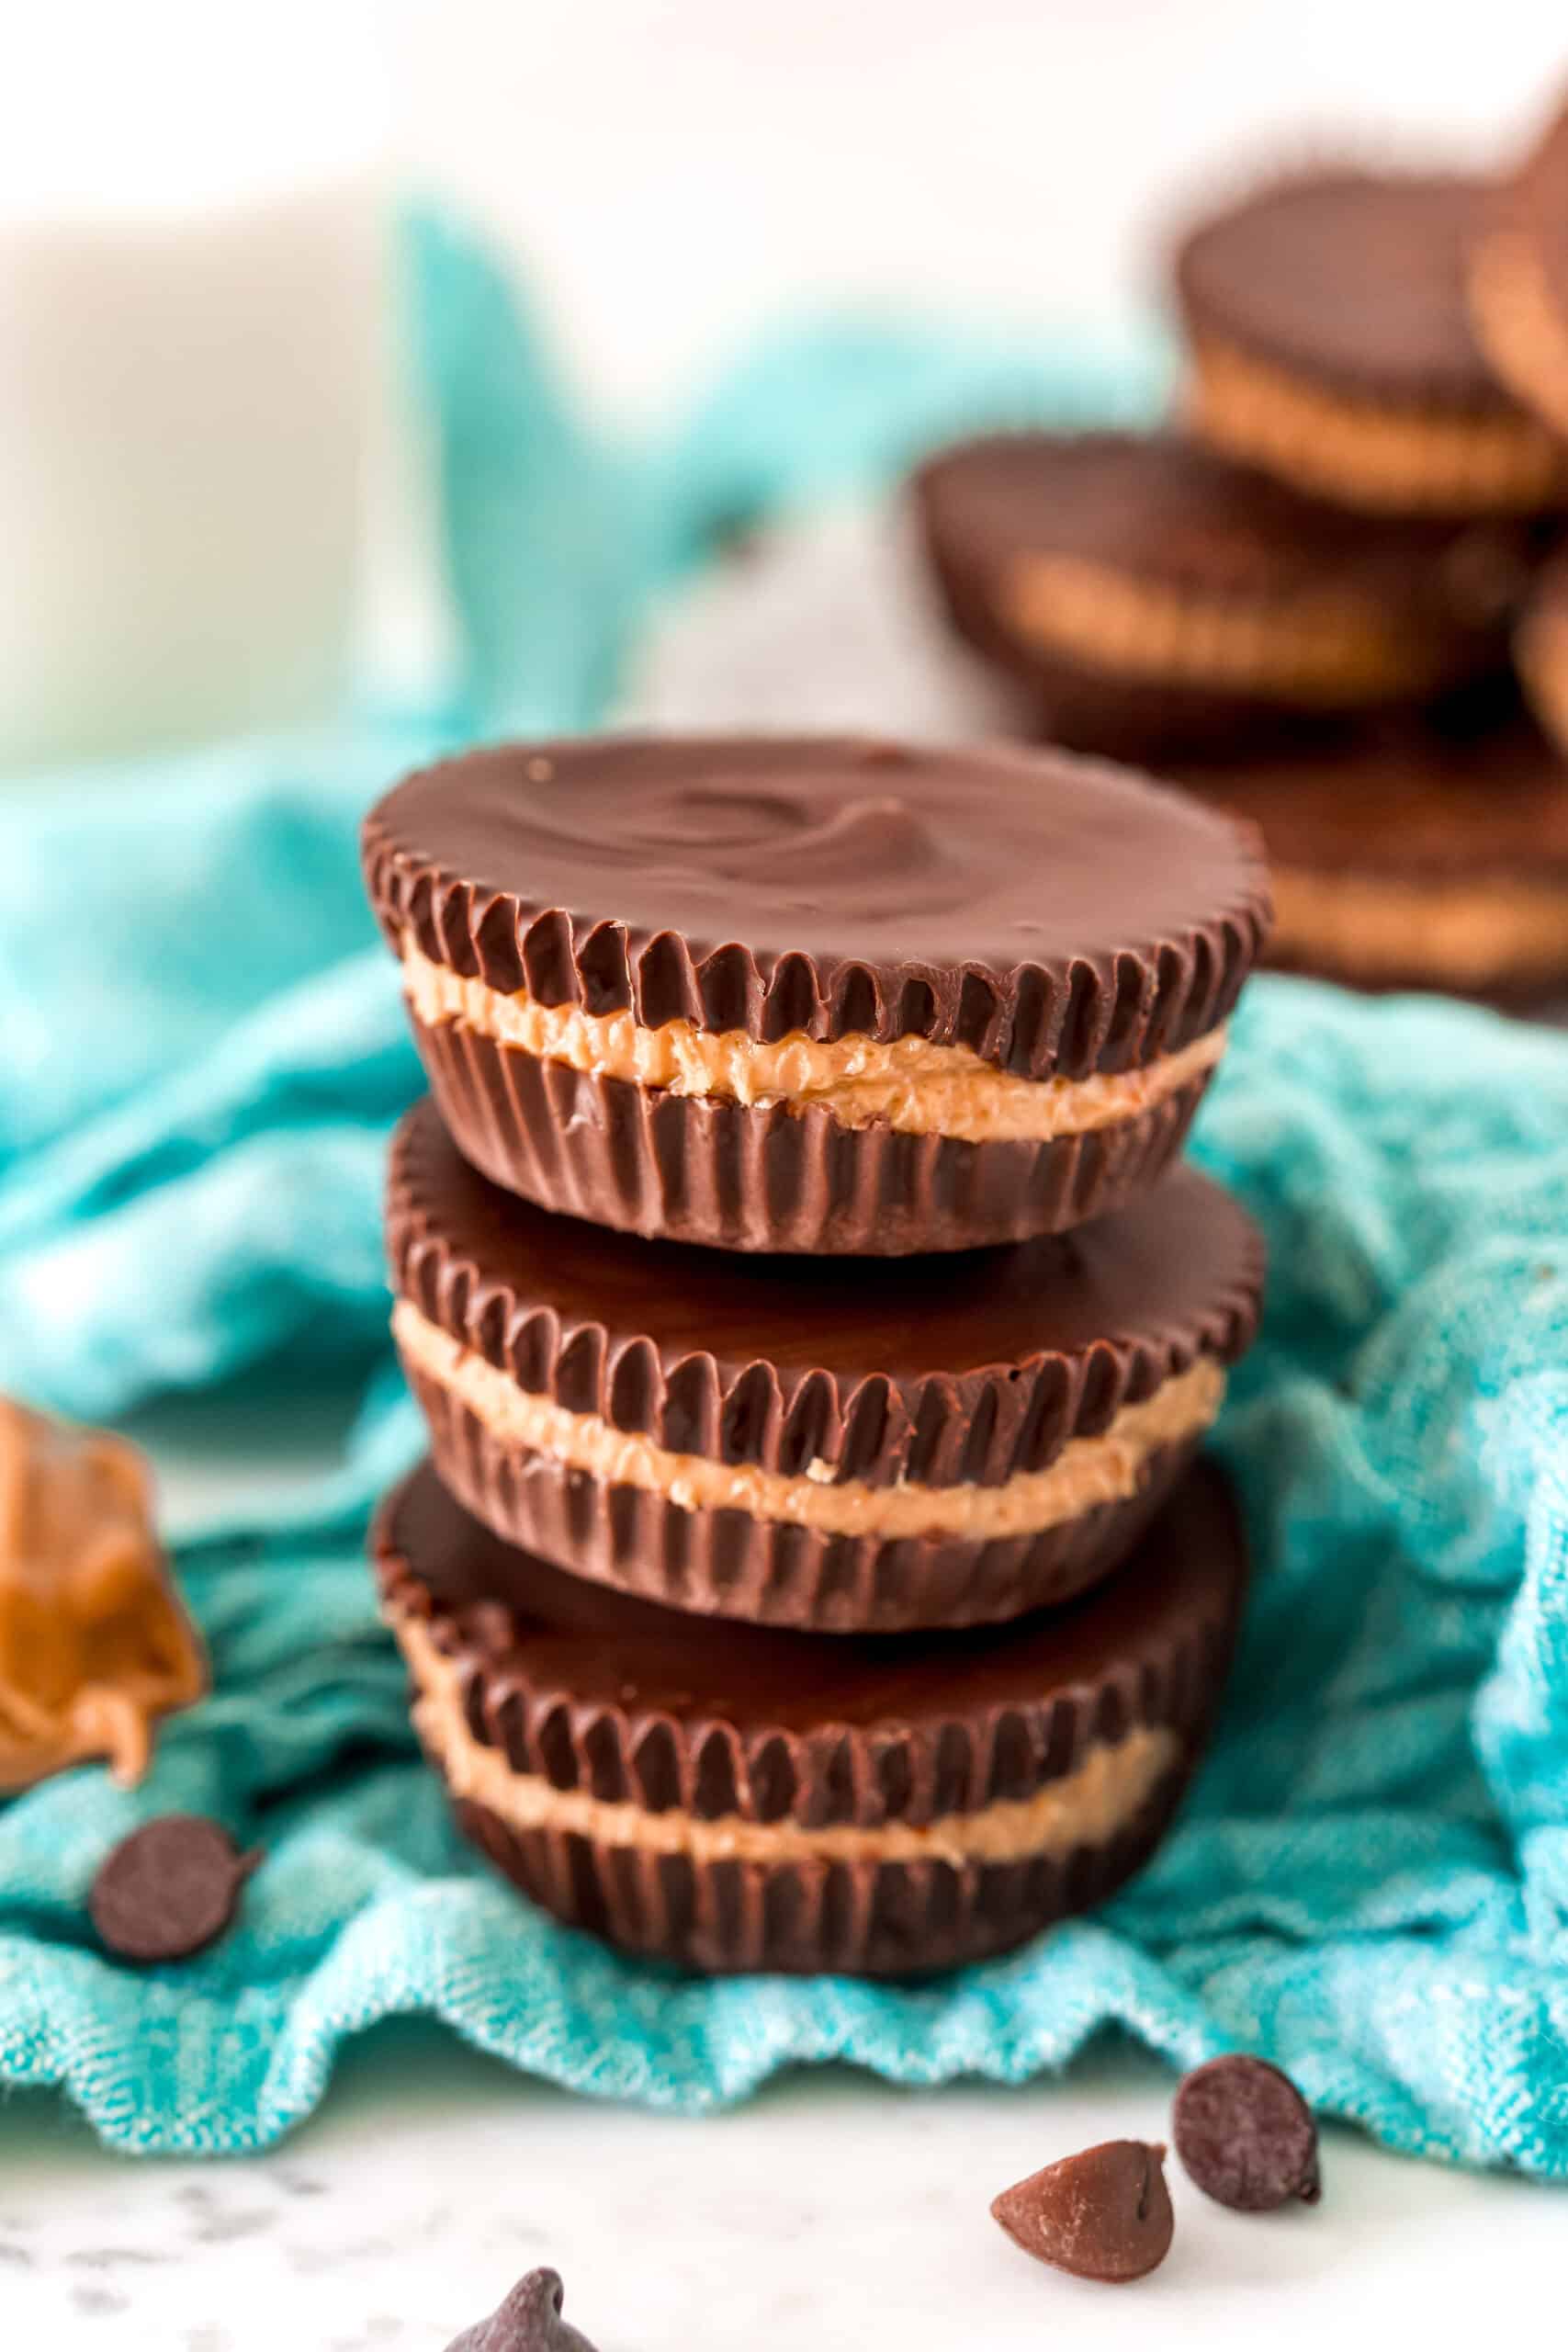
Add two teaspoons of melted chocolate to the bottom of each cupcake liner. Next, pipe the peanut butter mixture from the frosting bag on top of the chocolate. Top this layer with one more tablespoon of melted chocolate.
Chill.
Let the peanut butter cups set for one hour in the fridge before enjoying!
Recipe FAQs
I use the Ghirardelli melting wafers for my peanut butter cups. They stay a little softer after firming up so, just like traditional Reese’s, they are easy to bite into and melt in your mouth.
You could also substitute chocolate chips for the Ghirardelli chocolate wafers. The chocolate will just be a little harder after setting.
Use creamy peanut butter for this peanut butter cup recipe. I recommend the shelf-stable kind for best texture, as opposed to the natural kind where the oil separates.
Storage Tips
There are two ways you can store your batch of perfect homemade Reese’s cups: in the fridge or in the freezer.
To store in the fridge, transfer to an airtight container.
If you want to freeze them, place them in a freezer bag and squeeze out any excess air to maintain freshness. They’ll keep well in the freezer for as long as 6 months. That is, if you can somehow resist eating them all before then.
Tips and Tricks
- This recipe can also be made using a mini-muffin pan for bite sized treats. If you use a mini pan, I recommend putting just one teaspoon of melted chocolate on the bottom of the cups instead of two, and two teaspoons on top.
- Making these for a party, holiday or special occasion? Add sprinkles on top for a festive touch!
- Want something a little different? Try substituting almond butter or your other favorite nut butter for the peanut butter.
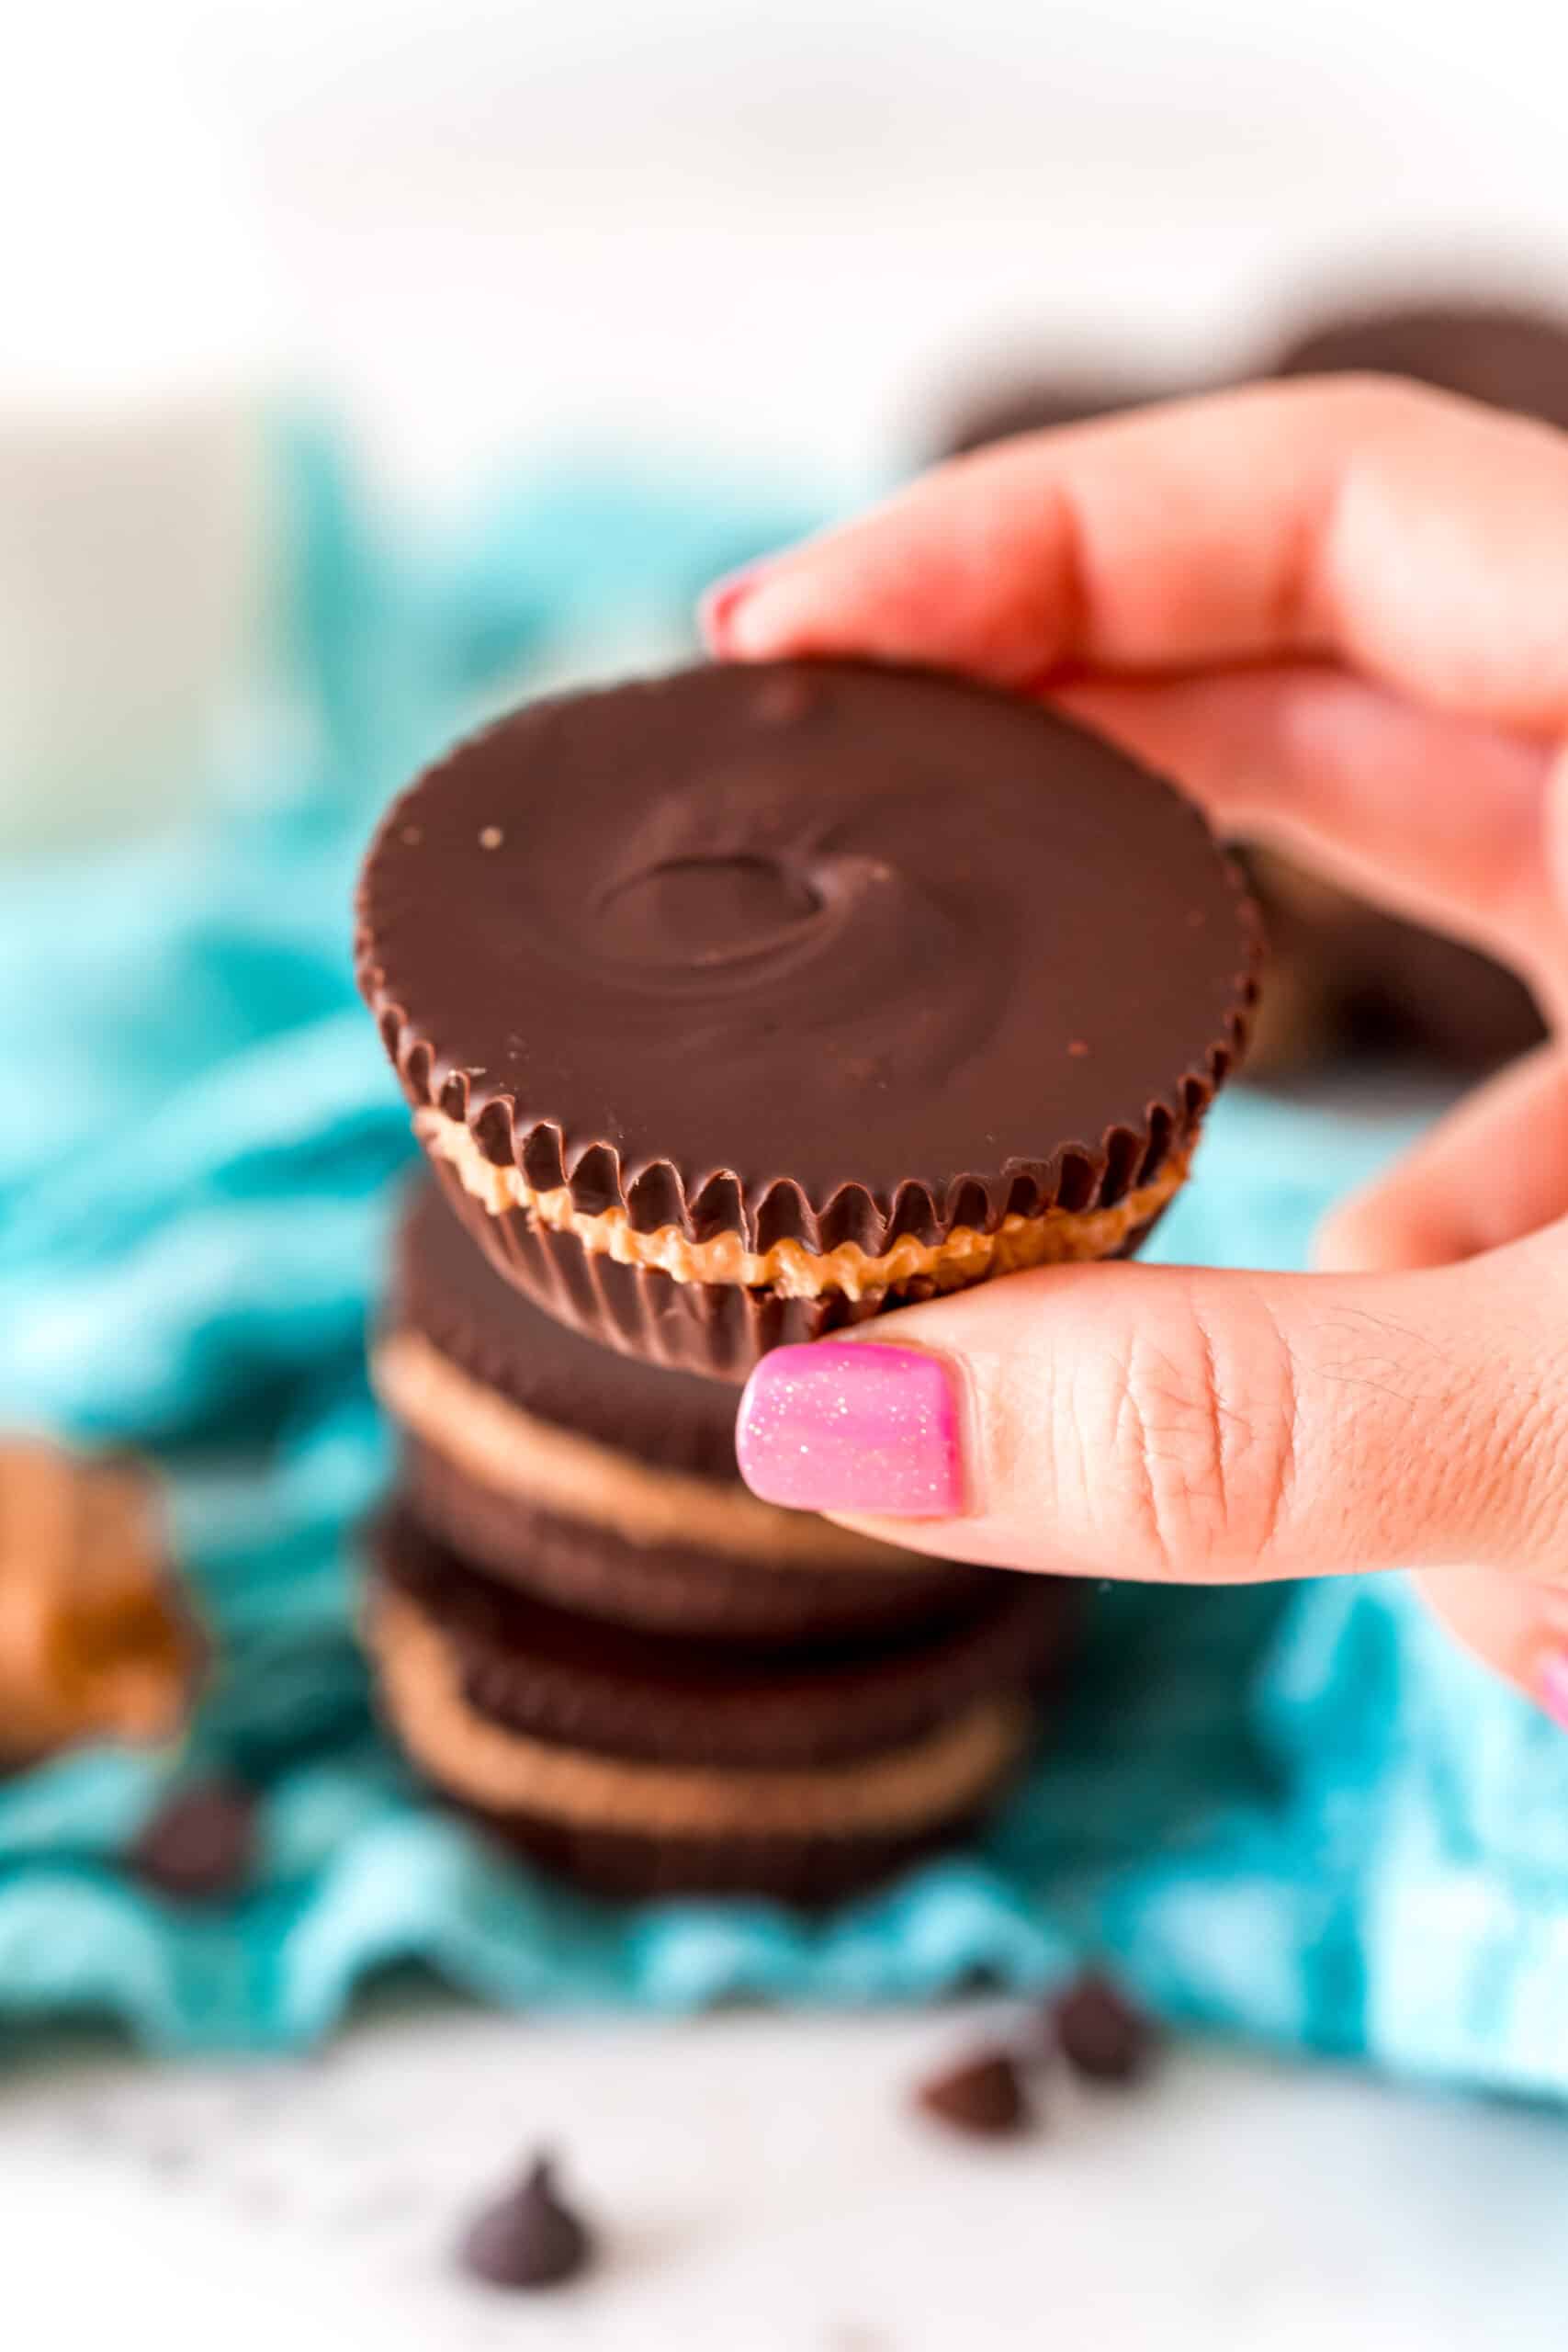
I’m so thrilled with how these turned out! Now that you know how easy (and scrumptious) homemade peanut butter cups are, you might never buy Reese’s from the store again.
(Except on Halloween. Gotta keep those trick-or-treaters happy.)
Just one more tip: Kids love these homemade Reese’s cups so make sure you hide a few in the back of the fridge just for yourself. Everyone needs to indulge in chocolate-peanut butter bliss from time to time. Enjoy!
More Homemade Candy Recipes
- Make this Cashew Brittle for a great sweet snack, any time of the day! Or try this homemade Peanut Butter Brittle recipe!
- Peanut butter lovers! Come check out this creamy Peanut Butter Fudge!
- These southern classic candies, Pralines, are sweet, crunchy and a great sweet treat!
- Christmas Crack lives up to its name! Name this deliciously dreamy dessert!
Pin this now to find it later
Pin It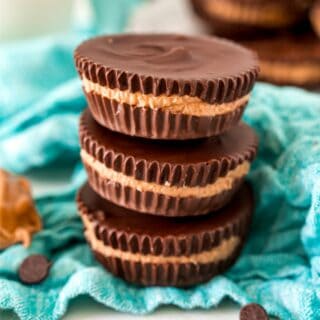
Peanut Butter Cups Recipe
Ingredients
- 1 cup creamy peanut butter
- ⅓ cup powdered sugar
- 1 teaspoon vanilla extract
- 2 ½ cups chocolate melting wafers
Instructions
- Line a cupcake pan with cupcake liners and set aside.
- In a medium bowl, mix together peanut butter, sugar, and vanilla until smooth.
- Transfer the peanut butter mixture to a pastry bag or ziploc bag with a small section of the corner cut off.
- Melt the chocolate melting wafers in a medium microwave-safe bowl for 30-second intervals, stirring between each one, until fully melted.
- Add 2 teaspoons of melted chocolate to the bottom of each liner.
- Pipe the peanut butter mixture on top of the chocolate.
- Top the peanut butter with 1 tablespoon of melted chocolate.
- Place in the refrigerator for about 1 hour to set.
- Remove and enjoy.
Notes
- I love using Ghirardelli melting wafers, however, you can use chocolate chips instead. I find the melting wafers are a little softer after hardening and therefore a little easier to eat.
- Could also be made in a mini cupcake pan – I would recommend 1 teaspoon of chocolate on the bottom and 2 teaspoons on top.
- Store in the refrigerator in an air-tight container.
- Freeze in a freezer bag with excess air squeezed out for up to 6 months.
- Add sprinkles for parties and holidays.

How do you measure .67 cup powdered sugar?
That is 2/3 cup.
THANK You FOR Sharing 👍🏼👏🏼♥️❗️Our Grandkids FAVORITE 😊 G-d♥️Bless😊
Nice
wow i like this recipe. thanks for always sharing me your yummy recipes . God bless you and stay safe always. . .