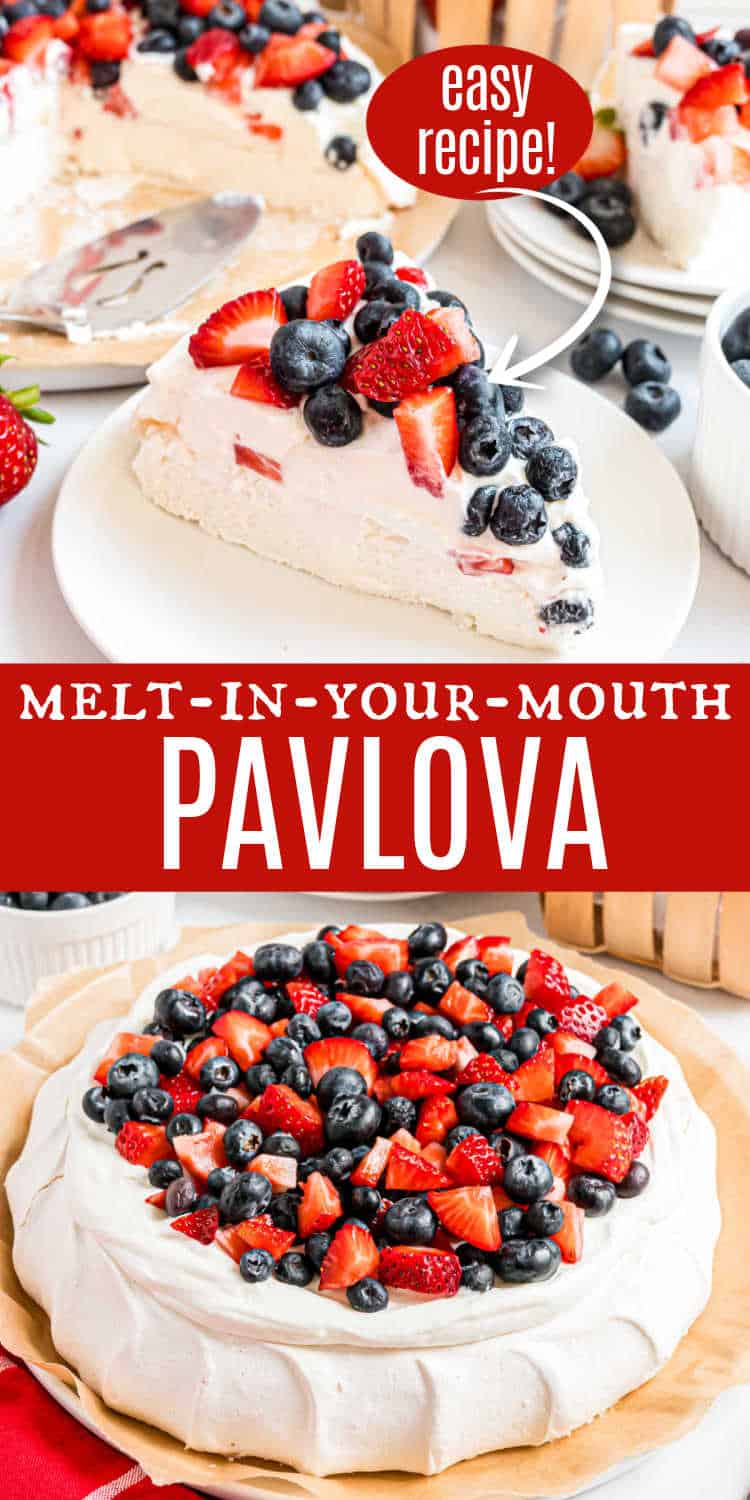
Melt-in-your-mouth Pavlova is a baked meringue topped with whipped cream and fresh berries. Imagine a soft, chewy center with a crispy, crunchy exterior.
Thanks to the show “Bluey”, my granddaughter has been asking me to make Pavlova. This was her 3rd birthday cake, and she loved it (as did the whole family).
Aimee’s Recipe Notes

Taste & Texture: Chewy center with crunchy meringue exterior.
Flavor: Use flavored extracts to change the flavor of your pavlova recipe. Swap out the vanilla extract for orange, lemon, peppermint, etc.
Color: Use a drop or two of gel food coloring to change the color of your pavlova. I prefer gel because it doesn’t add extra liquid to the recipe.
Serving Suggestions: Homemade whipped cream and berries is a classic topping for pavlova. I also love lemon curd, fresh mint, coconut, and toasted pecans too.
Top Tip: Don’t make this on a humid day. Like meringue cookies, you need to pay attention to the weather. I like to keep my pavlova stored in the oven, while it is turned off. The oven stays dry and the pavlova keeps it’s crunch.
Pavlova Ingredients
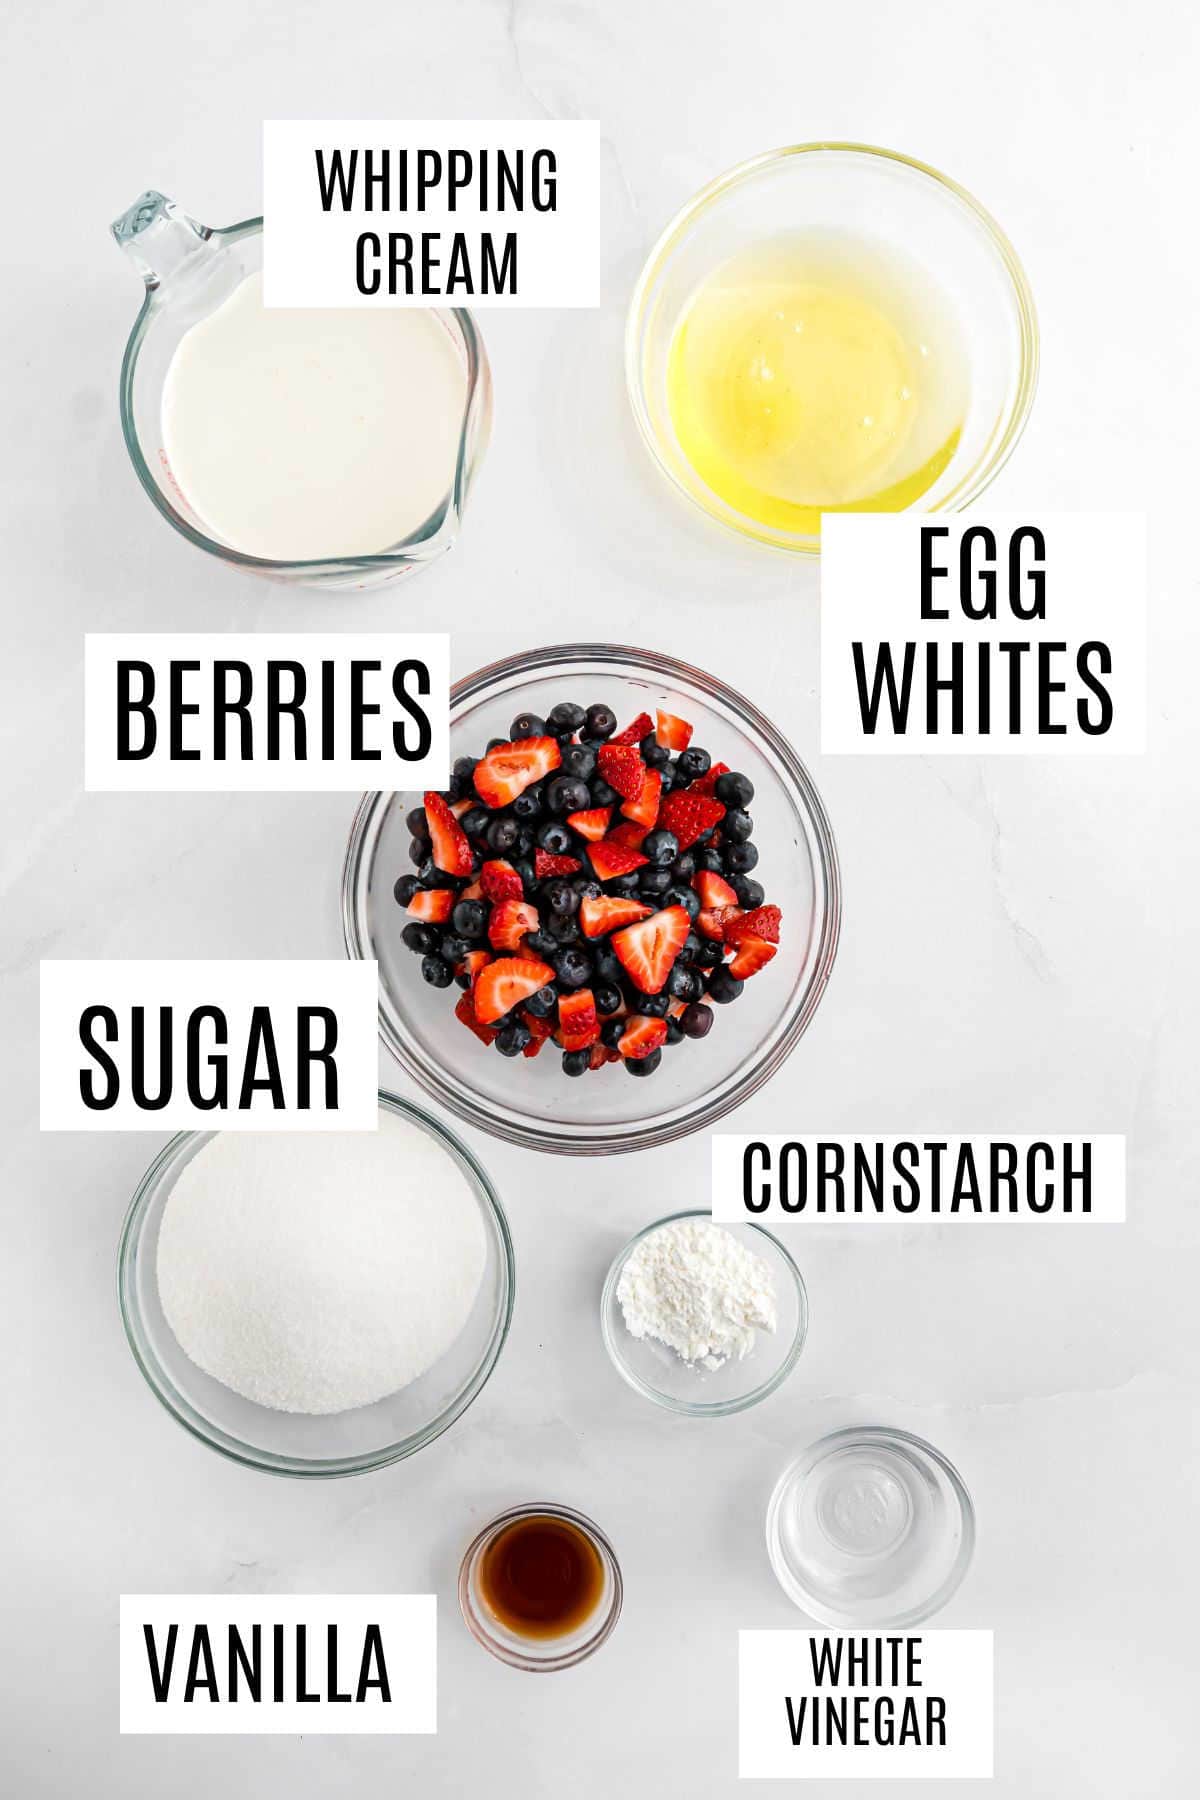
Be sure to scroll down to the recipe card for full measurements.
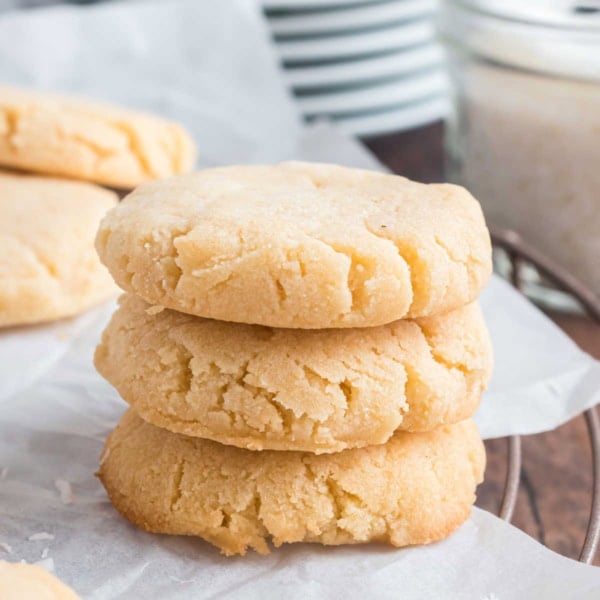
- Egg Whites- It is easier to separate the egg while it is cold. Allow the egg white to come to room temperature while the oven preheats. Save the egg yolks to make my drop sugar cookies!
- White Vinegar- Vinegar in meringues (and pavlova) helps stabilize the egg whites, leading to a thicker, glossier, and more stable meringue. The vinegar also prevents overbeating, making the meringue a little more forgiving so you don’t deflate it,
- Cornstarch- Absorbs a bit of the moisture, allowing the meringue to stay crisp on the outside and chewy on the inside. Cornstarch also helps hold the shape of the meringue, preventing it from cracking and collapsing during baking.
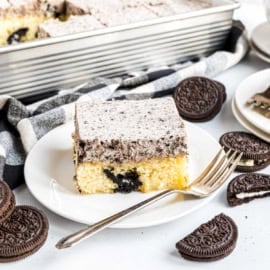
Be sure to try my chocolate pavlova for the same crispy texture, with a fudgy chewy center.
How to Make Pavlova

Make the meringue.
- Use a clean, DRY bowl for beating meringue. Be sure to beat until stiff peaks form (this can take up to 5 minutes, depending on the mixer you use).
- Shape meringue into an 8 or 9-inch circle on a piece of parchment paper. Use an offset spatula to help create a “hole” in the center while bringing the sides of higher.

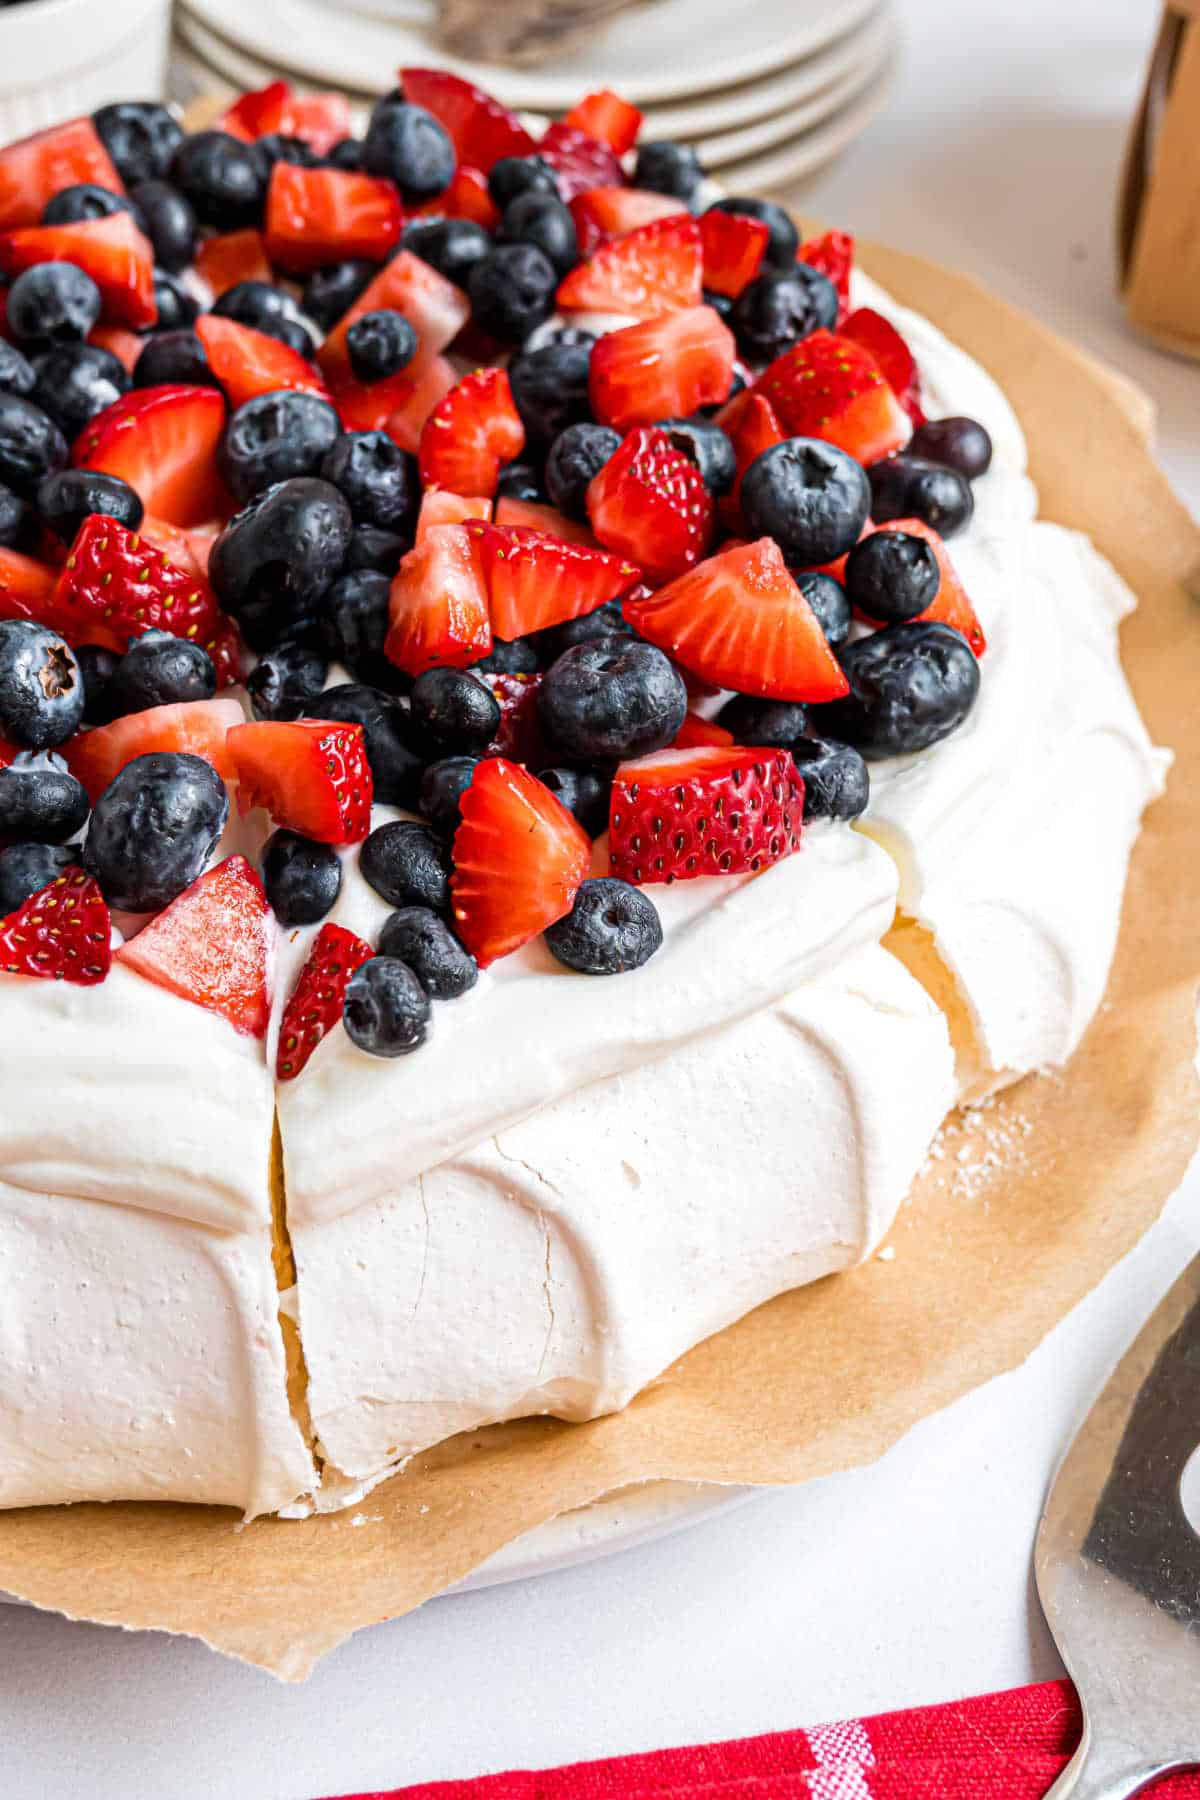
Add the topping.
- Make homemade whipped cream (or homemade cool whip) to go on top. You could also buy Cool Whip if you prefer.
- Spread over the top of the cooled pavlova. Add berries, slice, and serve.
Easy Dessert Recipes
Pin this now to find it later
Pin It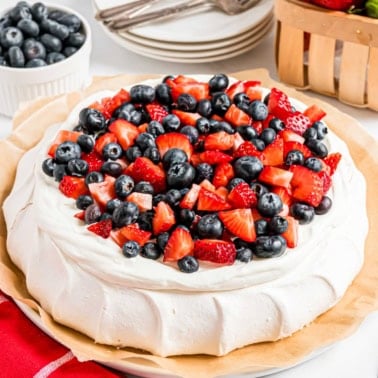
Pavlova Recipe
Ingredients
- 4 large egg whites, room temperature
- 1 Tablespoon white vinegar
- 1 Tablespoon cornstarch
- 1 cup granulated sugar
- 1 teaspoon pure vanilla extract
- 2 cups whipped cream, for the topping
- 2 cups diced berries, for the topping
Instructions
- Preheat oven to 350 degrees. Line a baking sheet with parchment paper and set it aside.
- In a clean, dry mixing bowl, whisk the egg whites for 30 seconds until frothy (I use an electric mixer with whisk attachment).
- Add in vinegar and cornstarch and whisk on medium high speed for one minute. While beating, slowly add in the sugar in a steady stream, as well as the vanilla extract (and food coloring if desired, see notes below).
- Beat mixture for 3-4 minutes, until stiff peaks form.
- Spoon meringue onto parchment paper and form an 8-9 inch circle. Using an offset spatula, smooth edges as desired and form a divet in the center while making the sides of the pavlova a little higher.
- Slide pavlova into the preheated oven and IMMEDIATELY lower the temperature to 200 degrees F. Bake for 80 minutes.
- DO NOT OPEN the oven. Turn the oven off and leave the pavlova in the oven for 4 hours, or longer, until ready to serve.
Notes
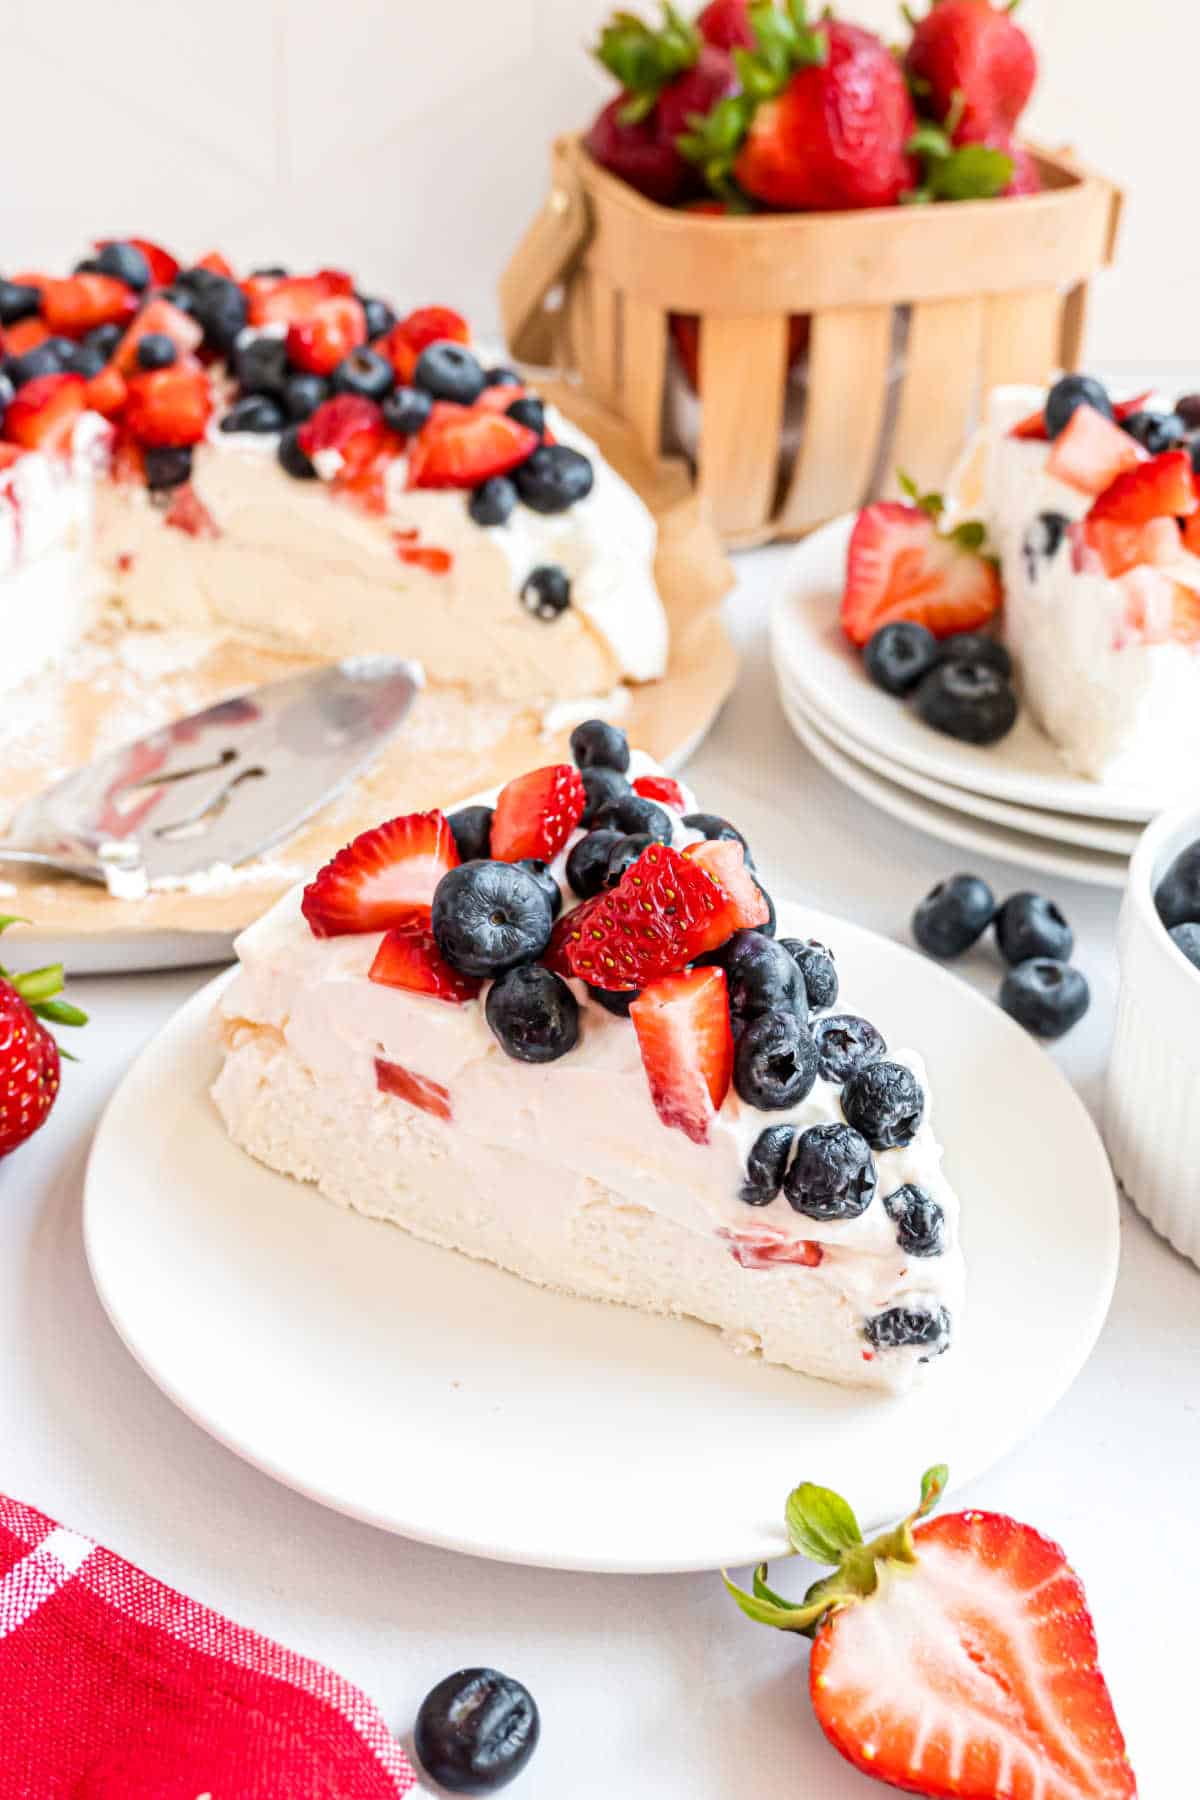
- Cool whip or whipped cream can be used for the topping! Add when you are ready to serve, either on each slice, or the whole cake.
- I use a variety of diced berries. I like diced strawberries with a handful of blueberries on this sweet dessert.
- Vanilla Extract– I love my homemade vanilla extract, but you can swap out the flavor for lemon extract, maple extract, or almond extract.
- Lemon Curd- my homemade lemon curd is a delicious addition to pavlova. Either spread it on before the whipped cream, or skip the whipped cream and just enjoy the lemon!
- Storage- keep pavlova in an airtight container at room temperature for up to 2 days. If you already added the whipped cream, store in refrigerator and eat within 24 hours for best texture.
- Top Tip: I like to keep my pavlova on the cookie sheet in my oven (with the oven off) until ready to serve. Humidity is meringues enemy, the oven is dry! This is great to make the night before and leave in the oven overnight.
- Gel food coloring. My granddaughter wanted pink pavlova. I added about 3 drops of pink gel food coloring during step 3, to achieve the best color.


Your granddaughter sounds adorable!