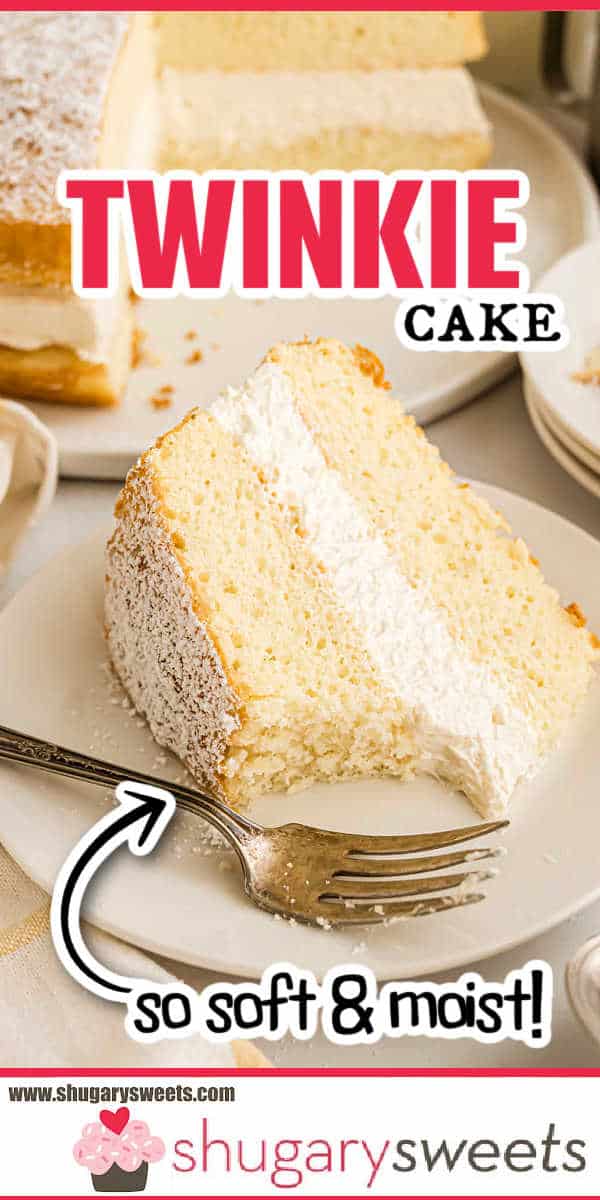
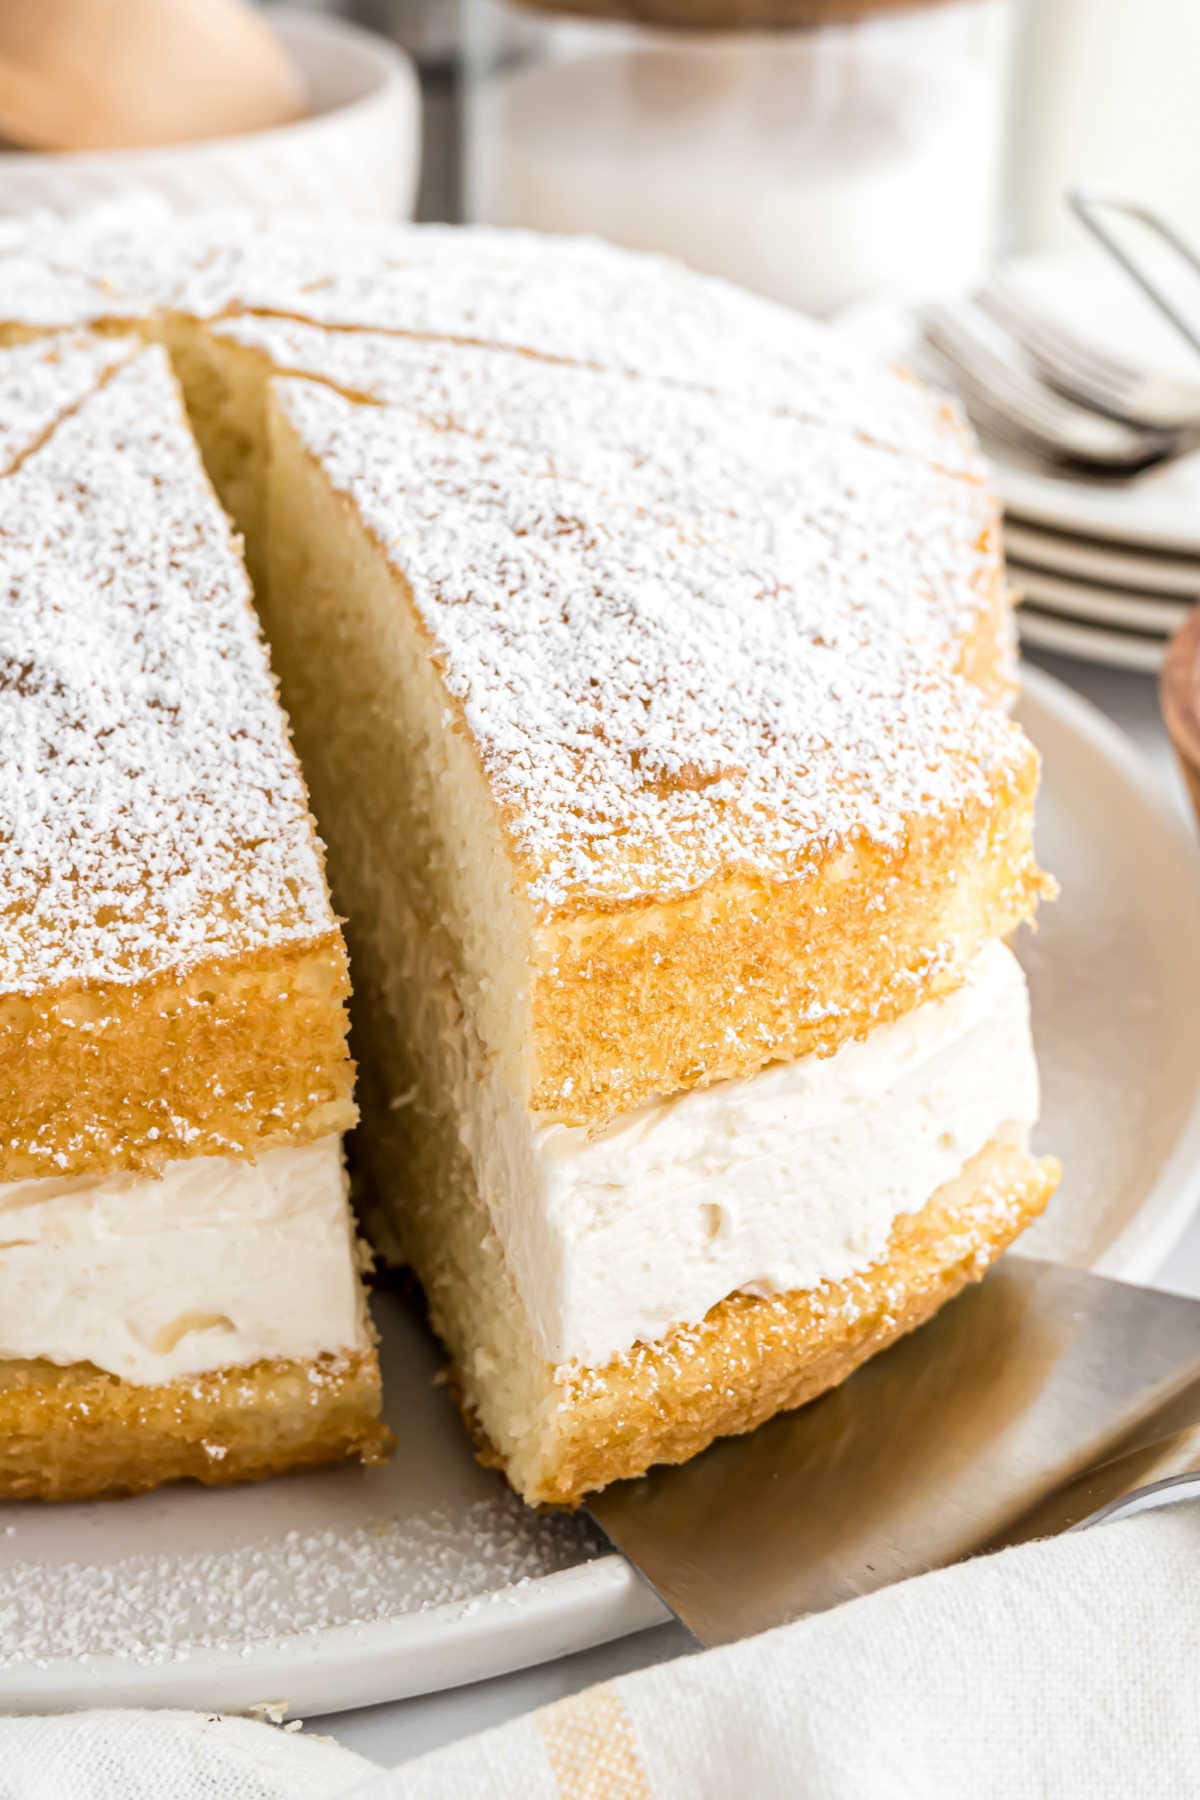
A delicious, easy, copycat Twinkie Cake recipe with layers of yellow cake and sweet whipped cream. You’ll love this not-too-sweet cake inspired by the classic snack!
This recipe was so easy to put together, looked pretty and was delicious. Definitely on my repeat list–thank you!
– michelle
This recipe was originally published in September 2018. I updated the recipe notes and published new photos in August 2025.
Aimee’s Recipe Notes

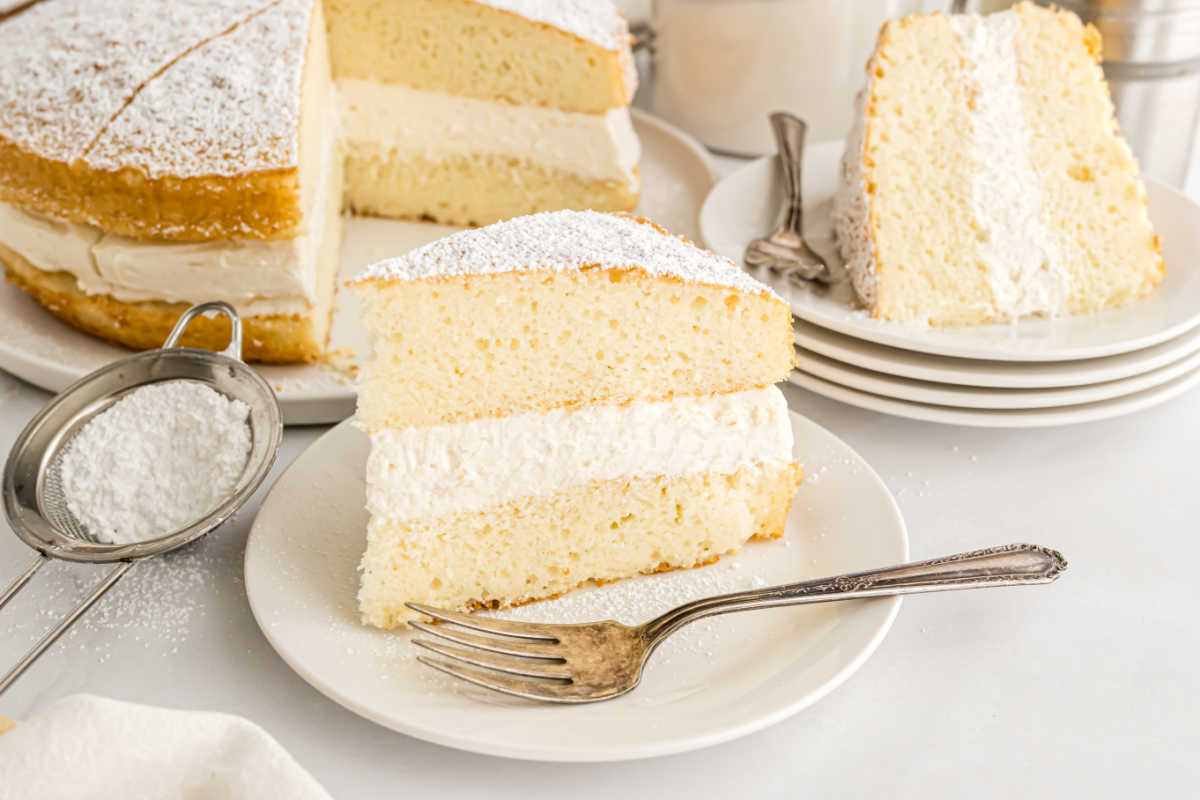
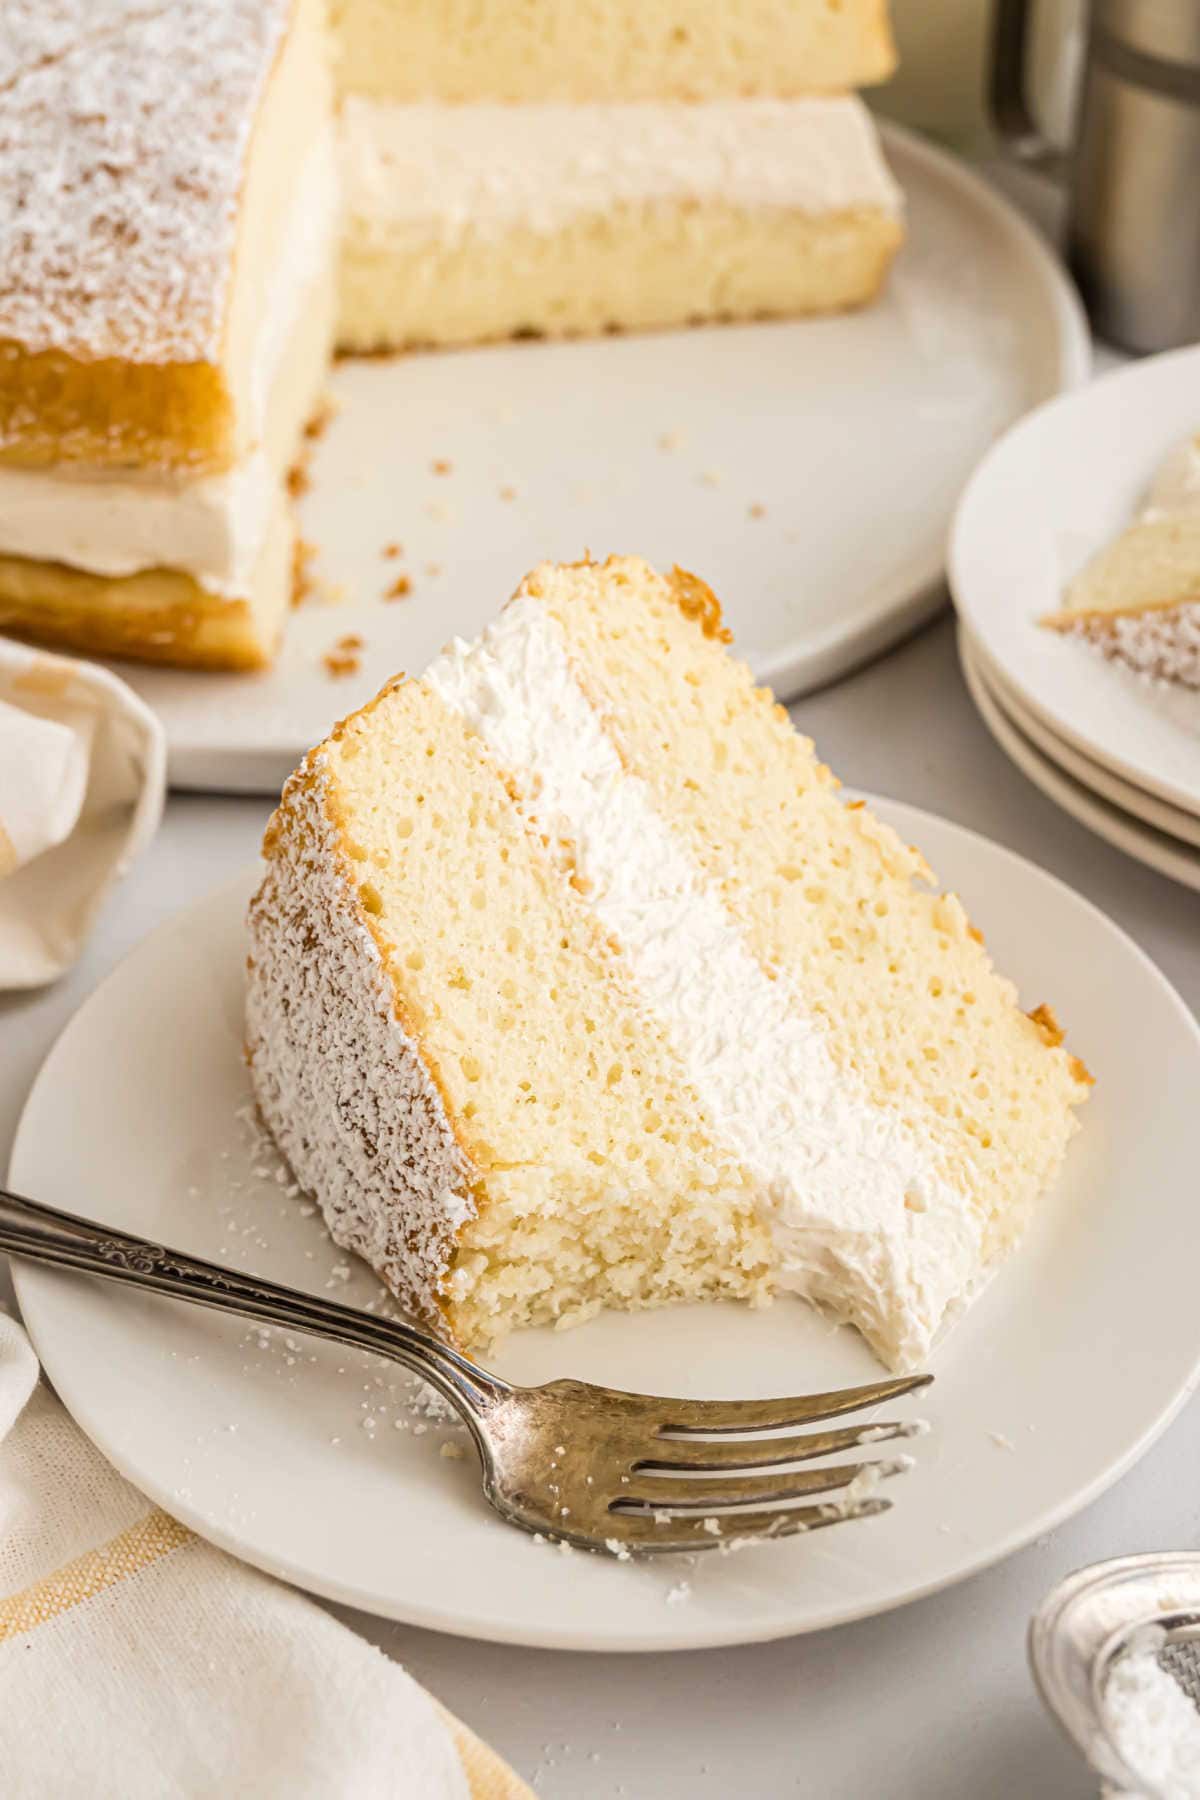
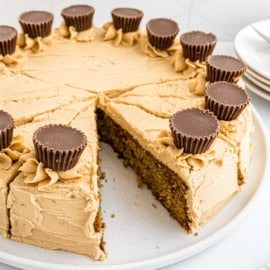
Taste & Texture: Soft yellow cake with a light and fluffy vanilla cream filling. Just like the center of a Twinkie!
Sweetness: Unlike most Hostess treats and copycat cakes, mine has just the right amount of sweetness without being cloyingly sugary.
Ease: You’ll love that this starts with a cake mix. And it’s topped with powdered sugar instead of frosting making it even easier!
Make it Chocolate: If you love copycat desserts, my Ding Dong Cake is a delicious option for the chocolate lover!
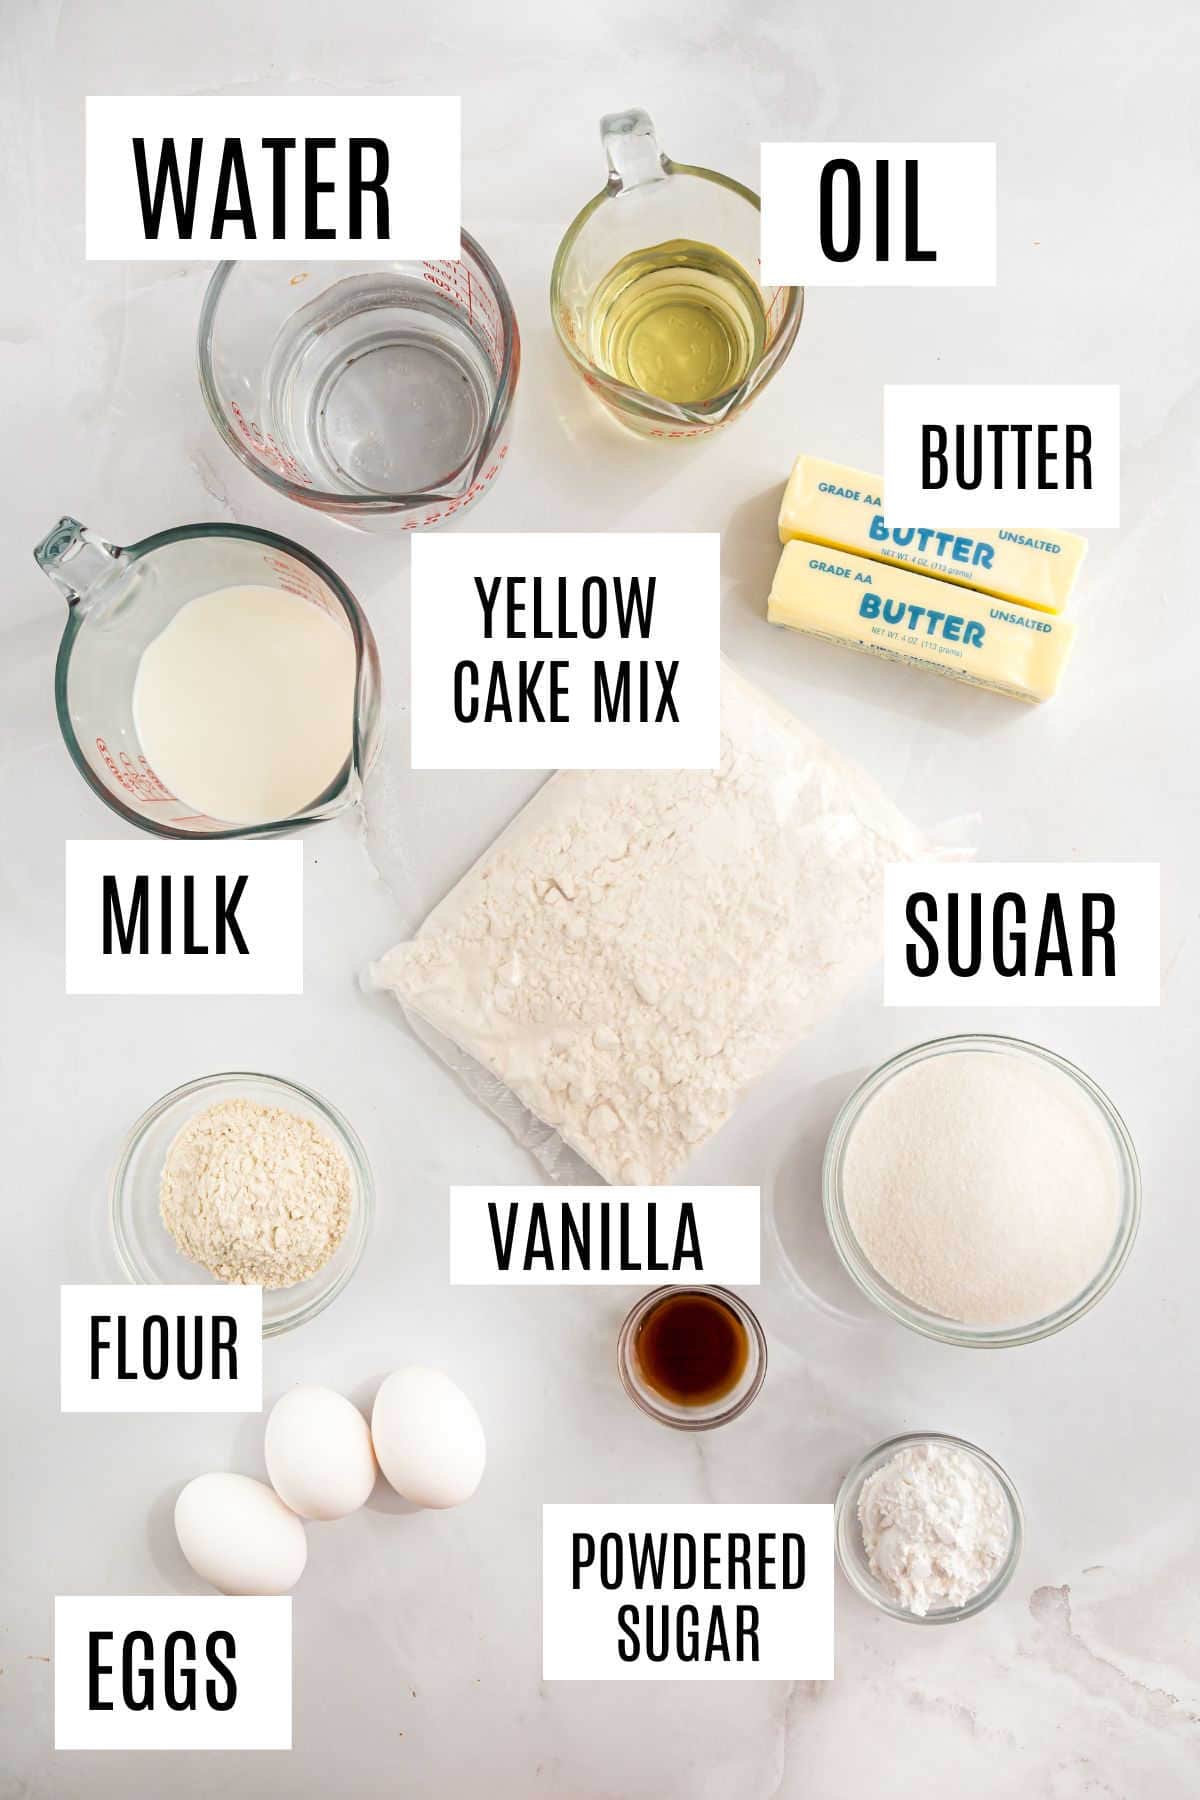
What You’ll Need
Be sure to scroll down to the recipe card for the full list of recipe ingredients and measurements.
- Yellow Cake – Grab a boxed mix and prepare it according to package directions. Or make this yellow cake recipe from scratch!
- Milk – Use skim, fat free, whole or whatever you have on hand. This becomes the base liquid for the cream filling.
- All purpose flour – Dissolved into the milk to thicken it to a pudding-like consistency.
- Vanilla – For flavoring the cream. My instant pot vanilla extract tastes amazing in this Twinkie cake.
- Butter and sugar- Beaten together to add richness, sweetness and texture to the cream filling.
- Powdered sugar – For dusting over the assembled Twinkie layer cake.
How to Make a Twinkie Cake
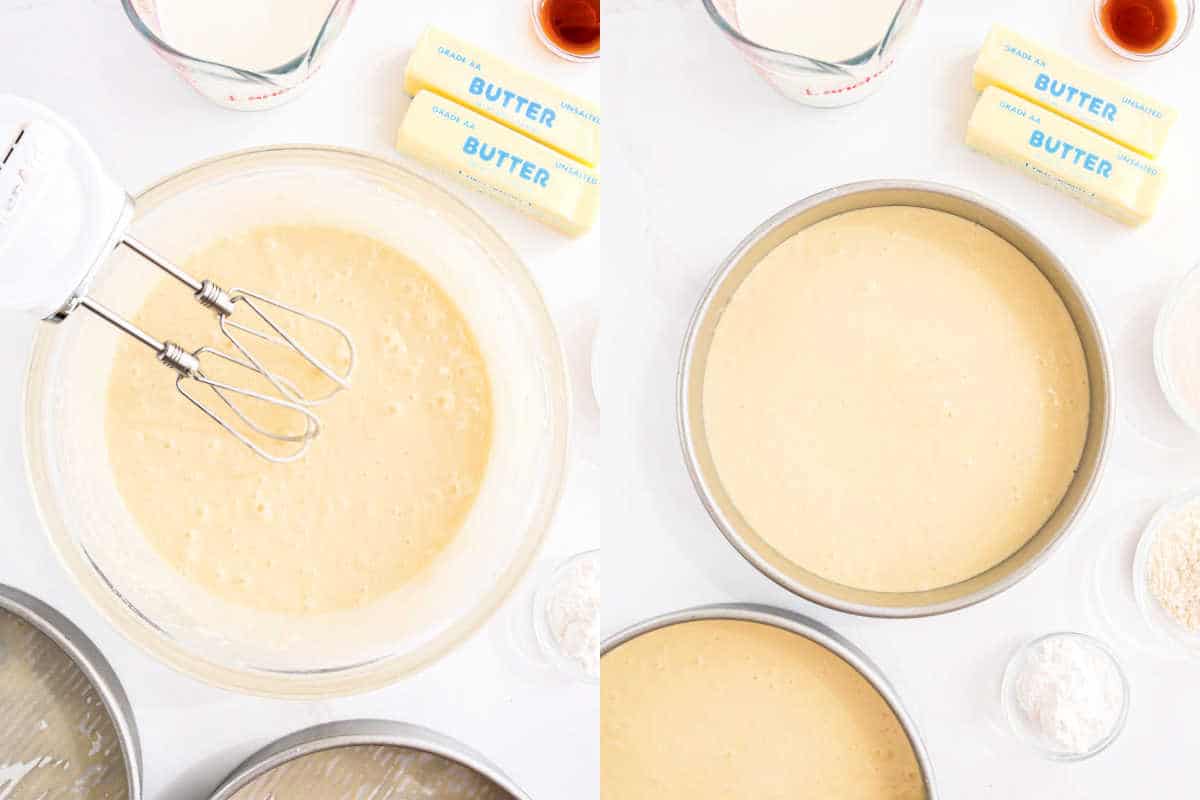
In a large bowl with a mixer, make the yellow cake according to the package directions.
Divide the batter in two 9-inch round cake pans. Bake and cool completely.
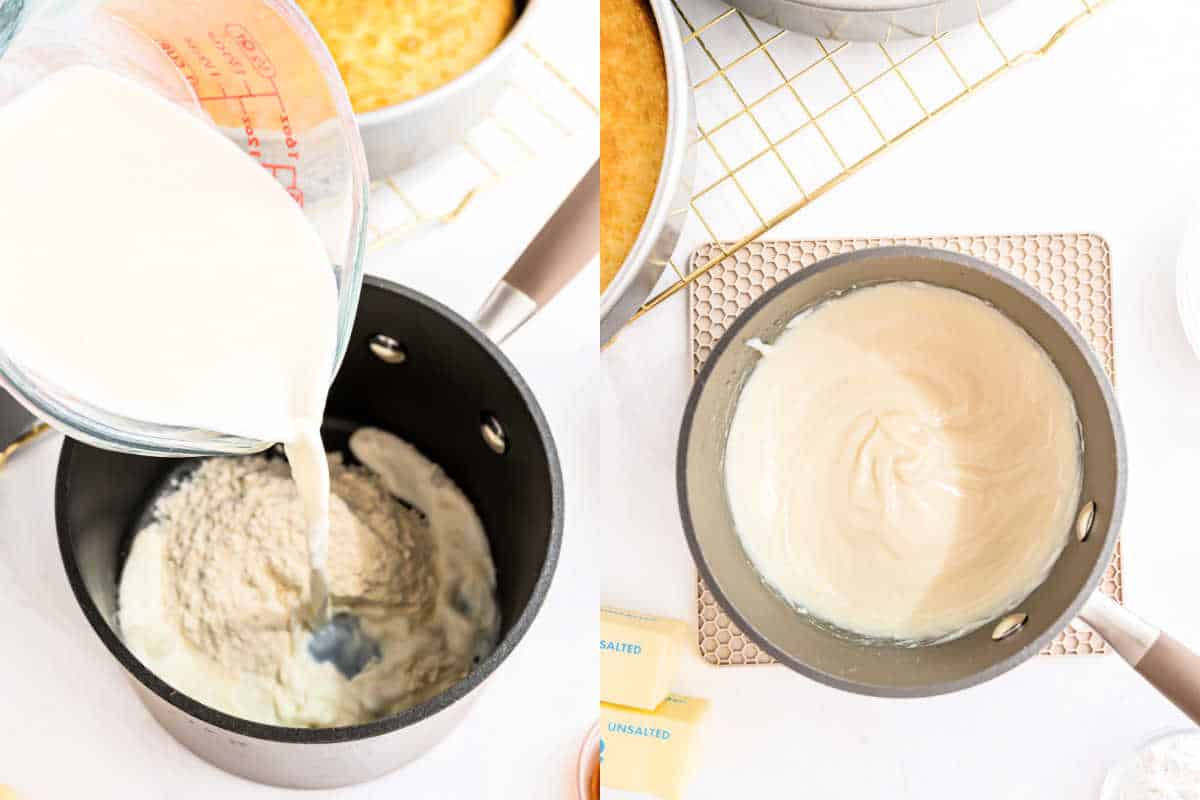
Make the filling. Sometimes referred to as “ermine frosting” or “boiled milk frosting.” Basically it’s a thick pudding like buttercream.
Once you have whisked the flour and milk and allowed it to thicken, add vanilla and let it cool completely.

Make the frosting and assemble the cake. Beat butter and sugar together, then add in the cooled milk mixture.
Add ALL the filling to the top of the first layer of cake. Place the top cake layer over the frosting and sprinkle with powdered sugar.
Tips and Tricks
- Bake the yellow cake in two 9-inch layer pans. Remember to line the bottom of your pans with a layer of parchment paper and baking spray. Or use my homemade cake release instead!
- I use Wilton Bake Even strips for the cake layers. These little strips ensure the layers stay even on both sides while baking, creating a perfect appearance and great taste.
- Let the milk and flour mixture cool completely before adding it to the butter and cream. Keep beating until it becomes the texture of fluffy whipped cream.
- Use a sifter or confectioner’s sugar duster to add the powdered sugar to the top of the cake for a smooth appearance and consistency.
More Cake Recipes
- Whether you love a classic yellow cake recipe for your dessert, or just a simple chocolate cupcake, you’ve come to the right place!
- I’ve made Copycat Hostess Cupcakes, copycat Lofthouse Cookies and so many more. These Oatmeal Cream Pies inspired by the Little Debbie version are a personal favorite.
- Try my copycat Hostess Snowball Cake recipe for a tasty chocolate coconut treat.
- Love Hostess desserts? My raspberry zinger cake gets the best reviews and tastes better than the original snack cakes!
Pin this now to find it later
Pin It
Twinkie Cake Recipe
Ingredients
For the cake:
- 1 box yellow cake mix for 2 9-inch pans [(or this homemade yellow cake recipe)]
For the filling:
- 5 Tablespoons all-purpose flour
- 1 cup milk
- 1 teaspoon vanilla extract
- 1 cup unsalted butter softened
- 1 cup granulated sugar
- 2 Tablespoons powdered sugar for garnish
Instructions
- For the cake, prepare yellow cake according to package directions (for 2 9-inch layer cake pans). Cool completely.
- In a small saucepan, combine the flour with milk, whisking until lumps removed. Turn on medium heat and continue to whisk until mixture becomes thick, like a pudding.
- Remove from heat and stir in vanilla. Cool completely.
- In a mixing bowl, combine butter and sugar, beat until light and fluffy (about 4 minutes). Slowly add in the COOLED milk mixture, beating until combined. It may curdle slightly in the beginning, that’s okay, keep beating until it becomes the texture of whipped cream!
- Place first layer of cooled cake on a cake plate. Top it with ALL of the cream filling. Add the second layer of cake on top.
- Sprinkle generously with powdered sugar. Slice and enjoy!
Notes
- Bake the yellow cake in two 9-inch layer pans. Remember to line the bottom of your pans with a layer of parchment paper and baking spray. Or use my homemade cake release instead!
- I use Wilton Bake Even strips for the cake layers. These little strips ensure the layers stay even on both sides while baking, creating a perfect appearance and great taste.
- Let the milk and flour mixture cool completely before adding it to the butter and cream. Keep beating until it becomes the texture of fluffy whipped cream.
- Use a sifter or confectioner’s sugar duster to add the powdered sugar to the top of the cake for a smooth appearance and consistency.


I’ve made this icing for years with some tricks and improvements. You say birthday cake a as nd my family responds red velvet with white icing
Make the flour mixture ahead — even day before. Refrigerate with plastic wrap sealing the top so that a skin does not form.
Butter will make your icing yellow. Use white Crisco.
Use clear vanilla.
For a four layer cake split the 2 layers. Double the icing.
For red velvet cake, I freeze the layers after they have cooled. Seal with simple syrup .
Do you realize Crisco shortening is made from soy bean oil nowadays?
Hi where is the homemade cake recipe? It’s not a link?
If you’re in the comment section you’ve gone too far. Scroll on up for the recipe.
Absolutely wonderful recipe. I used mini loaf pants so they looked more like Twinkies. Everybody in my neighborhood loves them. I will be making this recipe more often. Just wondered if it can be frozen after it filled
Can you make cup cakes from this recipe? I work in a day care and thought cup cakes are better. I know they all like Twinkies.
Can I make this filling ahead and refrigerate for a couple of days, then bring to room temperature before spreading?
Hi Aimee and thanks for this recipe! I’m thinking of using this cream between 4 layers of a 10″ chocolate cake with buttercream frosting. On top will be 8″ graduation cap. Do you think it can handle this many layers without squishing out? What do you think about the buttercream and this cream together?
I made this cake years ago and everyone loved it. Thank you so much for reminding me how easy and delicious this cake tastes. I also use it for filling in cupcakes and they are amazing.
This cake was so easy to put together, looked very pretty and got rave reviews from my friends. Definitely on my repeat list–thank you!
This recipe was so easy to put together, looked pretty and was delicious. Definitely on my repeat list–thank you!
Do you think it would be okay to use a Butter Recipe Yellow Cake mix? That’s all I have. This cake looks really good and my husband and son both love Twinkies!
This couldn’t look any more perfect!
I would completely and utterly inhale this cake. Looks so delicious.
Oh my goodness! This is so fun! I bet it tastes great too!
That filling looks absolutely amazing! And I love bake even strips: those are seriously a game changer. Thanks, Aimee!
Twinkies are my kids favorite and I know they’ll be obsessed with this cake!!
OH MY this looks amazing!! Need to try ASAP!