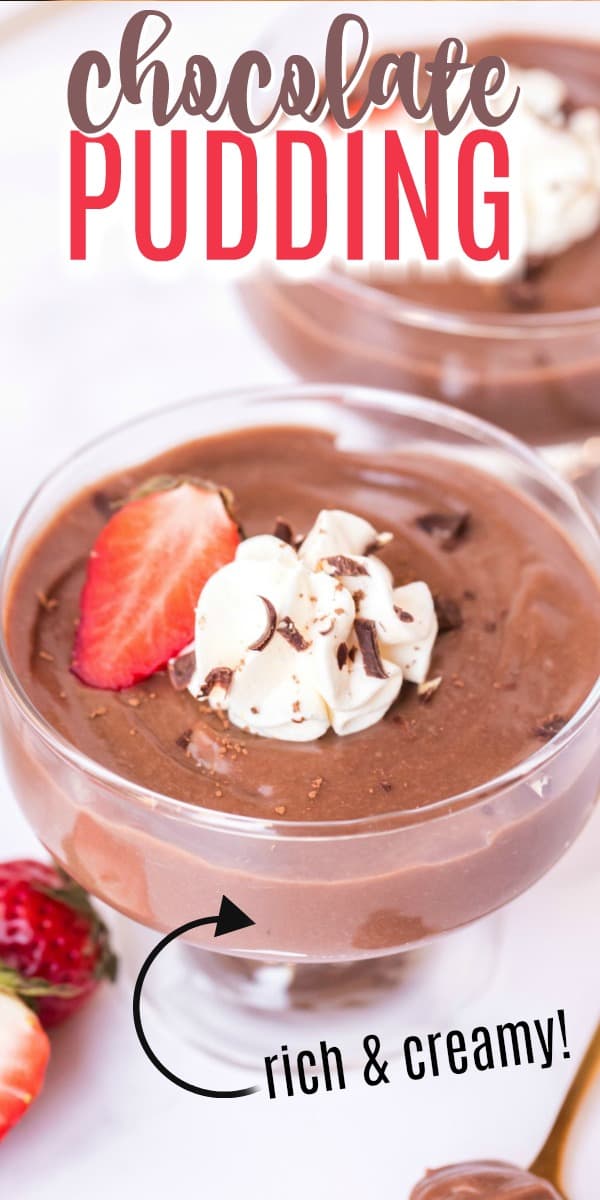
The classic Chocolate Pudding you loved as a kid tastes even better when it’s homemade! This Chocolate Pudding recipe creates a thick and creamy pudding with a silky finish.
Use this easy pudding in my layered brownie trifle! You’ll love the fudgy flavors in one simple treat.
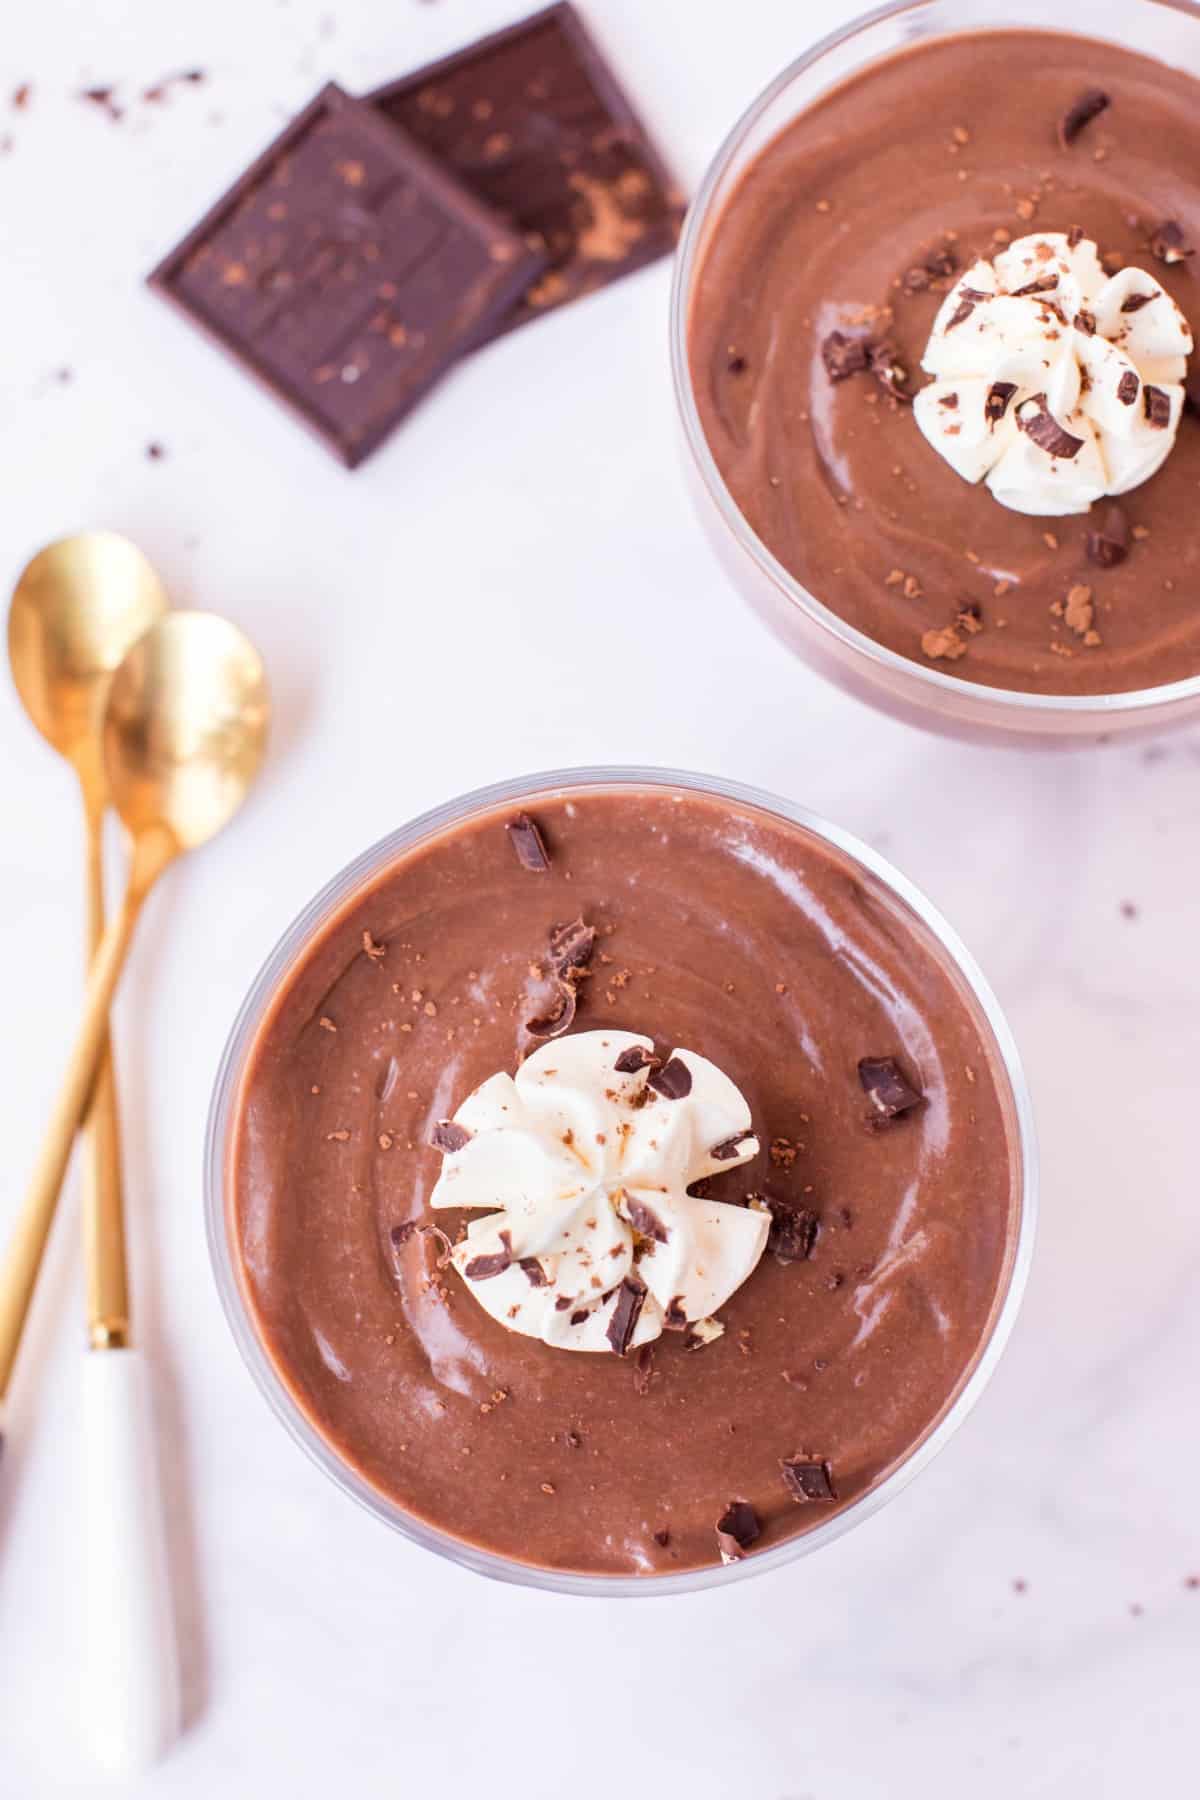
Easy Homemade Chocolate Pudding
Sometimes the simplest treats are the best and I can’t imagine anything more simply satisfying than a bowl of chocolate pudding.
Did you grow up eating those cups of chocolate pudding? I used to love scraping the sides with a spoon, getting every last drop of smooth chocolate out of the crevices.
As good as those chocolate pudding cups tasted as a kid, they’re nothing compared to the rich and creamy taste of this homemade chocolate pudding recipe.
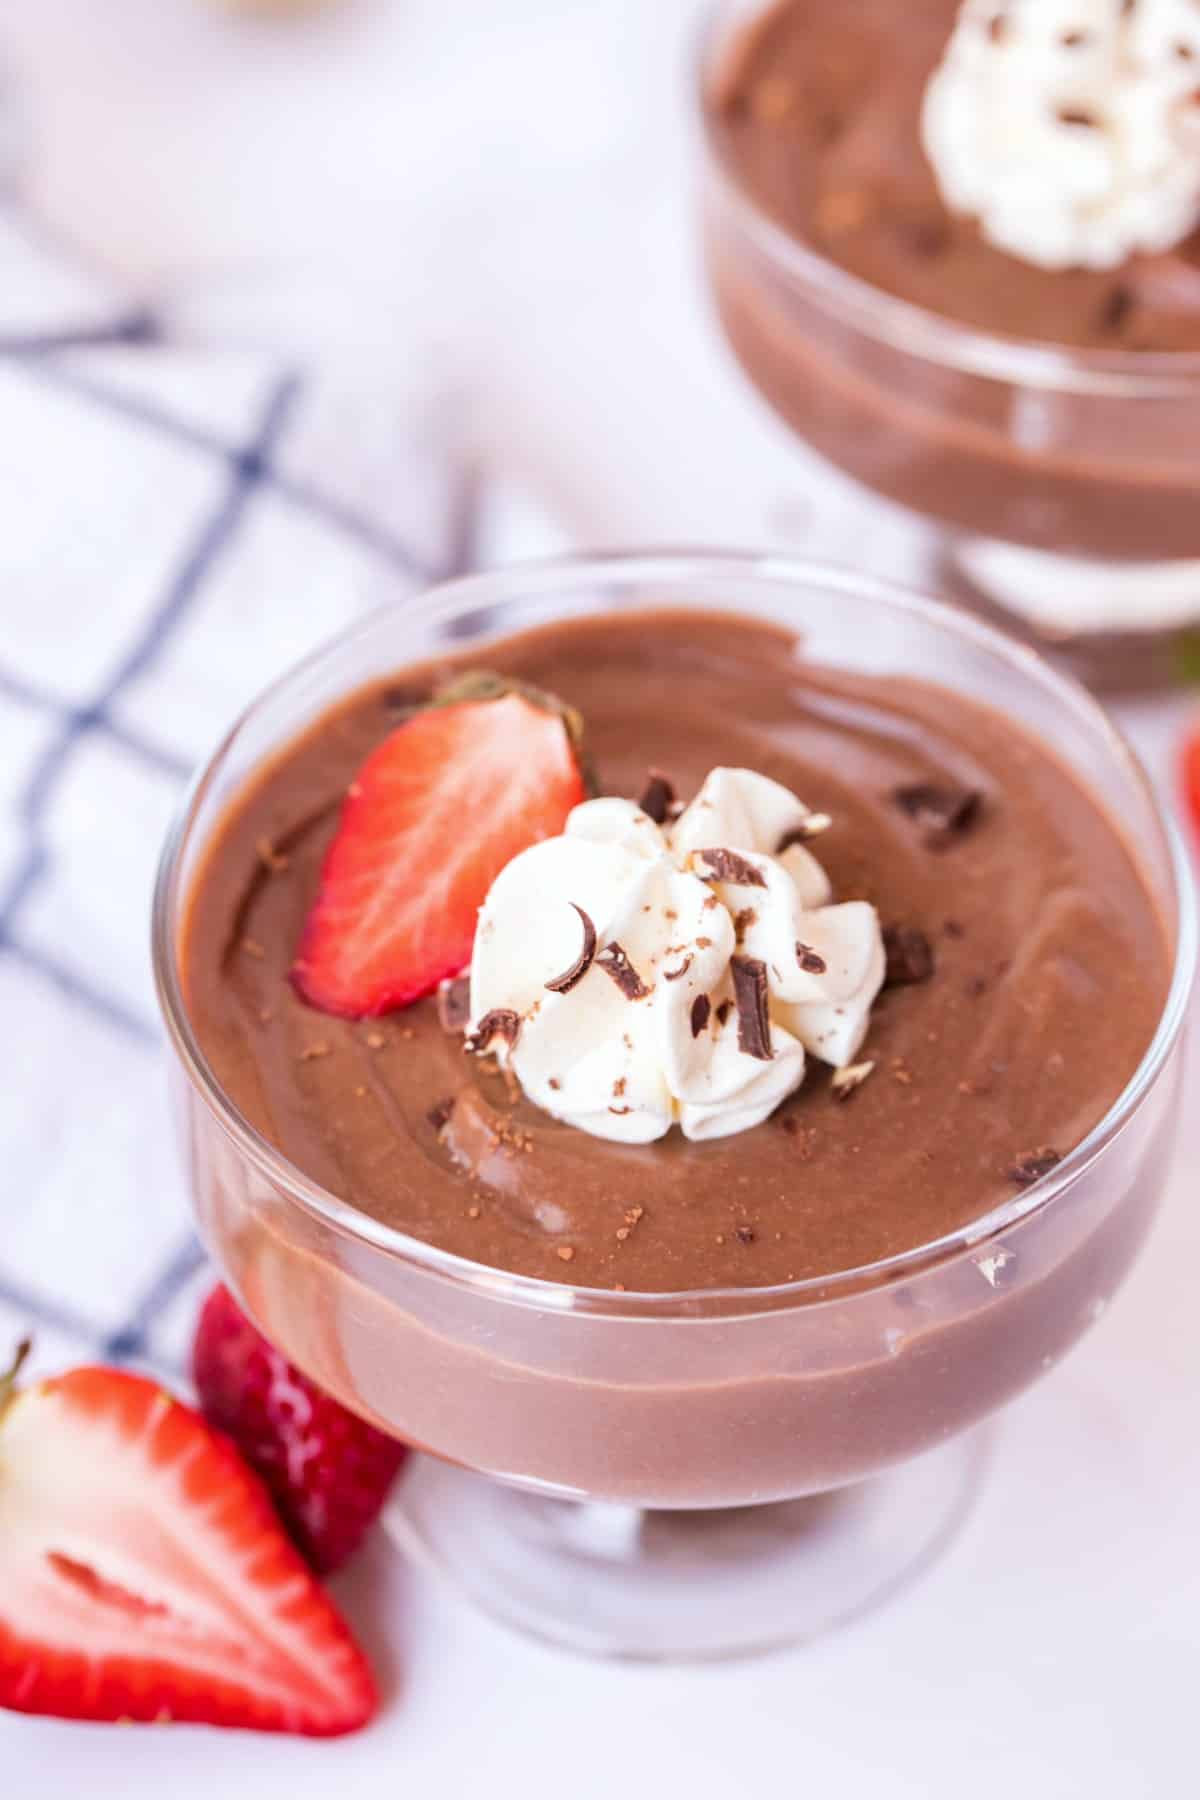
This pudding is just the right amount of sweet, with a thick and smooth texture. It’s perfect served all on its own, or you can dress it up with some fresh fruit or coconut flakes. Don’t forget the homemade whipped cream on top!
I love that it’s eggless, too, so I can make it for my friends who have egg allergies.
Making your own chocolate pudding is easy and only takes 5 minutes of active cooking time.
What You’ll Need
Here’s what you need to make perfect eggless homemade chocolate pudding:
{Ingredients shared at a glance; scroll down for amounts.]
- Sugar – Granulated white sugar works best.
- Cocoa powder – Unsweetened for sure, Dutch Processed preferable!
- Cornstarch
- Salt
- Whole milk – You’re making pudding here so I strongly urge you to stick with whole milk, not low fat or skim. The lower fat content of the latter will affect the thickness and flavor of the finished pudding.
- Salted butter – Keep the butter cold until ready to use!
How to Make Chocolate Pudding
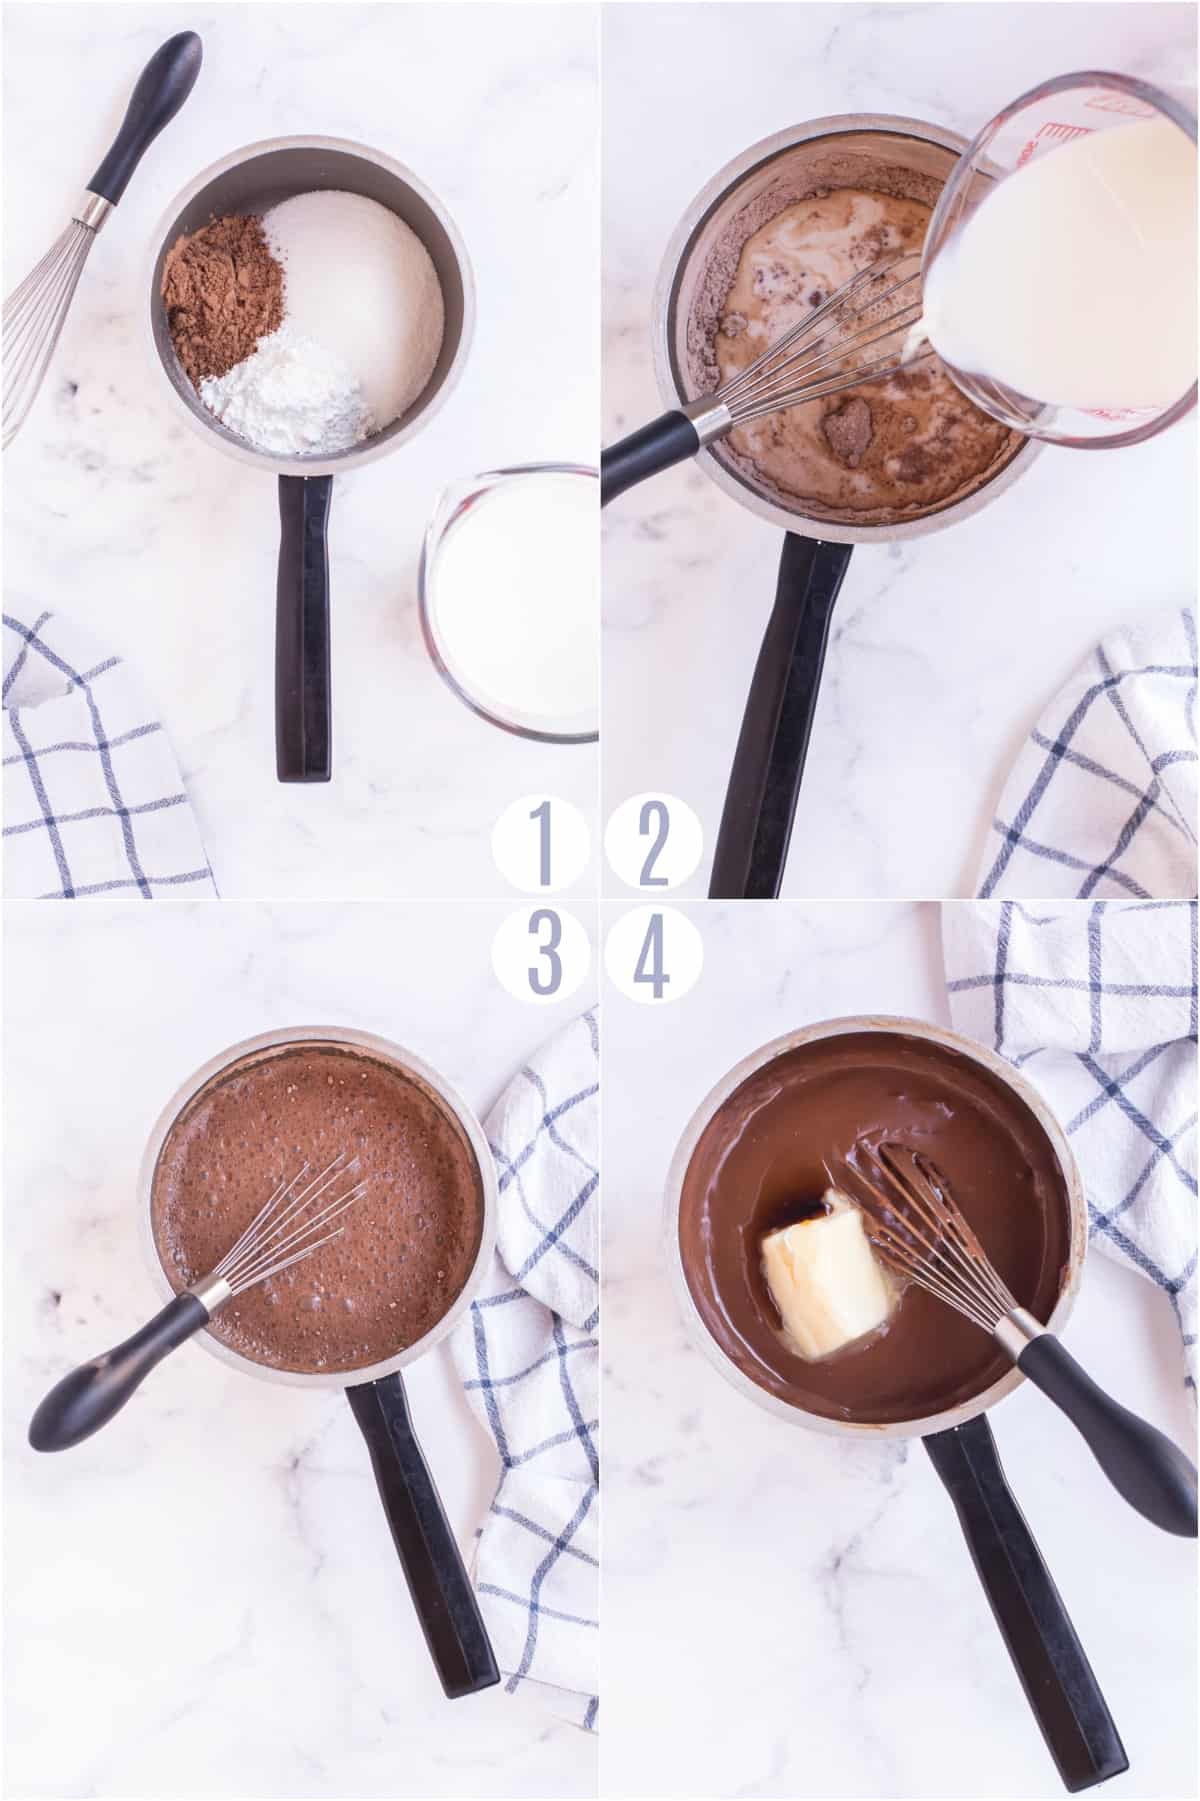
STEP 1. Combine ingredients
Stir together sugar, cocoa, cornstarch, and salt in a medium sized saucepan. Whisk in cold milk until combined.
STEP 2. Boil
Turn on heat to medium high and stir constantly until it reaches a boil. Set timer for 1 minute and boil while stirring constantly. Remove pan from heat and stir in butter and vanilla extract.
STEP 3. Chill
Place in a separate bowl and cover with plastic wrap. Place plastic wrap directly against the pudding to prevent a skin from forming.
Cool completely (about 1-2 hours) in the refrigerator.
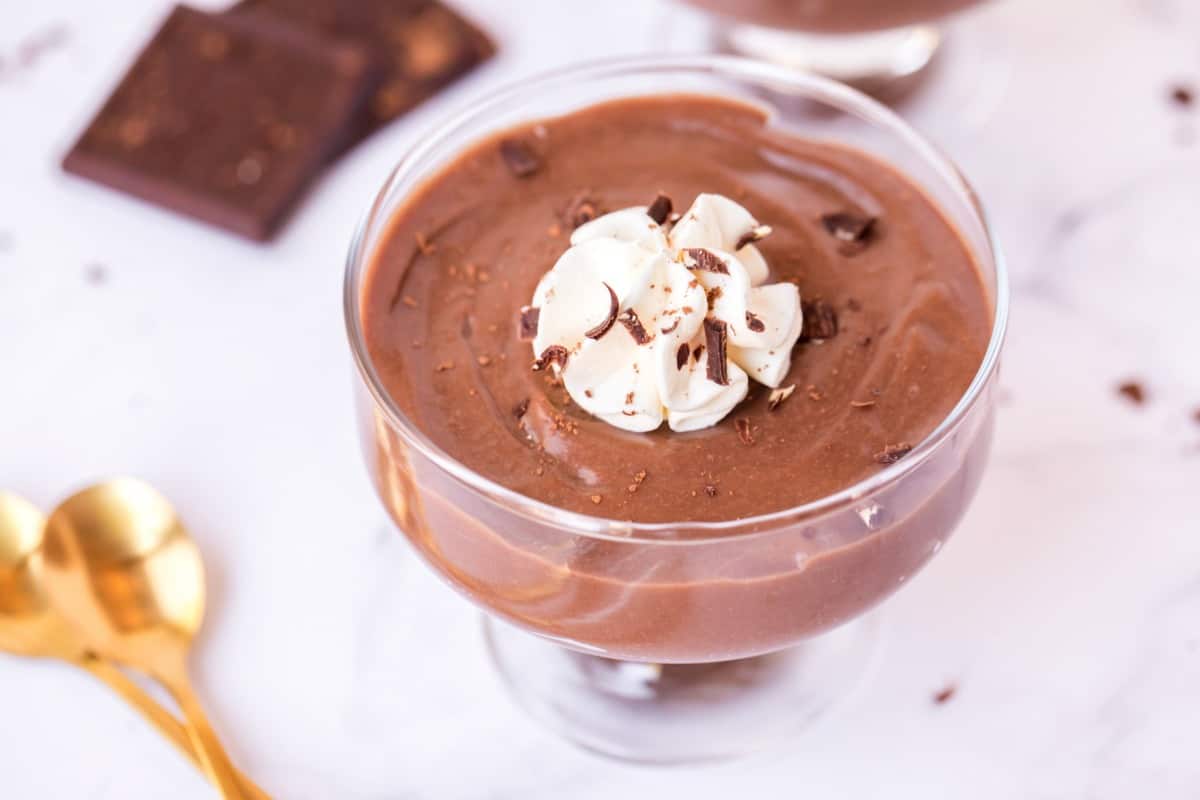
STEP 4. Garnish and serve!
Once cooled, scoop desired amount of pudding into serving cups or bowls. Top with the optional garnishes, if using, and serve while still cold!
Having trouble getting your pudding just right? Check out my tips and tricks for making the best chocolate pudding.
How do I make sure chocolate pudding thickens?
Your pudding should be at a rolling boil before you start your timer for one minute. Make sure that you are stirring it for the entire minute. This cooking process will ensure that the chocolate pudding thickens. Do not forget the cornstarch!
Allow your pudding to cool completely. The chocolate pudding will thicken as it cools. In order to get the thickest and creamiest pudding possible, make sure that has cooled completely before serving.
How do I prevent a skin and lumps from forming in my chocolate pudding?
As your pudding cools, a skin may form on the top. If the skin is stirred into the rest of the pudding it will create lumps in your pudding.
To prevent skin forming, immediately put your pudding in a separate bowl and cover it with plastic wrap once it has finished cooking.
If you find that your pudding has already developed a skin and formed lumps, you can run it through a fine metal strainer in order to separate the lumps from the rest of the pudding.
If there are still lumps after running it through a metal strainer, feel free to repeat the process until all the lumps are gone and you have achieved your desired texture and consistency.
How to Store
Store your chocolate pudding in an airtight container in the refrigerator for 2-3 days.
Because the consistency is likely to change in the freezer, I do not recommend freezing your homemade chocolate
pudding.
To make your own homemade chocolate pudding cups, you can divide the pudding into cup sized tupperware containers. A great option for lunch boxes or self-serve snacks for kids!
Serving Suggestions
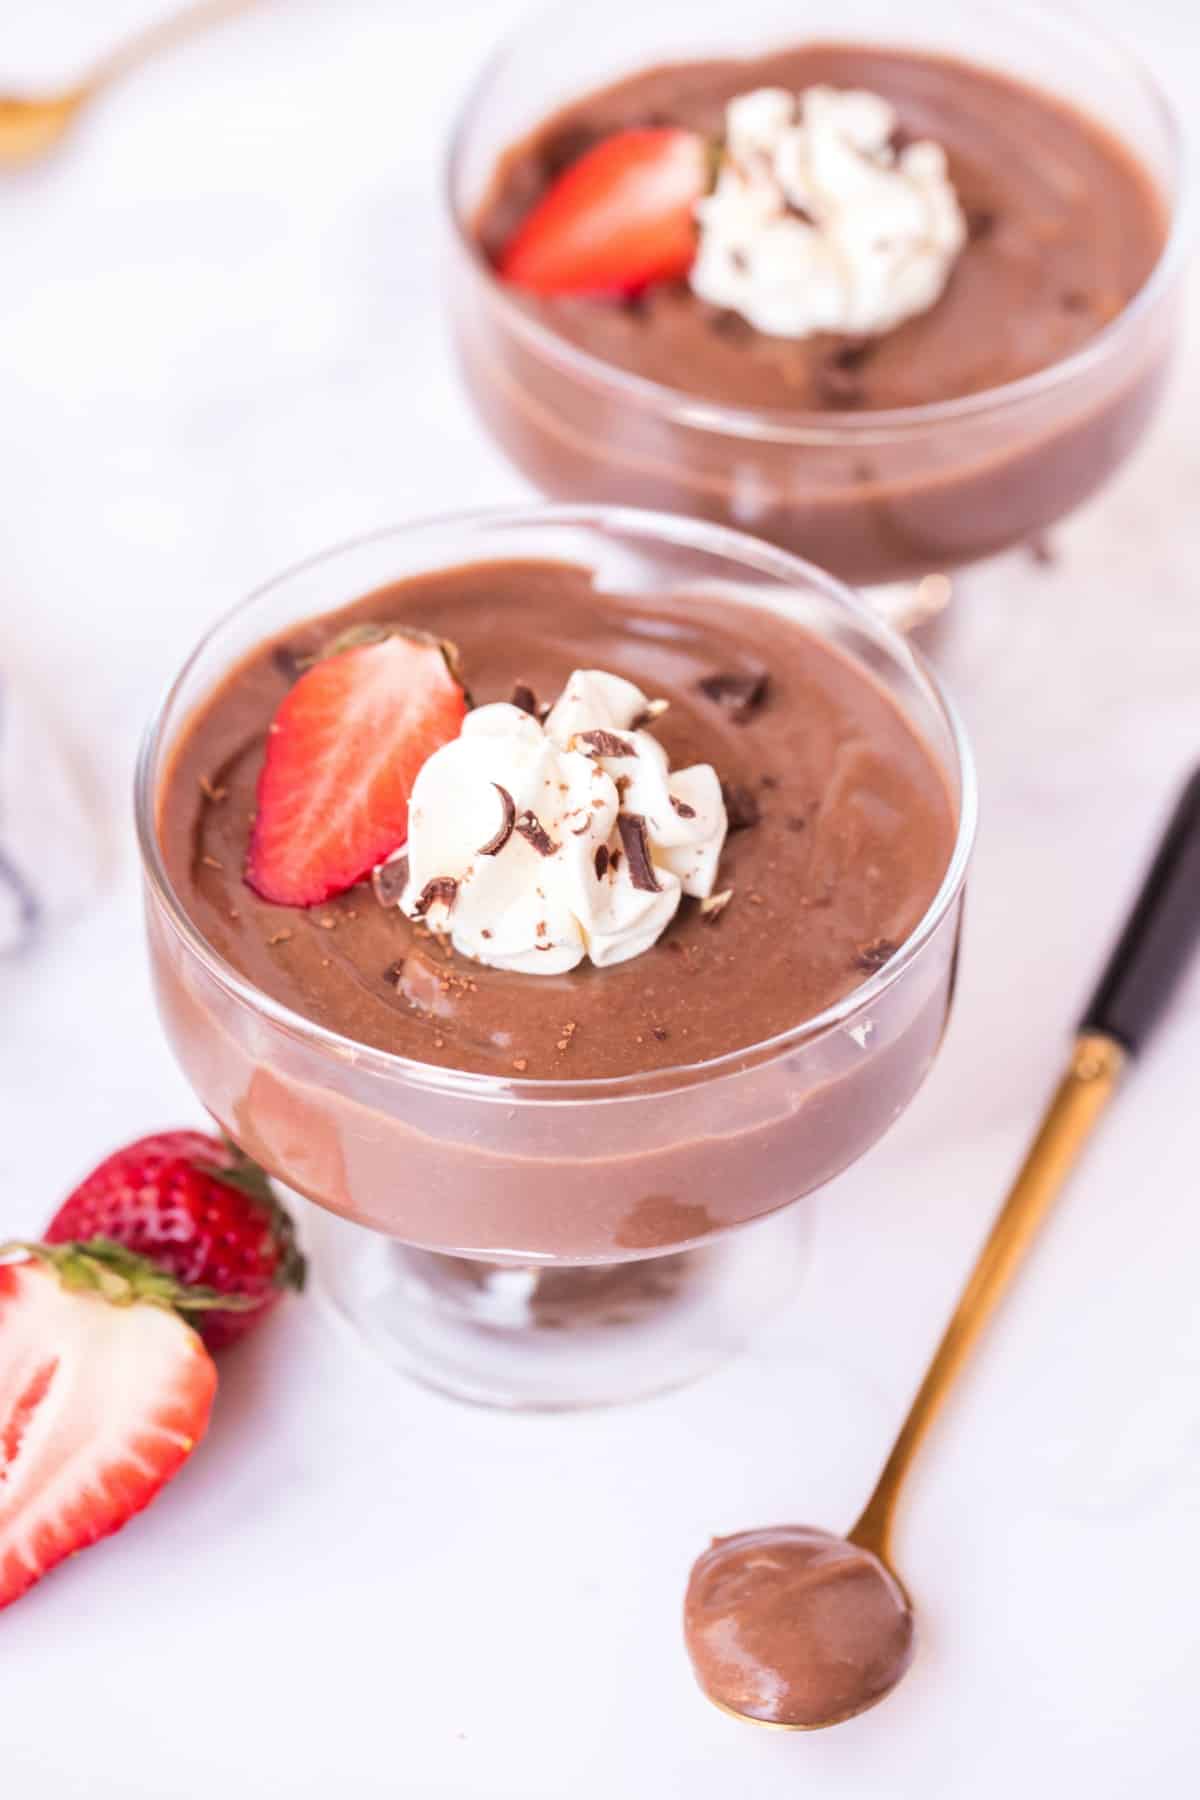
Like I mentioned before, this eggless pudding is creamy and rich enough to serve all on its own! A few great ideas for garnishes and mix ins:
- Sliced berries – Think juicy red strawberries and raspberries
- Sliced bananas – Whole bananas are made tastier when you dip them into pudding, too!
- Shredded coconut – Sweetened or unsweetened, coconut and chocolate are a winning combo.
- Chopped nuts – Almonds and peanuts are my favorite. Walnuts and pecans would taste delicious, too.
Pin this now to save for later
Pin this recipe to your favorite Board
More Easy dessert recipes
- Try out this fun and silly Wacky Cake! It really lives up to the name of the dessert!
- This Dirt Cake is great all year long! Dress it up for Halloween and Easter with some of your favorite candies!
- Use this Chocolate Chip Cookies Recipe for the best cookies out there! No crazy ingredients or chilled dough needed!
- Make this Rice Pudding on the stove, or try this Instant Pot version! They’re both delicious!
- Make this easy JELL-O Poke Cake with a light and fluffy Homemade Whipped Cream!
Pin this now to find it later
Pin It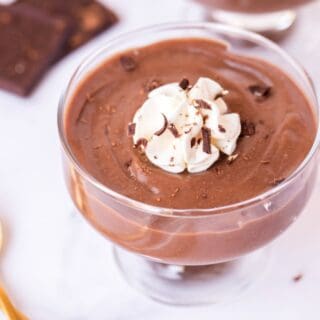
Chocolate Pudding
Ingredients
- ½ cup granulated sugar
- 3 Tablespoons unsweetened cocoa powder
- ¼ cup cornstarch
- Pinch of salt
- 2 ¼ cups whole milk
- 2 Tablespoons cold salted butter
- ½ teaspoon vanilla extract
Instructions
- Stir together sugar, cocoa, cornstarch, and salt in a medium sized saucepan. Whisk in cold milk until combined.
- Turn on heat to medium high and stir constantly until it reaches a boil.
- Set timer for 1 minute and boil while stirring constantly.
- Remove pan from heat and stir in butter and vanilla.
- Place in a separate bowl and cover with plastic wrap. Place plastic wrap directly against the pudding to prevent a skin from forming.
- Cool completely (about 1-2 hours) in the refrigerator.
- Once cooled, top with optional garnishes and serve.
Notes
- Optional garnishes: chocolate flakes, whipped cream, fresh fruit
- Store your chocolate pudding in an airtight container in the refrigerator for 2-3 days. Because the consistency is likely to change in the freezer, I do not recommend freezing your homemade chocolate pudding.
- Recipe adapted from Hershey’s Chocolate
Nutrition
With just 5 minutes of active cooking time, this chocolate pudding recipe is an easy way to get your chocolate fix! For an after dinner dessert, daytime treat or lunchbox snack, everyone loves chocolate pudding.