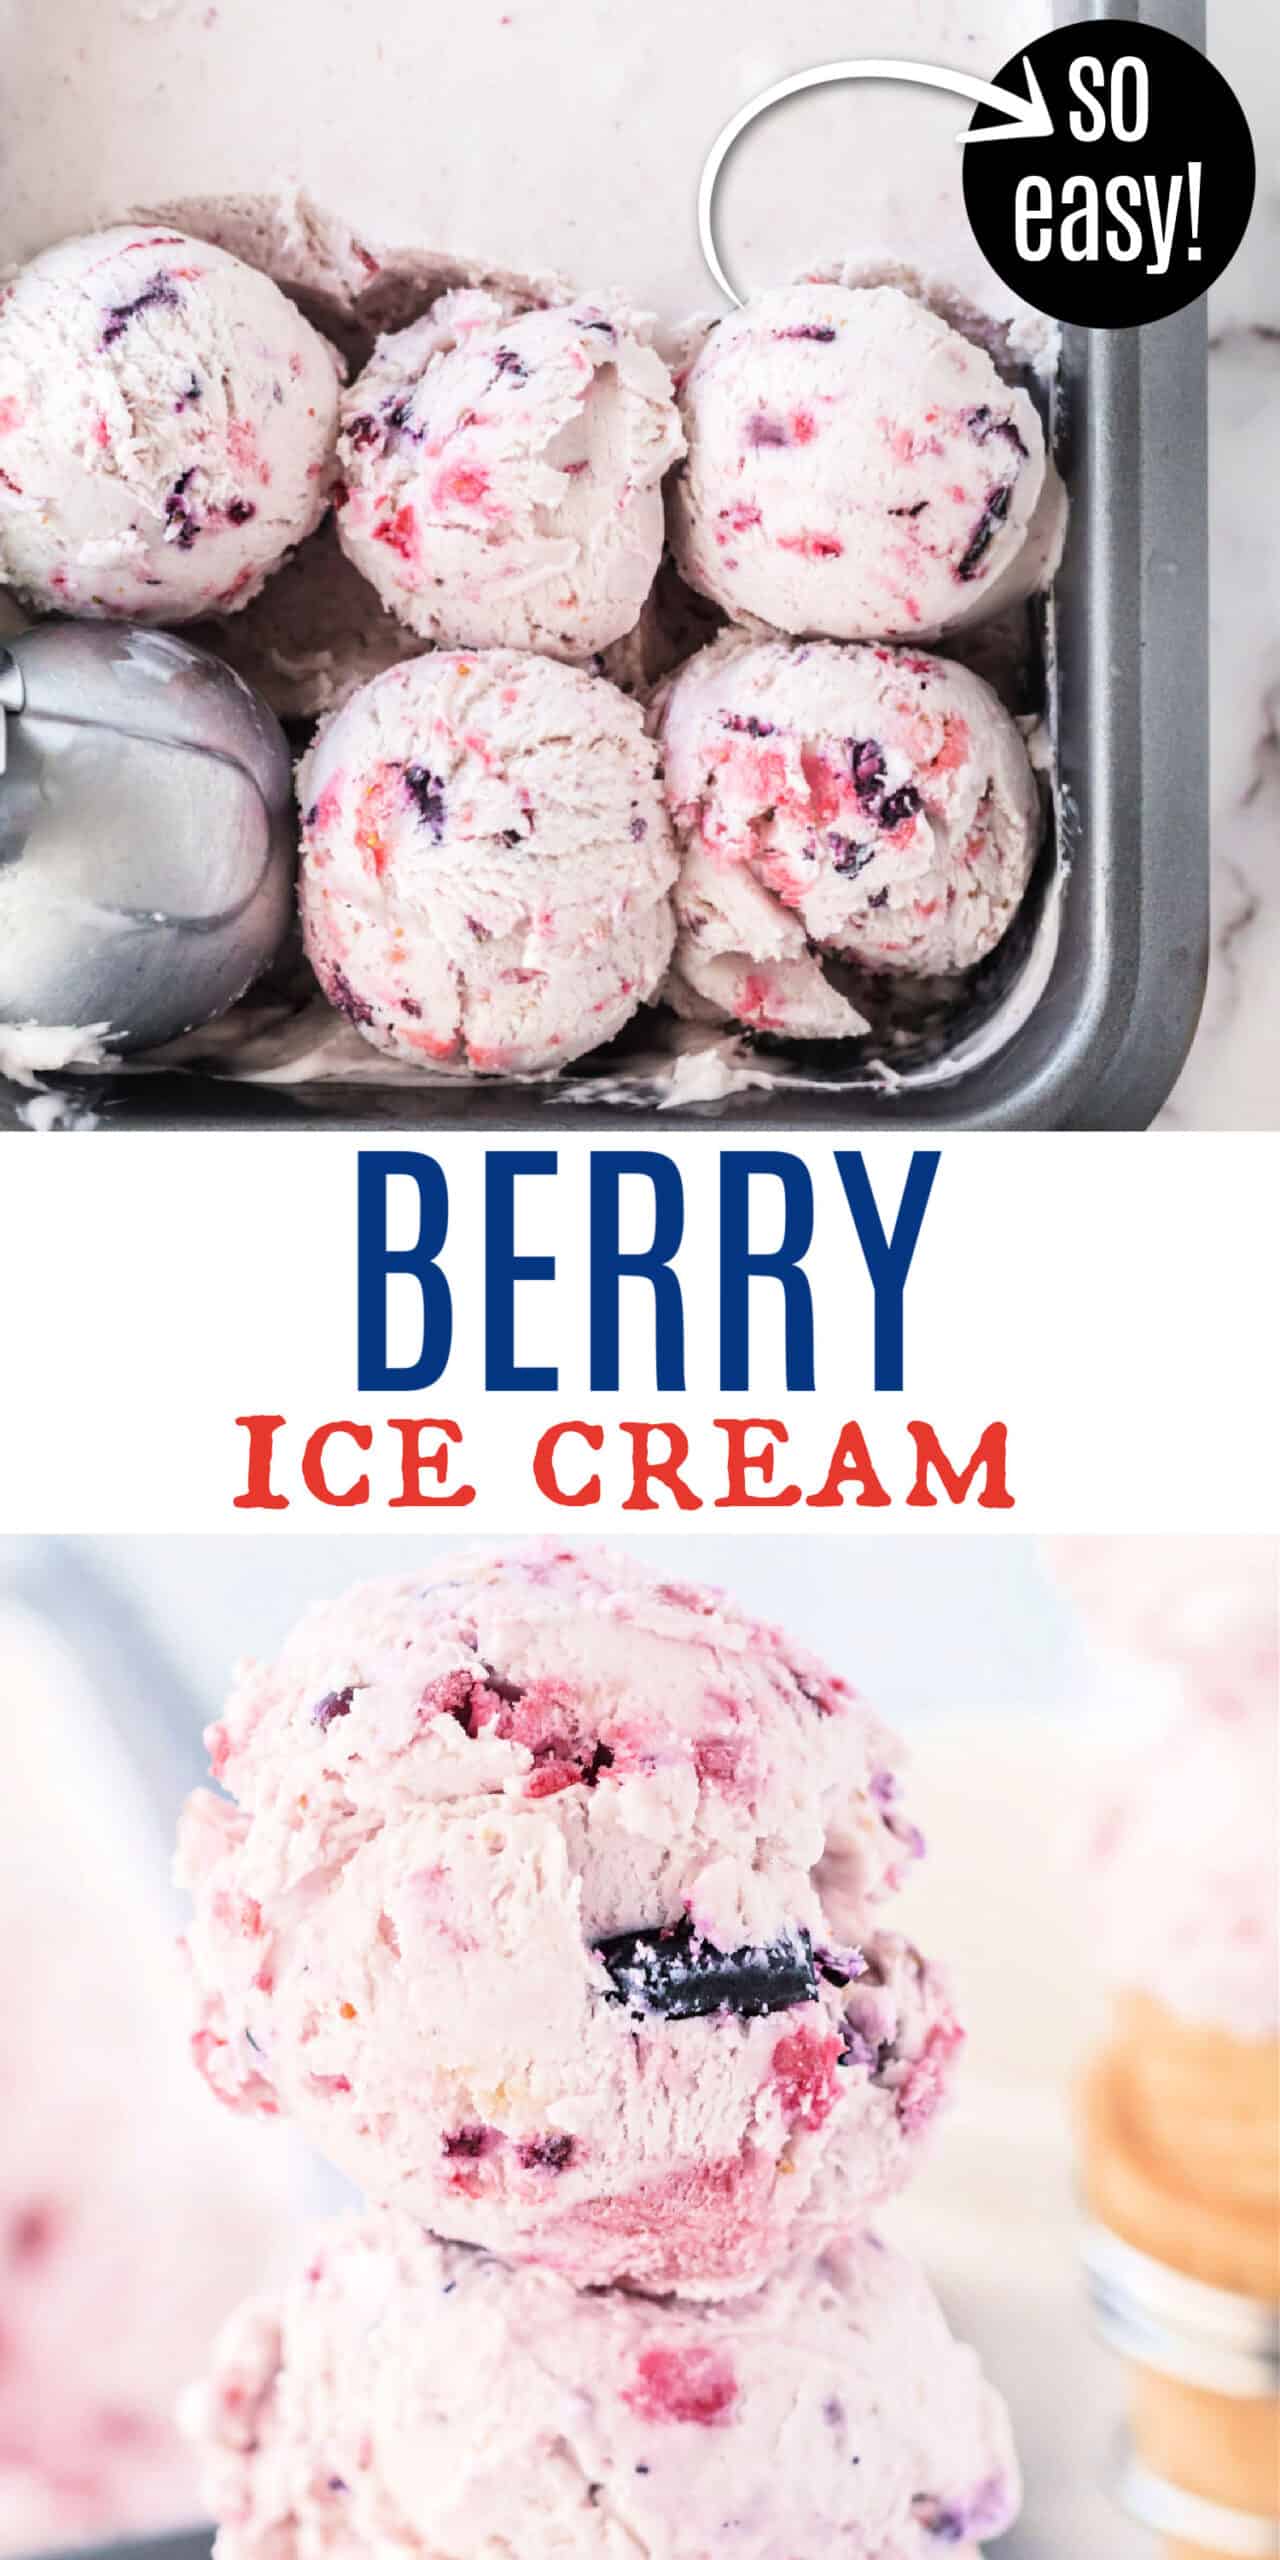
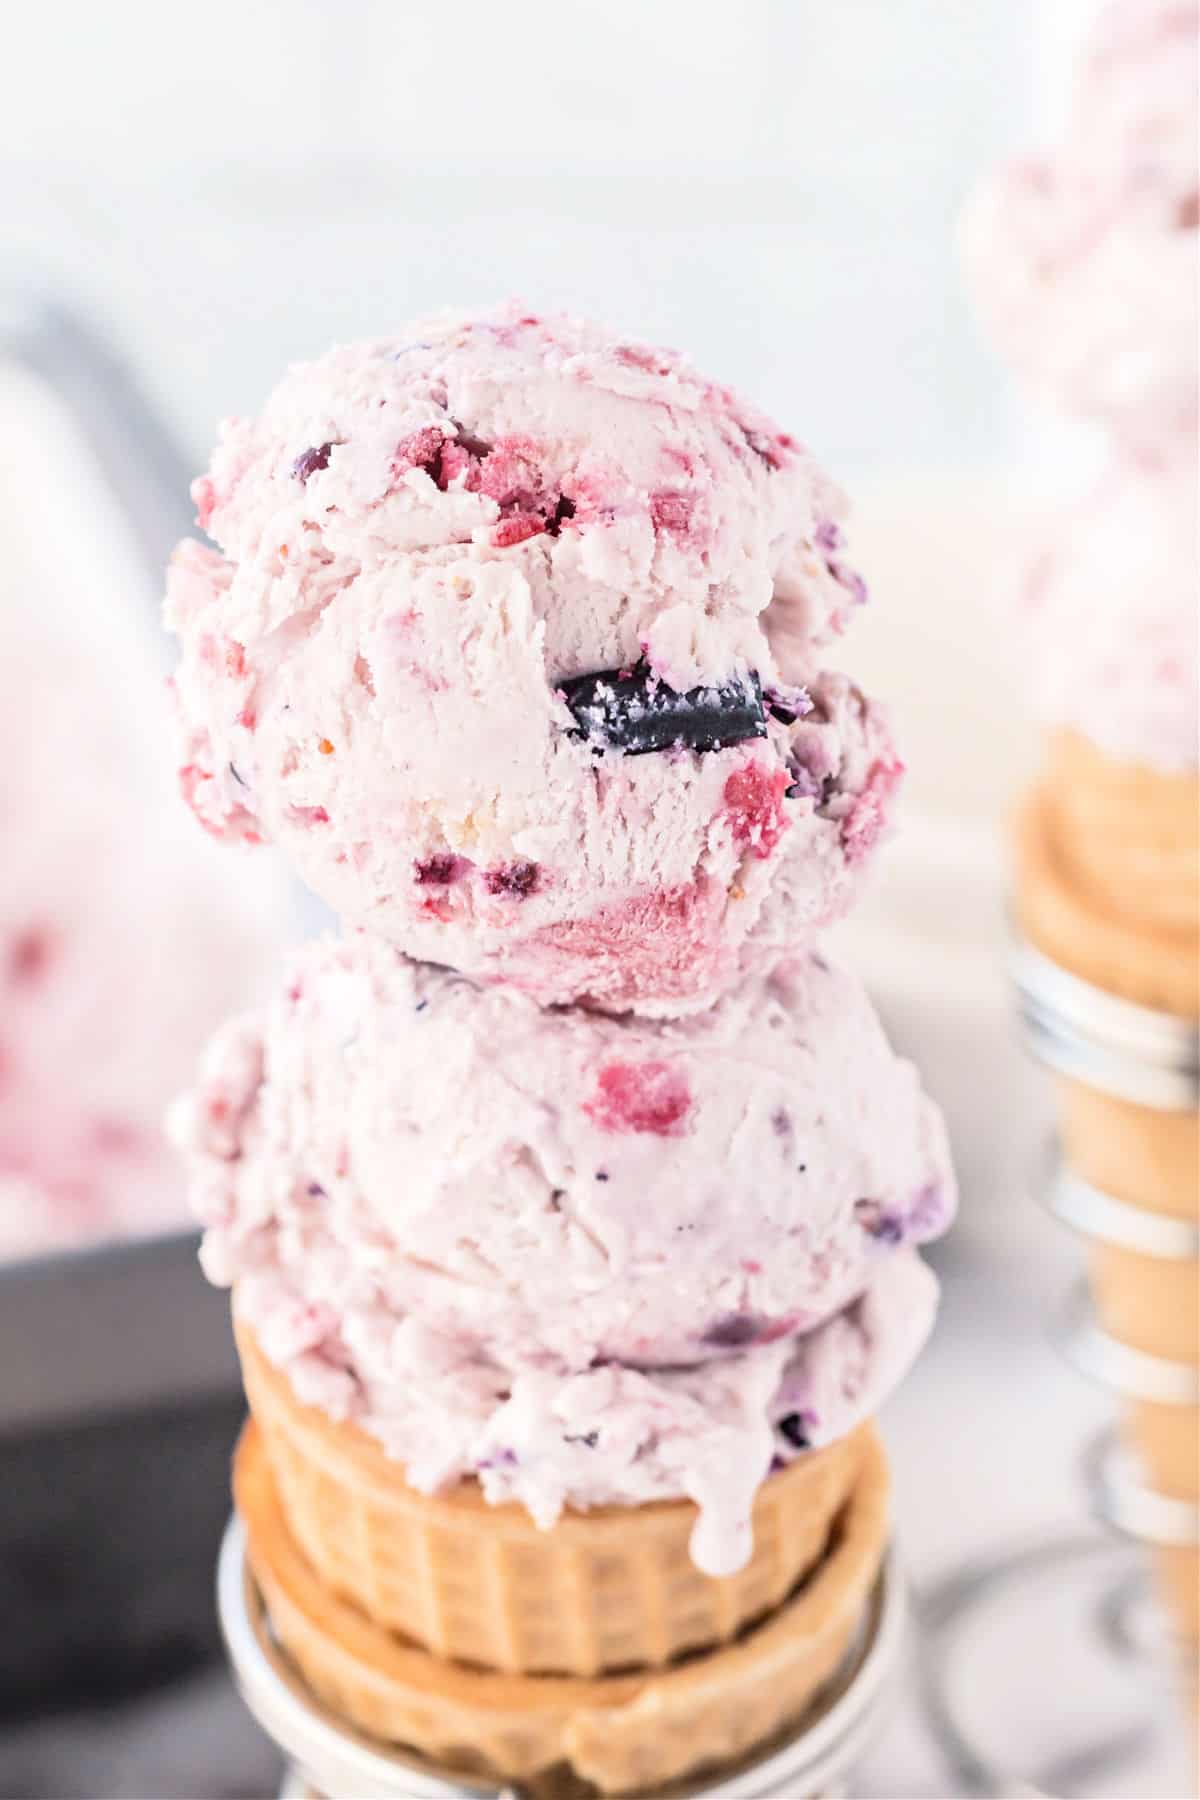
My easy Berry Ice Cream recipe has a decadent vanilla base complemented by the bright and fresh flavor of berries. It’s quick to make and requires only 5 ingredients, with no fancy equipment needed.
Top this delicious ice cream with our homemade magic shell or chocolate syrup for a tasty combo!
Why Berry Ice Cream Works
Unlike most homemade vanilla ice cream recipes, this one is no fuss. I love that you don’t need a special appliance to get a silky-smooth result or any complex prep steps.
We based this sweet treat from our easy no churn vanilla ice cream recipe!
Here are a few reasons why this recipe works for more people,
- Prep is fast. It will only take you 15 minutes to prep the whole recipe. And the final product will taste like you spend hours working on it.
- Simple ingredients. Unlike the store-bought stuff, there are no strange or hard-to-pronounce ingredients in my berry ice cream. You probably have most of them already.
- No churning, or cooking. Unlike most ice cream recipes, this one does not require making a complex ice cream base (anglaise). You also won’t need specialized equipment like a churn or ice cream maker.
Serve this sweet ice cream on top of our delicious, warm Berry Crumble! Match made in heaven.
Ingredient Notes
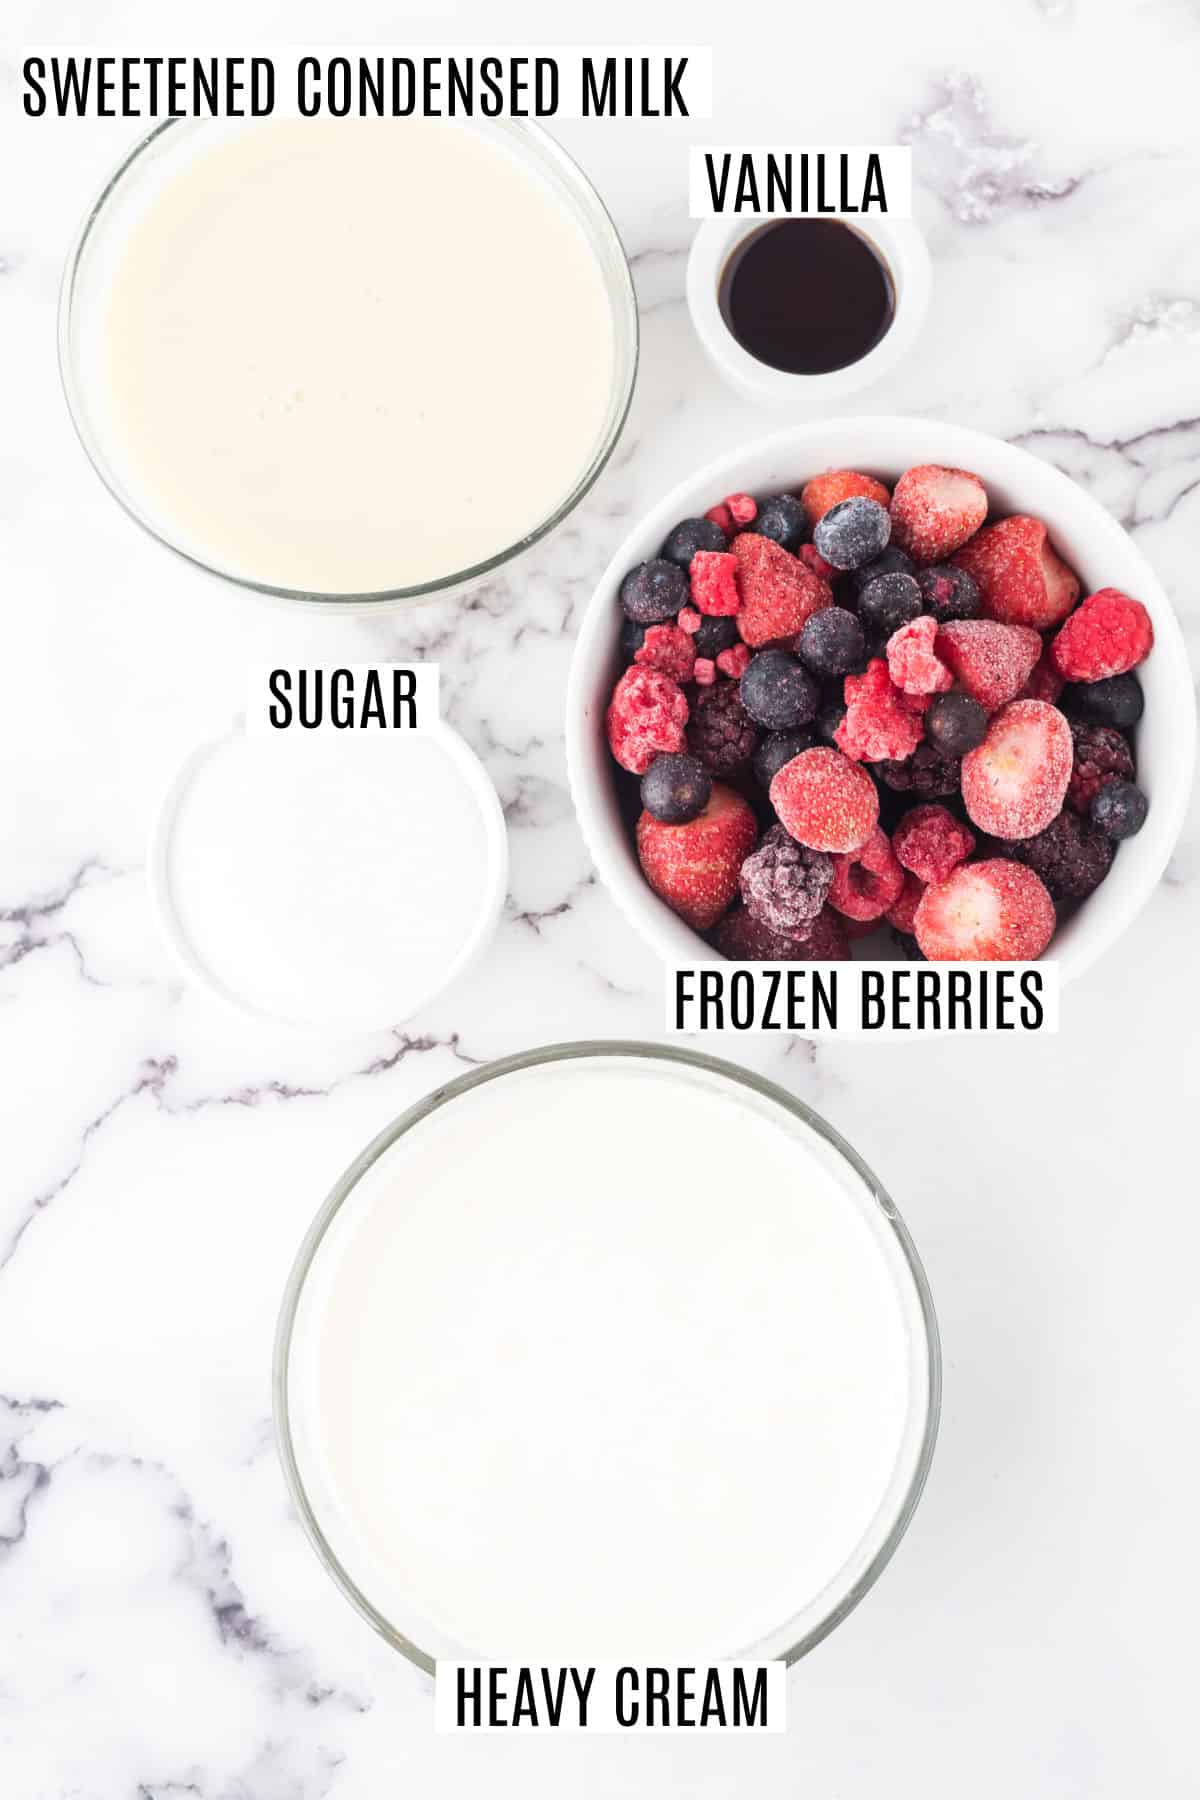
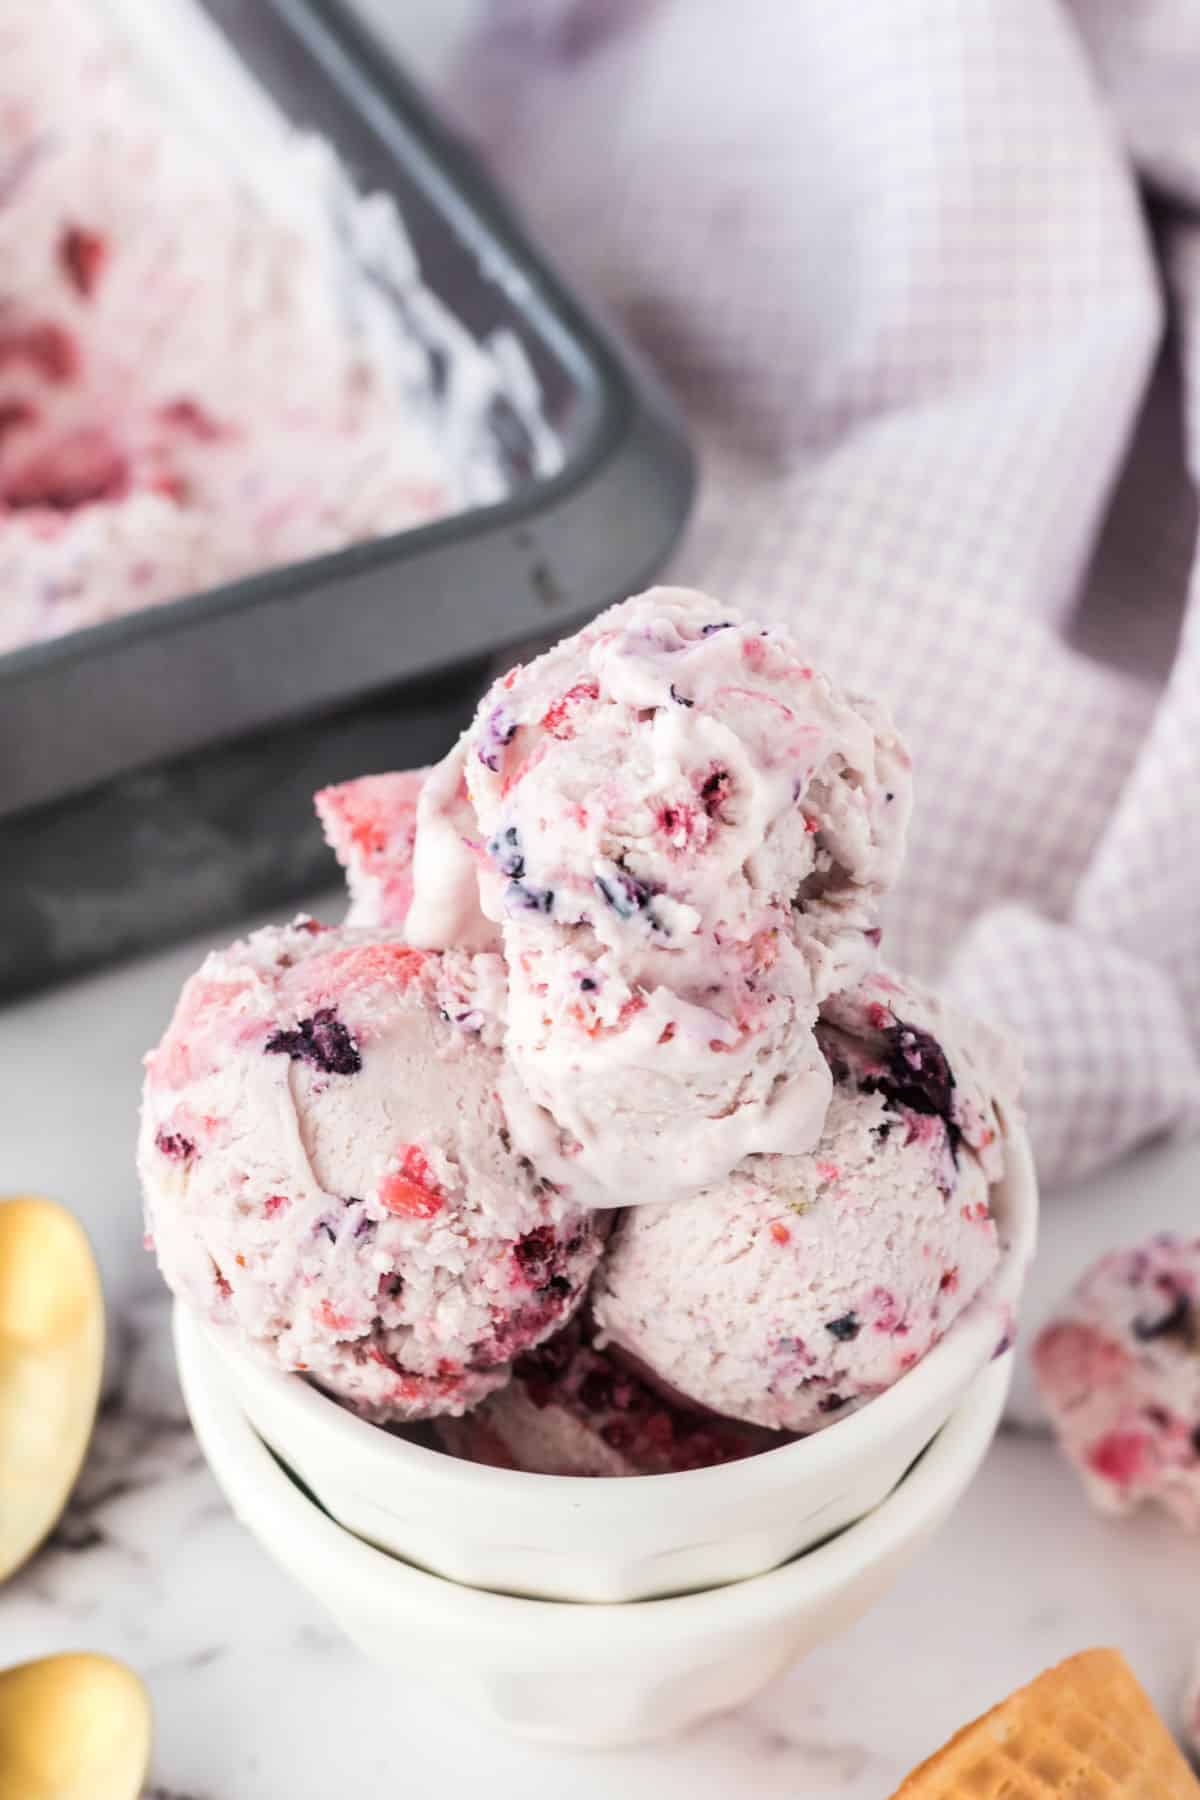
- Frozen Mixed Berries – I like to use a frozen bag mix of blackberries, blueberries, strawberries, and raspberries. But you can use any single type of berry if you prefer. Fresh berries also work, but you’ll need to skip the microwave step if you choose fresh. Simply combine the ingredients and let the fruit mixture sit for 15 minutes instead.
- Granulated Sugar – This sugar helps in breaking down the tanginess of the berries while retaining their flavor.
- Vanilla Extract – Use good quality vanilla extract and avoid using vanilla essence at all costs. This is a very common confusion. Vanilla extract is pure vanilla, whereas, vanilla essence is an artificial flavoring that will make your ice cream taste artificial like the cheap store-bought tubs. Our homemade vanilla extract is perfect.
- Heavy Whipping Cream – It contains 32-36% fat. This fat makes the whipped cream get stiff peaks and gives the ice cream a decadent and creamy texture. Avoid using whipping cream with a lesser fat content as lighter whipping cream contains more water content which will make the ice cream harder and full of ice crystals.
- Sweetened Condensed Milk – Adds sweetness to the ice cream and since it is high in milk content, the ice cream turns out smooth and rich.
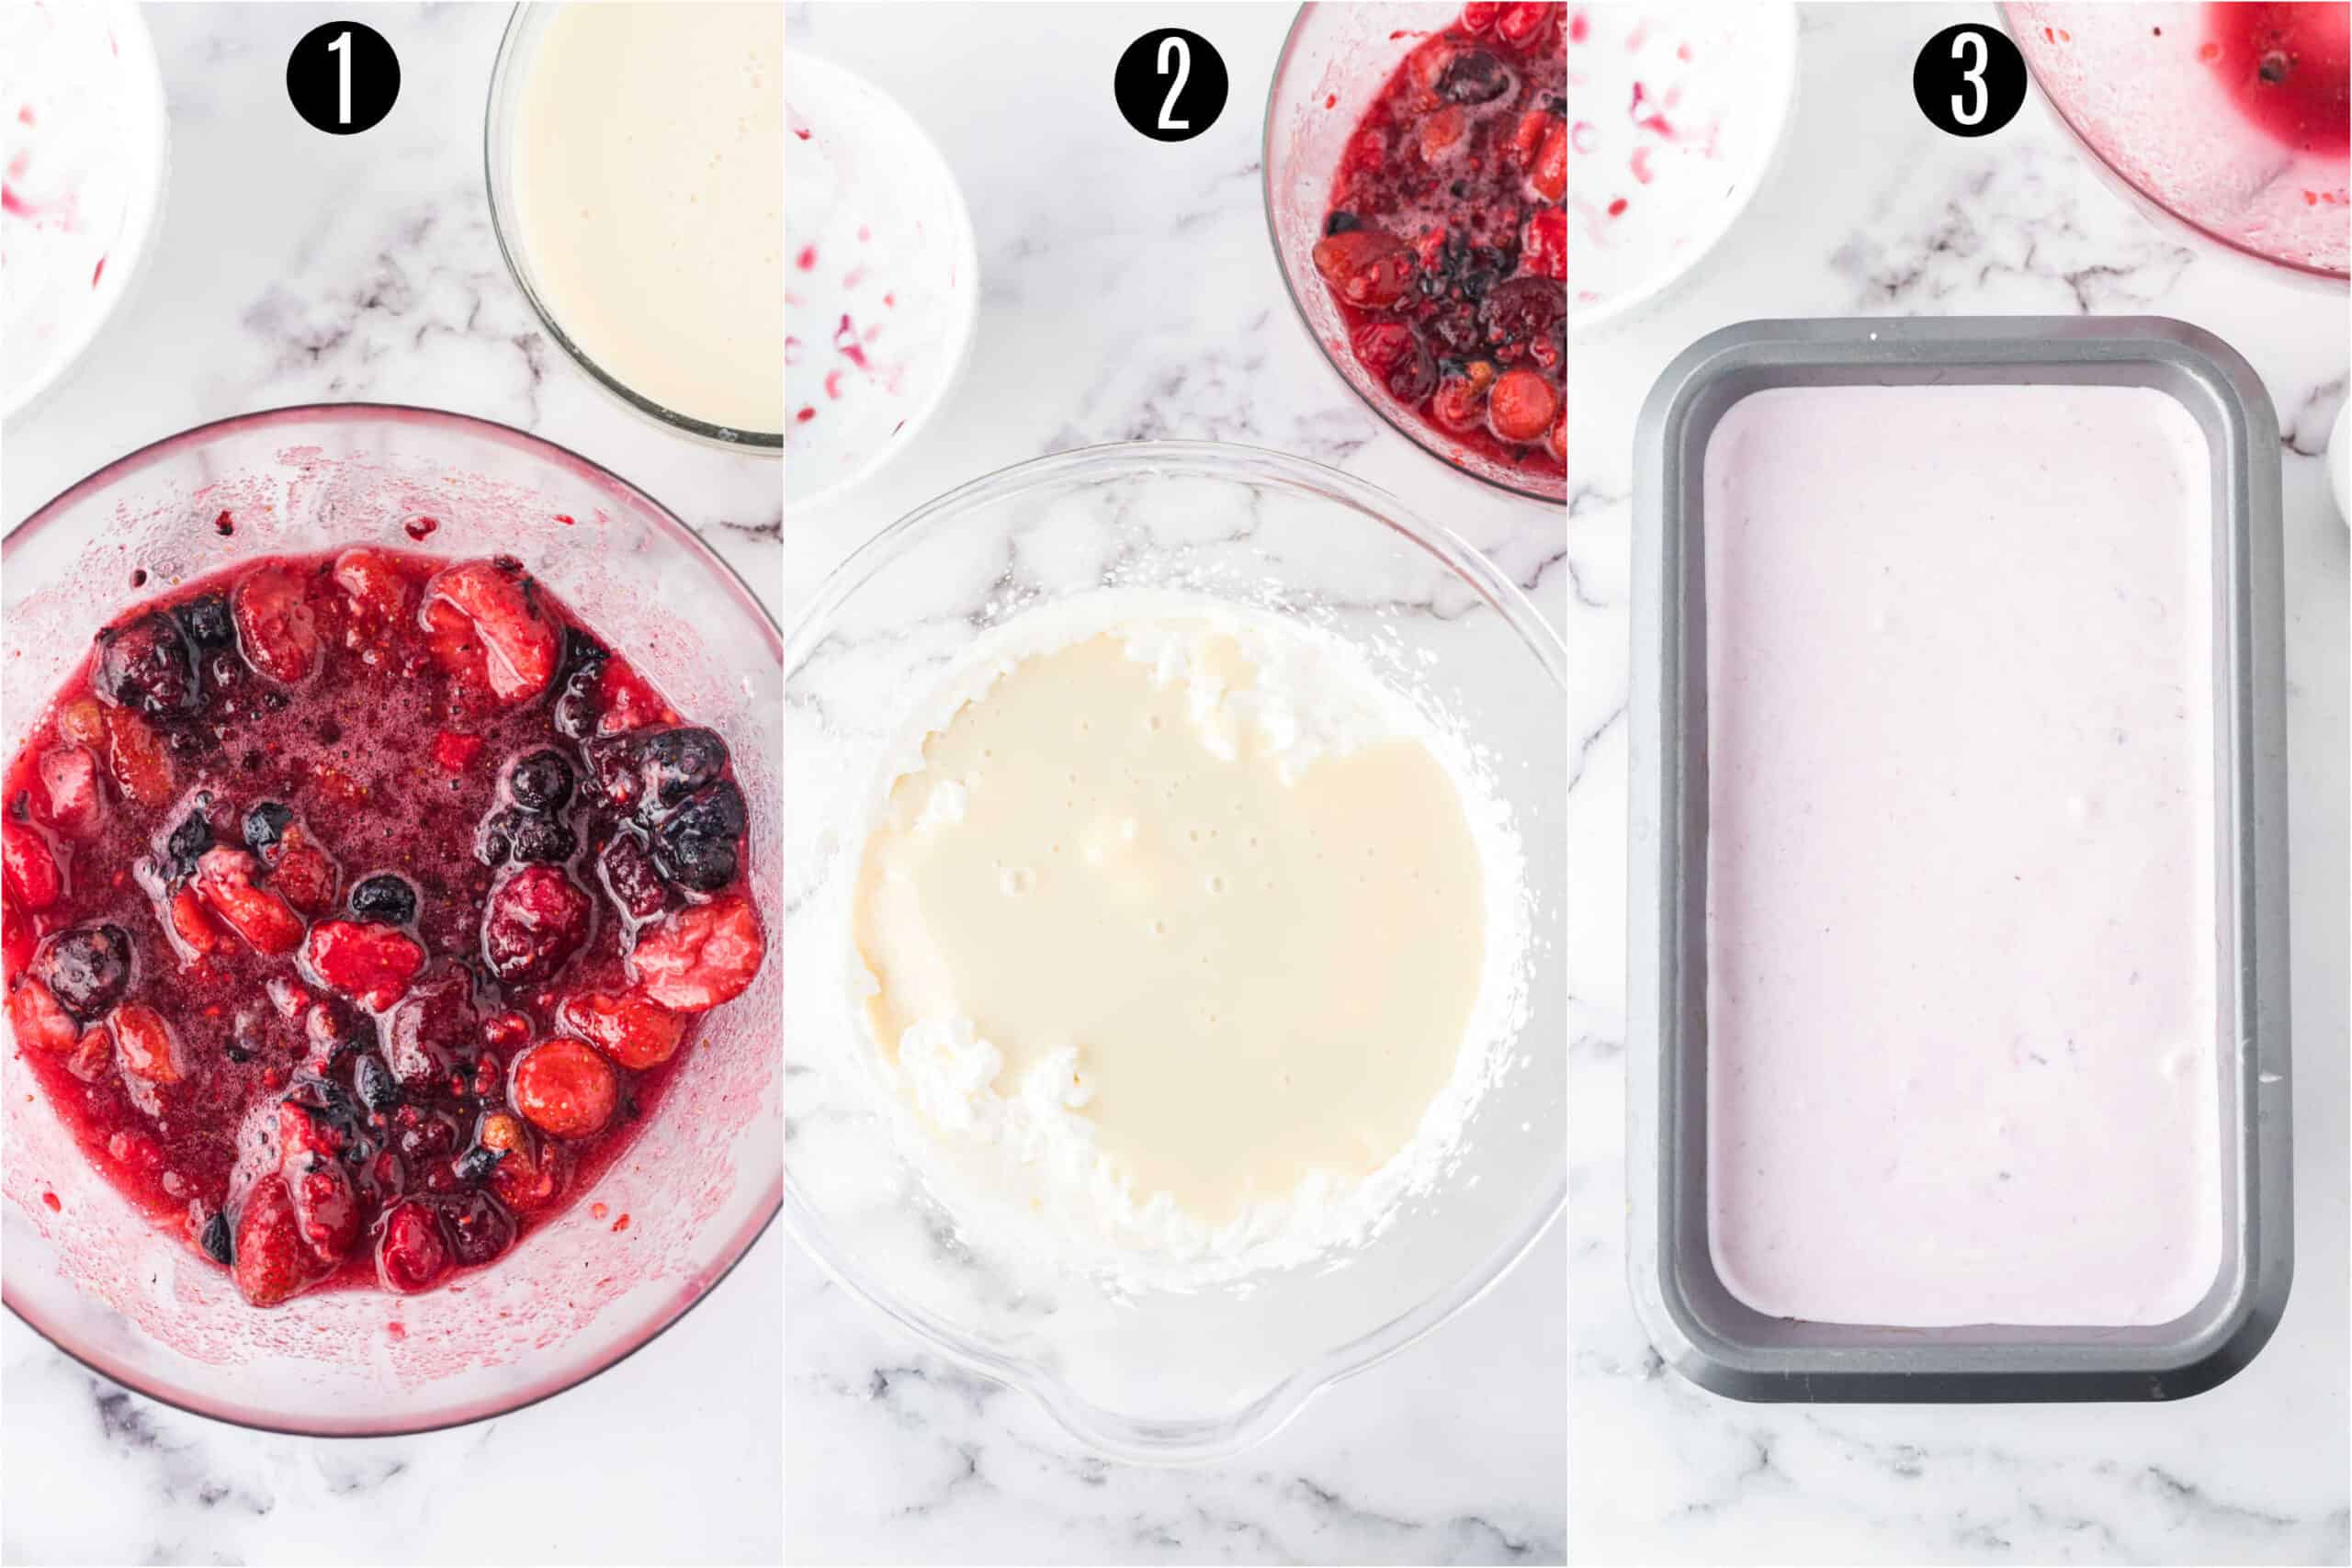
Easy Instructions
This Berry Ice Cream recipe can be made in minimal steps. All you need is a reliable mixer and enough patience to let the ice cream set. Make tomorrow’s ice cream today.
- Prep the berries: Mix the berries, sugar, and vanilla extract in a bowl. Heat it in the microwave for a few seconds and then mash using a fork or vegetable masher.
- Whip the cream: In a clean and cold bowl, whisk the whipping cream on high speed until stiff peaks form. Then reduce the speed to low and mix in the condensed milk until combined. Using a spatula, gently fold the berry mixture into the whipped cream.
- Let it set: Pour the mixture into a loaf pan, and cover it with foil. Let it freeze overnight.
And Voila! Your berry ice cream is ready.
Tips and Tricks
- Don’t under or over-whisk the whipped cream. Under whipping will make the ice cream turn out harder. Over-whipping will split the heavy cream making it unusable.
- Use cold ingredients and utensils. Keep your heavy cream, whisk, and mixing bowl in the freezer for 10-15 minutes. This helps the cream whip faster and get the consistency you are aiming for.
- Avoid constantly checking the ice cream in the freezer. Once you put the ice cream to set in the freezer do not open the ice cream container or freezer frequently. This leads to hot air getting in the freezer making the ice cream’s temperature constantly vary. As a result, the ice cream will turn out hard and icy.
- Make other flavors. Instead of berries, you can use any pure fruit puree to add variety. From mango to passion fruit to even lychee puree. You can also add dried berries, toasted nuts, chocolate chunks, toasted coconut, etc.
- Serving Suggestions- Homemade berry ice cream goes great in a waffle cone or a bowl. You can jazz it up by sprinkling some nuts, drizzling with homemade chocolate syrup, or whipped cream.
Want your dog to have a frozen treat too, that’s safe and easy? Make a batch of our dog ice cream to keep on hand in your freezer!
Recipe FAQs
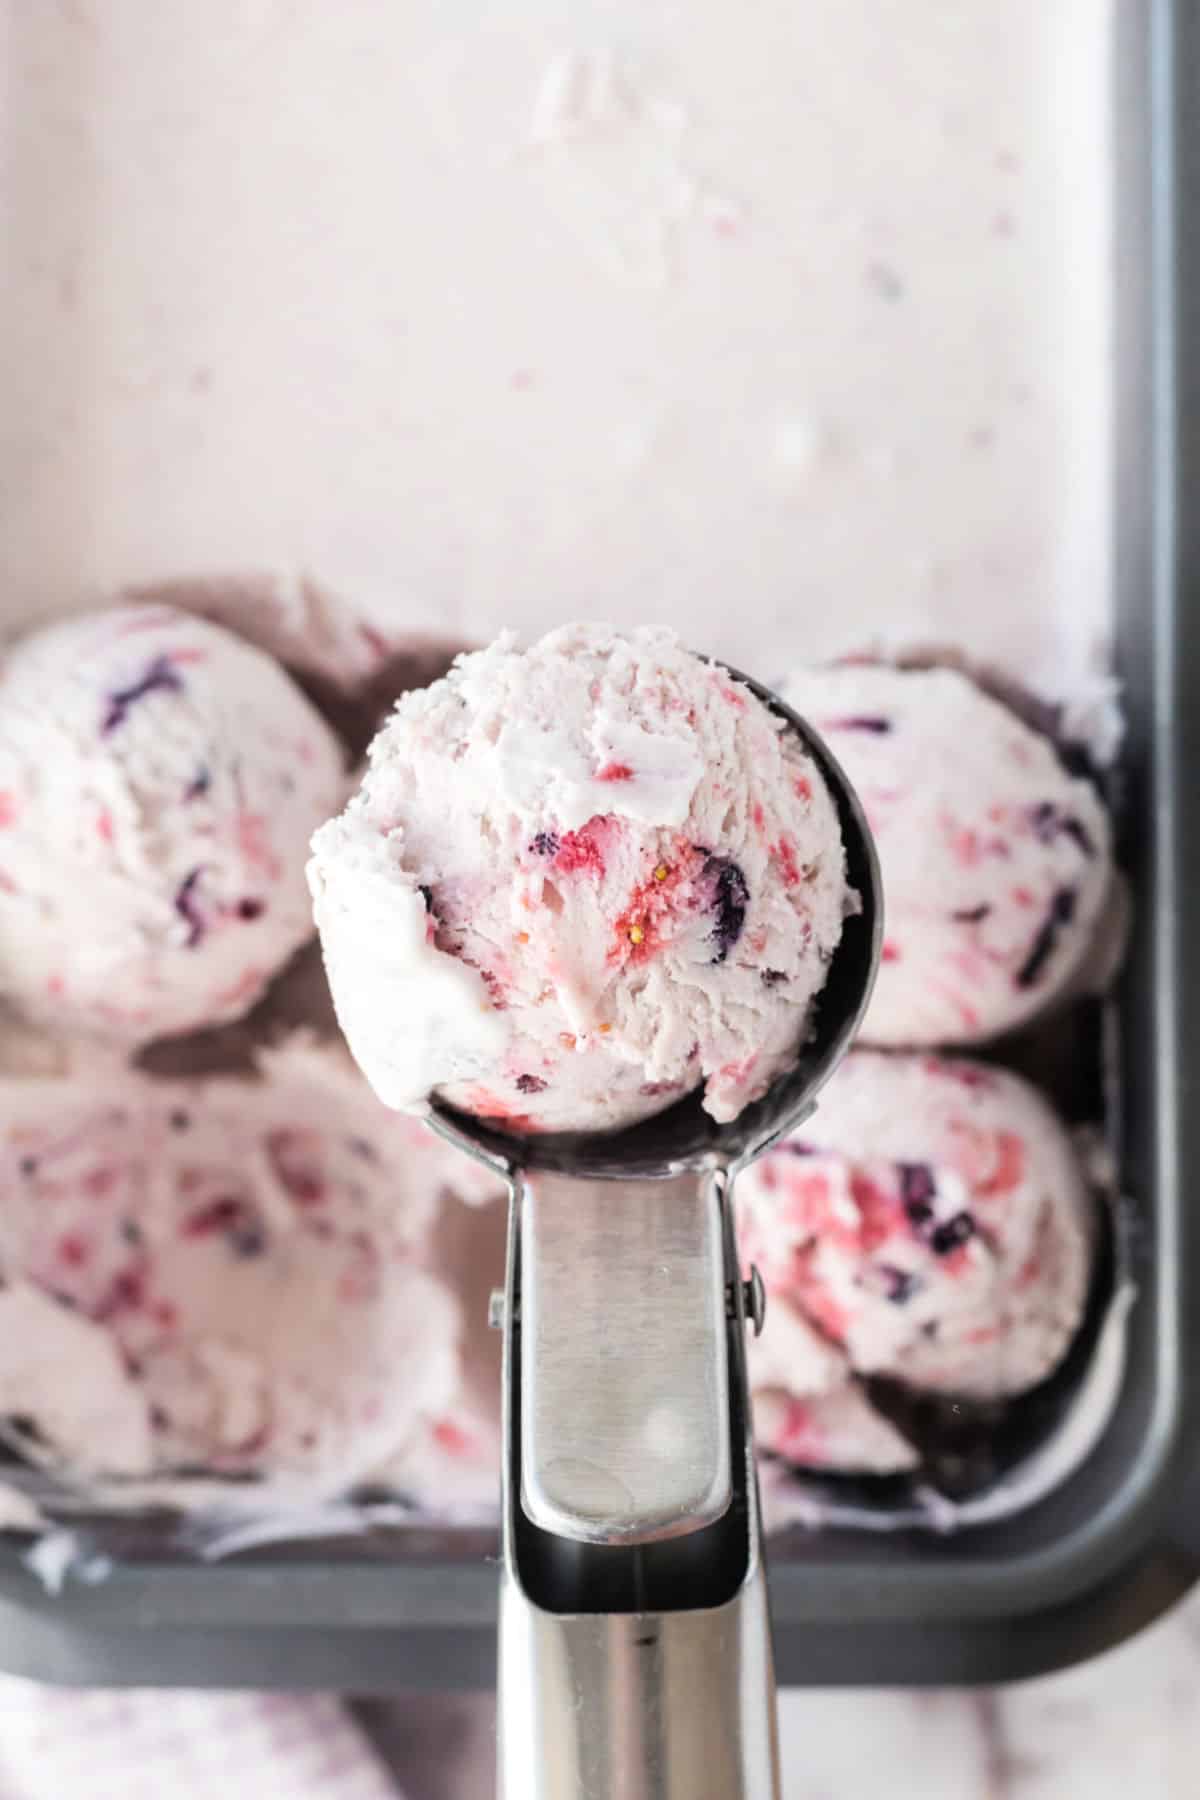
When you pull the whisk straight up, out of the bowl, the whipped cream on your whisk should hold its shape when held upright. You’ll notice a pointed peak of whipped cream on the whisk. If the peak turns downwards, you’re not there yet. Continue whipping.
If your ice cream is hard, take it out of the freezer and let it sit at room temperature for 8-10 minutes before scooping and serving.
I would not recommend using any low-fat or fat-free replacements. Since the ice cream gets its smooth and rich texture from the fat in the milk. Also, using low-fat substitutes will give a crystalized and icy end product.
Store the ice cream in an air-tight freezer-safe container. We love these ice cream containers on Amazon for storing our homemade ice cream. They have great fitting lids, which allow your ice cream to stay fresh longer.
More Easy Dessert Recipes
See all Desserts recipes


Pin this now to find it later
Pin It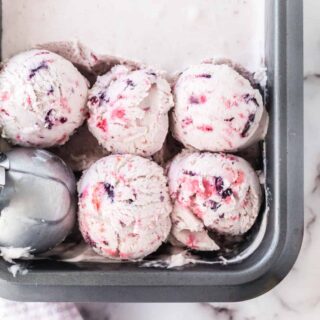
Berry Ice Cream
Ingredients
- 2 ½ cups frozen mixed berries
- ½ cup granulated sugar
- 2 teaspoons vanilla extract
- 2 cups heavy whipping cream
- 1 can sweetened condensed milk 14 ounce
Instructions
- Start by prepping the mixed berries. You'll want to do this ahead of time, to give the berries time to cool. Combine the berries in a glass bowl with sugar and vanilla extract. Stir until coated. Microwave mixture for 45 seconds.
- Remove from microwave and mash with a fork or potato masher. If the fruit is still too firm, heat an additional 30-45 seconds. Allow to sit and cool about 15 minutes.
- In a clean, dry (cold) mixing bowl, beat whipping cream for several minutes (using an electric mixer with whisk attachment). When stiff peaks form, turn mixer to low and add in sweetened condensed milk, just until combined.
- Fold in cooled fruit mixture and pour into a 9×5-inch loaf pan. Cover with foil. Freeze for 4-5 hours (or overnight).
Notes
- No ice cream maker required for this recipe! It’s based off our easy no churn vanilla ice cream.
- Be sure the whipping cream is cold. We like to put our mixing bowl in the freezer for 15 minutes before starting for best results. You can do this while the berries are cooling.
- We love these ice cream containers on Amazon for storing our homemade ice cream. They have great fitting lids, which allows your ice cream to stay fresh longer.
- What does “stiff peaks” mean? It means that when you pull the beaters straight up from the mixing bowl, the whipped cream should hold its form. When you turn the beaters upright, if the whipping cream tips begin to turn downward, it’s not at the “stiff peaks” stage yet. Keep beating!
- Can fresh fruit be used? Yes it can, however I like to use frozen fruit since I can rely on being able to buy a bag of mixed fruit year-round. If you are using fresh fruit, you will not need to microwave the mixture at all. Simply combine the ingredients and let the fruit mixture sit for the full 15 minutes. This step helps release the juice within the fruit, which spreads the flavor throughout the entire ice cream mixture.
- A bag of mixed berries usually contains blackberries, blueberries, strawberries, and raspberries. Use this or any single type of berry your prefer.
- Serve mixed berry ice cream in a cone or a bowl with our homemade chocolate syrup and whipped cream.
