
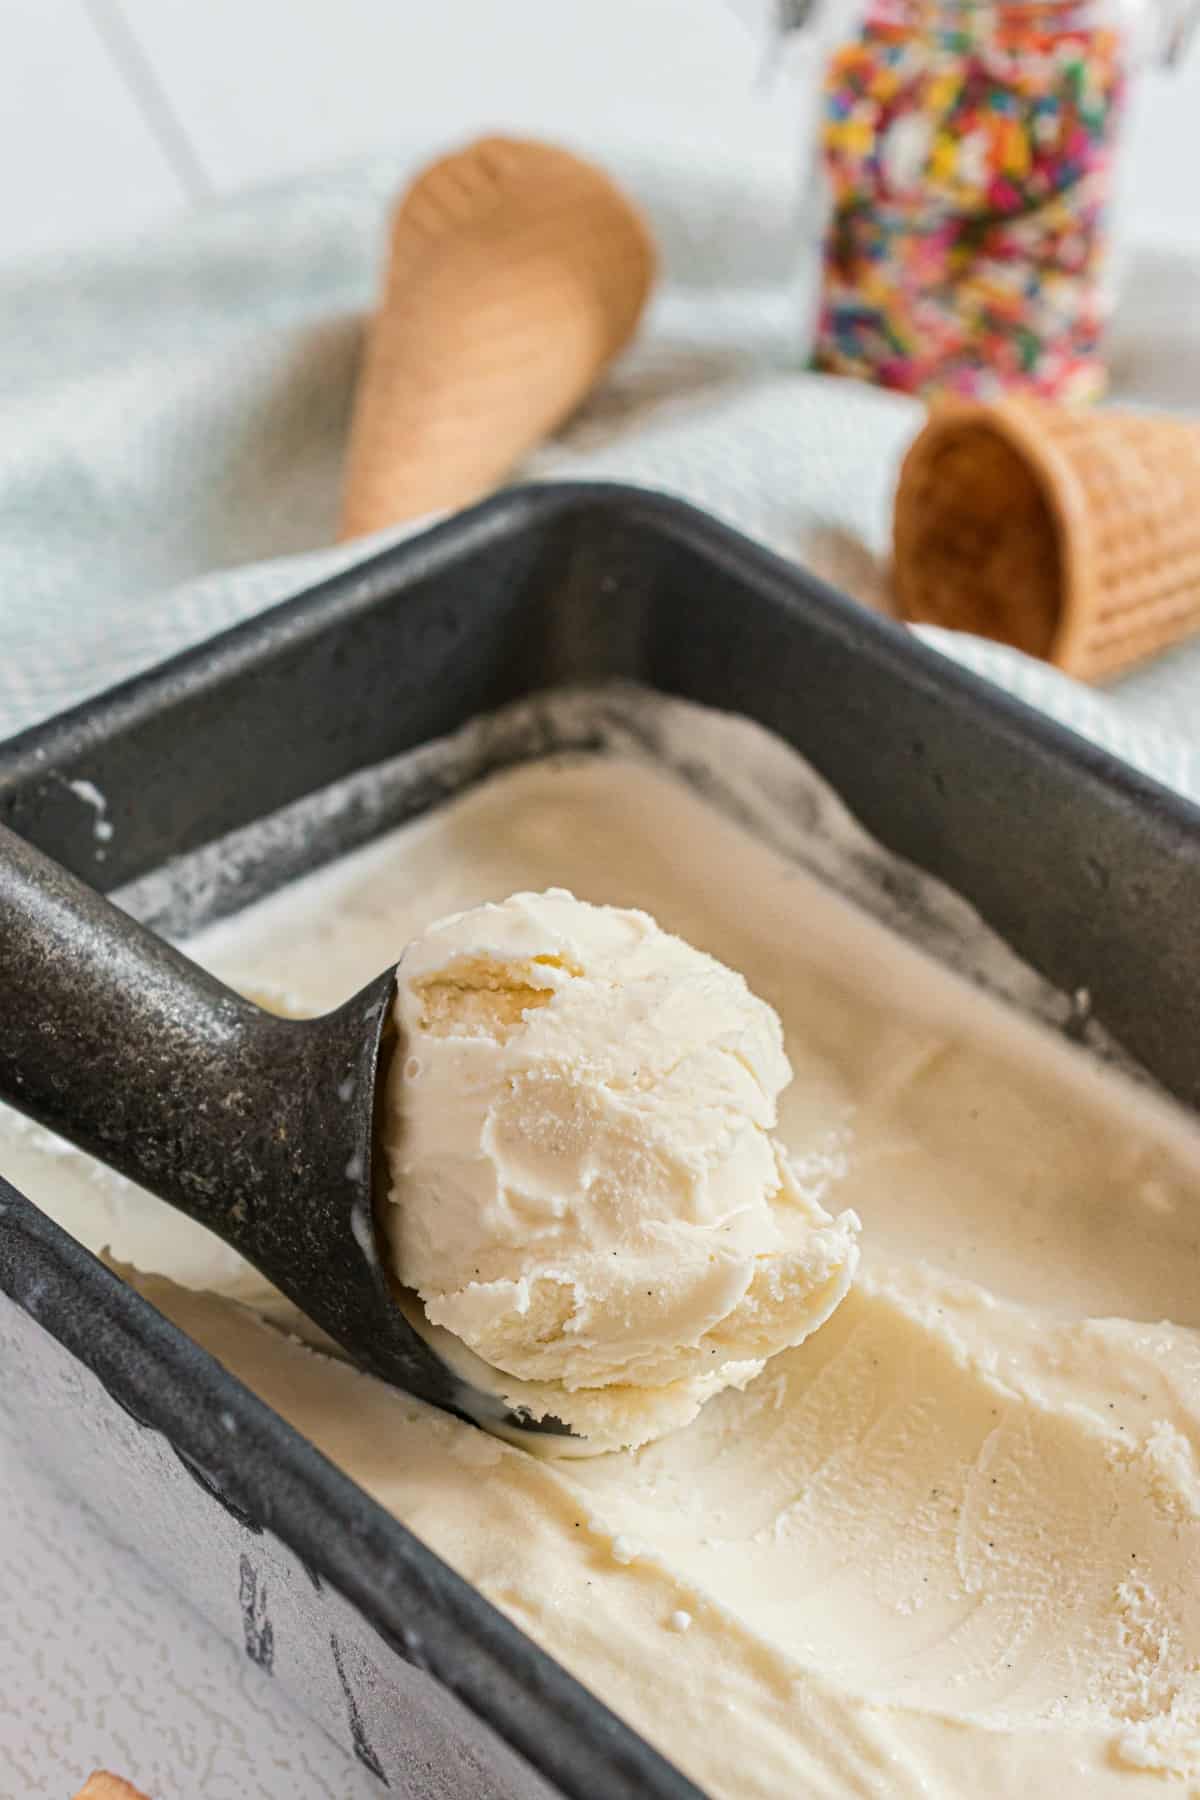
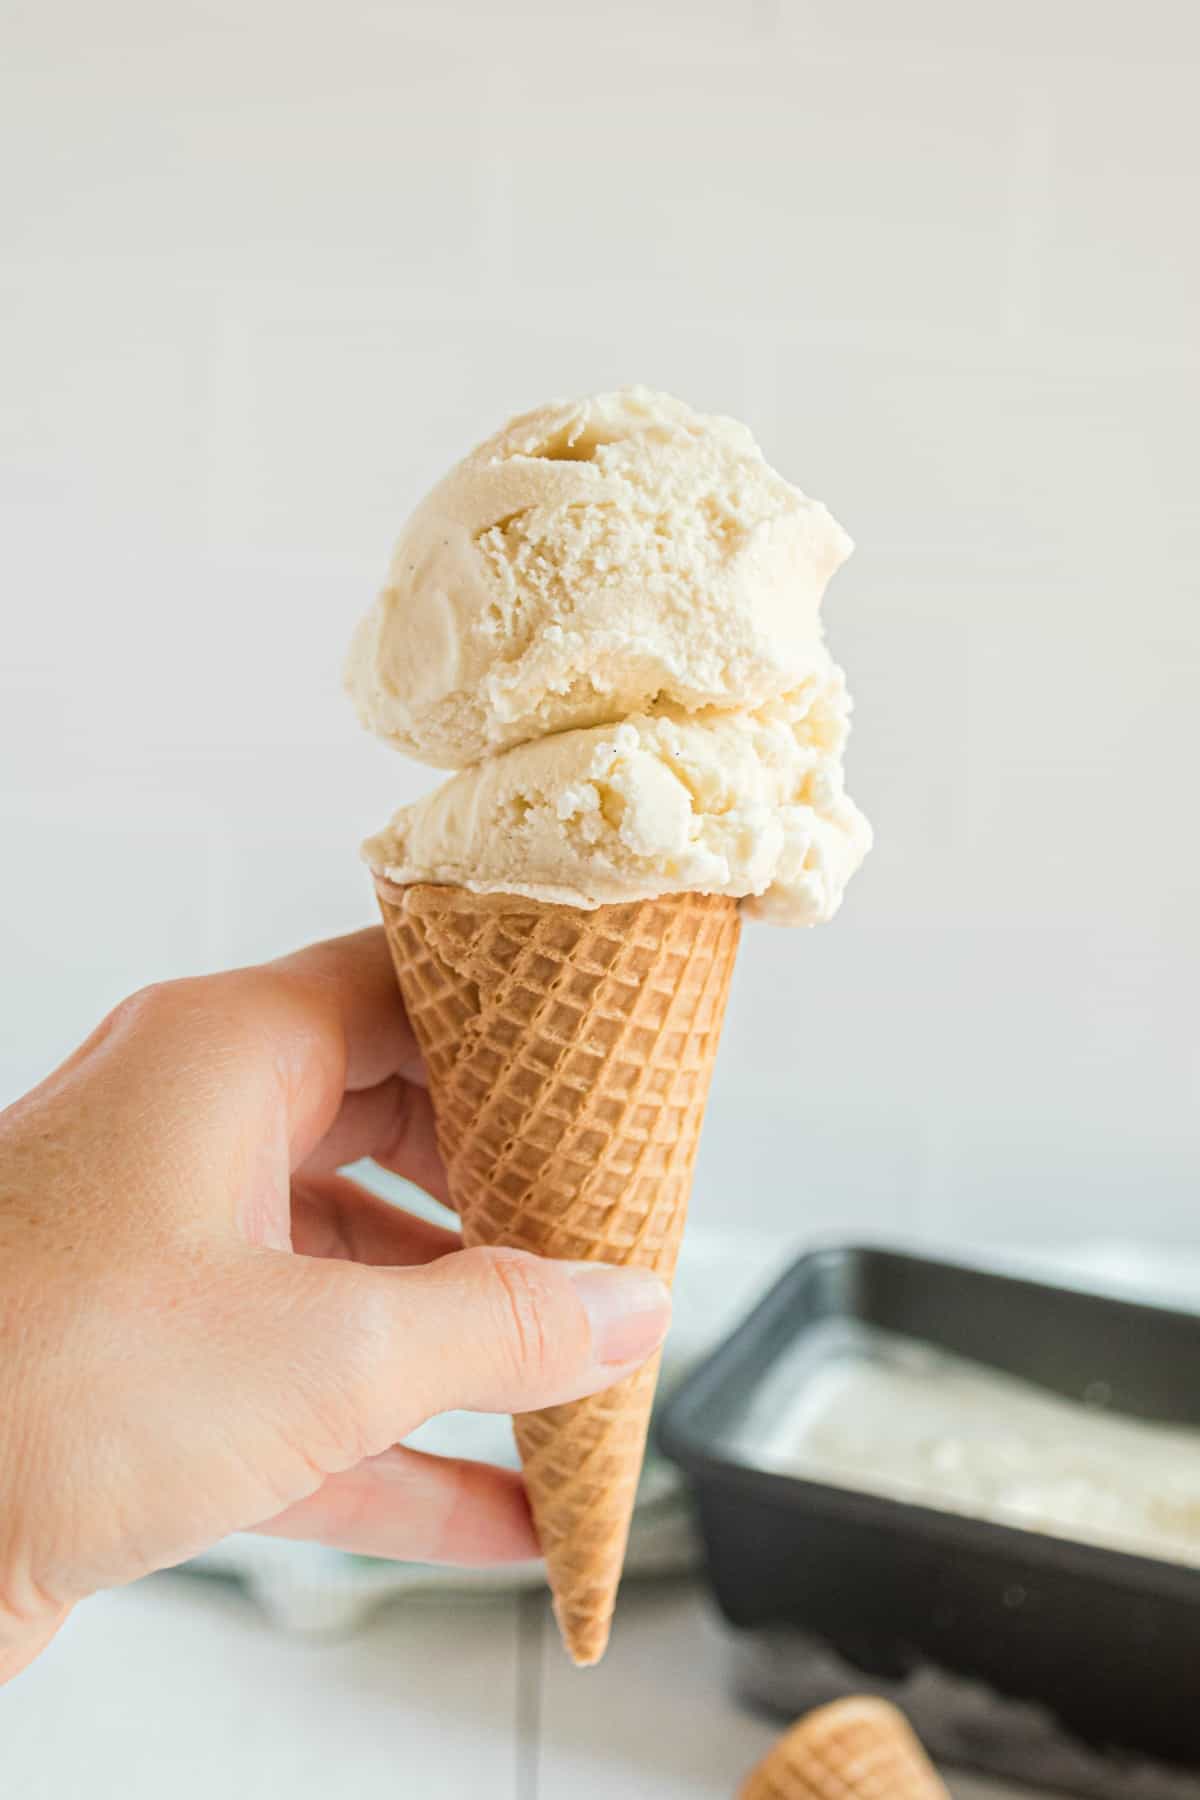
The best homemade Vanilla Ice Cream for making sundaes, scooping on top of pie or enjoying with a slice of birthday cake. It doesn’t get any better than the simple joy of a rich, creamy vanilla ice cream!
If I’m at an ice cream shop, I probably wouldn’t choose vanilla as my first choice. However, homemade vanilla ice cream is exceptional, and there’s always a container in my freezer!
This recipe was originally published in September 2020. The recipe notes were updated in January 2025.
Aimee’s Recipe Notes
- Taste: Classic and creamy with rich, sweet vanilla flavor.
- Texture: Smooth, and perfectly scoopable.
- Ease to Make: Easy, with minimal prep and a churn for that perfect texture.
- Top Tip: Add in some mix-ins for an over the top treat.
Owning an ice cream maker might sound a little . . . unnecessary to some. I mean, why go through the effort of making homemade ice cream with so many different kinds of ice cream available at stores these days?
The answer? The taste.
There’s nothing like the taste of freshly churned homemade ice cream. You can adjust the flavor and consistency based on your preferences and experiment with tons of adds-ins and variations to your heart’s content.
But before you do that, let’s start with the basics: Vanilla Ice Cream.
My friend Mary at Barefeet in the Kitchen is the Queen of homemade ice creams. (I’d call her the dairy queen but that name is taken.)
She shared this vanilla ice cream recipe years ago and now I’m passing the joy along to you.
It creates a creamy cold treat that’s robust with vanilla flavor. With only a few ingredients, I love how simple it is to make, too!
Don’t forget to add a scoop on top of Apple Crumble, Instant pot cherry Cobbler, and of course in a Root Beer Float!
With pie season approaching, I can’t wait to make this to serve with my Pumpkin Pie and Dutch Apple Pie!
Featured Recipe Review
“I LOVE this delicious homemade ice cream recipe! So creamy and smooth!” – Valentina
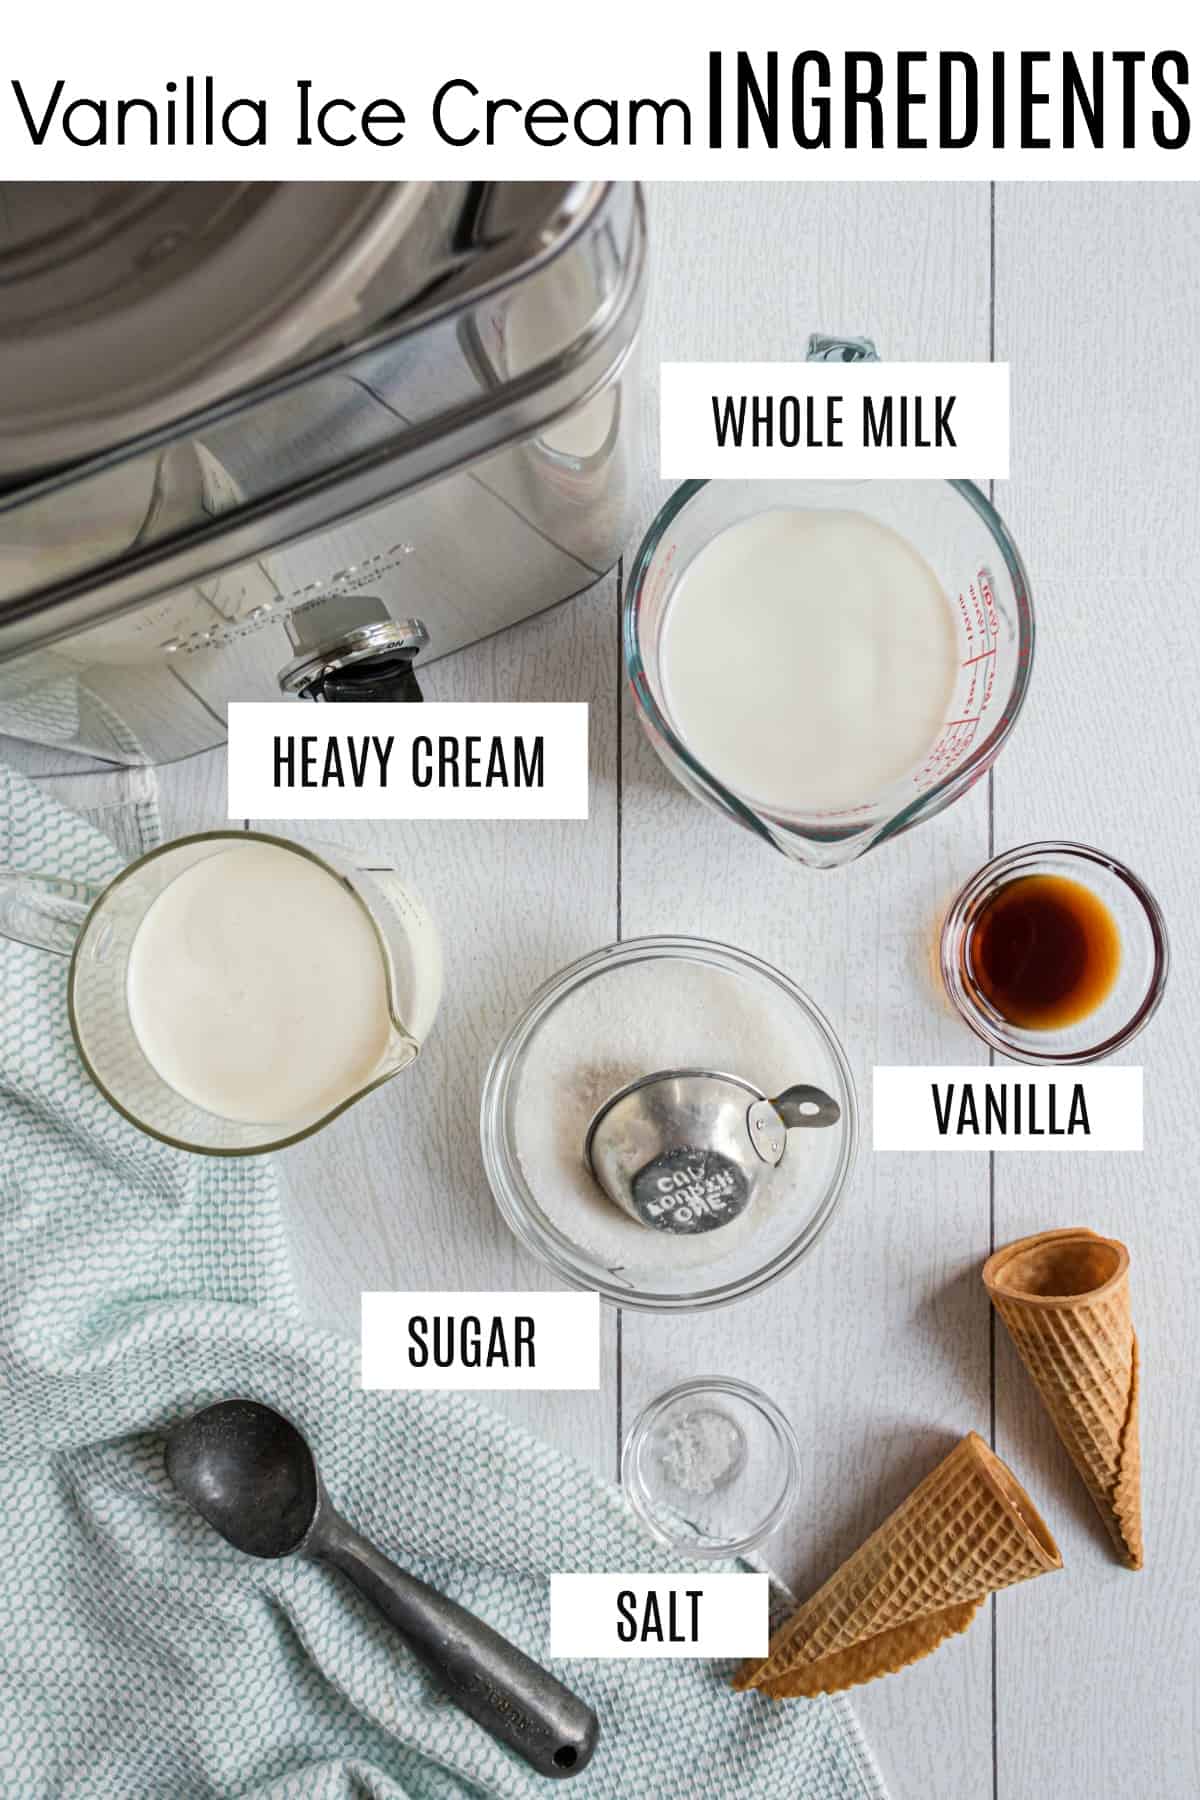
What you need (and don’t)
No eggs.
I love that this recipe uses zero eggs! There’s no need to cook anything, just whisk and churn. (AKA Philadelphia style ice cream)
What vanilla to use:
I’ve had success making this ice cream with both real vanilla extract and vanilla bean pods. If using vanilla extract, make sure it’s real vanilla extract and not imitation flavor.
Using real vanilla bean pods gives the ice cream a richer vanilla flavor. Split the pod in half and scoop out the seeds. Use the seeds of one whole vanilla pod in place of the tablespoon of extract.
PRO TIP: I order my vanilla bean pods on Amazon! You get more for your money!
To add even more vanilla taste, use Vanilla Sugar in place of the granulated sugar in the original recipe.
How to Make Ice Cream
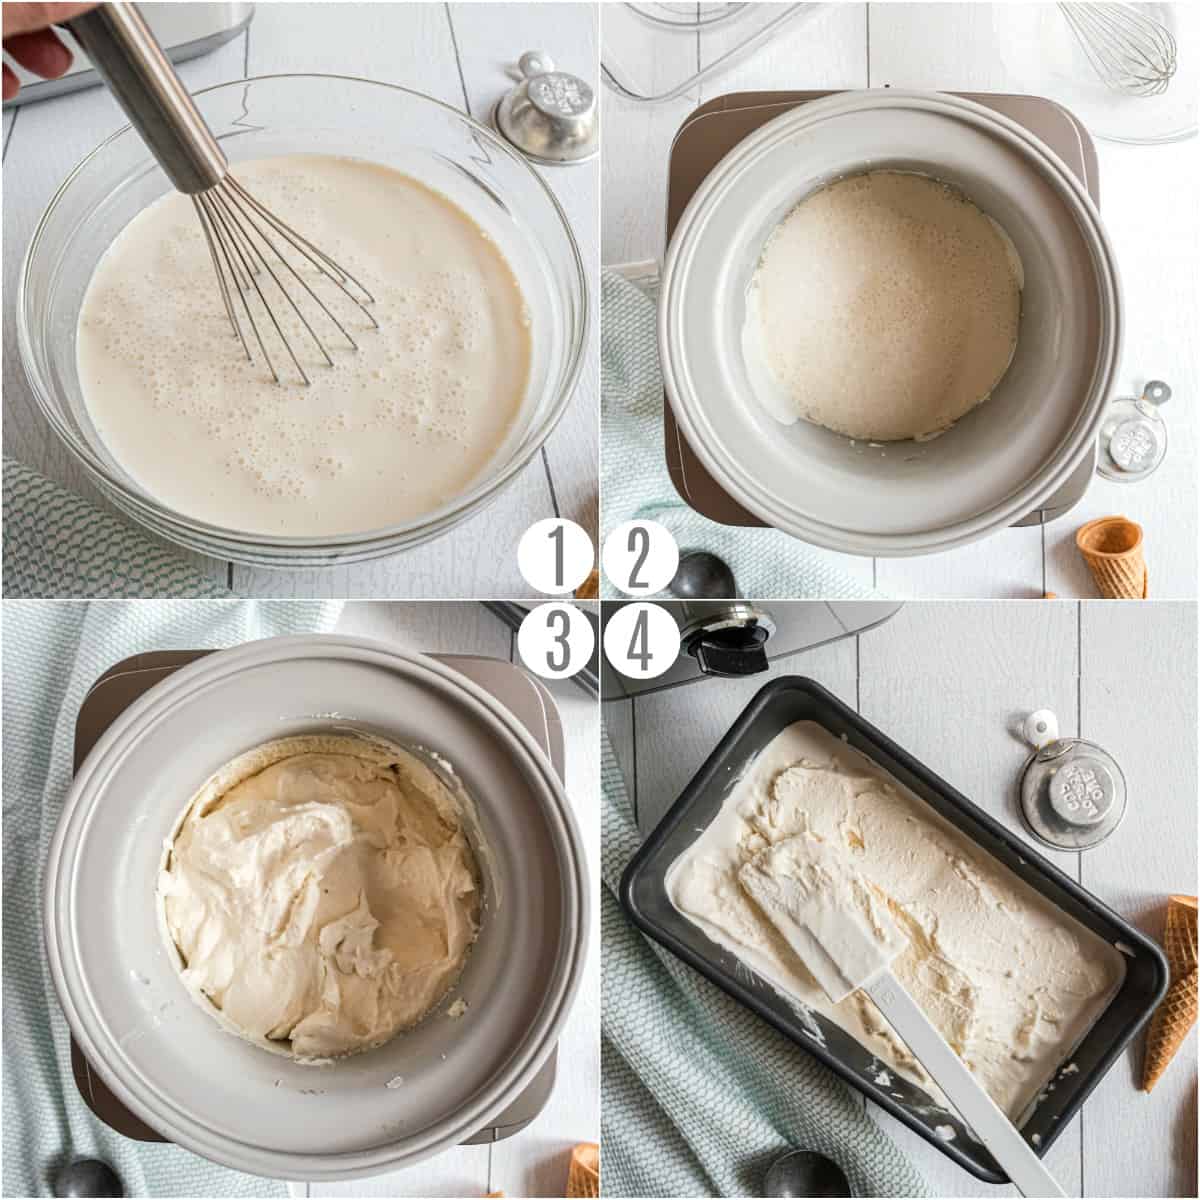
STEP 1. Combine ingredients
Mix the heavy cream, milk, vanilla, salt and sugar in a large bowl until combined.
STEP 2. Churn
Pour into your ice cream maker. Follow the manufacturer’s directions for churning. Mine took about 20 – 25 minutes to create a soft ice cream.
STEP 3. Freeze
Pour directly into an airtight freezer safe container. Freeze for 12 hours or until hard or for less time if you want more of a soft serve consistency.
How to Serve
When the ice cream is set to your desired hardness, use an ice cream scoop to serve. You can enjoy it just as is or top with all your favorite ice cream toppings!
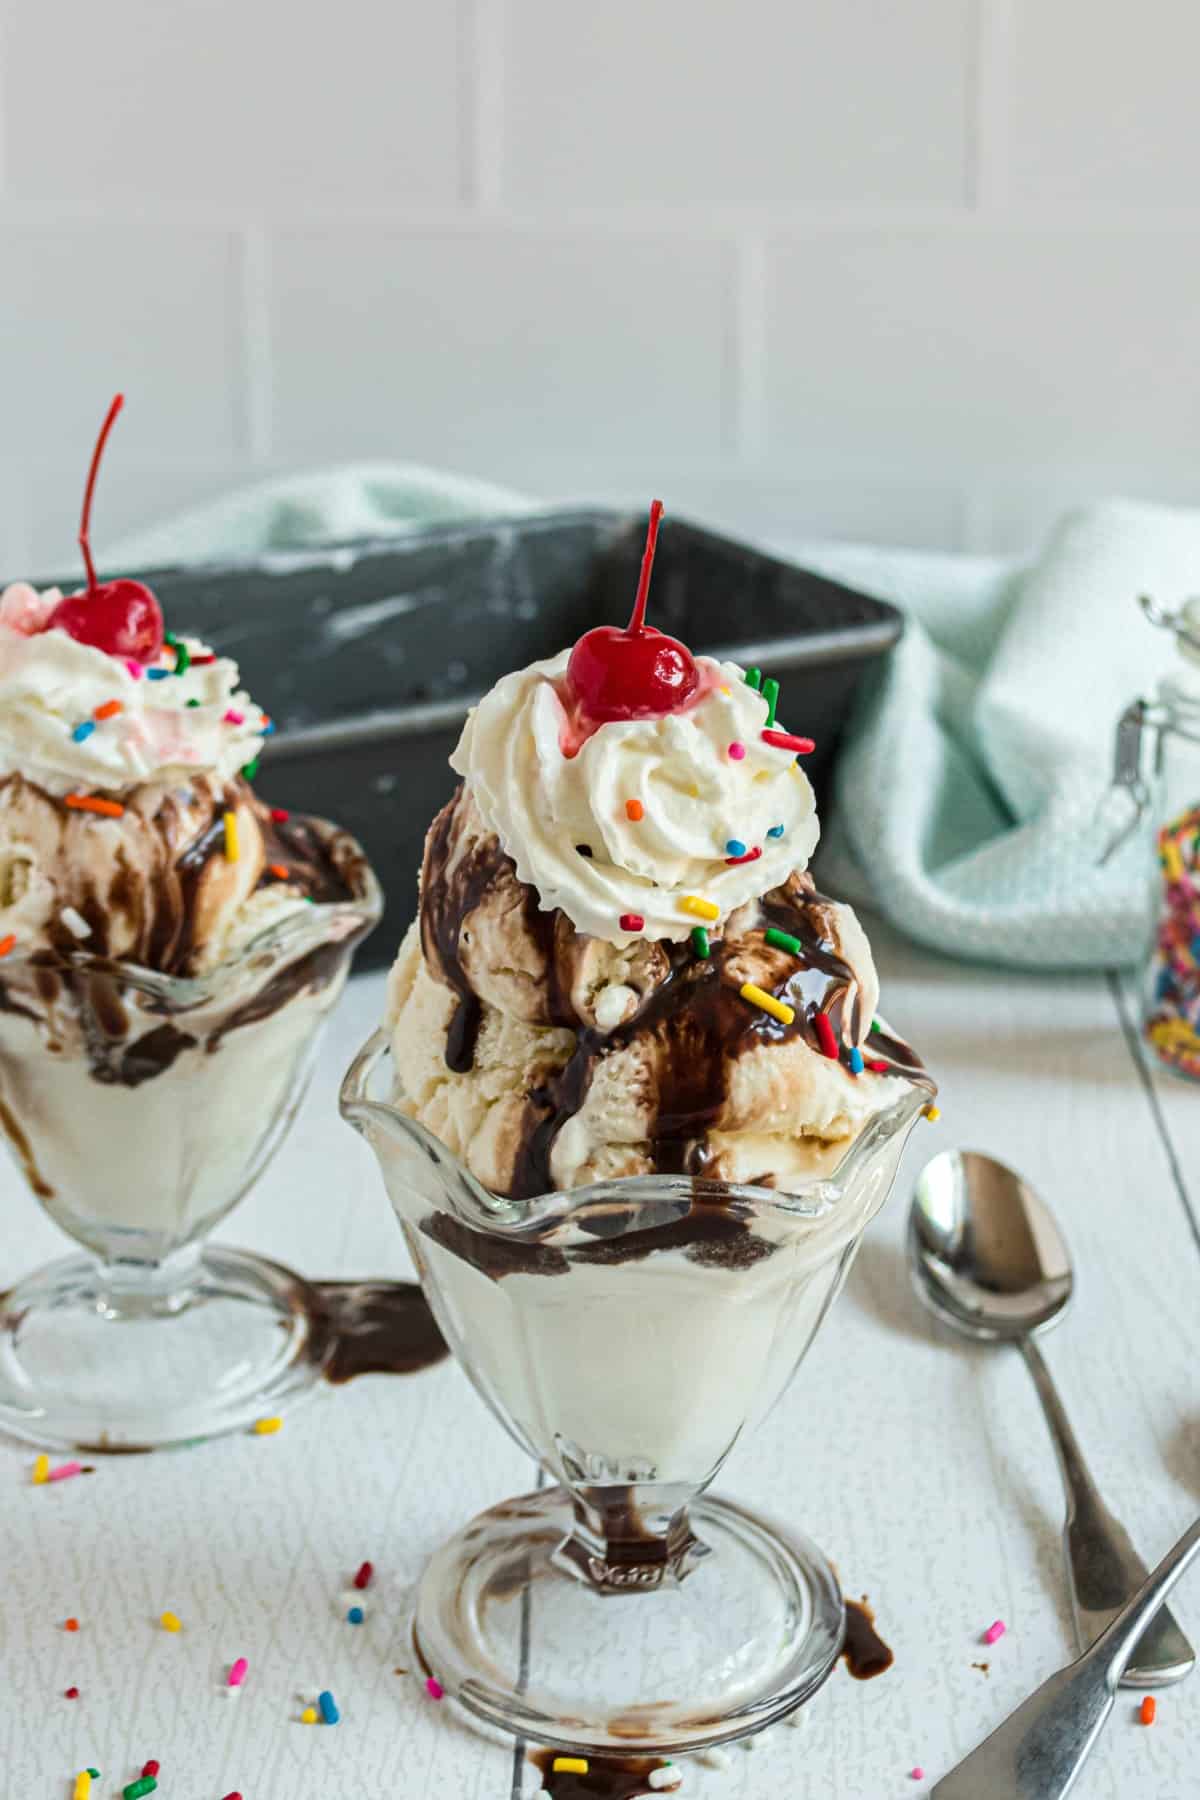
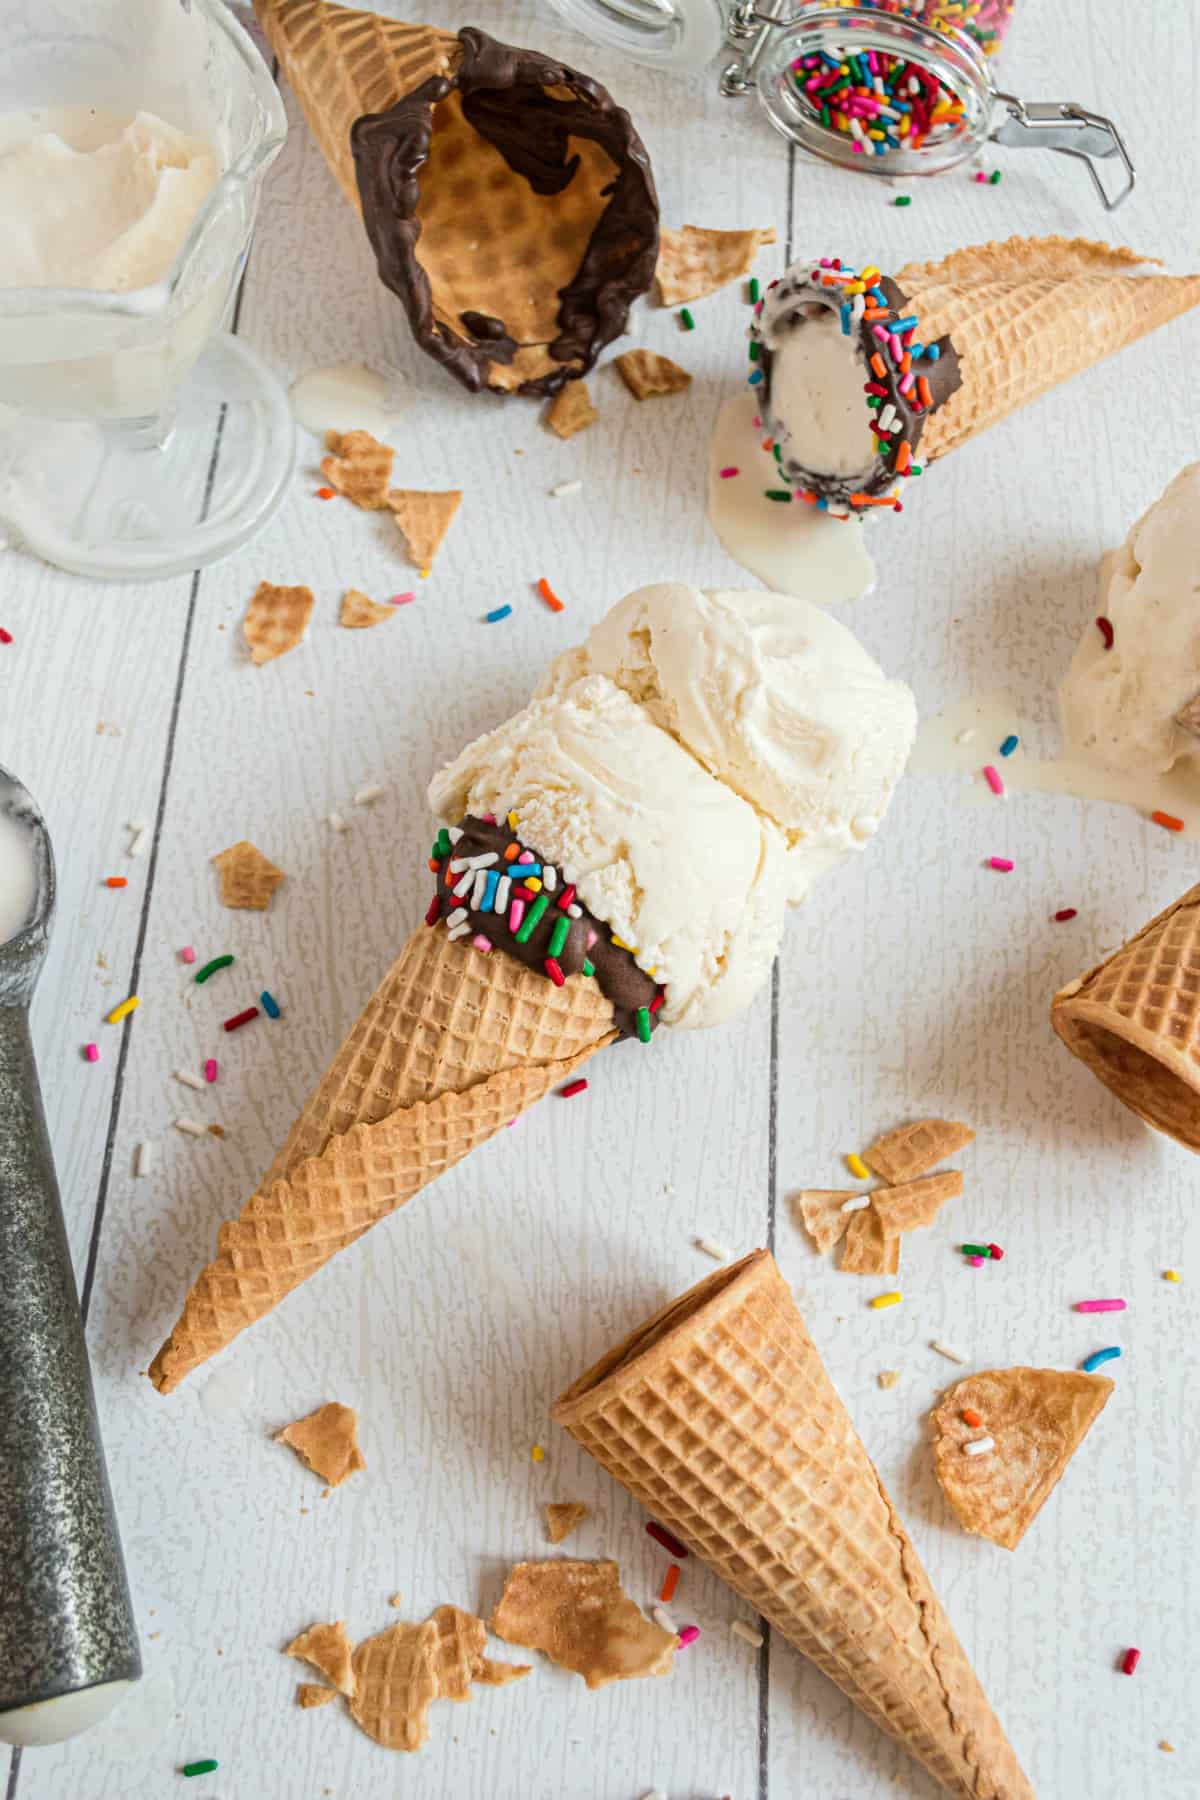
Go the traditional route with chocolate syrup, magic shell, strawberry syrup, caramel sauce, whipped cream, sprinkles, and a cherry on top!
You could even add a big dollop of homemade strawberry freezer jam on top!
This ice cream is divine with Pumpkin Waffles for a fun special occasion breakfast or “breakfast for dessert” night.
It would be wonderful on Skillet Apple Cobbler and Apple Cranberry Crumble and basically anything with the word “crumble” or “crisp” in the name.
Don’t forget to add a scoop on your apple pie, cherry pie, or blueberry pie!
Have you ever put ice cream in your coffee? It’s so delicious in Caramel Coffee Shakes!
Mix Ins:
If you want to add some of the following mix-ins, I suggest you do fold them in after it’s done churning, and before you freeze the ice cream.
These are some of our favorites:
- Cookies. Add in some broken Oreos for a Cookies and Cream Ice Cream, Chocolate Chip Cookies, or Oatmeal Cream Pies (yes, do this one first, it’s amazing)
- Sprinkles. We prefer jimmies, but any sprinkles will work!
- Candy. Butterfinger, Snickers, Twix Bars, Milky Way, Heath or homemade English Toffee.
- Fruit. You’ll want to puree it first so it’s doesn’t get “icy”
- Cocoa. Make our homemade chocolate ice cream next!
Tips and Tricks
- A metal loaf pan is perfect for freezing the ice cream. I covered it with a layer of plastic wrap and then a layer of foil to prevent freezer burn and keep the ice cream tasting fresh.
- If possible, use a deep freezer to harden your ice cream for best results. Due to the frequent opening and closing of a traditional refrigerator/freezer, it may take longer for the ice cream to be solid. Try to avoid opening and closing your freezer while the ice cream is freezing to ensure it reaches a scoopable texture.
- I used a Cuisinart Ice Cream Maker (on Amazon!) and found that the ice cream was very soft when churning was done, perfect for a soft serve cone.
- Skip the ice cream. I know, I know. But how cute are these ice cream cone cupcakes instead? No melting!
- No Ice cream maker? No problem. Try our no churn vanilla ice cream or berry ice cream instead!
- Dogs- while human ice cream shouldn’t be given to doggies, you can make them a batch of our dog ice cream treats so they can join in the fun!
- Sugar Free- try my sugar free mason jar ice cream recipe for a delicious vanilla treat!
Recipe FAQs
Adding alcohol to the ice cream after churning will keep this softer. However, if it’s for children, you may need to just let it sit on the counter for a little while first.
Yes! Put the frozen ice cream in a blender or electric mixer. Blend until smooth and creamy and fold in your favorite candies.
I prefer higher fat milks, like whole milk and heavy cream for the rich smooth flavor and texture!
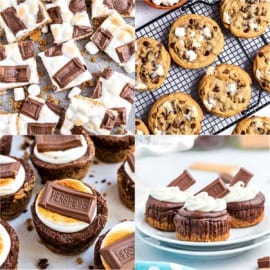
More Ice Cream Desserts
- You can never go wrong with a classic like this creamy Ice Cream Cake!
- Want something sweet, fruity, and refreshing? Try these Strawberry Shortcake Ice Cream Bars!
- Make this Brownie Ice Cream Cake for your kids birthday party for everyone to love!
- This easy Dole Whip is so fruity and good, never buy store bought again!
- Make this rich, decadent Chocolate Cake Shake for a creamy milkshake!
Pin this now to find it later
Pin It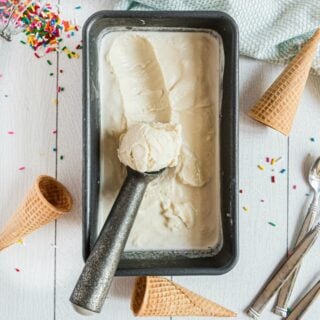
Vanilla Ice Cream Recipe
Ingredients
- 1 ¾ cups heavy whipping cream
- 1 ¼ cup whole milk
- ¾ cup granulated sugar
- ⅛ teaspoon salt
- 1 Tablespoon of vanilla extract
Instructions
- In a large bowl, whisk all ingredients together.
- Pour directly into an ice cream maker and follow directions per manufacturer’s instructions for churning.
- Once churning is complete, pour into an airtight, freezer-safe container and freeze at least 12 hours before serving.
Notes
- For a deeper vanilla bean flavor, use one vanilla pod, split lengthwise and scoop out the seeds. Or use homemade vanilla sugar!
- I used a Cuisinart Ice Cream Maker and it took about 20-25 minutes to churn. Ice cream was soft, not not scoopable.
- I use a metal bread loaf pan and cover with plastic wrap then foil to store my ice cream.
- Due to the frequent opening and closing of a traditional refrigerator/freezer, it may take longer for the ice cream to be solid. Additionally, the ice cream may remain in a soft state. For best results, placing the ice cream in a deep freezer is recommended.
- Recipe from Barefeet in the Kitchen
Nutrition
Everyone should know how to make Homemade Vanilla Ice Cream! This easy recipe is the perfect place to start.

I love this recipe! I usually run the cuisinart for 35-40 minutes, turns out perfect!
This vanilla ice cream recipe turned out excellent and was a big hit at our daughter’s graduation party. I used part half and half for some of the whole milk. Definitely saving this one!
I made this ice cream and I think that 1 tablespoon of vanilla is too much. This also didn’t make 2 quarts, it only made about 1 quart of ice cream.
Looking forward to trying this! Can you use 2% milk, or does it have to be whole milk?
Thank you for the recipe. Awesome and I made it a few times on my Breville (The Smart Scoop) and works perfect. Love your web site, the story line leading up to the recipe, layout, very modern, trendy, and contemporary. Some comments regarding struggling to get to the recipe are not founded and based on ignorance, its how most new foody websites are done. And for people not able to convert cups to quarts, get a converter online. Not all recipes are written in ounces and quarts, there is another world out there. I don’t see people working in milliliters, complaining when reading a recipe in ounces, we deal with it and appreciate the effort going into publishing them.
I also looked at other recipes on your web site. It’s a beauty. Thank you for your hard work you put into the recipes and give to us for free.
Can you talk a little more about how to keep your ice cream from getting hard as a rock in the freezer? I find that if I want to make Ice cream to have in the freezer for a week, it ends up being rock hard after about 24 hours, and then the consistency is ruined when I want it 3 or 4 days later. Looking for a solution to keep the ice cream the consistency of store bought.
Hmm, I haven’t had that issue. However I do love using these ice cream containers! https://amzn.to/3IWhoiE
Adding vegetable glycerin will keep it soft! Research it
Definitely a very very sweet vanilla ice cream. Next time, I will only do 1/2 cup of sugar, or less if I do sweet add-ins.
The only problem is one has to scroll like 20 pages just to get to the basic ingredients. You tell us how to do it before what to use. I think that is a bit backward. This is my first attempt at home made ice cream and I’m using a Cuisinart. However, I’m 63 and been making things fr scratch since I was 8. Granted not everyone can do that but if anyone is going to attempt homemade ice cream they should know the basics of cooking. Even cookbooks give the ingredients and amounts before they tell you how to mix together.
You made such a seemingly basic thing into 30 minutes of reading. Experienced cooks dont have that kind of time.
There is a “jump to recipe” button at the top of all my recipes that takes you directly to the recipe card.
I must have missed the jump 2 button at the beginning where the measurements should have been posted. Just saying
That is so not the point. When you are looking for a recipe, you want the recipe not some crap that no one reads or cares about. and another thing for the person who wrote this recipe. HOW MUCH does this recipe make in quarts. SINCE ALL home made ice cream makers use quarts for measurements.
Unless you are running a restaurant, what difference does it make if you read a little before you try the recipe? Getting an idea about what you are doing and the steps involved can be very helpful to novice bakers. I think Aimee is very good at what she does but if the extra reading is unnecessary for someone so proficient at cooking and baking as yourself, maybe you should stick with what you already know. I personally wouldn’t be able to sleep at night thinking you have been inconvenienced in any way.
👍Ditto!!
I concur. The ingredients should be listed at the beginning with the measurements I had to scroll through pages to find the amount to use now that I did appreciate the whole story involved but when I was trying to put it on I could have read the whole rest of the story . I made it came out wonderful thank you
I don’t see wheee it says how much this makes. Is it 2 at or what?
I love this recipe, it is so easy and yummy!! I bought the Tasty Cuisinart ice cream maker off of Amazon, and some Vanilla Bean Paste from Madagascar Vanilla Bean Kings. I just got the ice cream maker last week and have made the ice cream 4 times since. I brought ice cream and A&W Root Beer to work today. Excellent, thanks for the recipe…..
LOVE to hear it 🙂
I LOVE this delicious homemade ice cream recipe! So creamy and smooth!
Homemade vanilla ice cream is so good. This is a great recipe!
Looks like the perfect vanilla ice cream!! YUM!
Can’t wait to make this! But I have a question. I have some chunks of chocolate I would like to turn into sauce, syrup, topping, I don’t care which, but I don’t want to use sweetened condensed milk as the liquid. What else can I use?