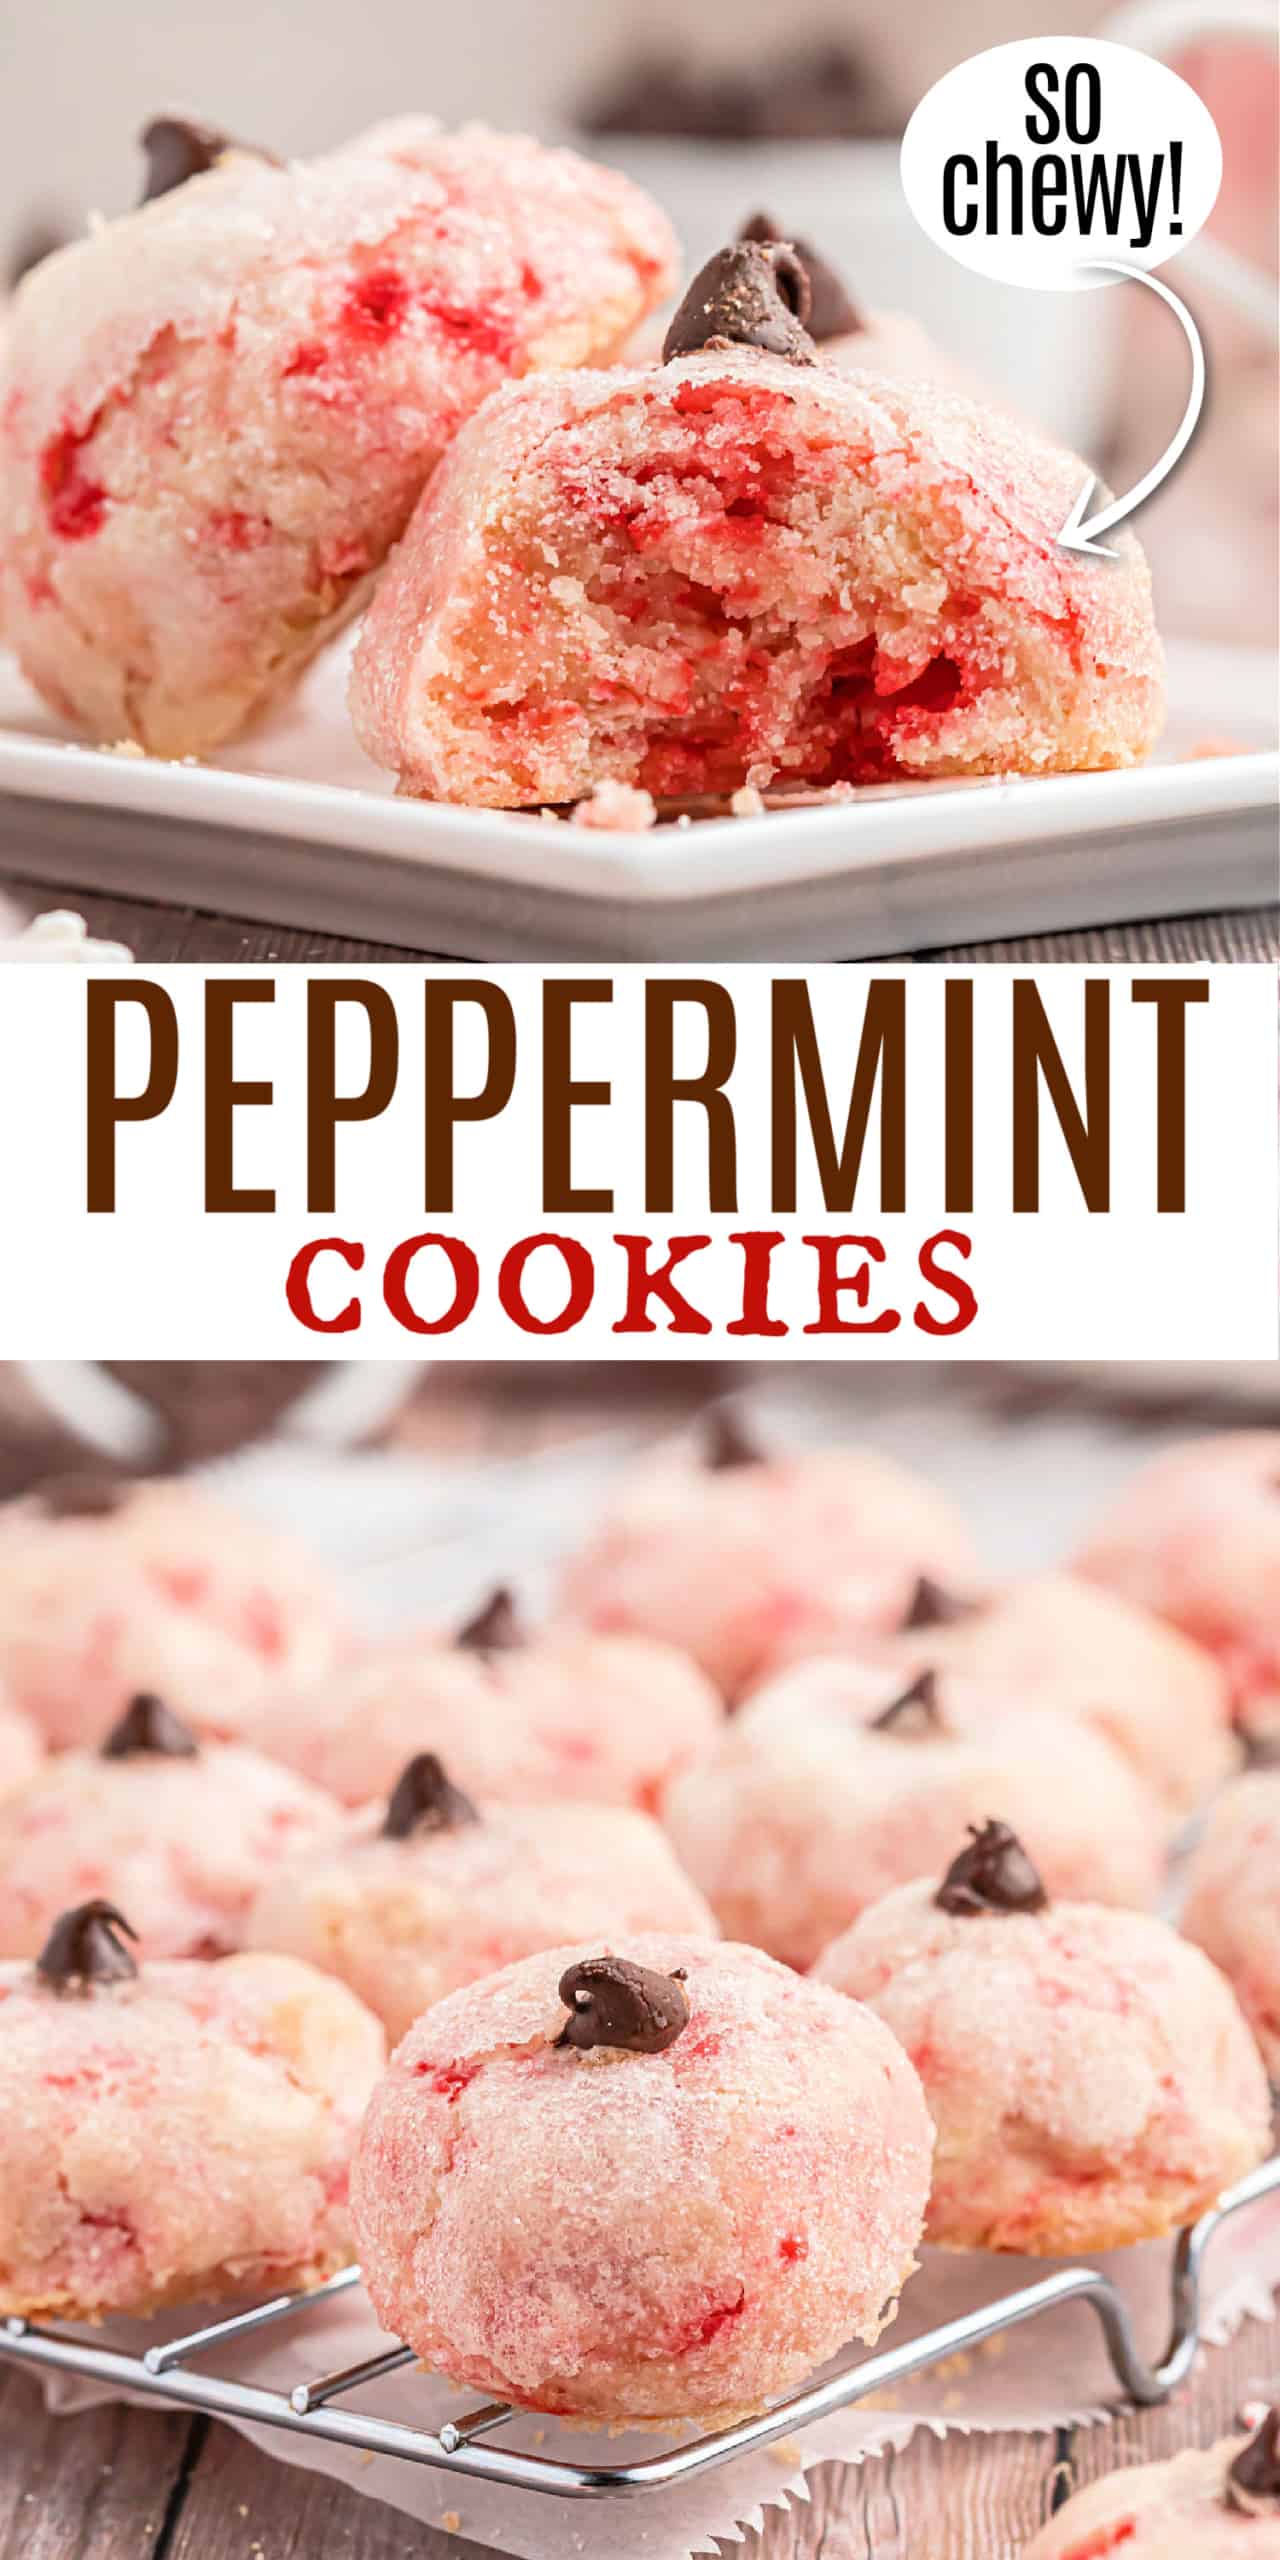
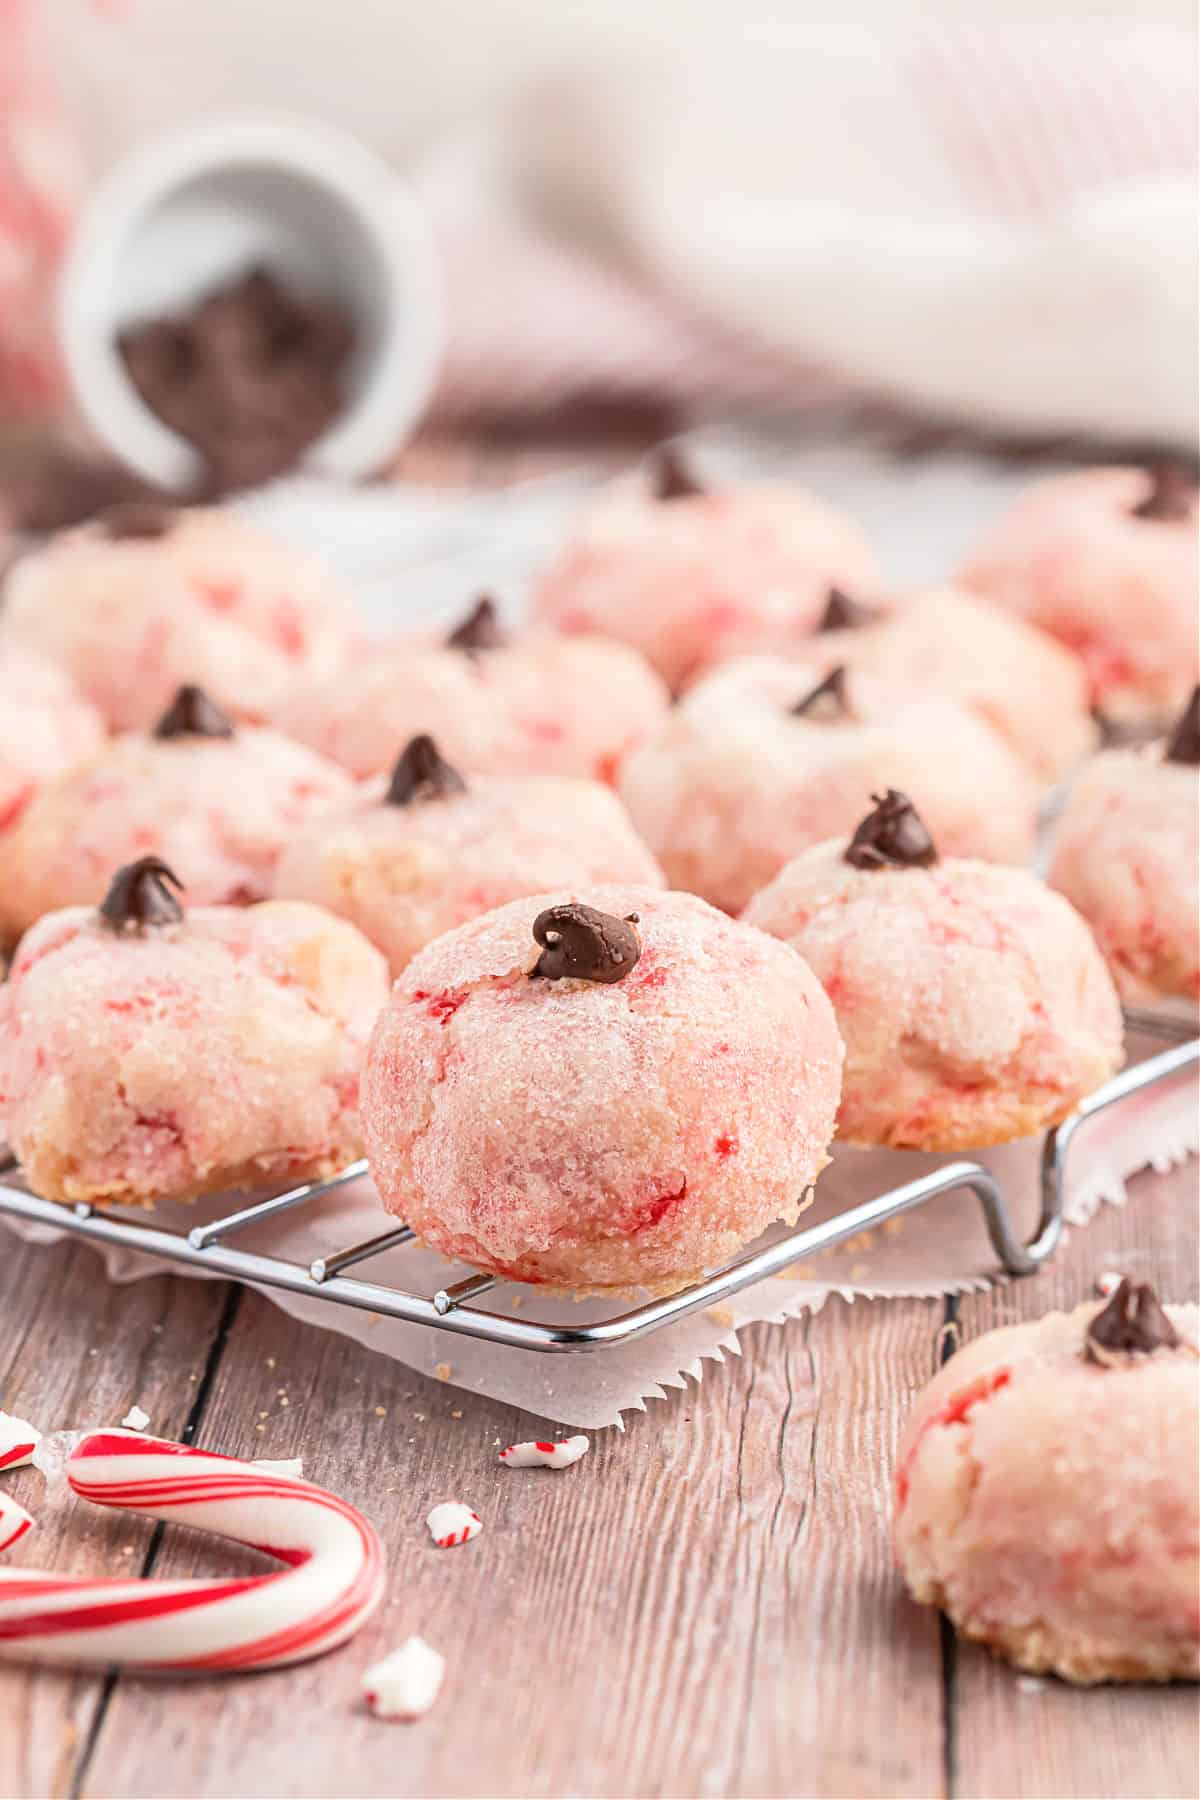
Peppermint Puff Cookies combine the best parts of a classic cookie with the best parts of a smooth buttery peppermint candy. Add a chocolate chip for sweetness and you have my Grandma’s favorite Christmas treat.
Grandma’s Cookie Recipe
Every family has their “must make” cookies; the ones that make their way into the holiday cookie platter every year without fail. Thanks to my grandma, these Peppermint Puff Cookies are one of ours.
I don’t think I can remember a Christmas where these didn’t show up at the family Christmas party or end up on the cookie plate we gave to friends and neighbors. My grandma loved making them and we all loved eating them!
They might not look like much, but these peppermint cookies are deceptively delicious.
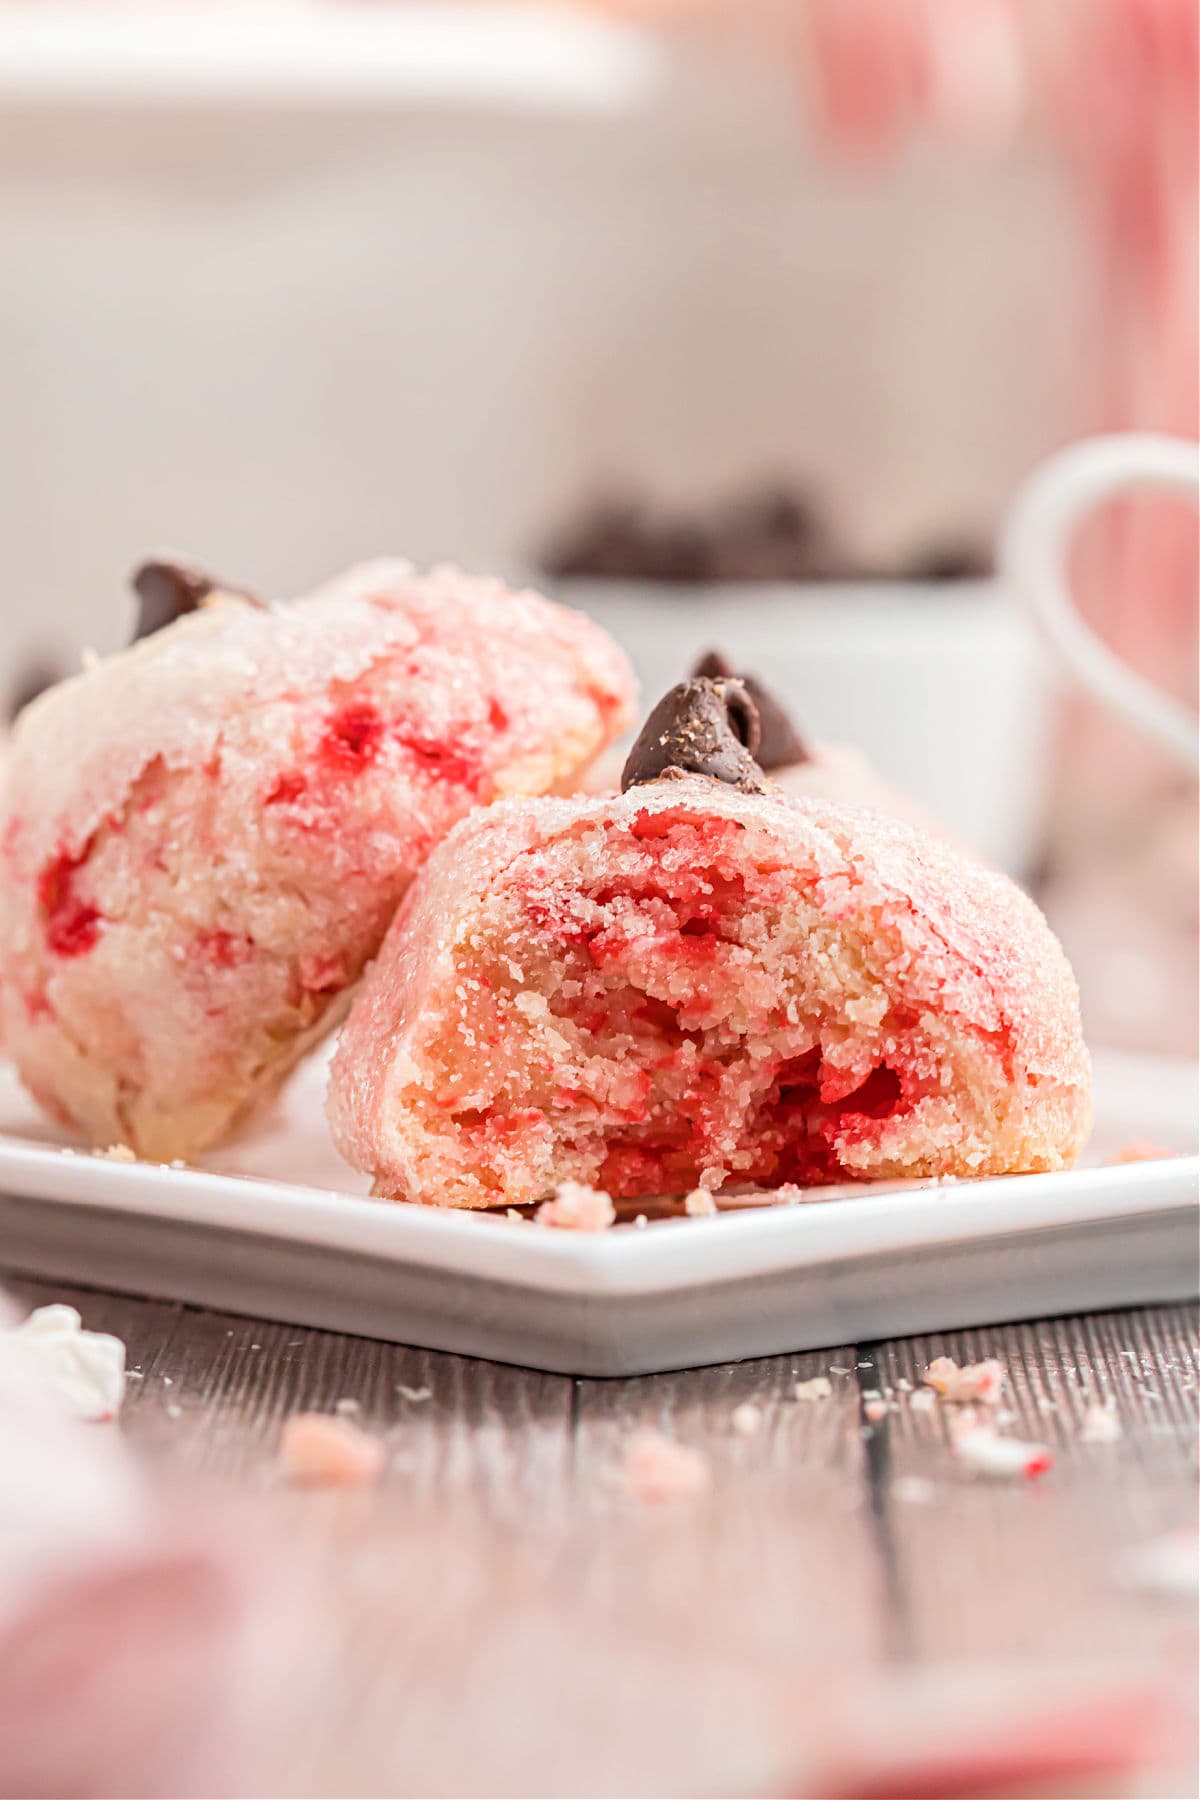
The crunchy sugar coating–and extra crunch from whipped egg whites– makes you *think* you will be biting into a crunchy cookie. Then you get to the center—the soft, buttery peppermint center! Oh my word.
The single chocolate chip gives just the right amount of sweetness to these cookies, without overtaking the peppermint flavor!
My grandma also made cream cheese mints and thumbprint cookies every holiday!
Ingredient Notes
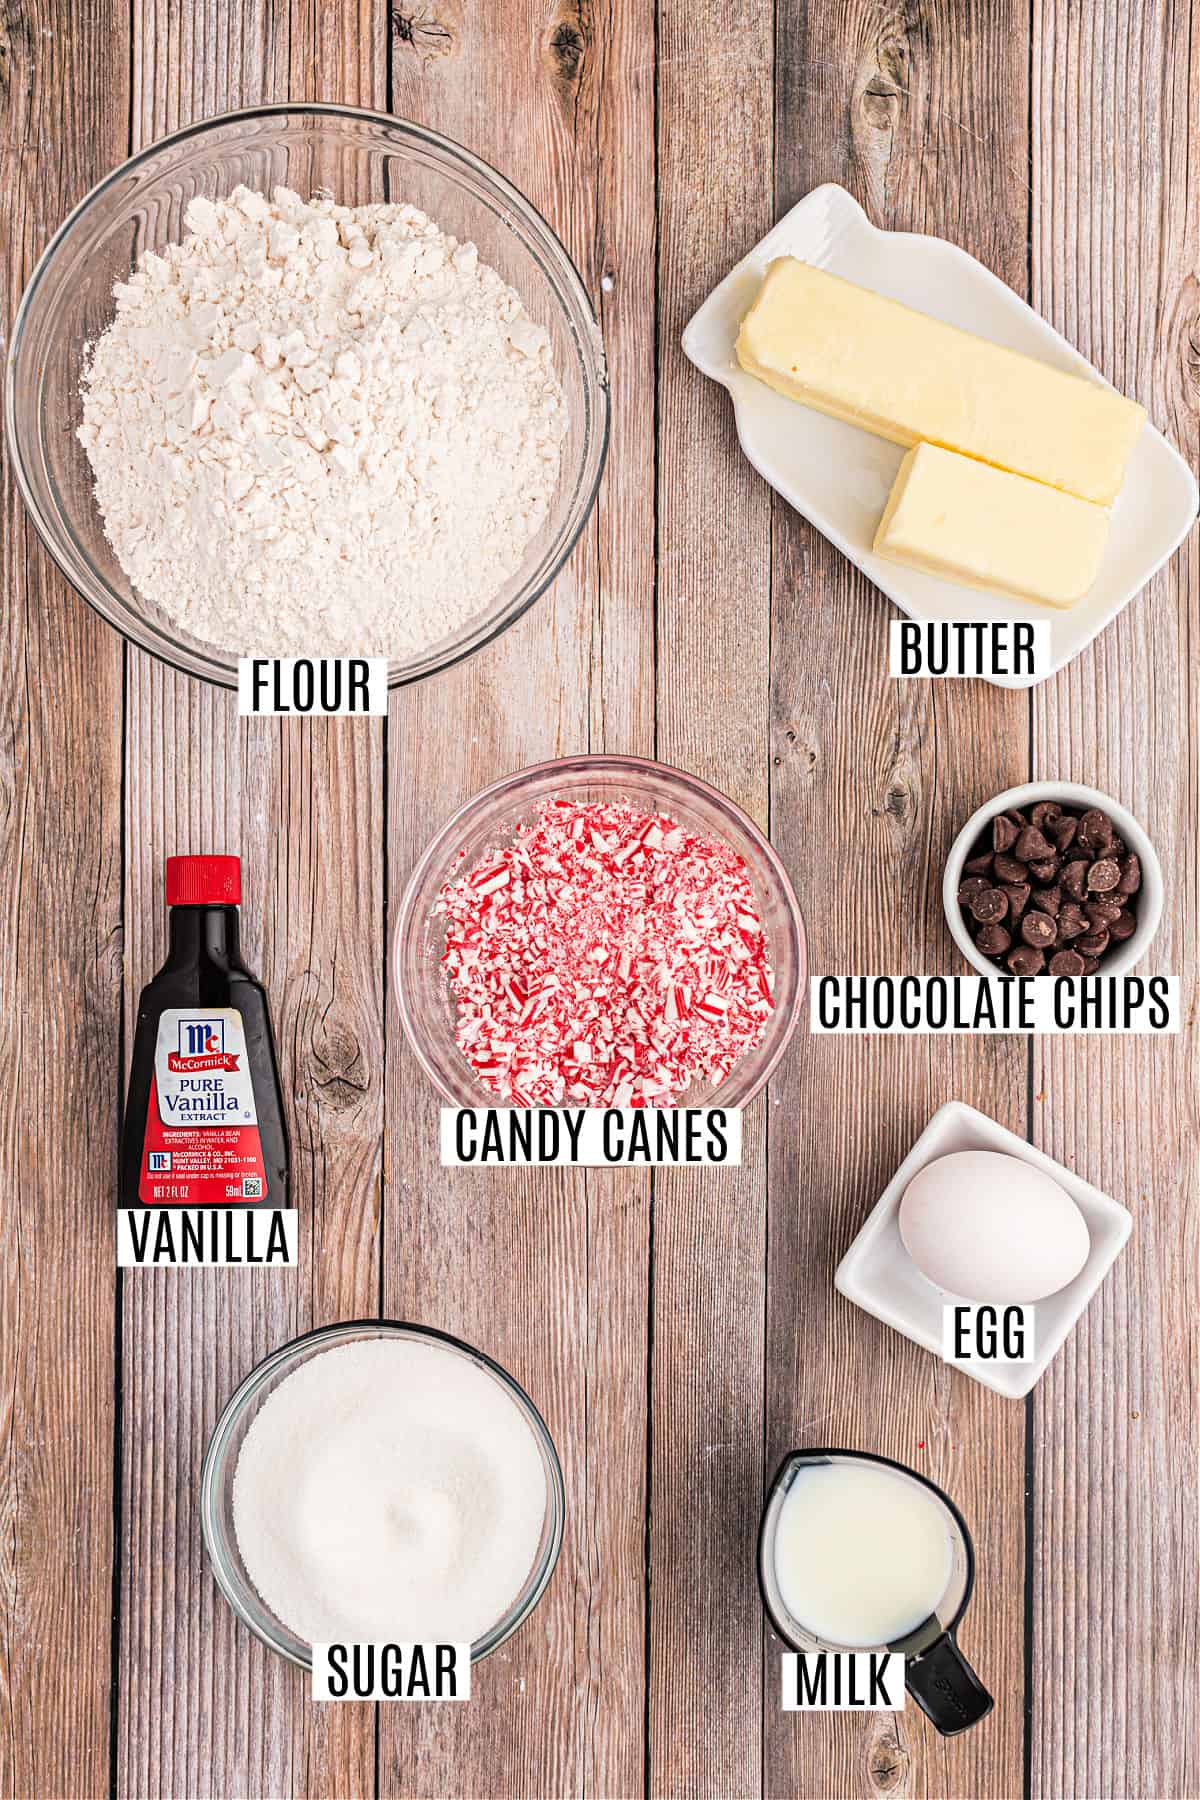
- Egg – You’ll use both the egg yolk and the egg whites at different stages in the recipe, so be sure to separate them before you start baking.
- Peppermint Candies – I place the candy canes in a ziploc bag then crush them with a heavy rolling pin. The round peppermints would work too but they’re harder to crush!
- Chocolate chips – My Grandma uses traditional semi-sweet chocolate chip morsels but dark chocolate morsels taste great with peppermint too.
PRO TIP- We love making our own homemade vanilla extract, but if using store bought, be sure it’s pure extract, not imitation (for best flavor).
Step by Step Instructions

Make the dough.
- Cream together butter, sugar, vanilla extract, milk, and the egg yolk. Gradually add in the flour and crushed candy canes to form a crumbly dough.
- Shape the crumbly dough into balls using your hands.
Sugar coating.
- Whip the egg whites for about 30 seconds to make them foamy. Dip each cookie ball into the egg whites, then roll in a plate of granulated sugar.
- Place them evenly apart on a baking sheet .
Add chocolate.
- Press a chocolate chip onto the top of each cookie ball.
- Bake for 15 minutes and let the cookies cool on the pan for about 10 minutes before transferring them to a wire rack to finish cooling.
Pour a glass of milk (or eggnog) and enjoy!
Recipe FAQs
Keep them in a sealed container at room temperature for up to 1 week.
I got about 2 dozen cookies from this dough measuring 2 tablespoons of dough per cookie.
I don’t recommend freezing Peppermint Puff Cookies. Freezing and thawing will change the consistency of the cookie and the texture is one of the things that makes them so good!
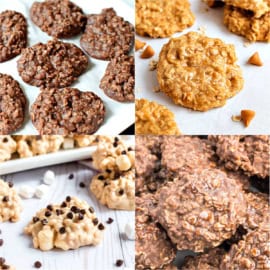
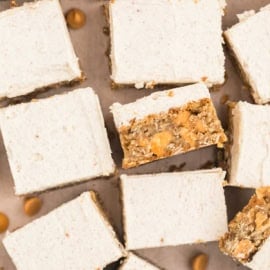
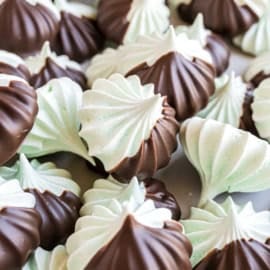
Easy Holiday Desserts
- Love easy Christmas cookies? I’ve got some favorites here, including kolachkys, cut out sugar cookies, rugelach, and hot chocolate cookies.
- Add this Cranberry Christmas Cake to your holiday menu, whether you serve it for breakfast or dessert is up to you!
- These adorable Cherry Hand Pies are delicious and easy too.
- Add my Homemade Turtles to your candy trays this year.
- Looking for something easy? My Cool Whip Candy is only 3 ingredients.
- Whip up a batch of these chocolate chip snowball cookies for your cookie plates!
Pin this now to find it later
Pin It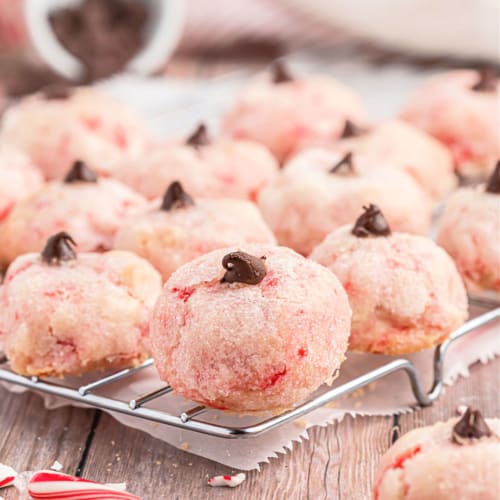
Grandma’s Peppermint Puff Cookies Recipe
Ingredients
- ¾ cup unsalted butter softened
- 1 teaspoon vanilla extract
- 1 cup granulated sugar divided
- 1 egg divided
- 3 Tablespoons milk
- 2 cup all purpose flour
- ½ cup crushed peppermint candy canes
- 3-4 dozen semi sweet chocolate morsels
Instructions
- In a mixing bowl, cream butter until smooth, about 2 minutes. Add vanilla and 1/4 cup granulated sugar. Beat until creamy. Add in egg YOLK and milk. Slowly add flour and crushed candy canes.
- Mixture will be VERY crumbly at this point.
- Taking about 2 tablespoons of CRUMBS, press in palm of hand to shape into a 1" ball. Repeat for remaining dough.
- In small bowl, whip egg whites for about 30 seconds until foamy. Put remaining 3/4 cup sugar in a separate bowl.
- Dip each ball into egg whites comletely coating, then letting the excess drip off. Then roll in sugar carefully. Lay cookies on a parchment paper lined baking sheet, about 2 inches apart.
- Press a chocolate chip onto the top gently (it will adhere during the cooking).
- Bake cookies in a 350 degree oven for 15 minutes.
- Remove and cool 10 minutes on pan before transferring to a wire rack. The bottoms will have extra egg white crisps that you can break off when you transfer to the rack. Cool completely.
- Store cookies in air tight container for one week. ENJOY
Notes
- Keep them in a sealed container at room temperature for up to 1 week.
- I don’t recommend freezing Peppermint Puff Cookies. Freezing and thawing will change the consistency of the cookie–and the texture is one of the things that makes them so good!
- I got about 3 dozen cookies from this dough measuring 2 tablespoons of dough per cookie.
- See blog post for more recipe tips and tricks.
Nutrition
Every holiday cookie platter needs at least one peppermint dessert! You can’t do better than my grandma’s Peppermint Puff Cookie recipe. I’m so glad she passed the tradition down to me me all those years ago and, now, it’s my turn to share it with all of you!


Every year I look for something new to ad to the holiday repertoire and I think these might make the cut! I’ve had some duds over the years (macarons… and oddly, Martha Stewart’s gingerbread which my son deemed ‘disgusting’.) But plenty of keepers that I rotate yearly with three perennial cookies, shortbread, linzer and pecan crescents. I ‘d be fired if those didn’t appear! Thank you so much for sharing gramma’s recipe. My grandmother wasn’t much of a cook but my mom was.
Also your fudge brownies always make it to the ‘square’ plate , so good!
Enjoy these little treats. They’re quite different, don’t be shocked at the melted egg whites when you first take them out of the oven, that’s normal. Tuck it back into the cookie and it hardens up to a crispy coating!
My grandma used to make these when I was a kid and I’ve tried over and over again to make them according to her recipe. How do you prevent the egg to not create a dripping mess in the oven? That’s always been my problem. I dip the dough balls in the beaten egg whites and then roll them around in sugar. But the cookies always turn out a mess because the egg whites still slide off the cookies and create a mess around the cookies when baking. Thanks in advance!!
After they are done baking, you can crack off any of the cooked egg white that is on the baking sheet. That’s what my grandma taught me.
These are really good, not what I expected, but definitely making again. I can’t taste the peppermint, maybe Spangler brand candy canes have a lighter mint flavor. My dough was not crumbly, maybe too much milk…and my egg yolk was huge! I found to refrigerate the dough after rolling in balls, then coat with egg and sugar right before popping them in the oven. Result is a rounder shaped cookies, just added 4-5 minutes to cook time.
Thank you for the recipes!
Just put my first batch in the oven. They look great and were fairly easy to throw together. However, using two tablespoons of dough per cookie, I only got 17 cookies.
hi
I have been making these cookies for over 15 years. I found them on Mrs. Clause kitchen. But I press a CHRISTMAS green and red M&M alternating colour on top of each
I love this cookie and only make them at Christmas. Thank you.
i noticed when i print a recipe there is no picture of the said recipe. Is there an option to print a picture? If not would it be possible sometime in the near future? I came across your site a few weeks ago and its, you, are absolutely amazing. I do like a picture with my recipe so i know what it is to looks like. Thank you for your time…
Hi,before I make these is the store for one week part of the recipe to cure cookies or are you saying they can only be stored a week. Sorry not much of a cook and want to be sure so I can impress family!
My favorite recipes and posts are also those that share family stories and recipes. I am going to make these for sure–I have been looking for a peppermint cookie to add to my tins, and these look perfect. Plus I love that the recipe is someone’s grandma’s. 😀
Do you think it would work if I used peppermint bark in lieu of chocolate morsels/candy canes?
I think it would change the consistency for sure. You can experiment though and give it a try! Let me know what you do!