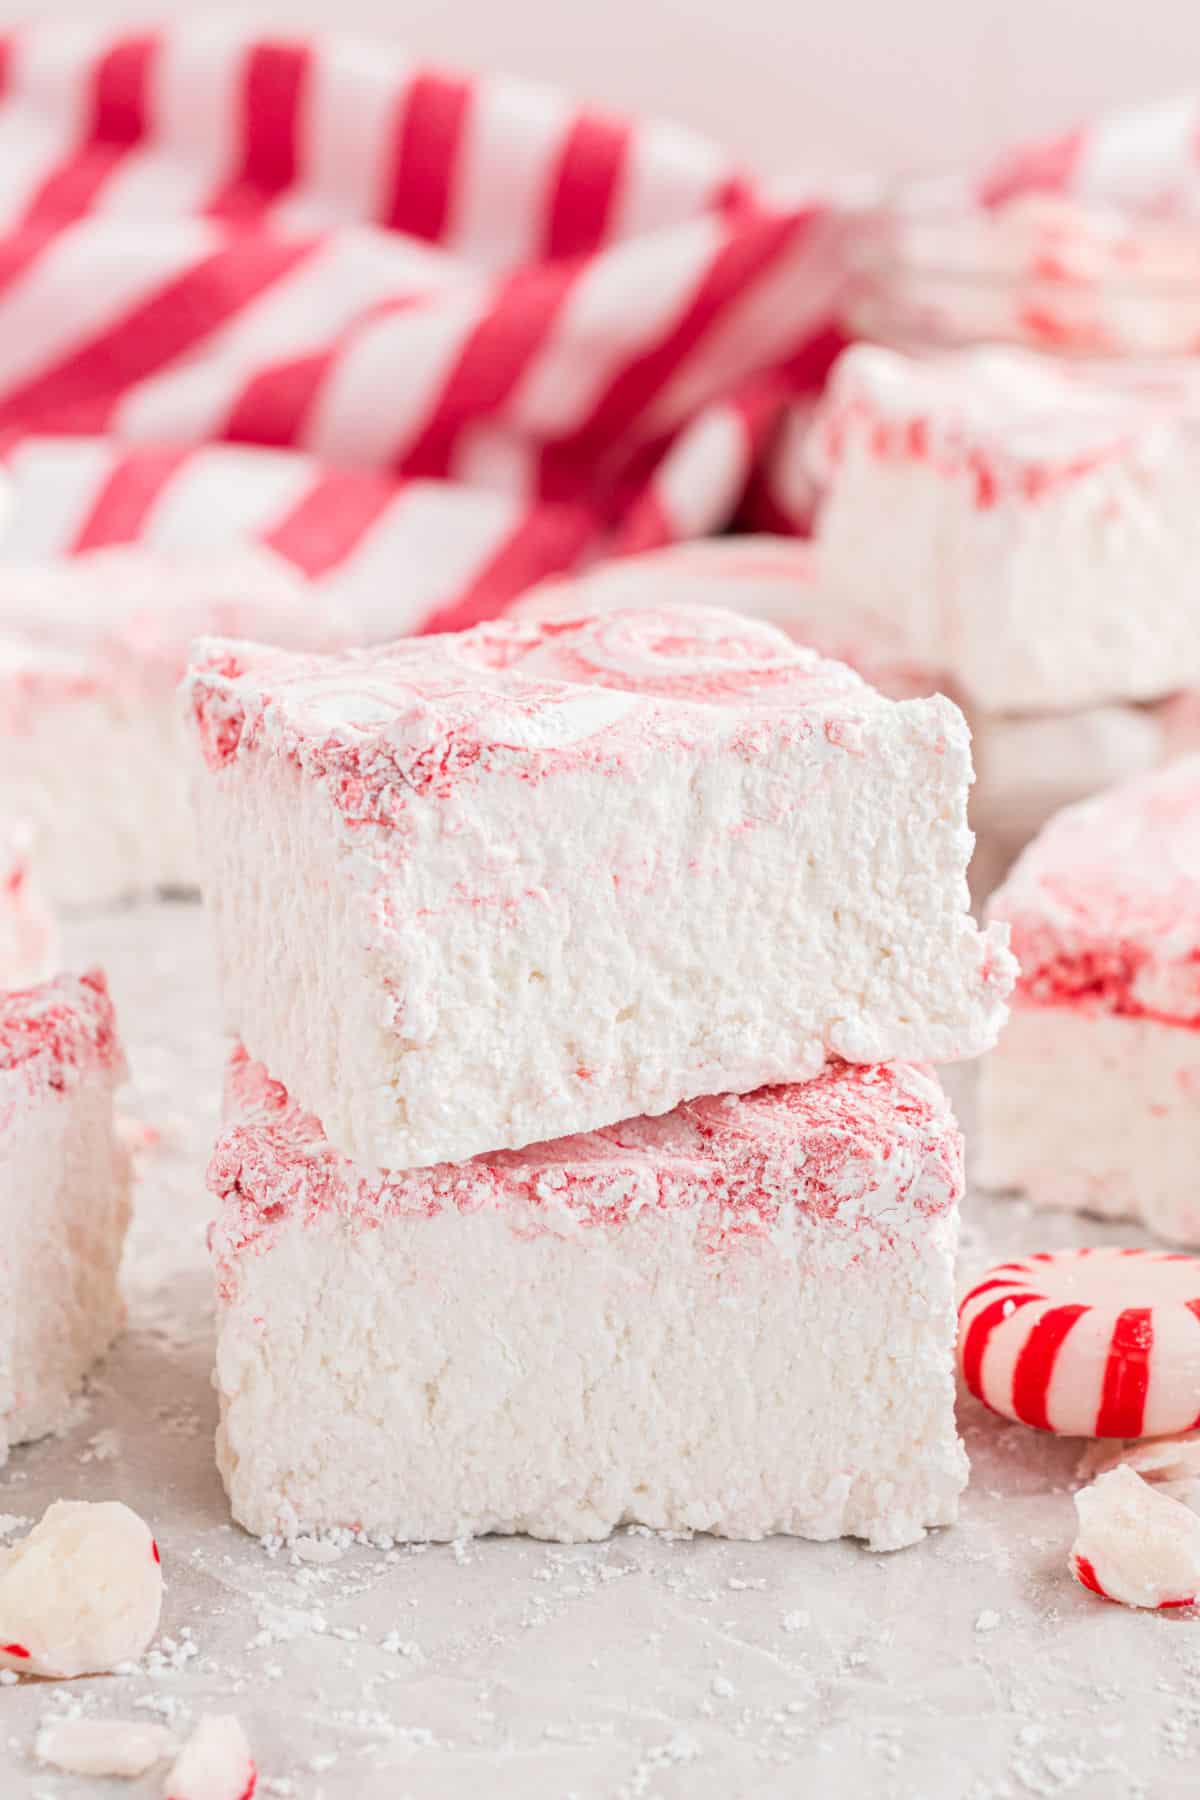
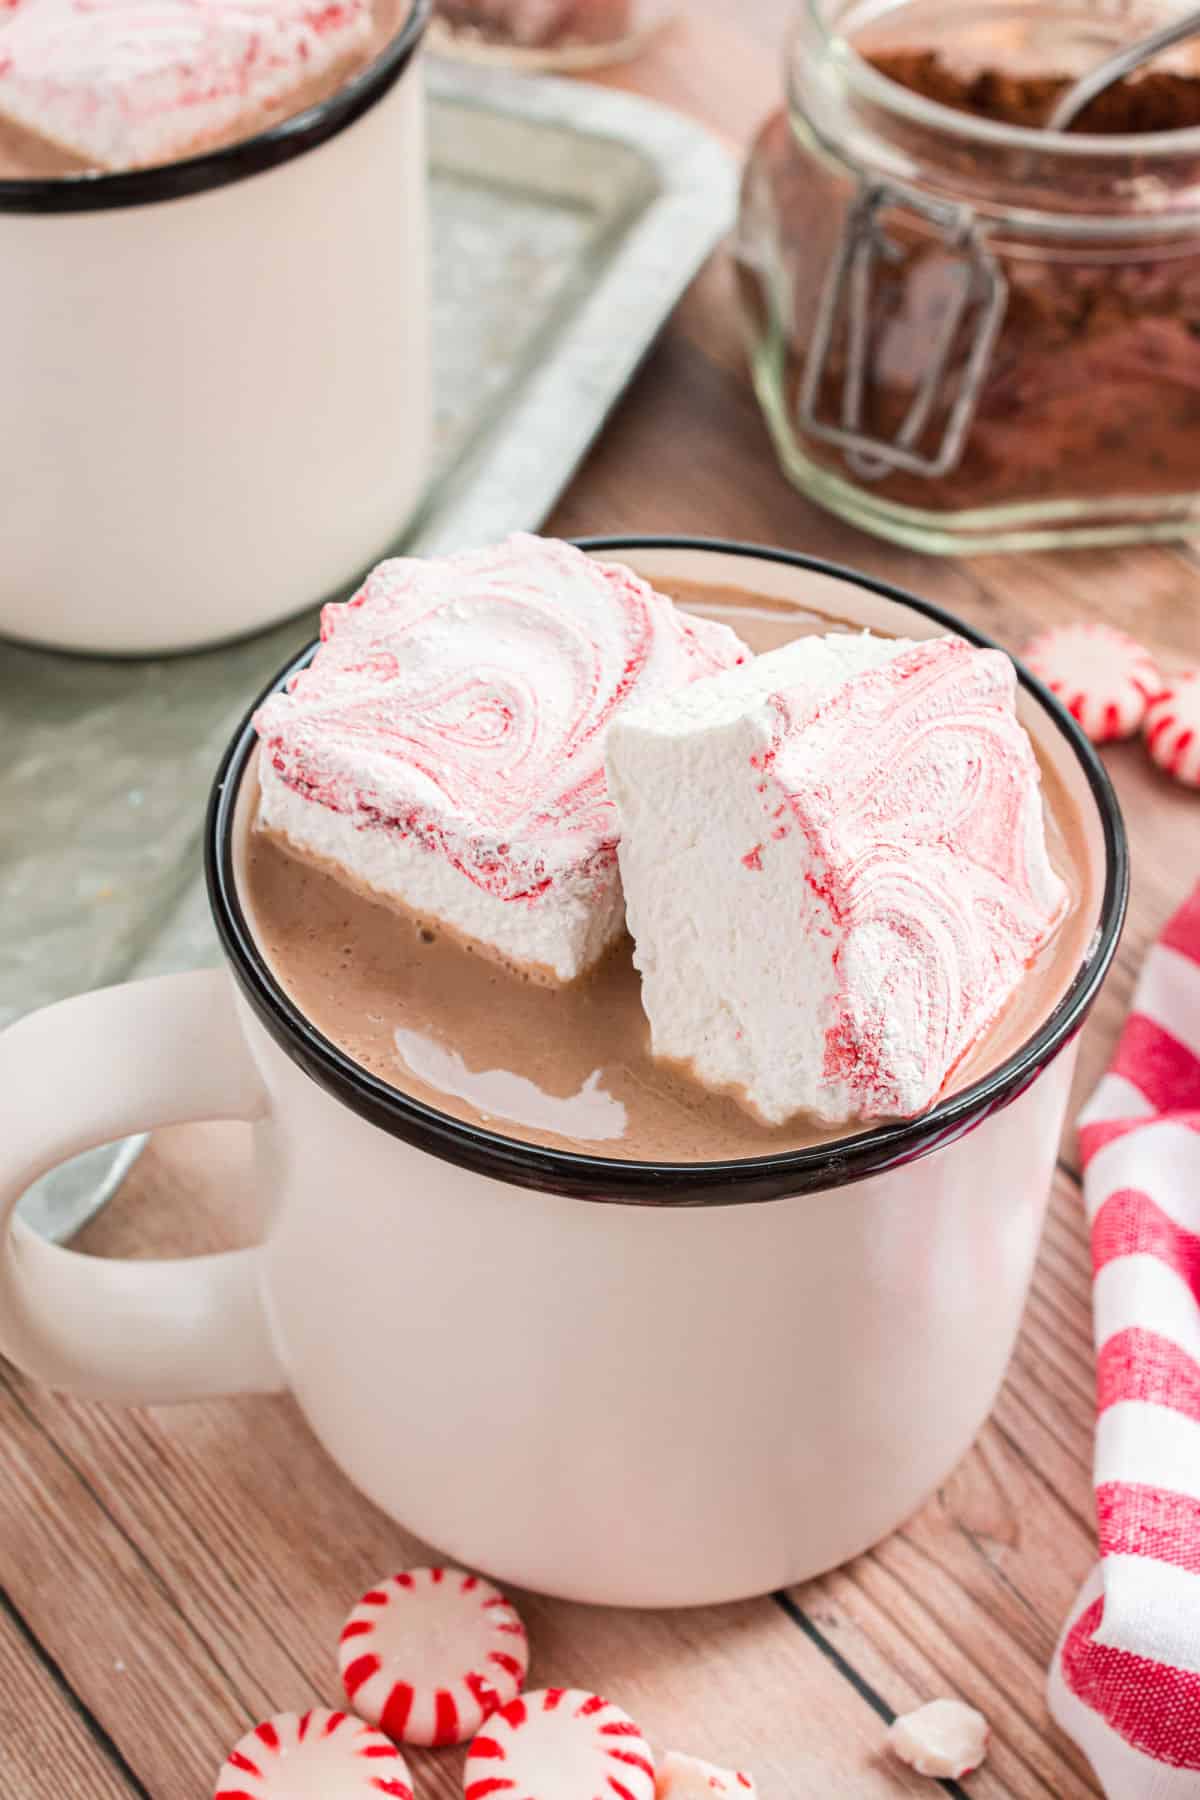
Give homemade marshmallows a candy cane twist! These Peppermint Marshmallows are perfect for hot chocolate and holiday goodie bags. Or just pop ’em into your mouth!
Make some homemade Peppermint Fudge to share with your loved ones this Christmas. These Hot Cocoa Bombs make a great homemade gift idea too.
Why this Recipe is Best
If you’ve never made homemade marshmallows before, this easy recipe is a great place to start. Before you know it you’ll be treating all your friends to the best homemade Peppermint Marshmallows!
- Made from scratch, these marshmallows are fluffy and pillowy soft.
- This recipe uses peppermint extract for the perfect minty flavor.
- They look and taste delicious with or without red food coloring!
Use our homemade peppermint marshmallows to make rice krispie treats. Our peppermint krispie treats are a holiday favorite!
Ingredient Notes
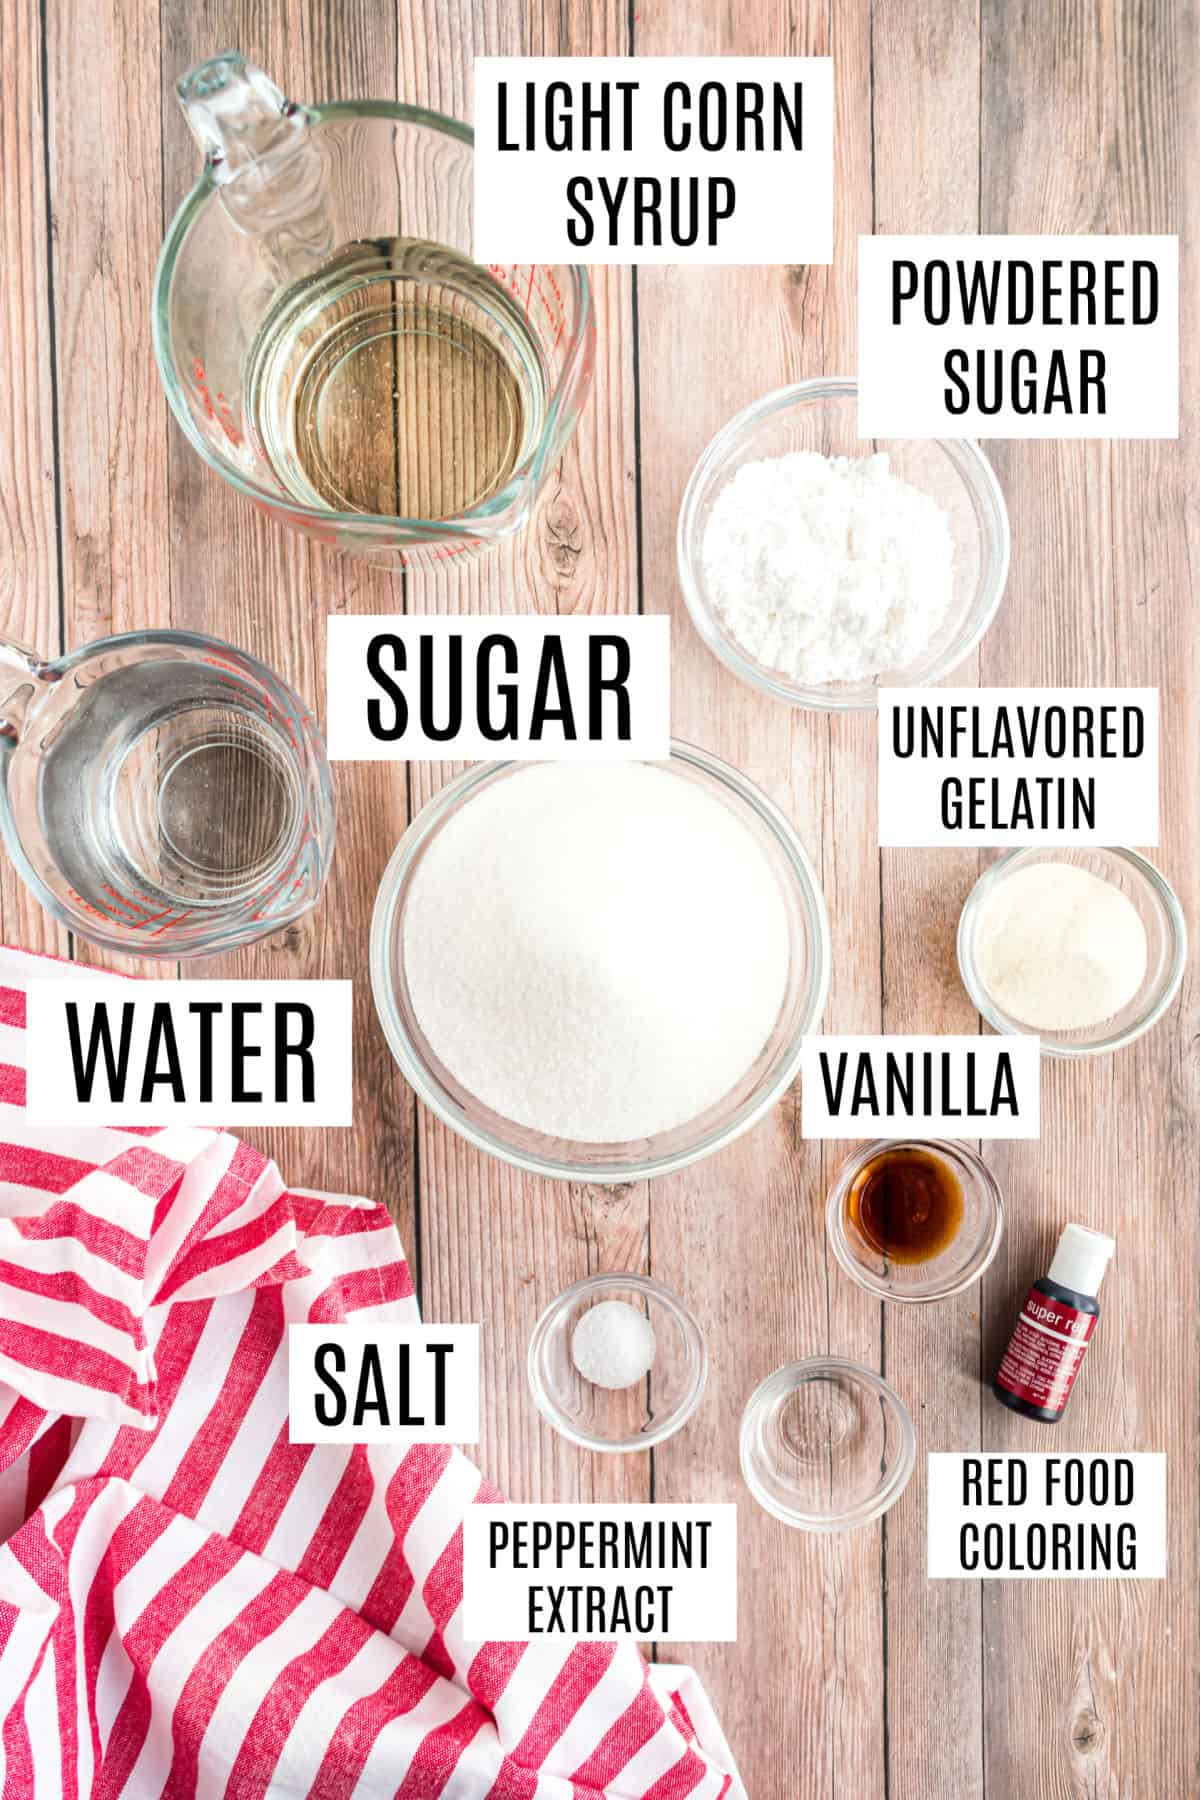
- Unflavored gelatin – This holds the sugar and liquid together to give the marshmallow structure.
- Corn syrup – Using a liquid sweetener helps keep the granulated sugar from crystalizing for a perfect gooey consistency.
- Powdered Sugar – Extra powdered sugar is needed to dust the marshmallows and pan to keep them from being sticky.
- Vanilla extract – Be sure to use pure vanilla for best flavor. Or try making our homemade vanilla extract to use in all your baking.
Instructions
Bloom the gelatin: Combine gelatin powder and half the cold water in a bowl. Leave it for about 5 minutes to “bloom.” This step allows the gelatin to dissolve easily when heated.
Heat sugar and corn syrup: Add sugar and syrup to a sauce pan with the remainder of the cold water. Heat until the mixture reaches 240 degrees.
Make the marshmallow mixture: Turn the mixer to low speed. Slowly pour in the sugar mixture, then the gelatin. Increase mixer speed to high, and whisk until fluffy (about 10 minutes).
At the end of the mixing, add in vanilla and peppermint extracts.
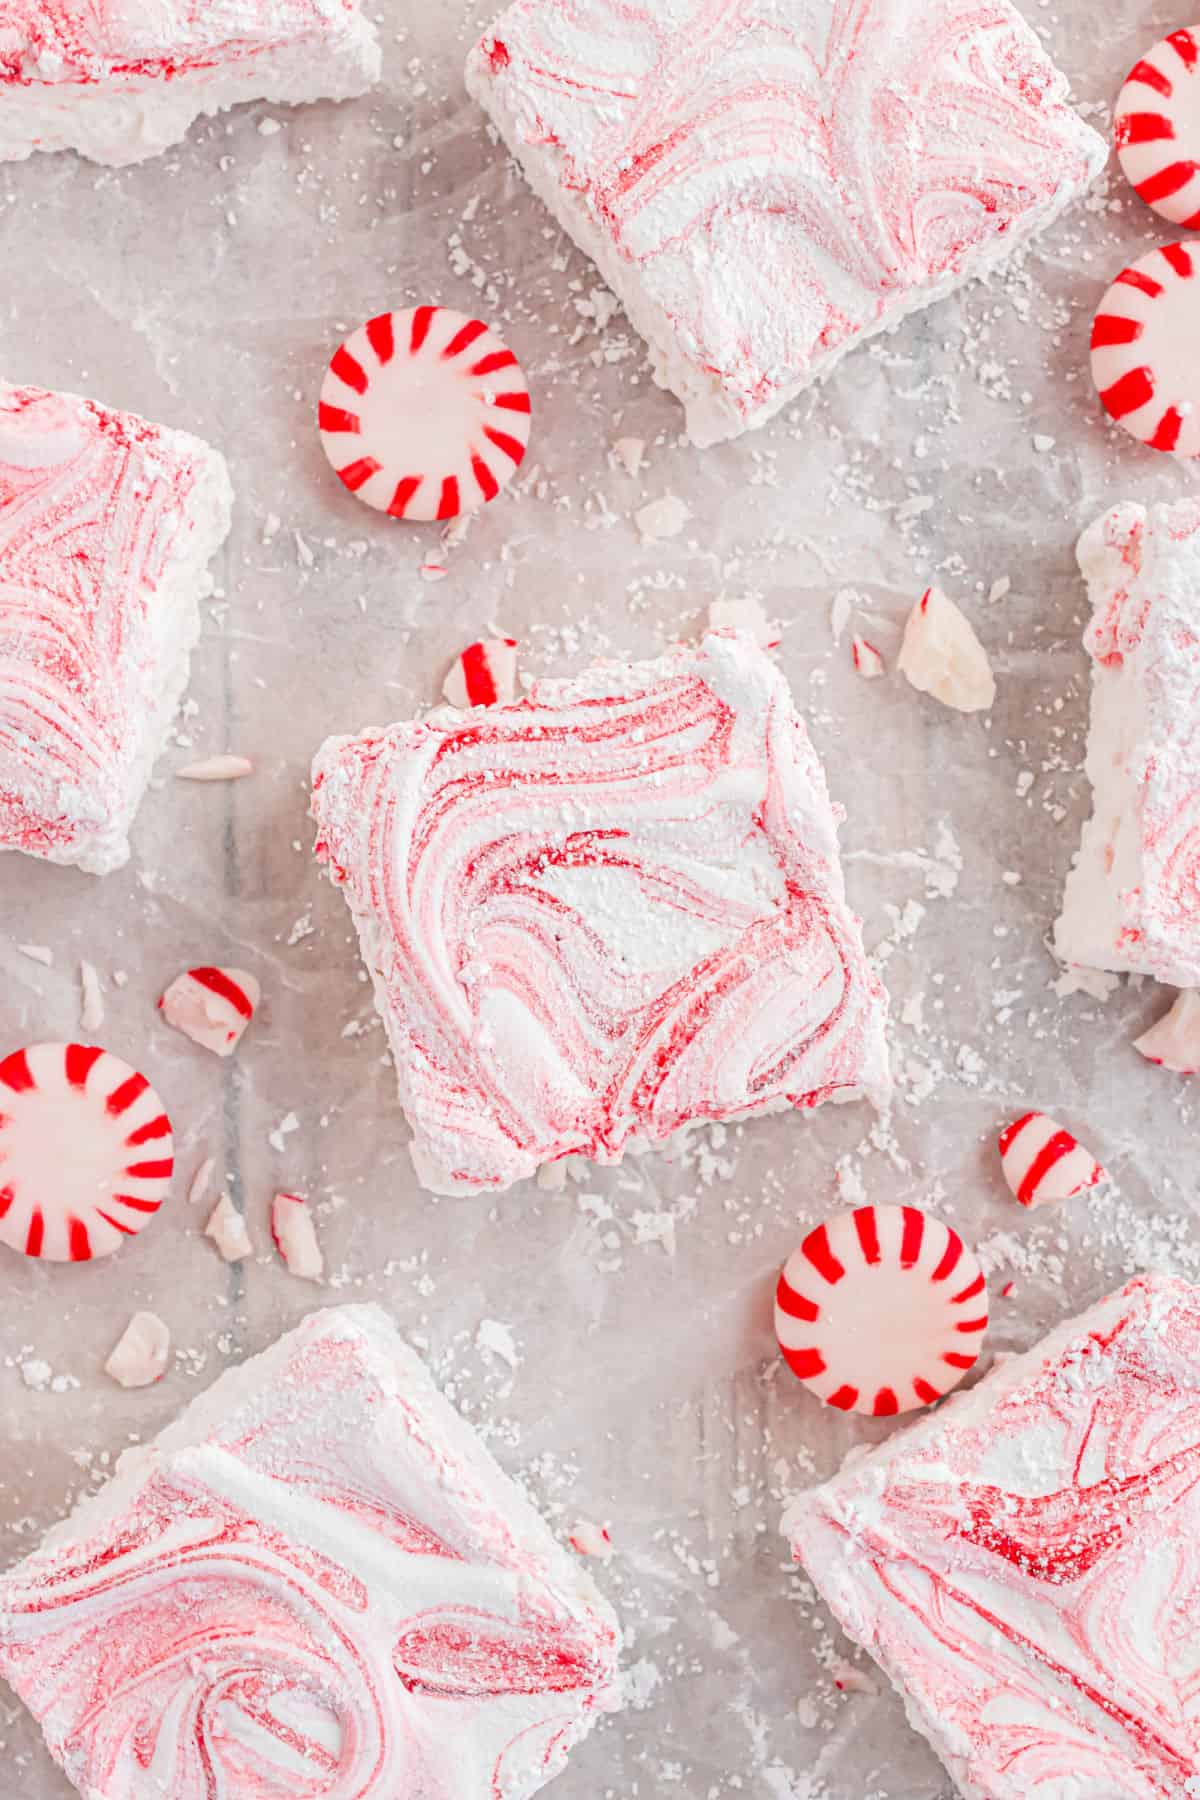
Swirl. Pour the marshmallow mixture into the prepared baking dish. Drop red food coloring onto top of marshmallow and swirl with knife. Sprinkle the top with remaining powdered sugar.
Let the peppermint marshmallows cool for a couple of hours. Slice into squares and enjoy!
Tips and Tricks
- Use a candy thermometer for this recipe. Monitoring the temperature of the syrup ensures consistent results with these homemade marshmallows.
- Store Peppermint Marshmallows at room temperature covered with foil or plastic wrap. They will stay fresh for up to 3 weeks.
- Cutting the marshmallows. Cookie cutters are a great way to get holiday shapes. Or a very sharp knife!
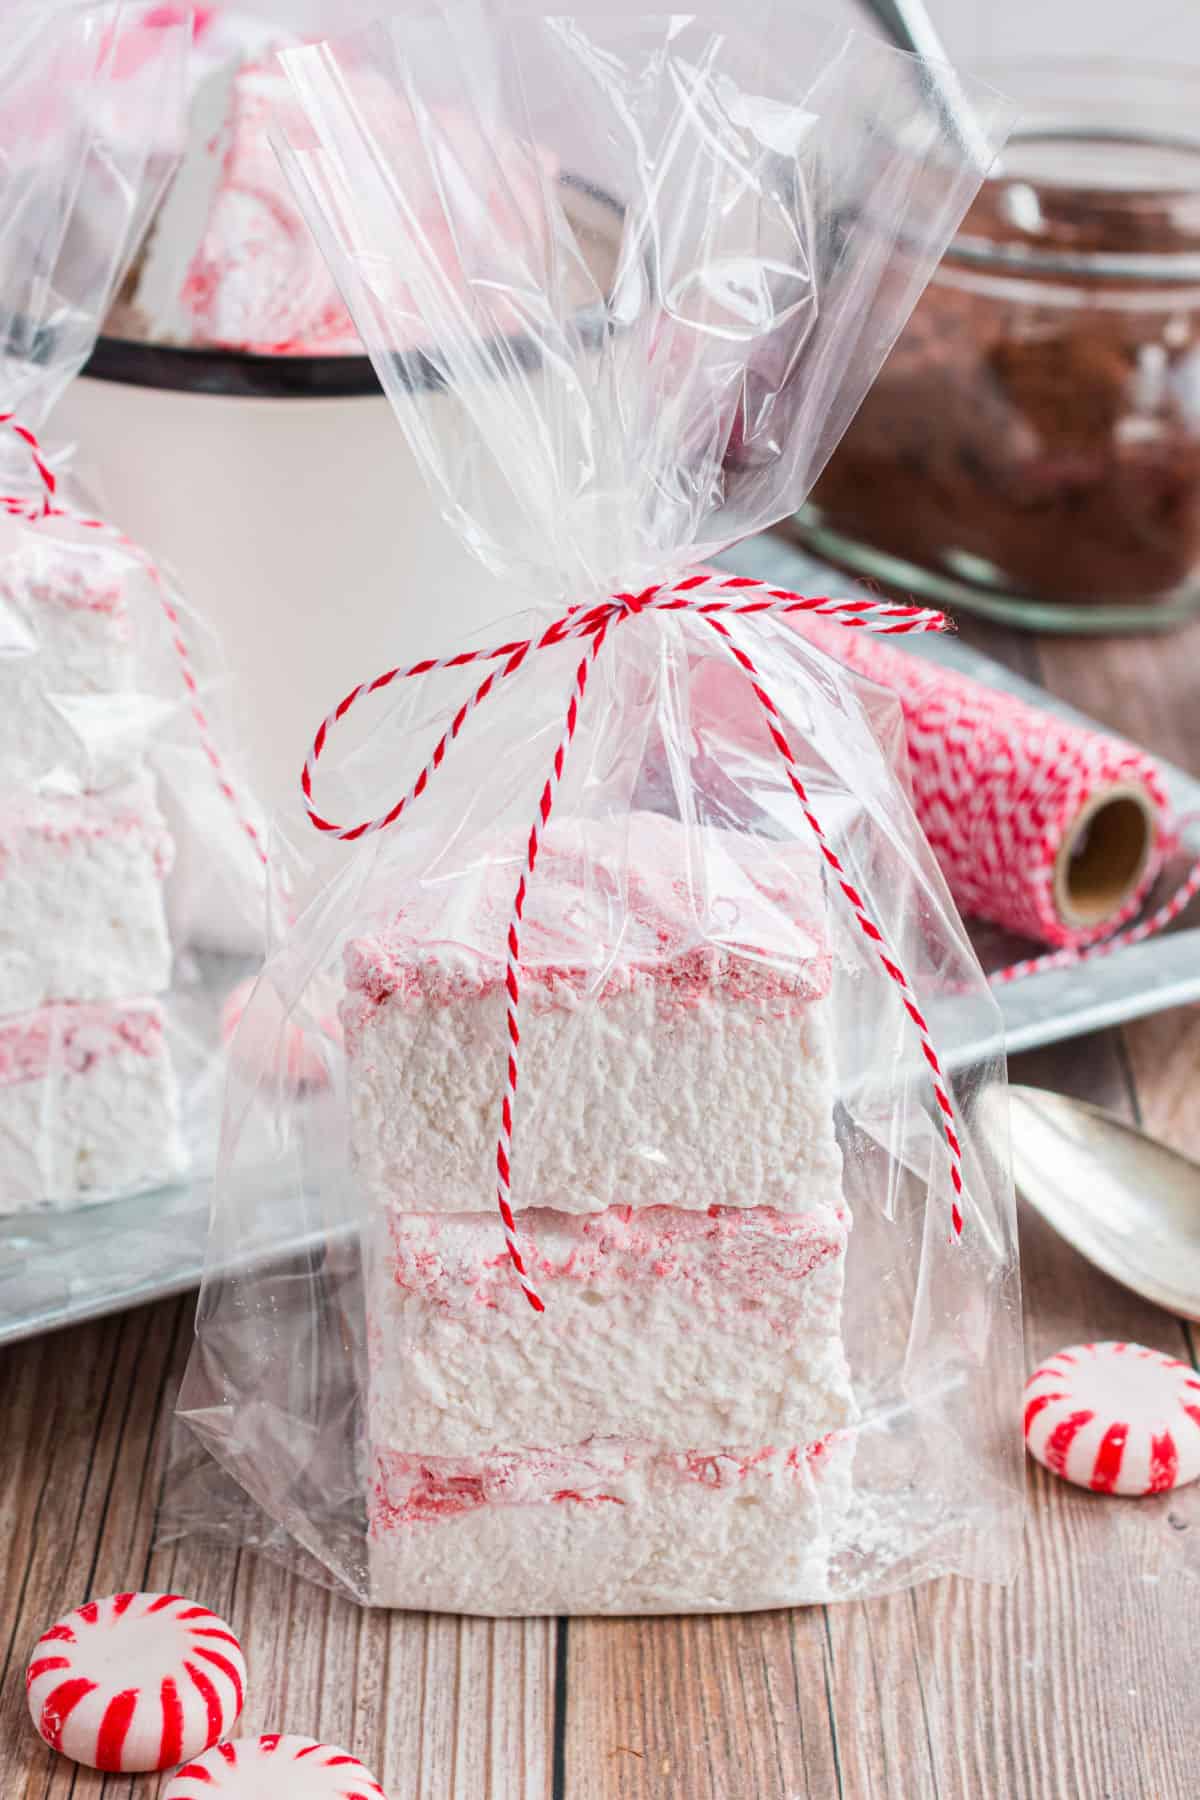
- Gift: wrap the marshmallows in a cellophane bags and give as gifts with hot cocoa bombs too.
Recipe FAQs
Yes, these peppermint marshmallows are a great treat to make ahead of time. I like to make them the night before serving, then let them cool and set overnight.
These homemade marshmallows stay good for up to 3 weeks.
Tough, rubbery marshmallows are often the result of sugar that’s been cooked at too high of a temperature or for too long.
If your marshmallows seem dense instead of light and springy, there’s a good chance you didn’t whip them long enough to incorporate the necessary air.
For tall marshmallows, use a square 8-inch or 9-inch pan. If you don’t have one, a 9 x 13 baking dish works too. Your marshmallows will just be a little shorter.
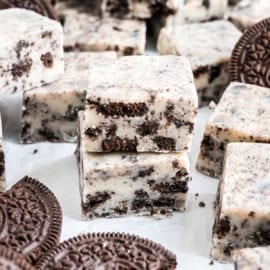
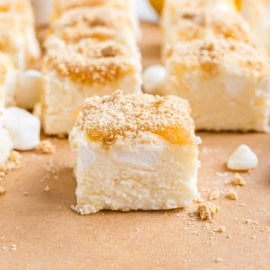
More Holiday Desserts
- Sweet vanilla flavors packed with peppermint candy to make this yummy Candy Cane Fudge!
- Lebkuchen is a classic German treat, filled with cozy winter flavors. This soft, chewy cookie is a must try!
- Learn how to make Homemade Marshmallow Fluff and never go back to store bought again!
- These Chocolate Peppermint Shortbread Cookies are soft and buttery, perfectly blended with peppermint and chocolate flavors.
- Try these mini, no-bake Peppermint Cheesecake bites! Easy, and delicious!
- Make these melt-in-your-mouth Meringue Cookies for your next holiday event! Dip them in dark chocolate and sprinkle with peppermint candy for a festive twist!
Pin this now to find it later
Pin It
Peppermint Marshmallows
Ingredients
- 1 cup cold water divided
- 2 ½ tablespoons unflavored gelatin approximately 3 packs ( I used Knox gelatin)
- 1 ½ cups granulated sugar
- 1 cup light corn syrup
- ¼ teaspoon kosher salt
- 1 teaspoon vanilla extract
- 1 teaspoon peppermint extract
- ¼ cup powdered sugar divided
- Red food coloring
Instructions
- Grease a 9”x13” baking dish and dust with about half of the powdered sugar. Grease a spatula and handle. Set aside.
- In the bowl of a mixer, add unflavored gelatin and ½ cup of cold water. Stir to combine. Set aside.
- In a medium saucepan, add sugar, corn syrup, remaining ½ cup water, and kosher salt. Heat the mixture over medium heat, stirring until the sugar is dissolved.
- Increase the heat to high and bring the mixture to 240℉, using a digital or candy thermometer to monitor. This process will take about 10 minutes.
- Once the syrup reaches temperature, remove from heat.
- With the mixer on low speed, using the whisk attachment, slowly add the syrup to the gelatine and water mixture.
- Once all the syrup has been added, turn the mixer up to high speed and let it whisk the mixture until it’s light and fluffy. This process can take about 10-12 minutes.
- During the last minute of whisking, turn the mixer speed down to medium low, and add the peppermint and vanilla extracts. Then return the mixer speed to high.
- Pour the marshmallow mixture into the prepared dish. Using the greased spatula, scrape the sides of the mixing bowl to get all the marshmallow fluff. Use the spatula to spread the marshmallow fluff into an even layer.
- Using wet fingertips, smooth out the top layer of marshmallow.
- Immediately add several drops of red food coloring on the top of marshmallows. Use a smooth butter knife to make swirls.
- Sprinkle the top of the marshmallow with powdered sugar and let dry, uncovered, for 4 hours or up to overnight.
- With a knife dipped into water, cut into 1” squares.
- Place cut marshmallows in a bowl with powdered sugar. Toss to coat.
Notes
Nutrition
Make your celebrations even sweeter with a batch of Peppermint Marshmallows! Made with candy canes and lots of peppermint flavor, these marshmallows get everyone in the holiday spirit!