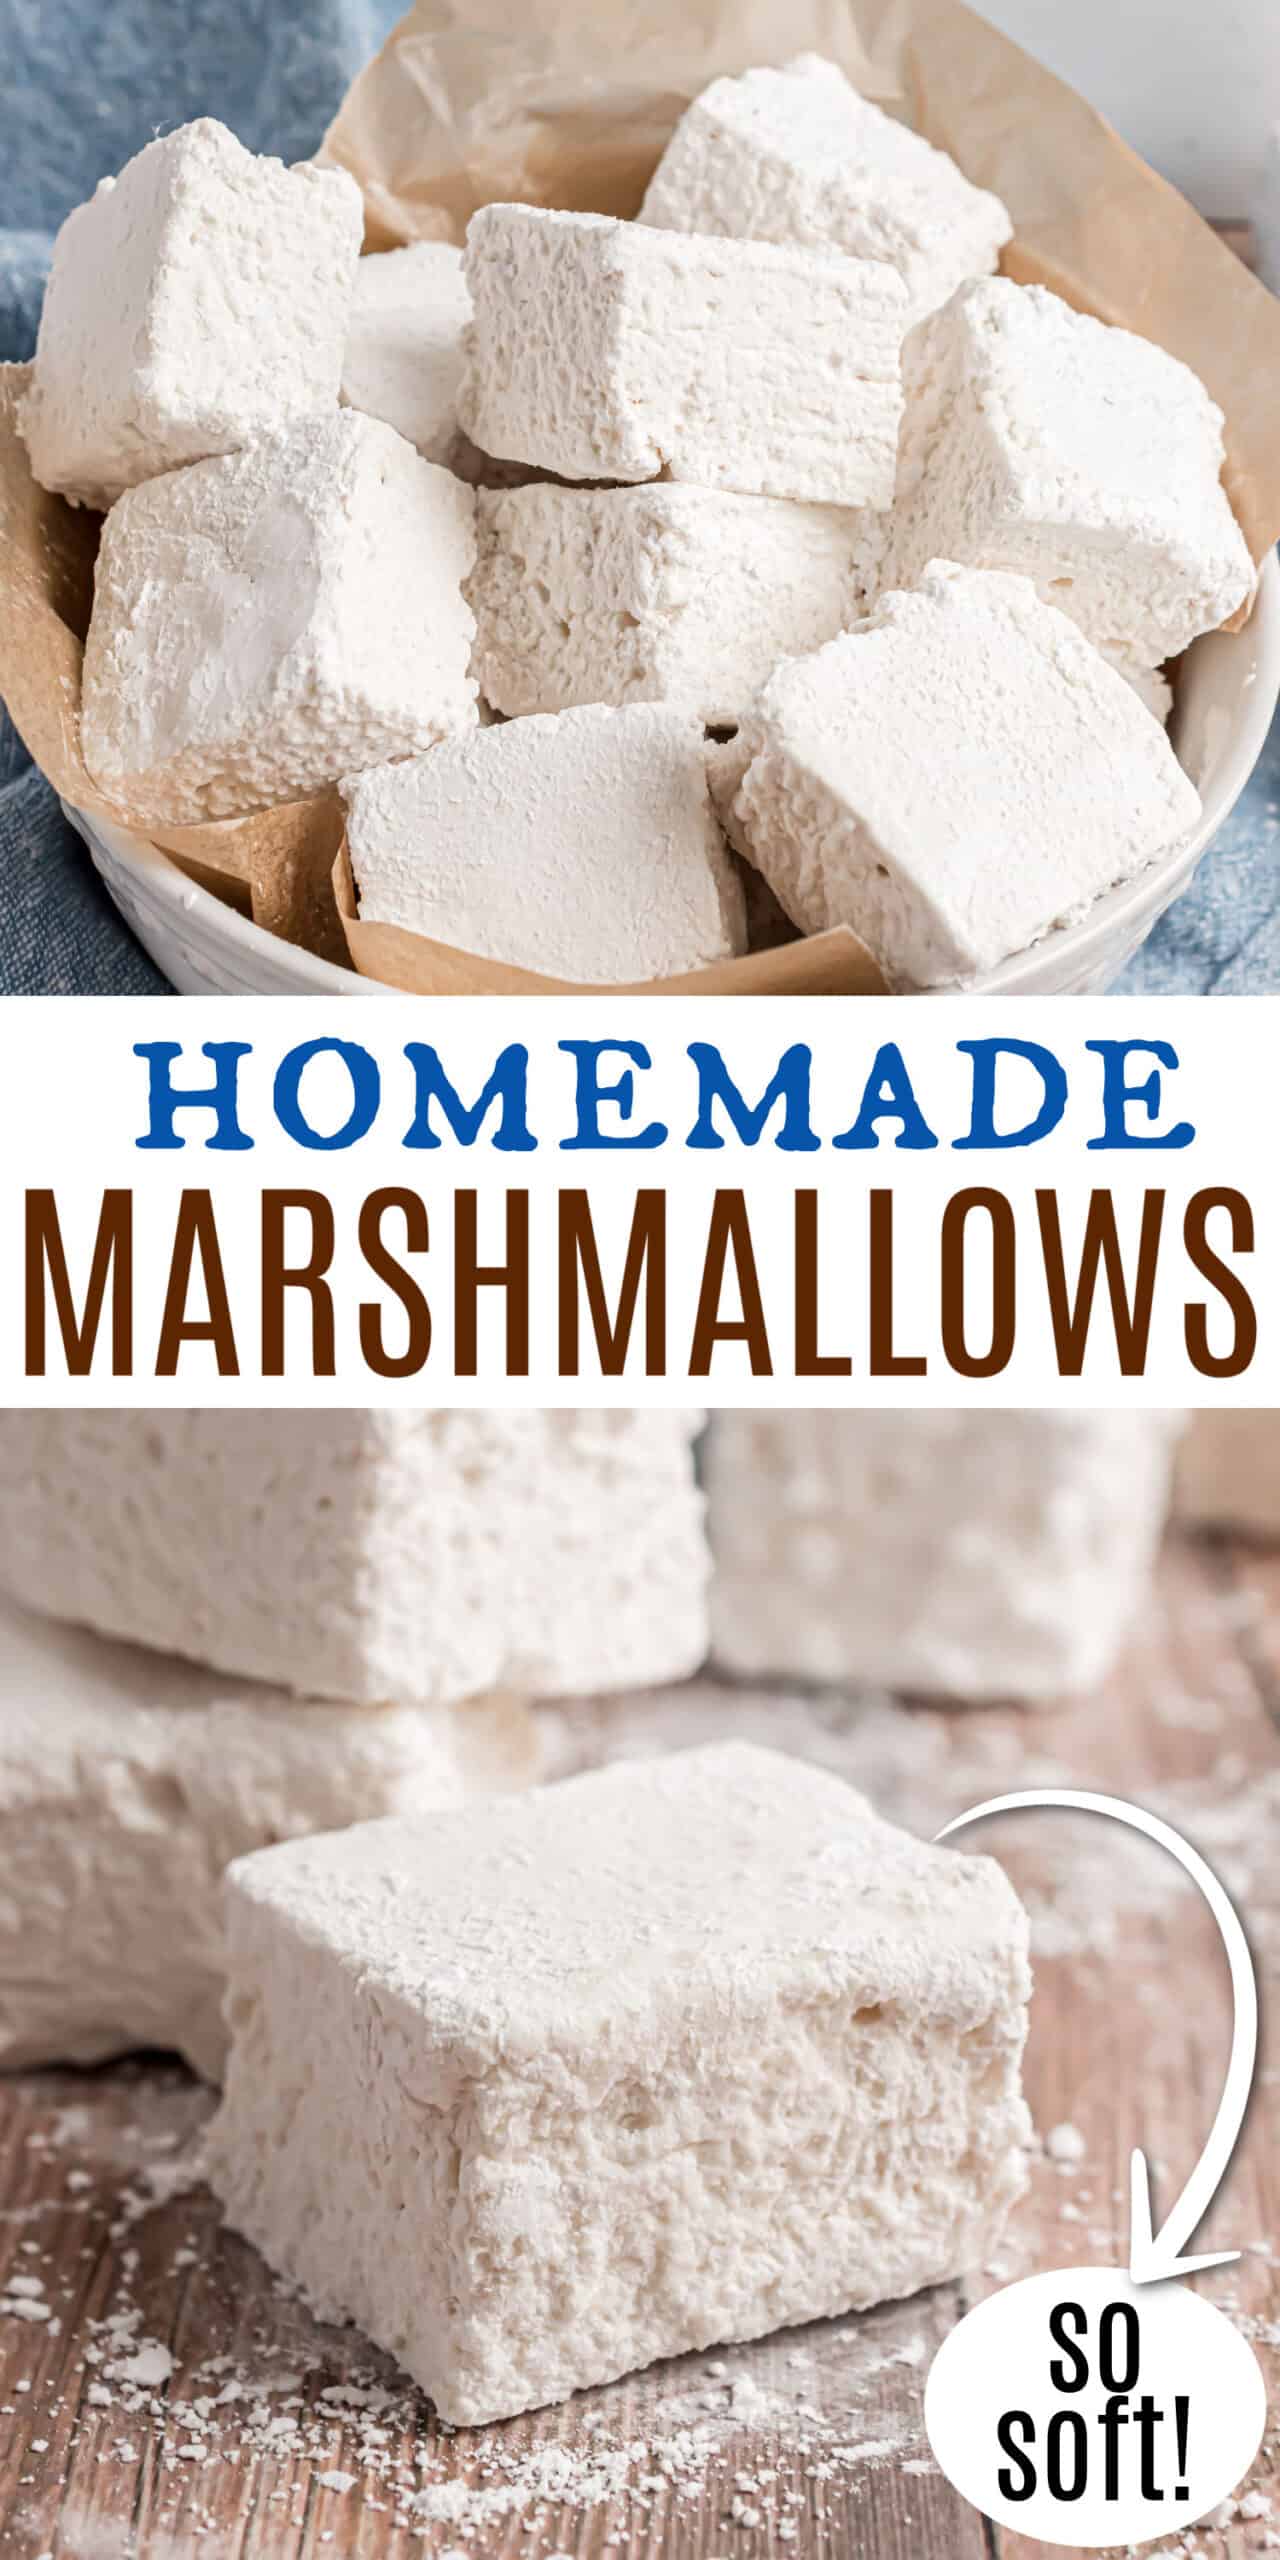
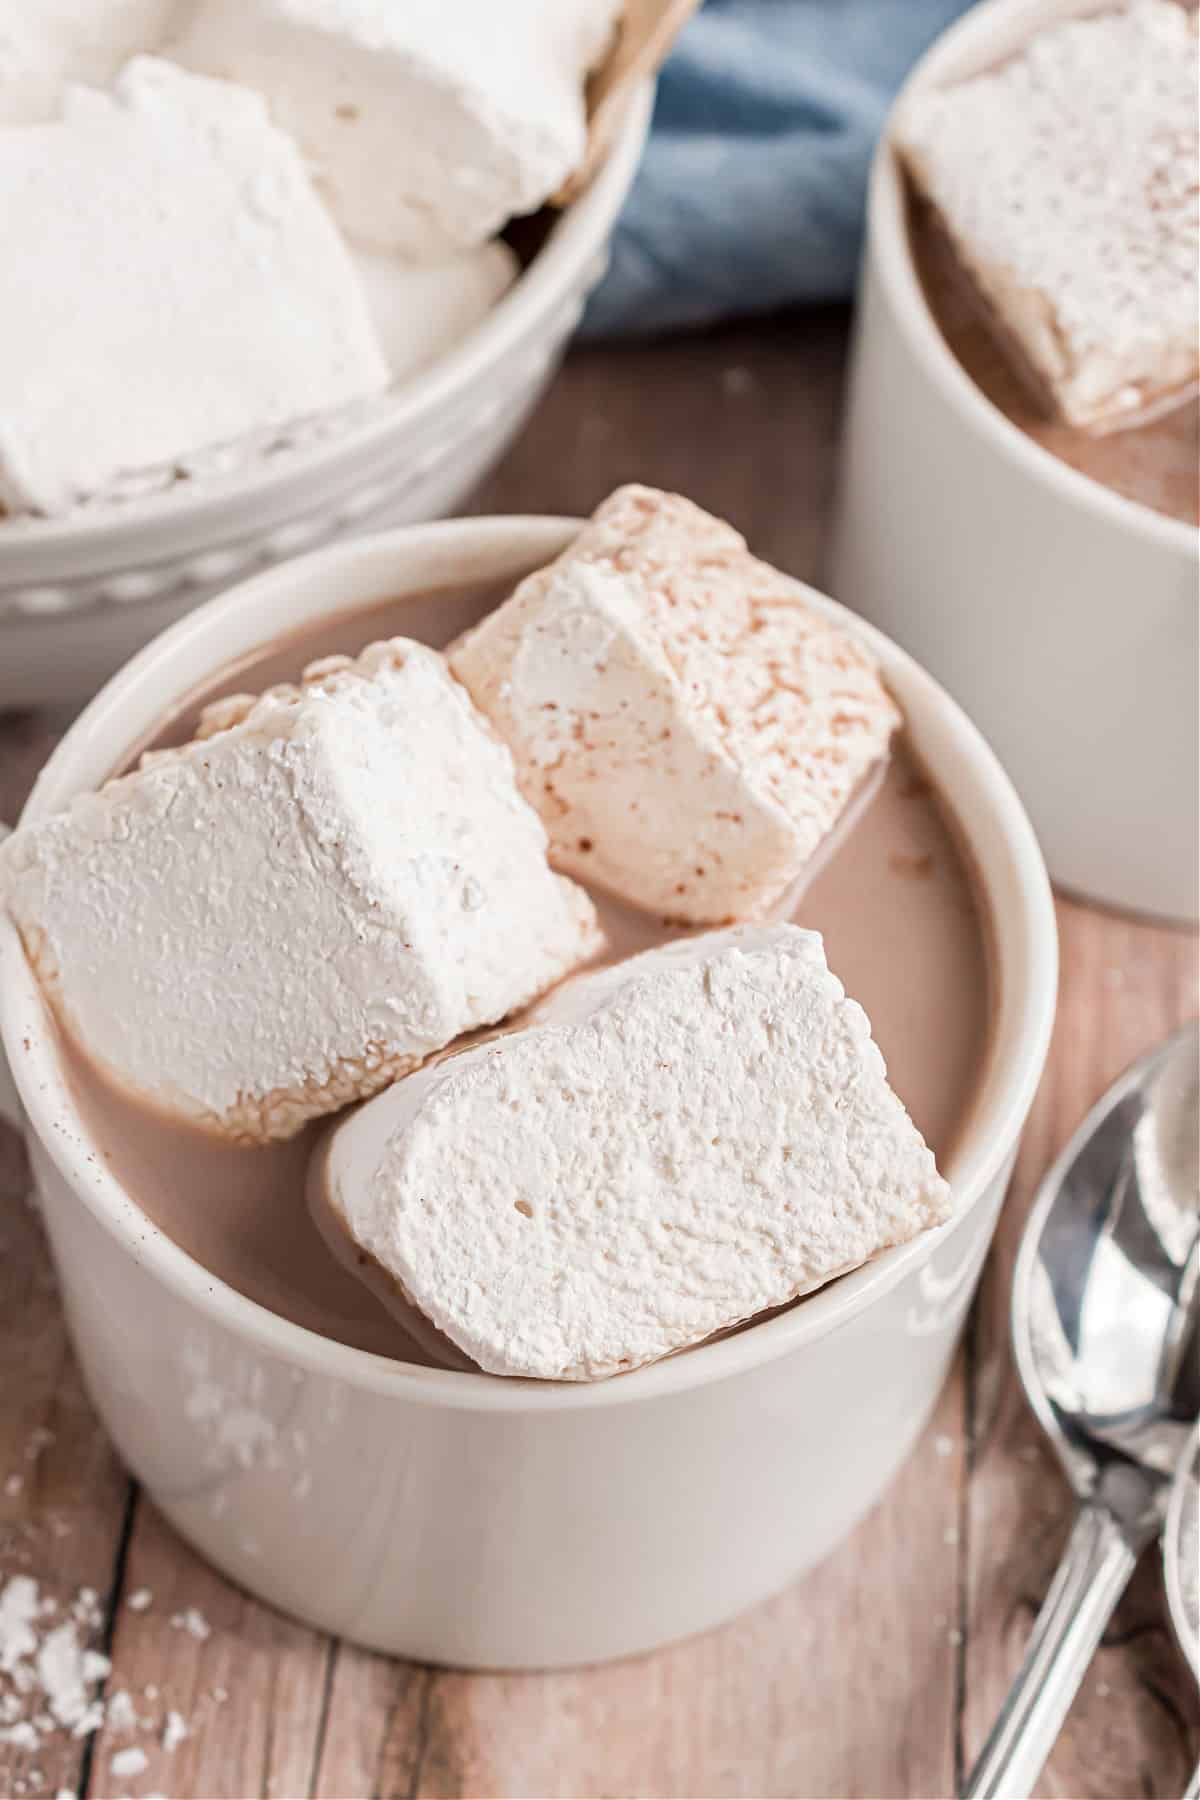
These Homemade Marshmallows are soft, springy and taste so much better than store-bought. Best of all, they’re surprisingly easy to make with our step by step recipe!
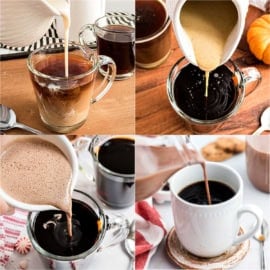
Our homemade marshmallows are perfect addition to Hot Cocoa Bombs or a mug of Instant Pot Hot Chocolate too.
Why this Homemade Marshmallow Recipe is Best
Sure, making marshmallows from scratch takes a little more effort than ripping open a bag. But once you taste them, you’ll understand why it’s worth it!
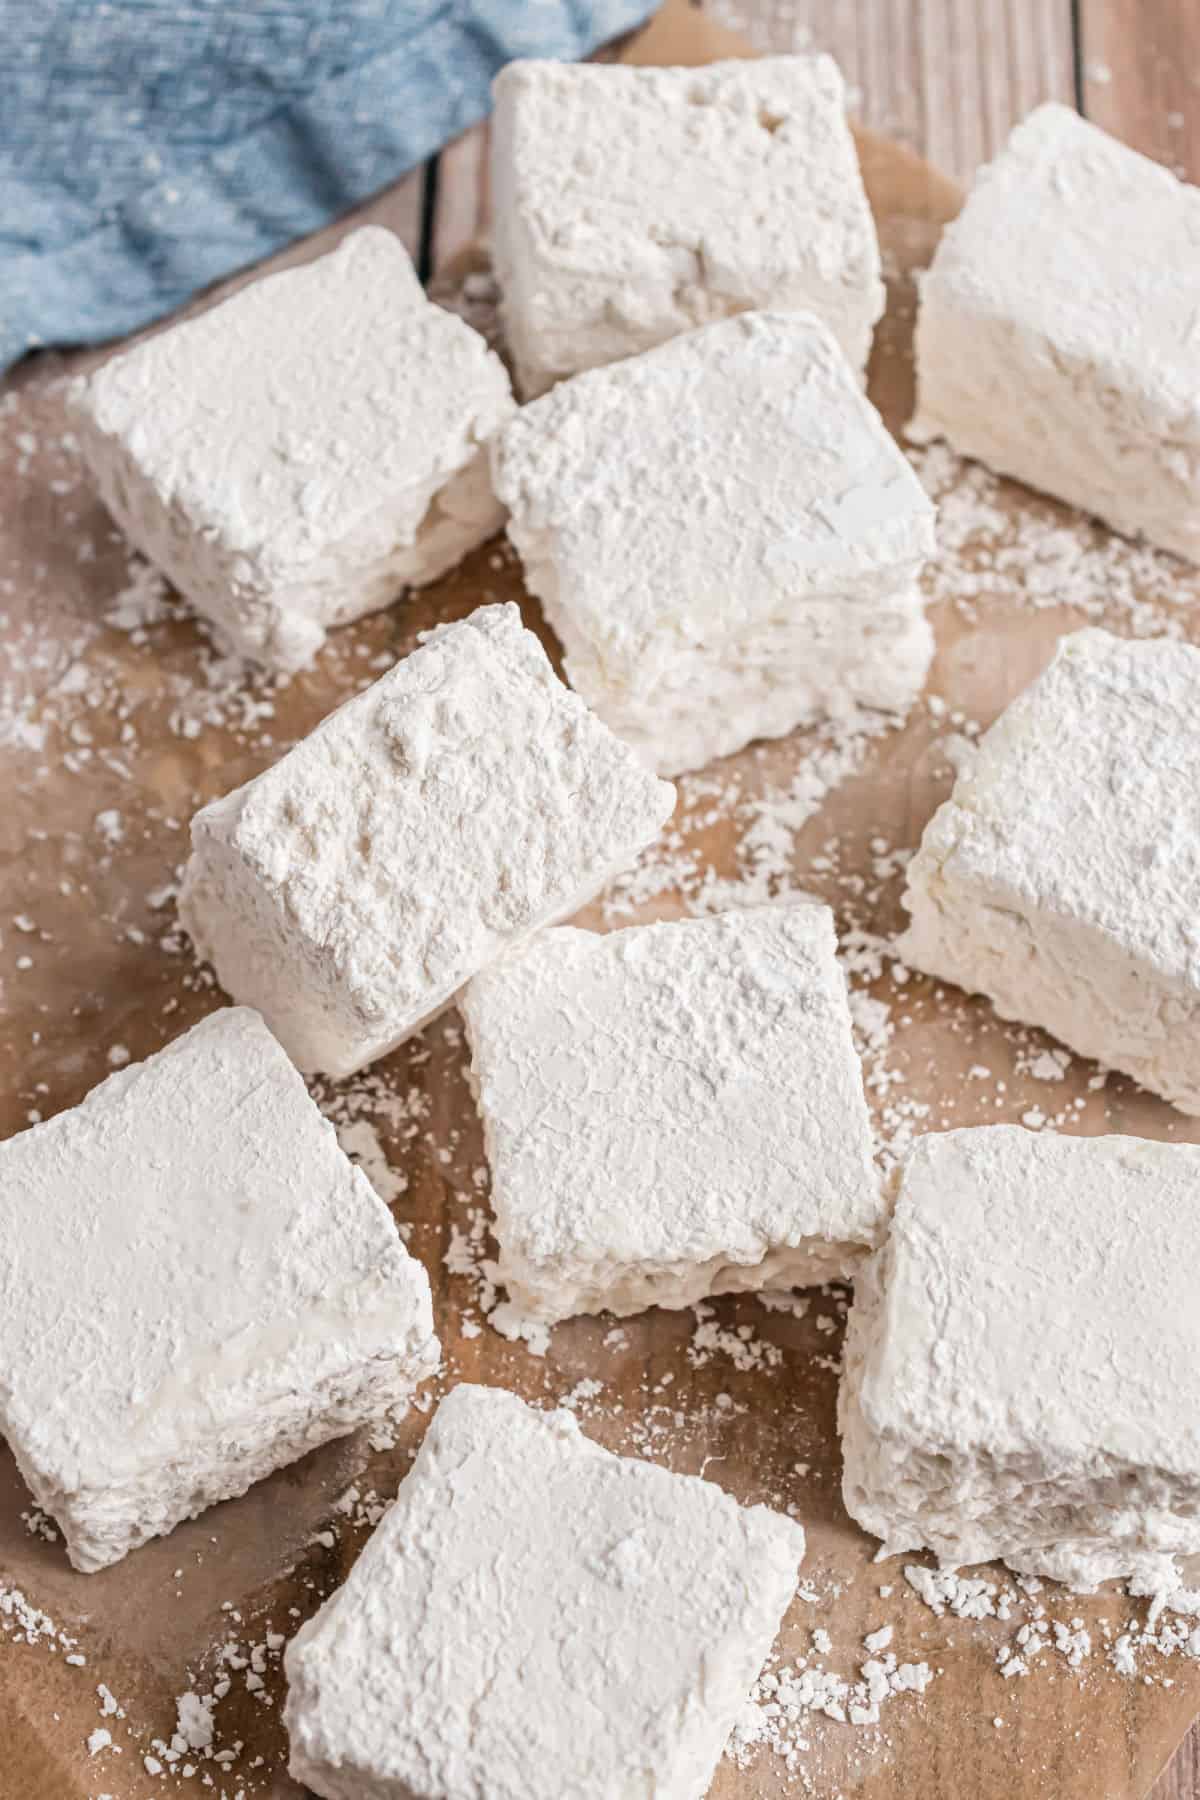
- Pillowy soft. These marshmallows hold their shape while staying light and fluffy.
- Easy to follow instructions. This recipe demystifies the art of homemade marshmallows!
- Delicious and versatile. Enjoy them on their own or use them as a topping for marshmallow brownies, cookies, and fluffernutter fudge.
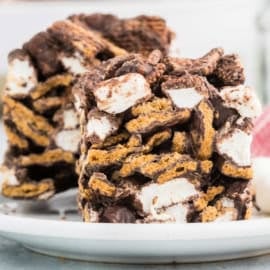
Once you try making rice krispie treats with homemade marshmallows you may never go back!
Learning the basic kitchen recipes will help you become a better baker! Be sure to familiarize yourself with all our kitchen tips!
Ingredient Notes
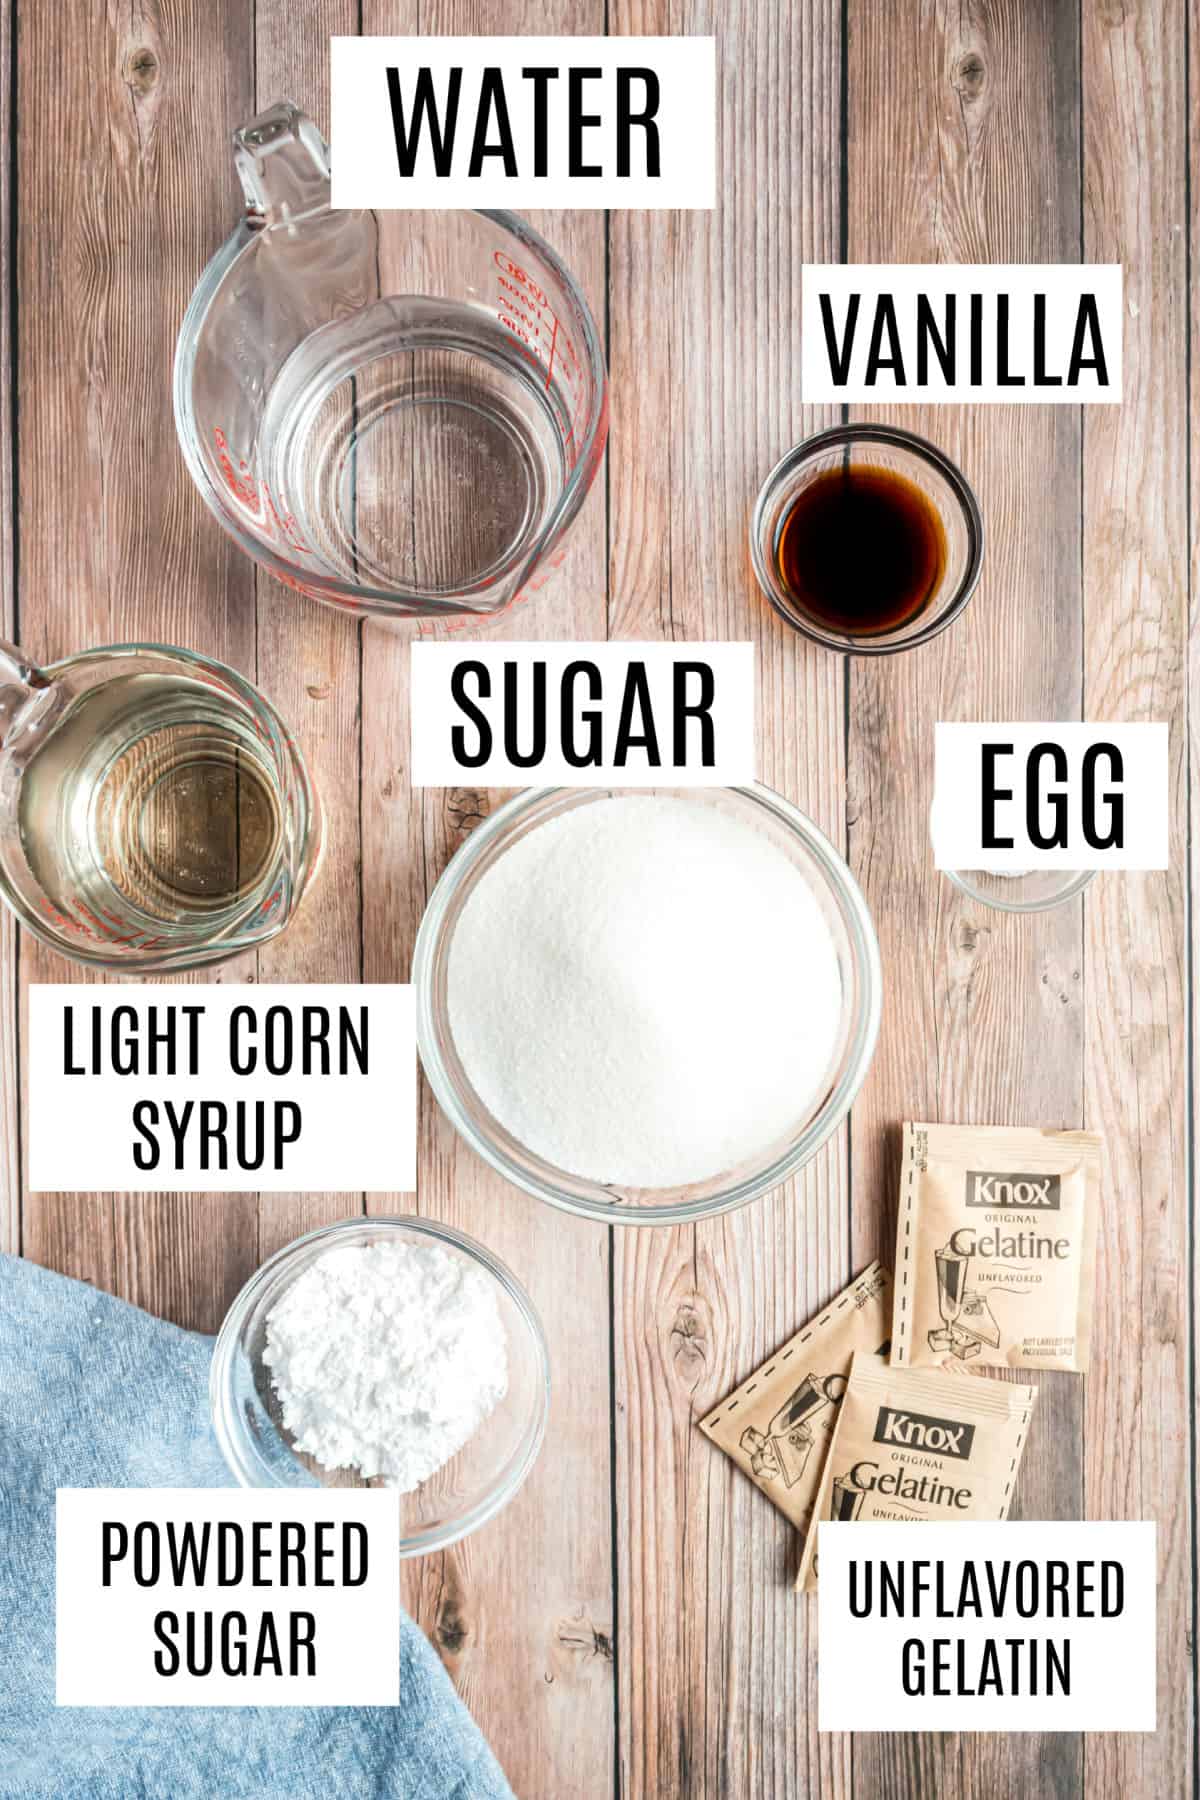
- Unflavored gelatin – This holds the sugar and liquid together to give the marshmallow structure.
- Corn syrup – Using a liquid sweetener helps keep the granulated sugar from crystalizing for a perfect gooey consistency.
- Powdered Sugar – You’ll need some for dusting the pan and more for sprinkling over the marshmallow mixture.
- Vanilla extract – Be sure to use pure vanilla for best flavor. Or try making our homemade vanilla extract to use in all your baking.
For a holiday twist, make a batch of our peppermint marshmallows next!
How to Make Marshmallows from Scratch
Prepare the pan:
- Getting the pan ready is even more essential for homemade marshmallows than most recipes.
- Start by greasing the dish with butter or baking spray. Then dust it generously with powdered sugar. Grease your spatula and handle as well before using.
Make a sugar syrup:
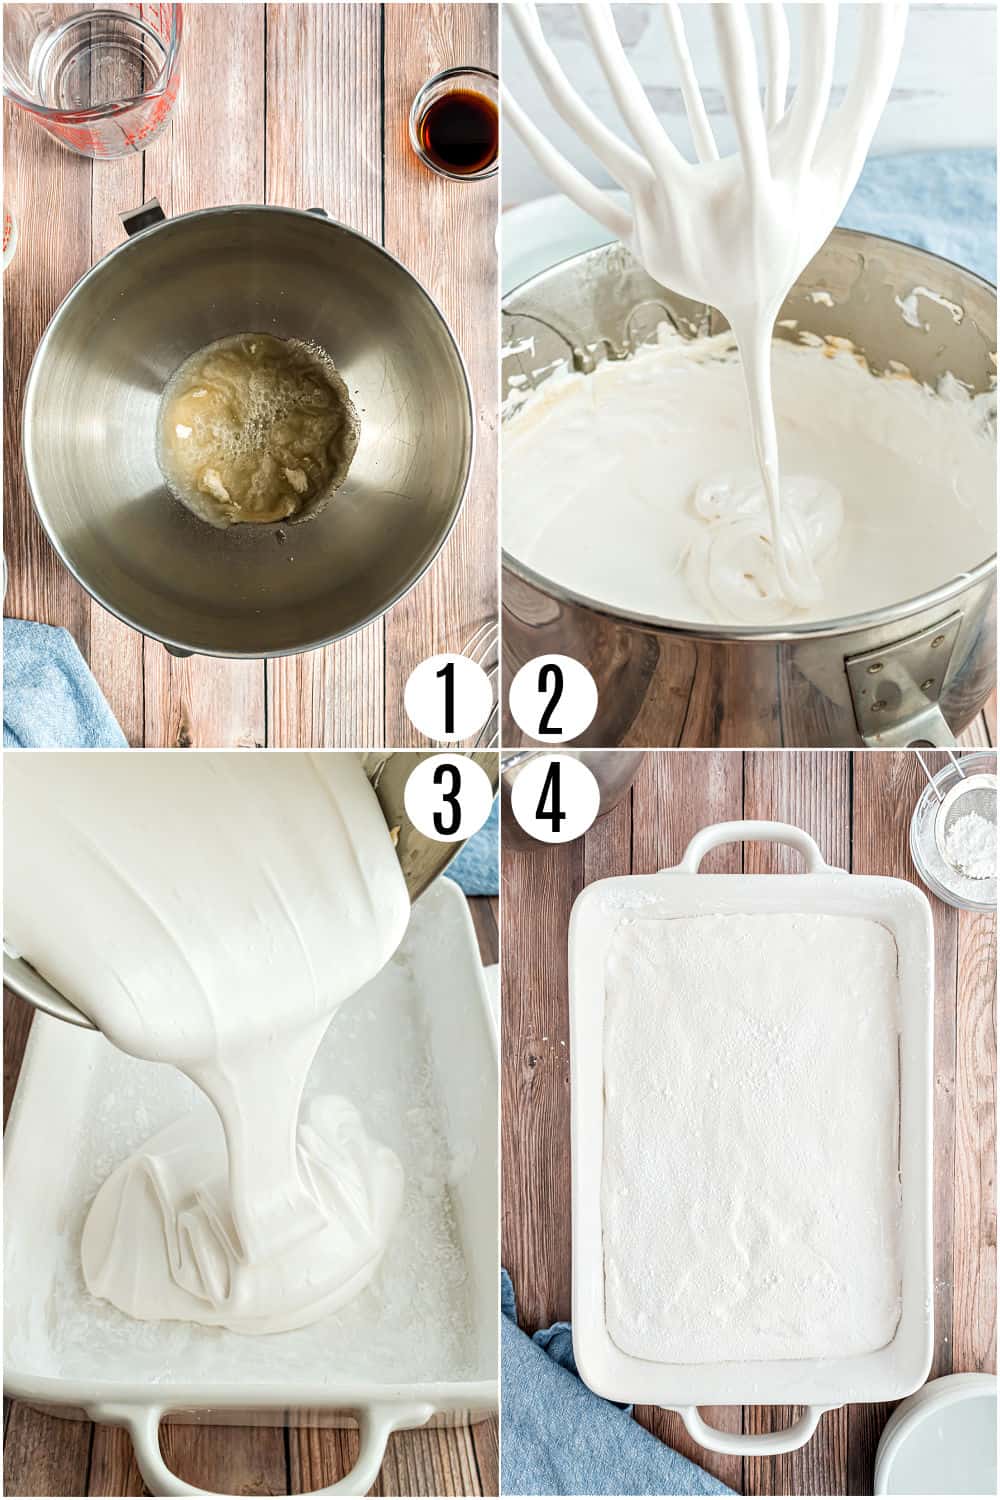
- Bloom the gelatin. In a mixing bowl, sprinkle gelatin into half a cup of cold water, stirring to combine. This helps created the base of the sugar syrup.
- You’ll also need a candy thermometer once you heat the mixture.
Combine:
- With the mixer on low speed, using the whisk attachment, slowly add the sugar syrup mixture to the gelatin mixture.
- Once all the sugar syrup has been added, turn mixer up to high and let whisk until fluffly and light (about 10 minutes). Add the vanilla extract during this process.
Let set:
- Pour the warm marshmallow mixture into the prepared pan. Using the greased spatula, scrape sides of mixing bowl and spread into pan.
- Use wet fingertips to smooth out top of the marshmallow. Sprinkle with powdered sugar and let dry for about 4 hours uncovered.

Tips and Tricks
- Cutting marshmallows: Use a sharp knife to cut the marshmallows into your desired size and shape. You can use cookie cutters for fun shapes too! Dipping the knife in water helps it glide through the marshmallow.
- Don’t stir the syrup! If you stir the sugar mixture while it’s coming to temperature. Stirring can cause the sugar crystals to adhere to each other making the syrup clumpy.
- Store for up to 3 weeks at room temperature!
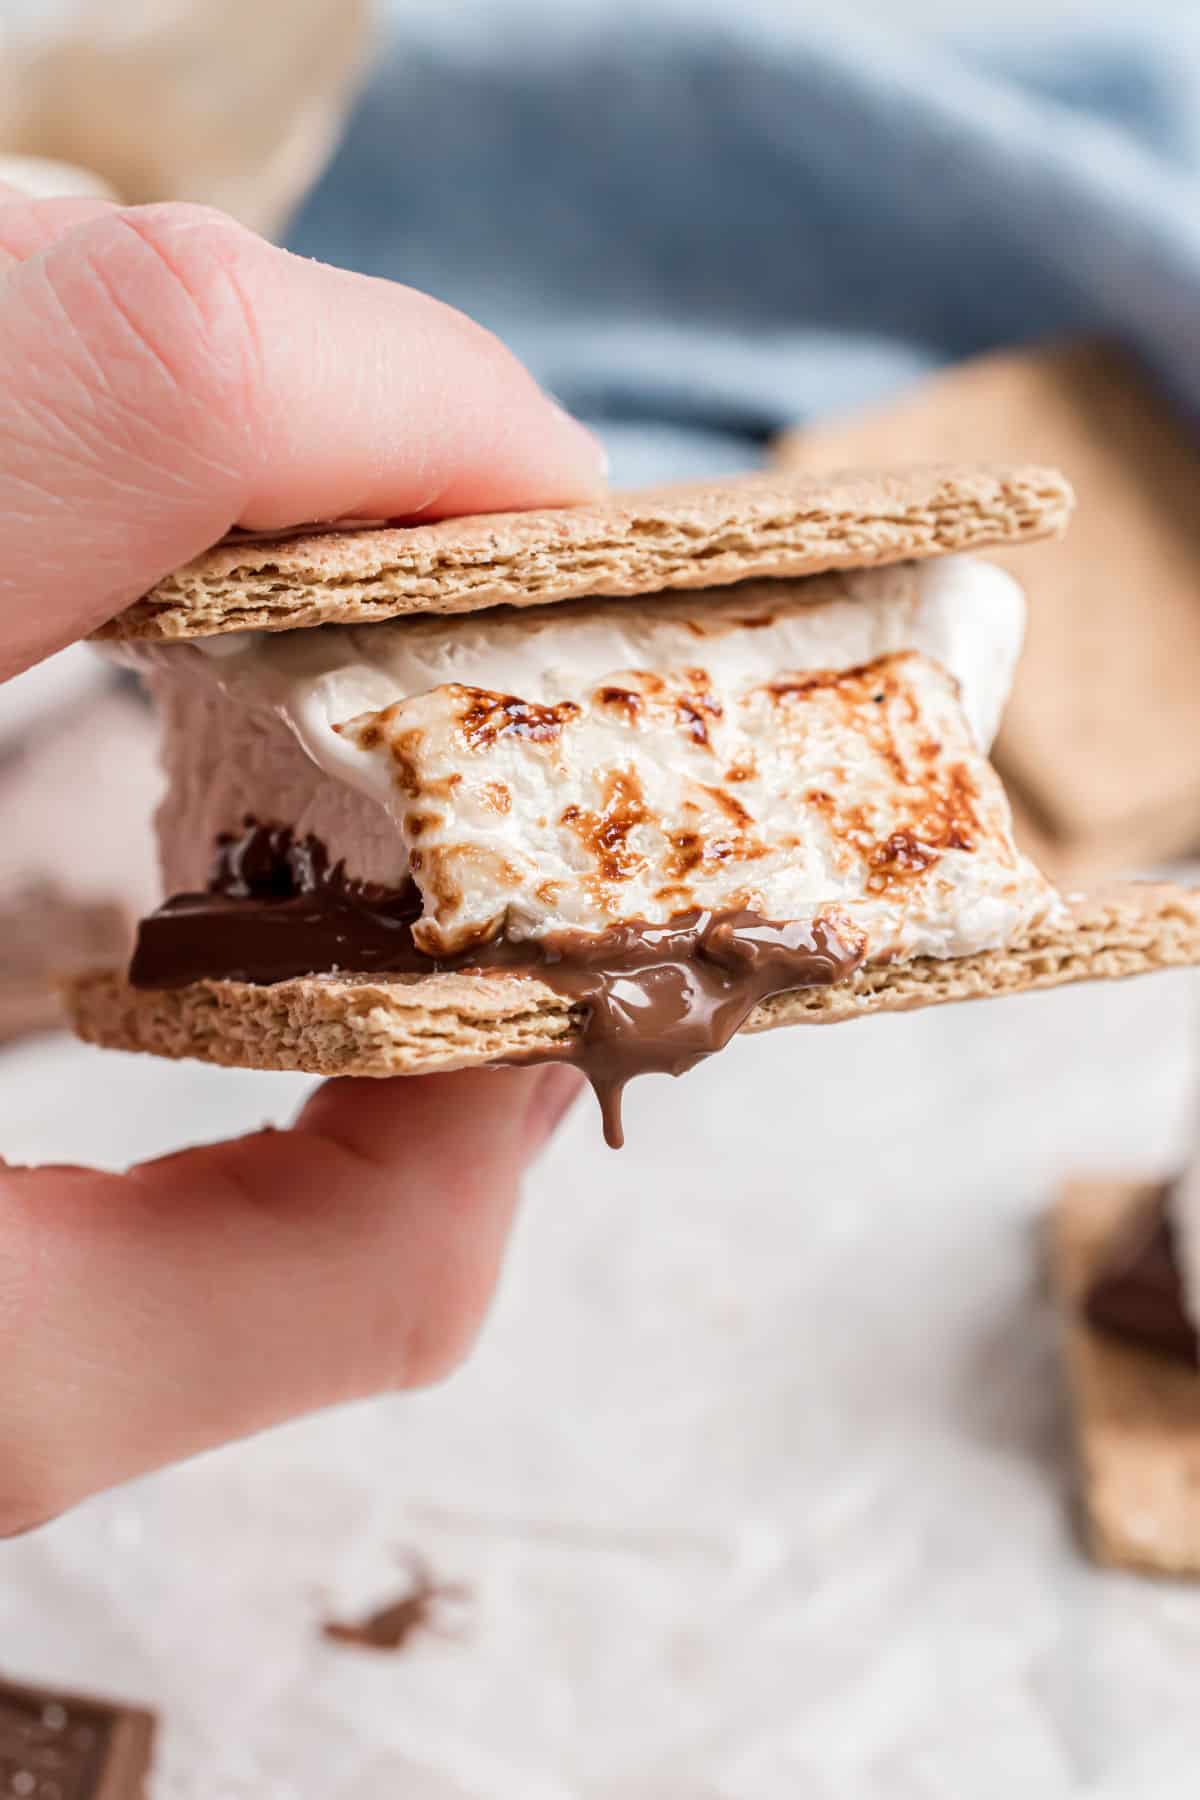
- Use marshmallows in homemade s’mores or hot chocolate!
Recipe FAQs
The vanilla extract in this marshmallow recipe adds a delicious hint of flavor. You can change it up by swapping the vanilla for other extracts like peppermint, lemon or orange extract.
Another easy way to make flavored marshmallows is using flavored gelatin powder instead of plain! If you opt for flavored gelatin, be sure to omit the vanilla.
Stored in an airtight container, these marshmallows keep for about 3 weeks. You can also freeze them for up to 2 months.
Let frozen marshmallows thaw in the fridge overnight. Don’t try to speed up the process by microwaving; they don’t hold up well to quick heating.
Aside from the obvious (eat them!) there are so many delicious ways to put your homemade marshmallows to good use!
Chop them into small pieces and press them on top of cookies, add them to a cup of cocoa, or dip them in chocolate coating for an easy gift idea. There’s no wrong way to enjoy a good marshmallow!
Easy Dessert Recipes
See all Desserts recipes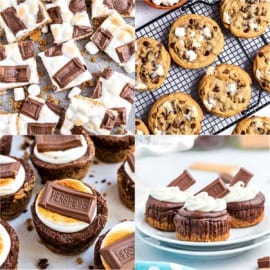
Pin this now to find it later
Pin It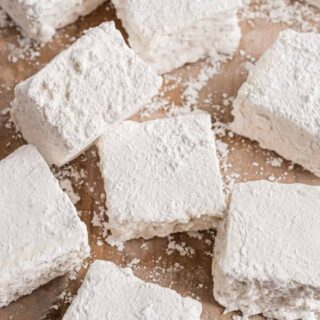
Homemade Marshmallows
Ingredients
- 1 cup cold water divided
- 3 packages unflavored gelatin
- 1 ½ cups granulated sugar
- 1 cup light corn syrup
- ¼ teaspoon kosher salt
- 1 Tablespoon vanilla extract
- ¼ cup powdered sugar divided
Instructions
- Grease a 9”x13” baking dish and dust with powdered sugar. Grease a spatula and handle. Set aside.
- In the bowl of a mixer, add unflavored gelatine and ½ cup of cold water. Stir to combine. Set aside.
- In a medium saucepan, add sugar, corn syrup, remaining 1/2 cup water, and kosher salt. Heat the mixture over medium heat, stirring until the sugar is dissolved.
- Increase the heat to high and bring the mixture to 240℉, using a digital or candy thermometer to monitor. This process will take about 10 minutes.
- Once the syrup reaches temperature, remove from heat.
- With the mixer on low speed, using the whisk attachment, slowly add the syrup to the gelatine and water mixture.
- Once all the syrup has been added, turn the mixer up to high speed and let it whisk the mixture until it’s light and fluffy. This process can take about 10-12 minutes.
- During the last minute of whisking, turn the mixer speed down to medium low, and add the vanilla. Then return the mixer speed to high.
- Pour the marshmallow mixture into the prepared dish. Using the greased spatula, scrape the sides of the mixing bowl to get all the marshmallow fluff. Use the spatula to spread the marshmallow fluff into an even layer.
- Using wet fingertips, smooth out the top layer of marshmallow.
- Sprinkle the top of the marshmallow with powdered sugar and let dry, uncovered, for 4 hours or up to overnight.
- With a knife dipped into water, cut into 1” squares.
- Place cut marshmallows in a bowl with powdered sugar. Toss to coat.
Notes
- I use Knox brand unflavored gelatin powder. The amount of gelatin needed is about 6 ½ – 7 teaspoons.
- Storage: Store marshmallows, with extra powdered sugar, in an airtight container. They will keep fresh for up to 3 weeks.
- When the syrup is ready, it will be clear and bubbly and have a golden color to it.
- When the marshmallow mixture is ready to pour into the pan, you will notice that it will be shiny (kind of like marshmallow fluff) and cool enough to touch when poured into the pan.
- Wet fingertips can help smooth out the top layer.
- Having a knife dipped in water can also aid when it’s time to cut. In our experience, spraying with cooking spray wasn’t the best option – it left an oily residue and discolored some of the marshmallows.
- When you are slicing them, use long, slow strokes and drag the knife through the marshmallow. You will notice each marshmallow release from the knife as you cut.
- The marshmallows are very forgiving. The cut lines will give enough guidance for the marshmallows to break away from each other. Even if they look a little misshapen at first, they will snap back into a square.
- Advantage of making your own is that you can flavor them (peppermint, other extracts) color them with food coloring, and cut them any size you’d like to (the perfect size for s’mores!).
- Make great gift-giving options as they can be packaged with some hot cocoa mix and a mug, dipped in chocolate and flavored.
Nutrition
More Easy Dessert Recipes
- M&M Cookies
- Sugar Cream Pie
- Ice Cream Cake Recipe
- Iced Oatmeal Cookies
- Mississippi Mud Cake
- Chocolate Cake Recipe
Get ready to have your marshmallow standards forever changed! Easy Homemade Marshmallows are the softest, gooiest and tastiest marshmallows you’ll ever eat.

Thanks a lot for this amazing and super easy to make marshmallow recipe! It’s really tasty and very flavorful! Will surely have this again! Highly recommended!
These are the best marshmallows ever! So good!
We love homemade marshmallows and these were so yummy! Fluffy and good!