
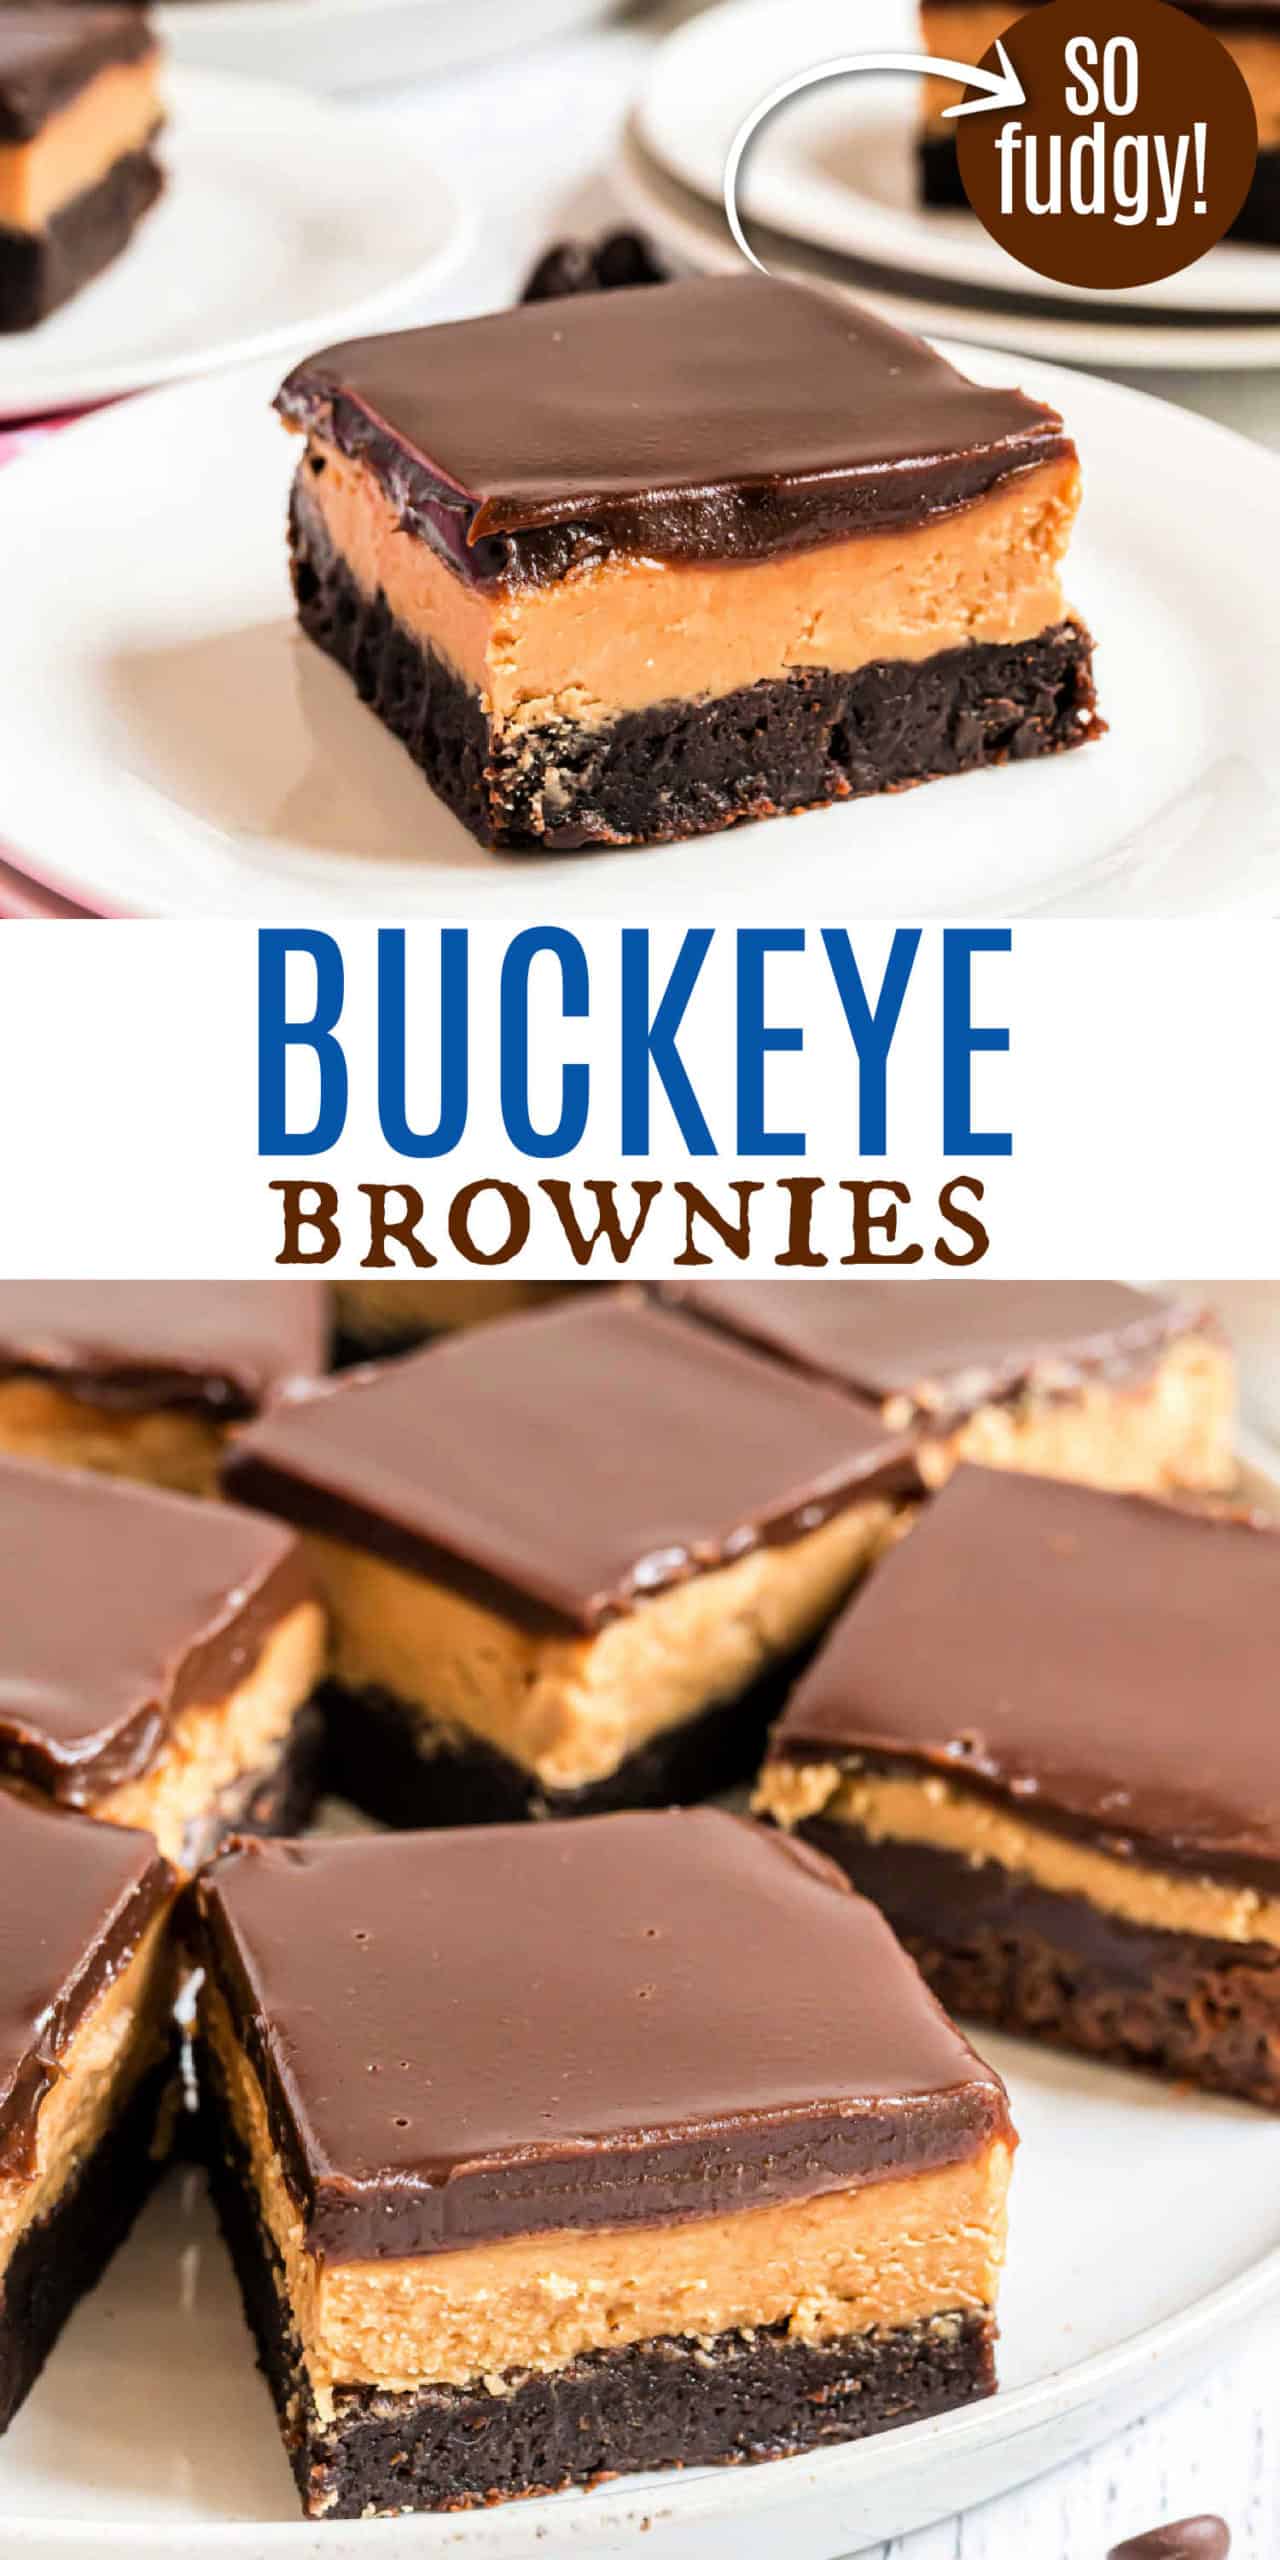
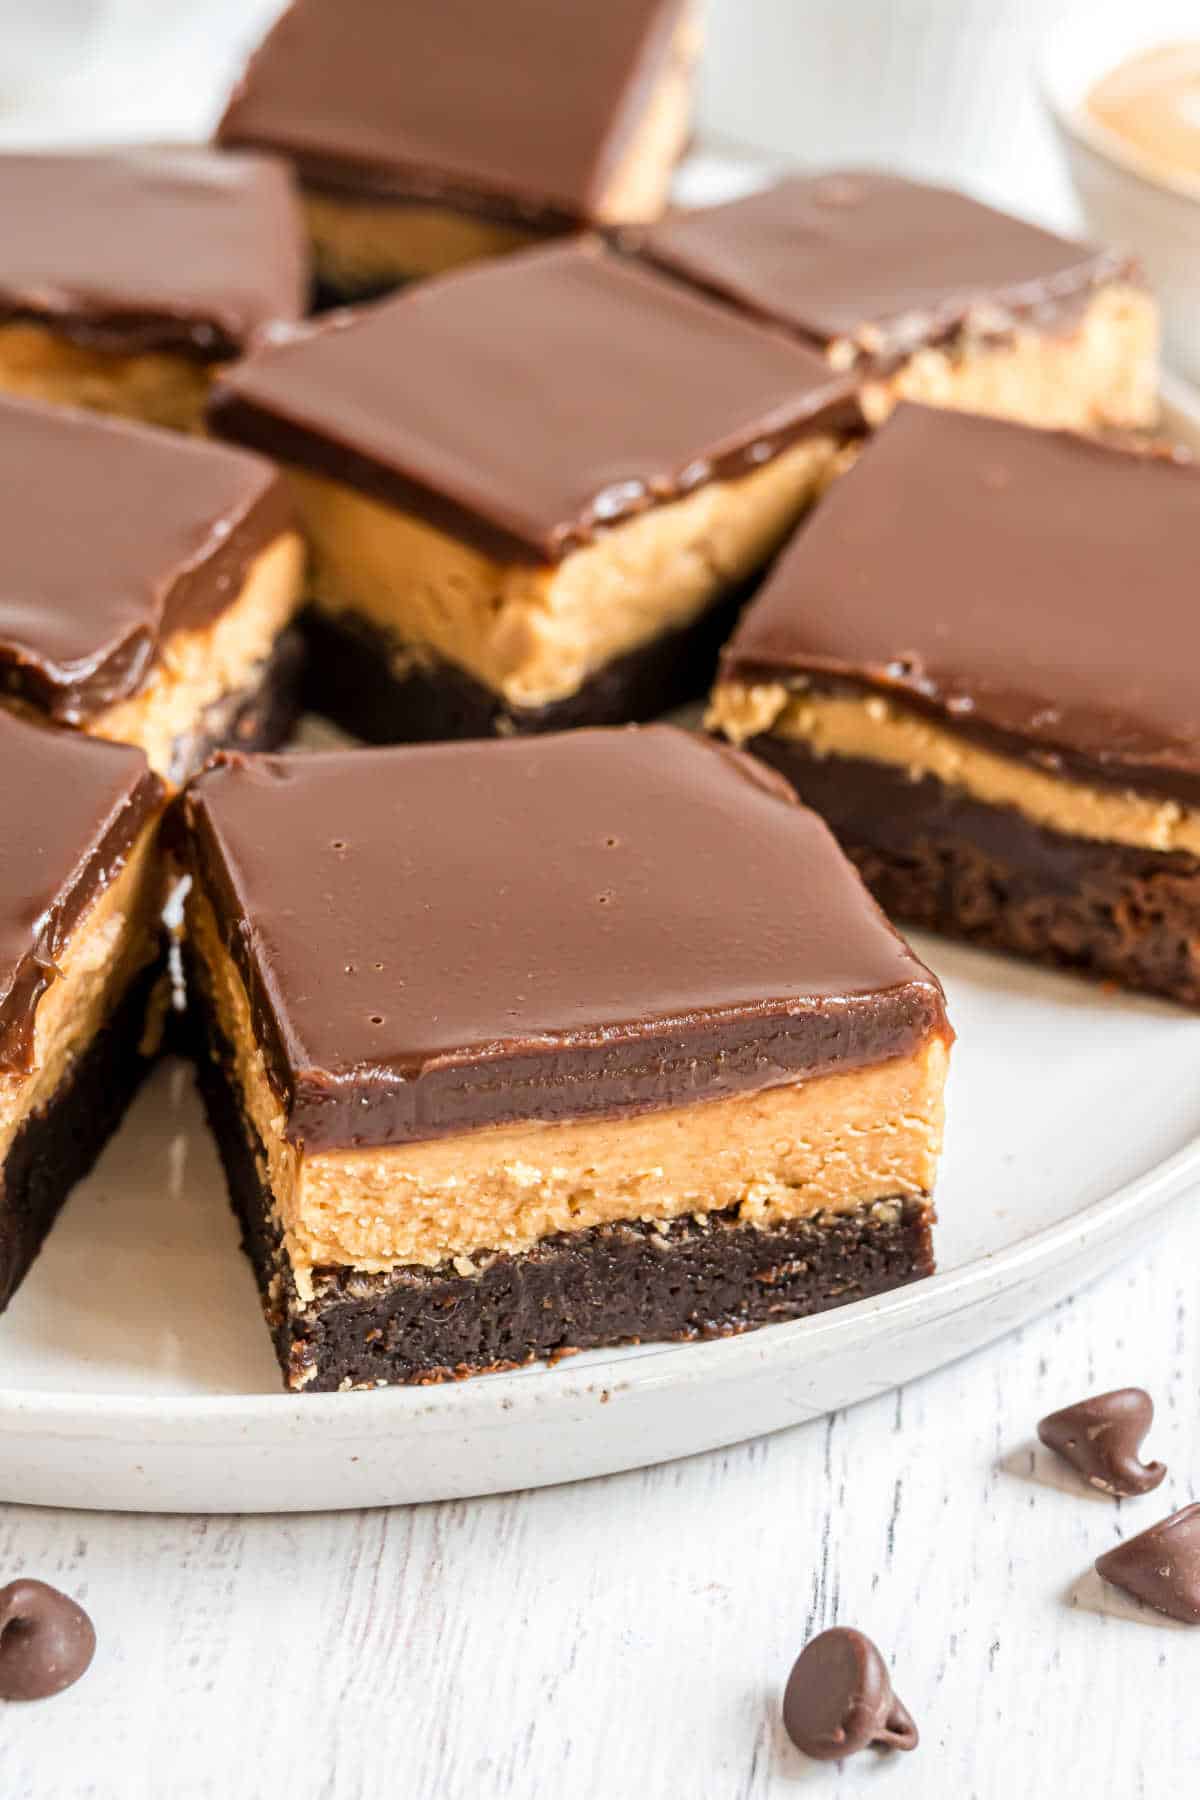
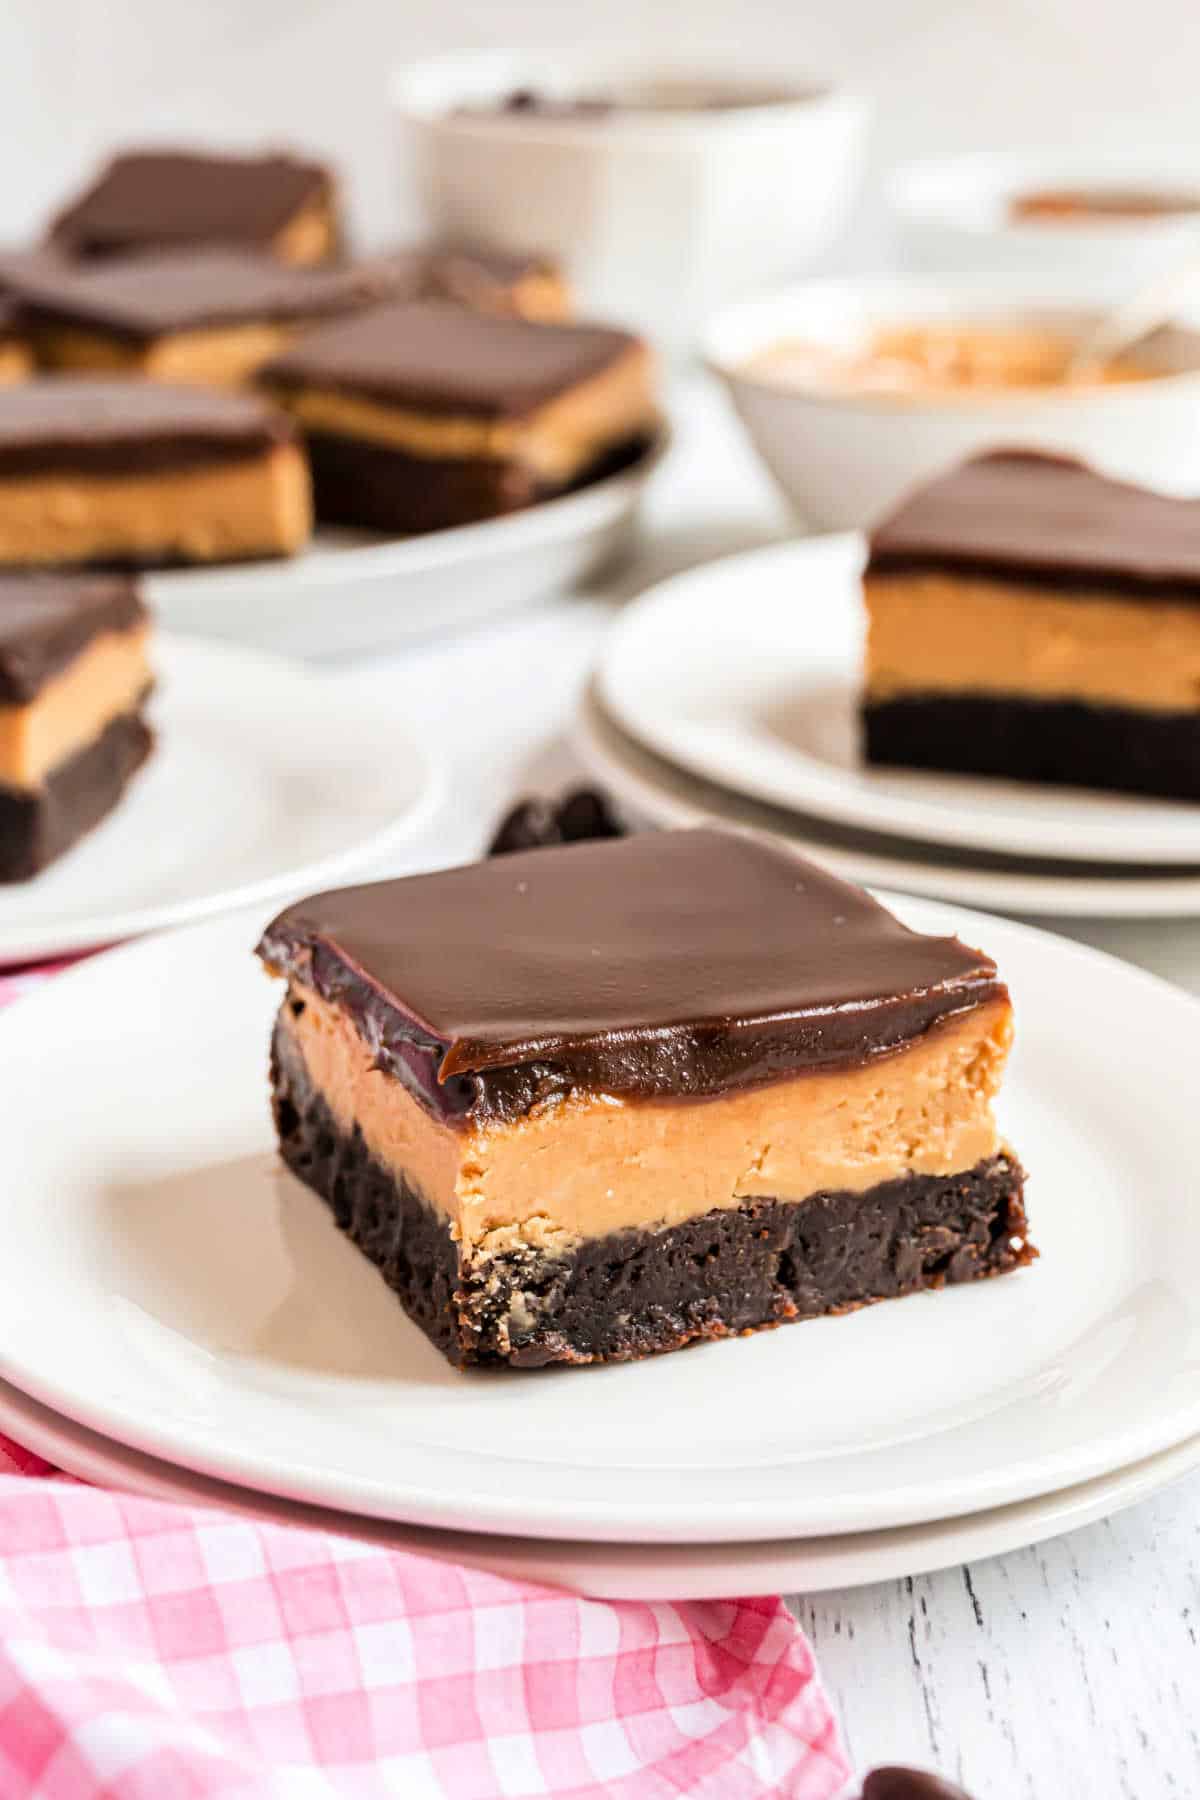
Rich chocolate Buckeye Brownies topped with a homemade peanut butter filling and chocolate ganache. As a midwest girl, who spent 8 years in Ohio, I’m confident this recipe tastes better than all the others. The secret is in my peanut butter filling!
This recipe was originally created in August 2015. It has been updated in August 2024 with new photos and I added fresh new recipe notes in July 2026.
What are Buckeye Brownies?
Aimee’s Recipe Notes

Imagine making your own Reese’s peanut butter cup recipe. Smooth and creamy peanut butter dipped in rich chocolate.
A buckeye brownie is that same flavor on top of a fudgy chocolate brownie.
My buckeye candy recipe was given to me by an Ohio native and it’s the secret to why my buckeye brownie recipe is truly the best. It’s smooth without all the added crunch others have in their filling.
Top Tips: Use my homemade brownie recipe as the base if possible, otherwise a boxed mix will be just fine. The peanut butter filling is what draws you in to this treat.
If you’re still not sure why to trust me, just know these brownies have not only been made by my own family for years, but they’re also featured in my cookbook and baked by thousands! Bring them to an event and watch them disappear.
Made these! Amazing!
– lisa
Buckeye Brownie Ingredients (The Three Layers)
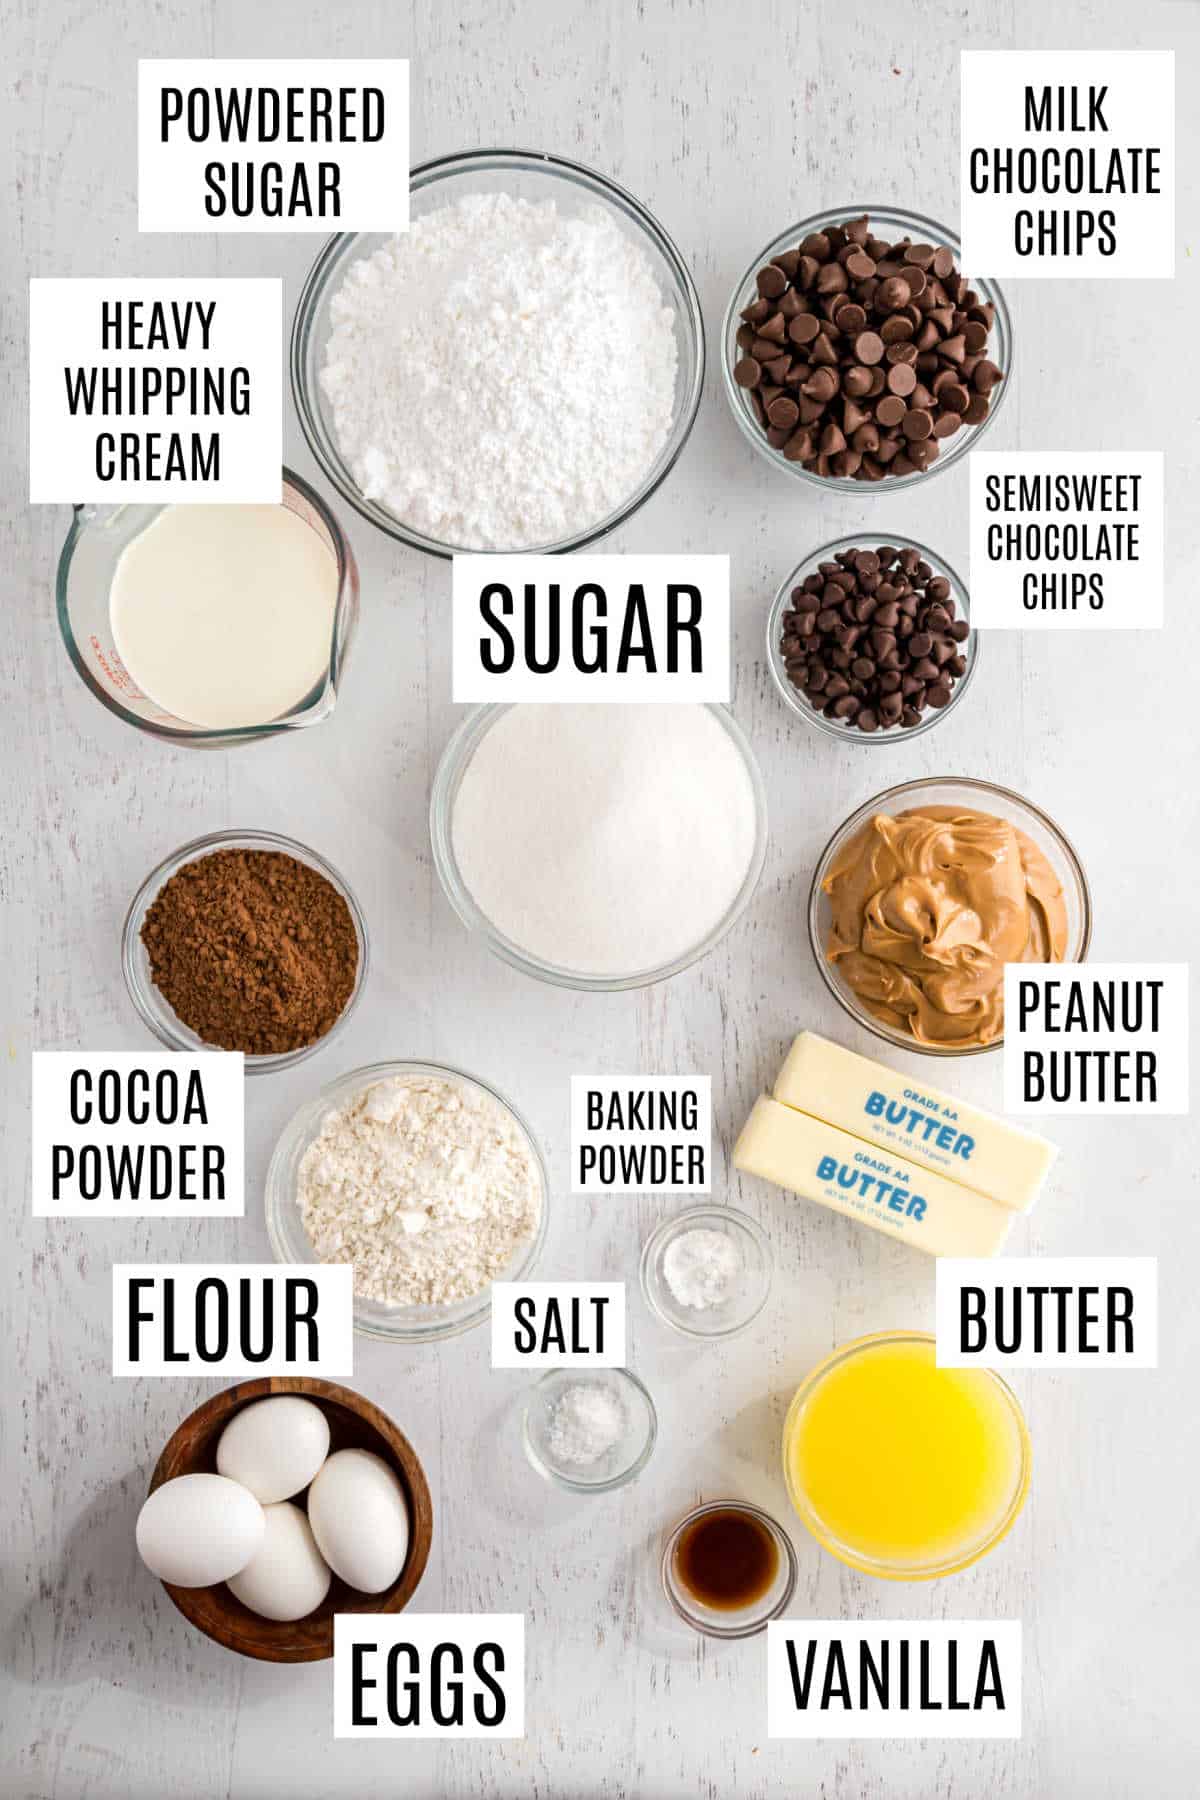
The Three Layers:
- Brownies. I use my fudgy homemade brownies as the perfect base for this dessert. You *could* swap out homemade for a boxed mix.
- Peanut Butter Filling. This is the best layer. Soft peanut butter combined with butter, vanilla and powdered sugar to create the perfect texture!
- Ganache. The chocolate ganache is soft enough to sink your teeth into, but not runny that leaves your hands covered in chocolate. You decide whether you prefer dark, milk, or semi-sweet chocolate!
More Ingredient Notes:
- Peanut Butter- opt for a shelf stable peanut butter, like Skippy or Jif, as they tend to produce the best results.
- Powdered Sugar- used as a sweetener for the peanut butter layer. We love powdered sugar because it sweetens without creating a grainy texture. No graham cracker filling here!
- Vanilla- pure vanilla extract is best. Try our homemade vanilla extract, it’s delicious and cost effective!
- Dark Chocolate & Heavy Whipping Cream- for the ganache on top. A good quality chocolate is best here, semi-sweet and milk chocolate works well too.
Featured Review
“These were delicious!! A perfect combo of chocolate and peanut butter.” -Jodi
How to make Buckeye Brownies (Step by Step)
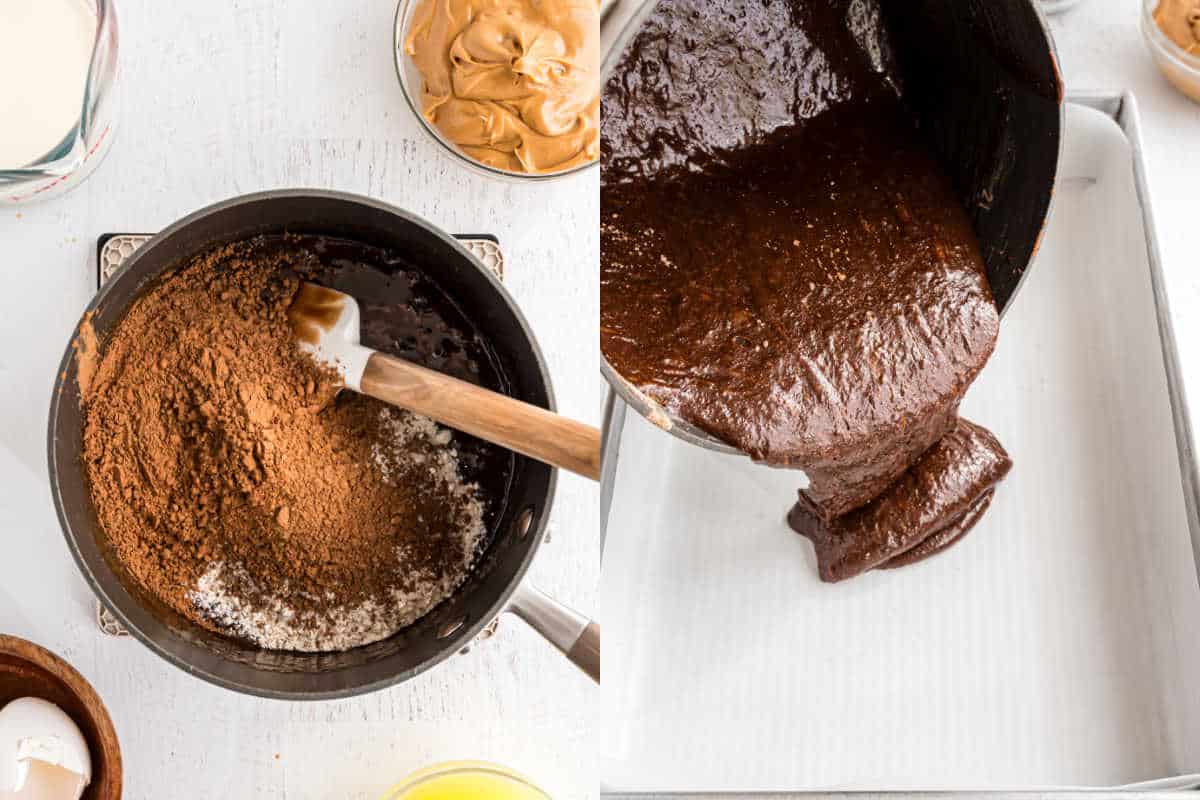
Brownies. Start by making a batch of brownies in a 13×9 baking dish. My fudgy brownie is best, but you could also try my dark chocolate brownies!
PRO TIP: Make sure you line your baking dish with parchment paper before baking. This will allow you to easily lift them out of the pan and slice for serving.
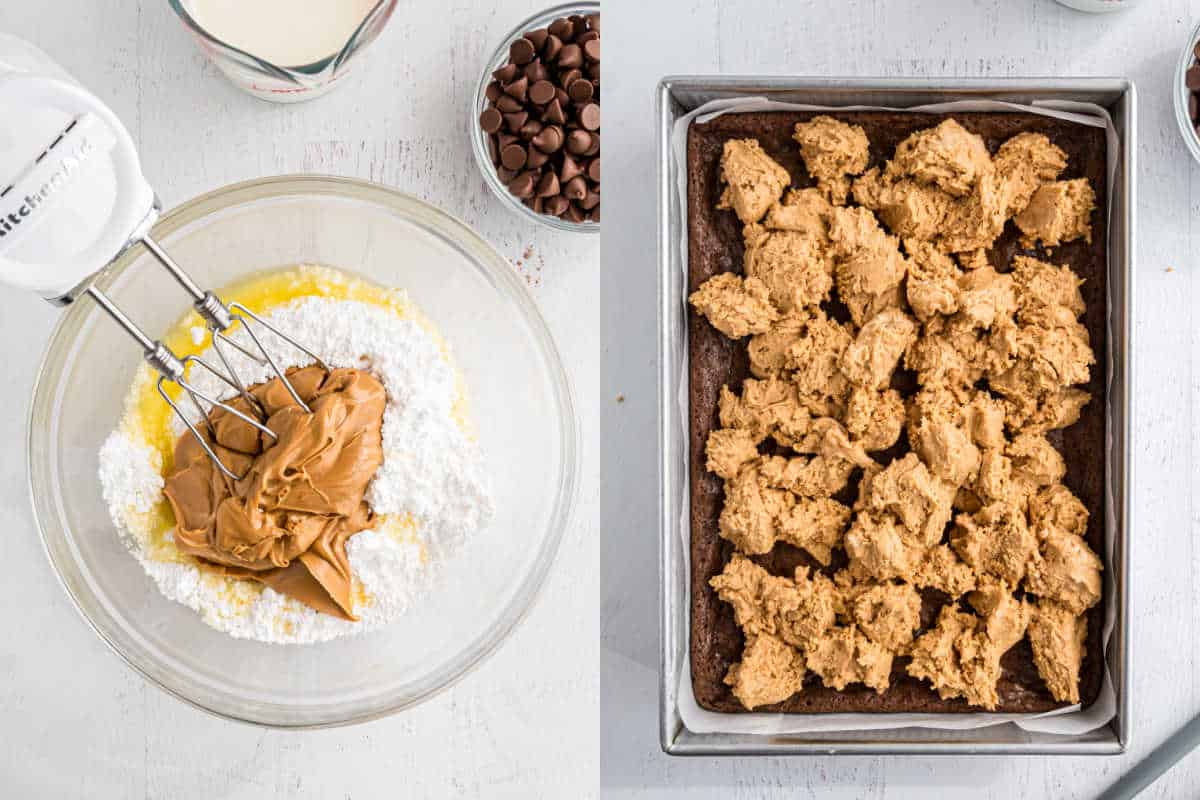
Peanut Butter Filling.
- While your brownies are baking, make your peanut butter filling. Beat ingredients until combined into a soft “dough.”
- Remove brownies from oven and gently drop peanut butter mixture onto top of warm brownies. Use your finger tips to make sure the brownies are completely covered.
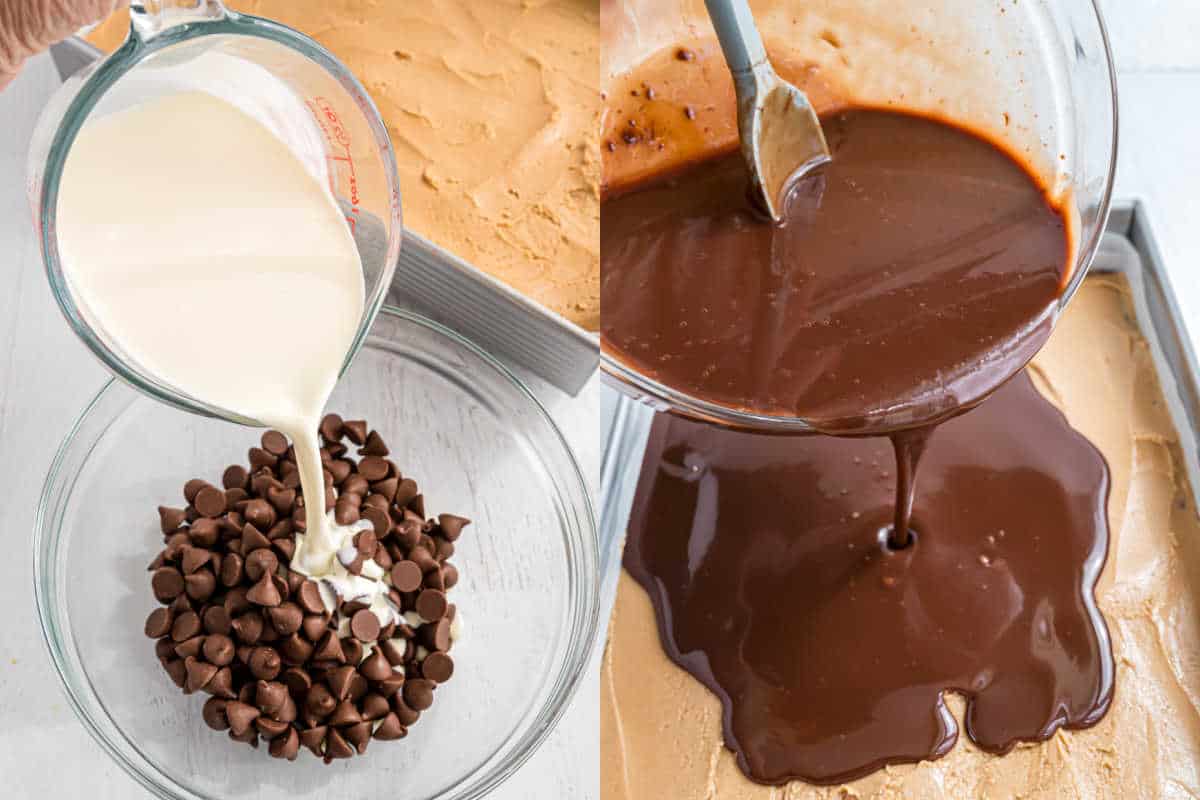
For the ganache.
- In a small microwave safe bowl, combine chocolate chips and heavy whipping cream. Heat for one minute and stir until smooth.
- Pour over peanut butter layer and spread evenly.
Chill. Cool completely by refrigerating brownies for 2 hours (or more). Cut into bars while chilled and enjoy!
How to Store and Freeze Buckeye Brownies
Make these buckeye brownies ahead of time by baking the day before serving, or freezing in advance.
- Store. These buckeye brownies are best when stored in the refrigerator in an airtight container. Keep covered for up to 5 days.
- Freeze. Place brownies in airtight container and freeze for up to 3 months. Thaw in refrigerator overnight.
Buckeye Brownies FAQs
Choose a brownie mix that can be baked in a 13×9. I love Ghirardelli mixes!
Be sure to choose a shelf stable peanut butter and mix just until combined. Mixing with your hands near the end can help too!
My first recommendation is using a large plastic knife. If you don’t have one a clean, warm, sharp knife works great. You’ll also want to wipe the knife between cuts!
No! Buckeye brownies can be stored at room temperature for up to 5 days. However, they are also quite delicious served cold.
Buckeye Variations
- Classic Peanut Butter Buckeyes (peanut butter balls)
- No Bake Buckeye Bars
- Buckeye Brownie Cookies
If you love today’s brownies, be sure to try my chocolate peanut butter pie next! And don’t skip my list of the best brownie recipes ever.
Pin this now to find it later
Pin It
Buckeye Brownies
Ingredients
For the brownies:
- 1 cup unsalted butter
- ½ cup semi-sweet chocolate chips
- 2 cups granulated sugar
- 4 large eggs
- 1 teaspoon pure vanilla extract
- ¾ cup unsweetened cocoa powder
- 1 cup all-purpose flour
- ½ teaspoon kosher salt
- ½ teaspoon baking powder
For the peanut butter filling:
- ¾ cup unsalted butter melted
- 1 ½ cups creamy peanut butter
- 1 teaspoon pure vanilla extract
- 3 cups powdered sugar
For the ganache:
- 1 ½ cups dark chocolate chips
- 6 Tablespoons heavy whipping cream
Instructions
- Preheat the oven to 350 degrees F. Line a 13×9-inch baking dish with parchment paper. Set it aside.
- In a medium sized saucepan, melt butter over medium heat. Once melted, remove the pan from heat and add chocolate chips and granulated sugar. Stir until the chocolate is completely melted.
- Add eggs, one at a time, combining completely after each addition. Add vanilla and stir until blended.
- Add the cocoa powder, flour, salt, and baking powder. Using big strokes, stir just until mixed and dry ingredients are no longer visible.
- Pour batter in the prepared baking dish. Bake the brownie layer for 23-25 minutes.
- While brownies are baking, make peanut butter filling. In a mixing bowl, combined melted butter, peanut butter, vanilla, and powdered sugar. Beat until combined.
- Remove brownies from oven when done baking. Gently drop peanut butter filling onto top of warm brownies, using fingertips to make sure brownies are completely covered.
- For the ganache, in a small microwave safe bowl, combine chocolate chips and heavy cream. Heat for one minute. Stir until smooth. Pour over peanut butter layer and spread until evenly distributed.
- Refrigerate brownies for 2 hours (or more). Cut into bars while chilled. Serve and enjoy!!
Notes
- Peanut butter. I find regular creamy peanut butter works better than natural or sugar free.
- Storage. Keep these brownies chilled for best results. Store in airtight container for up to 5 days or freeze for up to 3 months.
- See blog post for substitutions and tips and tricks.
Video
Nutrition
More Easy Desserts
- Chocolate Peanut Butter Grahams: these easy dipped grahams are a fun treat!
- Ooey gooey Rice Krispie Treats are the perfect chewy treat for you and the family!
- Chocolate Peanut Butter Biscotti: cookies for breakfast is always a win in my book!
- Make this delicious and easy Magic Bars Recipe! Check out the recipe page for what makes it magic!
- Peanut Butter Mousse Pie: one of my favorite peanut butter and chocolate desserts on the blog!
- Try out these creamy Peanut Butter Blossoms that are a perfect staple for weeknight treats!


I just made these and they are fabulous. I made my regular brownie recipe and followed the recipe for everything else.
Thank you for a great recipe.
Can I use a brownie mix for the bottom layer?
Ganache calls for 1 and a half cups of HWC and same for chips. I have soup. No way should the liquid be equal to the chips. I had to send out spouse to get more chips if I want to salvage the icing. I knew better. Should probably be a quarter cup of HWC at most. 😢
Nope, it’s equal parts. Make sure you’re using heavy whipping cream. Stir until smooth and it thickens beautifully!
Made these! Amazing!
Do you have any sugar free dessert recipes for diabetics?
Thank you
Cindyjean9742
Made these today, for a cookout tomorrow. They look great and, yes I licked the spoon!
Haha love. Hope they were a huge hit!