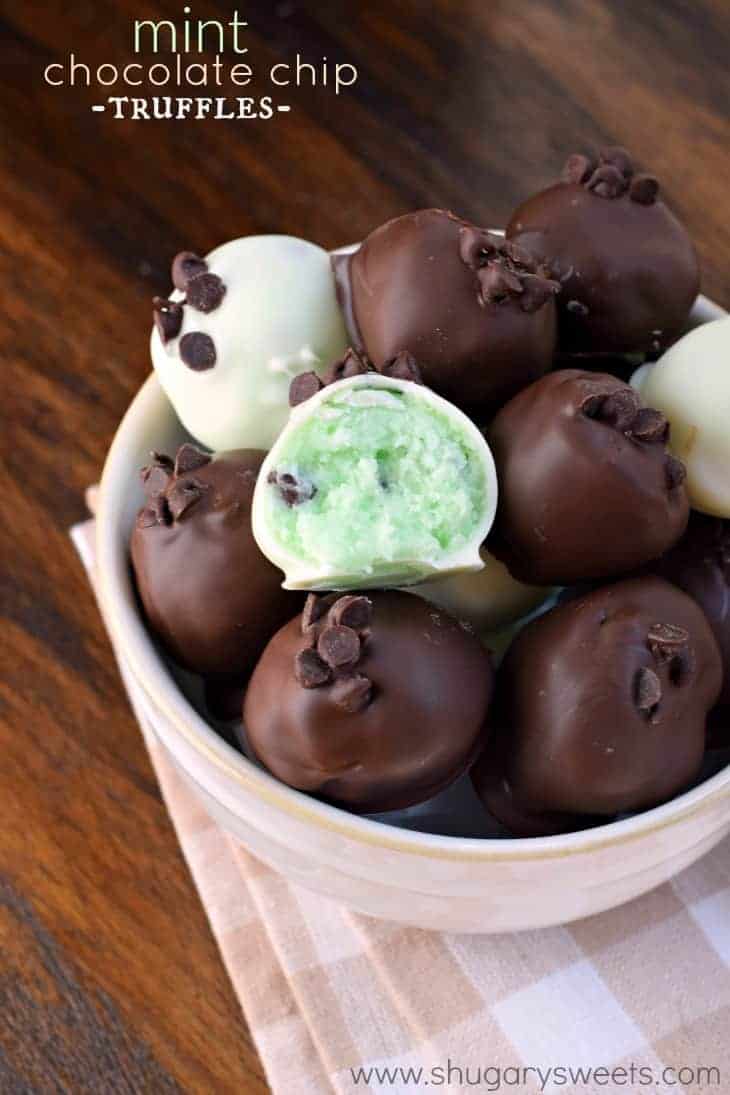
These Mint Chocolate Chip Truffles have a soft, creamy mint chocolate chip center and are coated in decadent chocolate! What are you waiting for? Go make some today!
If you love candy, try our easiest chocolate truffle recipe! Creamy and fudgy, it’s always a hit. Or give our buttercream truffles a try, made with a frosting filling, they’re easy and delicious.
Why This Recipe is Best
Homemade truffles are really easy to make, promise!
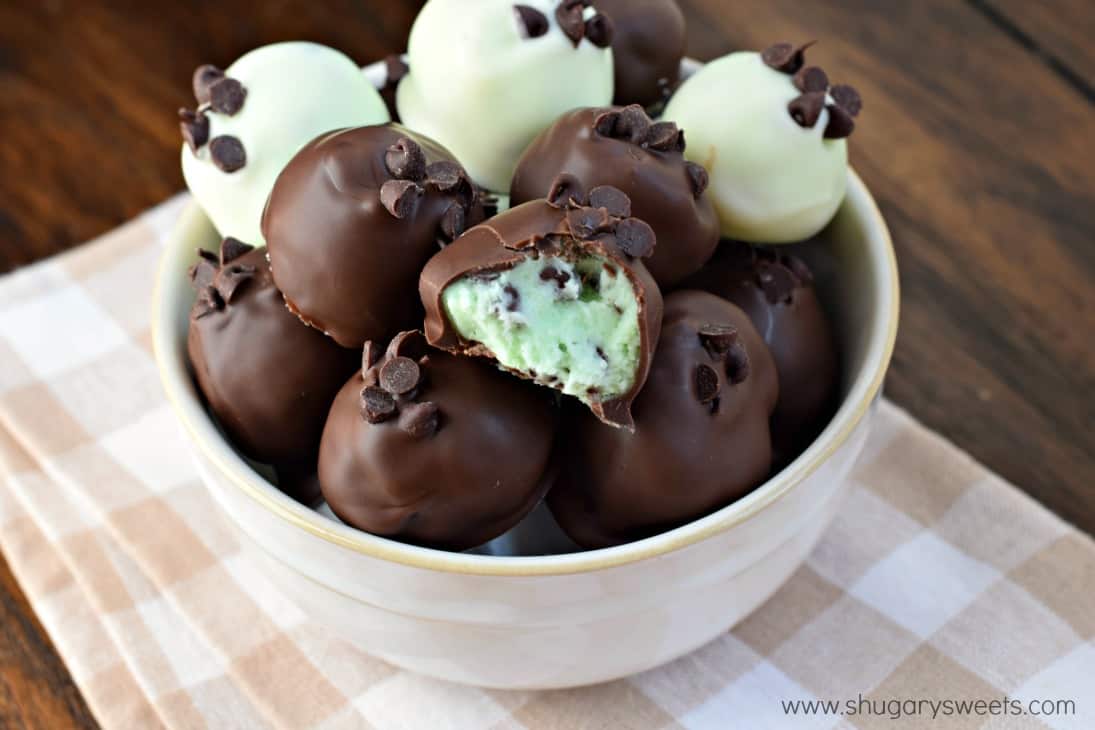
These truffles feature a soft, smooth mint chocolate chip center with a crunchy chocolate coating on the outside for a really delicious combination!
- You just need 6 ingredients to make the mint chocolate centers of these truffles.
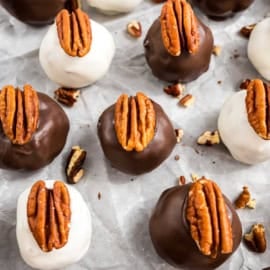
- Choose dark chocolate or white chocolate – or both! – to make the crunchy coating on the outside of these truffles.
- Decorate the truffles with mini chocolate chips, or even sprinkles or crushed mints, for a fun decorative flair.
- This recipe makes 4 dozen truffles. They make great gifts for teachers, coworkers, neighbors, grandparents, anyone really!
Give our raspberry truffles a try next. Dipped in dark chocolate they’re perfect for holidays.
Ingredient Notes
- Cream cheese – We start with full fat cream cheese softened to room temperature. It adds creaminess to the filling of the mint chocolate chip truffles.
- Butter – Unsalted butter is my go-to for truffles, and for holiday baking in general. Use our tips on how to soften butter for quick and easy tricks.
- Peppermint extract – Use pure peppermint extract (not imitation flavor) for best results.
- Gel food coloring – A drop give the mint center the traditional green color. You can leave this out if desired for a cream colored filling.
- Chocolate coating – You can use melting wafers or bark to create the melted chocolate for coating these truffles.
Easy Instructions
STEP 1. Make the mint filling. Beat the cream cheese and butter until fluffy. Add the sugar, peppermint extract and food coloring and beat until well combined. Fold in the mini chocolate morsels.
STEP 2. Scoop and freeze. Scoop the batter into balls, about a tablespoon for each, and place on a parchment paper lined baking sheet. Freeze for an hour (or longer).
STEP 3. Make the truffles. Using a toothpick, dip each truffle ball into the melted chocolate, tapping on the side of the bowl to remove the excess. Drop onto parchment paper and garnish with extra mini chocolate morsels, if desired.
Tips and Tricks
- Make sure your cream cheese and butter are softened, so they whip up nice and fluffy to create a creamy filling.
- Use a metal cookie scoop (like this 1 Tbsp sized scoop) to portion out your balls onto a parchment paper lined baking sheet.
- Use a toothpick to dip the balls into the melted chocolate and then tap off any excess to create a smooth coating.
- Add drizzled chocolate or mini chocolate chips to cover the toothpick hole.
- Feel free to use dark, milk or white chocolate melting wafers or bark for your coating. Or use more than one!
Recipe FAQs
I use Ghiradelli melting wafers for my chocolate coating, but any brand will do. They can be found in the baking aisle at most grocery stores. You can also use dark chocolate or white chocolate bark for the coating.
These truffles will keep in a covered container in the refrigerator for up to 1 week, if they last that long.
Yes, you can freeze truffles in an airtight container for up to 3 months, either with or without the chocolate candy coating.
More Easy Dessert Recipes
- Try out this sweet and smooth Caramel Swirled Fudge!
- Rocky Road Fudge takes your favorite ice cream flavor into fudge form!
- These Chocolate Chip Cookies are perfect. No chilled dough, nor any crazy ingredients needed!
- Watergate Cake is bursting with some of your favorite flavors!
- Make a batch of these sweet Snickerdoodle Truffles!
Pin this now to find it later
Pin It
Mint Chocolate Truffles
Ingredients
- 4 ounce cream cheese softened
- ½ cup unsalted butter softened
- 2 cups powdered sugar
- 1 teaspoon peppermint extract
- 1 drop green food coloring gel
- ½ cup semi-sweet mini chocolate morsels
- 12 ounce chocolate coating melted (feel free to use the dark or the white chocolate, or both)
Instructions
- Beat cream cheese and butter until creamy. Add sugar, peppermint extract and food coloring. Beat until well combined.
- Fold in chocolate morsels.
- Using a 1 tbsp scoop, drop onto a parchment paper lined baking sheet. Freeze for about an hour (more is fine).
- Using a toothpick, pick up the truffle and dip it into the melted chocolate, tapping the side of the bowl to remove the excess chocolate. If desired, add a couple of mini morsels for garnish. Store in refrigerator for up to a week.
Notes
- Make sure your cream cheese and butter are softened, so they whip up nice and fluffy to create a creamy filling.
- Use a metal cookie scoop (like this 1 Tbsp sized scoop) to portion out your balls onto a parchment paper lined baking sheet.
- Use a toothpick to dip the balls into the melted chocolate and then tap off any excess to create a smooth coating.
- Add drizzled chocolate or mini chocolate chips to cover the toothpick hole.
- Feel free to use dark, milk or white chocolate melting wafers or bark for your coating. Or use more than one!

I actually added another cup of powdered sugar and refrigerated it for about 30 minutes before forming the mint cream into balls. Froze the balls for about two hours and it worked just fine. Deliciousness!!
My filling had to be frozen before I could handle it or dip it, but that’s a relatively small alteration in my opinion. Once they were dipped, they were a hit!
Made this almost entirely as directed; the only difference is that I used the “1/3 less fat” cream cheese. The filling had the consistency of pudding, so I had to freeze it for an hour or two before I could roll it into balls, let alone dip it. But once I did, and got these dipped and served them to my coworkers, they were a hit. They melt in your mouth!
Made these last night. I used whipped cream cheese and I ended up with a filling that required freezing in order to dip them. I was a bit frustrated with myself that I didn’t use regular cream cheese until I tried a finished one at room temp. OH MAN. It literally MELTS in your mouth. Ghiradelli melting chips and a filling slightly thicker than royal icing = decadent heaven. Bob Ross is right, we don’t make mistakes, only happy accidents.
Love to hear it 🙂
i love mint chocolate anything. thank you.
Nice post ! Thanks for sharing
What about using a red food color for Christmas time?
Absolutely!
Can i freeze them?
Looks Cool!
Don’t use as much butter as directed.. way too much butter
It is because the ingredients say powder sugar but the instructions never say to add the powder sugar. I️ think you are forgetting to add that into the mixture.
The recipe says “add sugar” 🙂
Tried the recipe as directed. Because it is too much like icing I had a problem with the balls setting up. Even after an overnight in the freezer. Days later…still soft. I was able, with much trouble, to dip into the chocolate. Surprising, since I only use Ghirardelli! However, the bottoms didn’t firm up and solidify, leaving a gooey mess on the wax paper. We’ve decided to make bars with the rest, using an Oreo crust, and a ganache top layer. Never waste. Just invent another recipe!