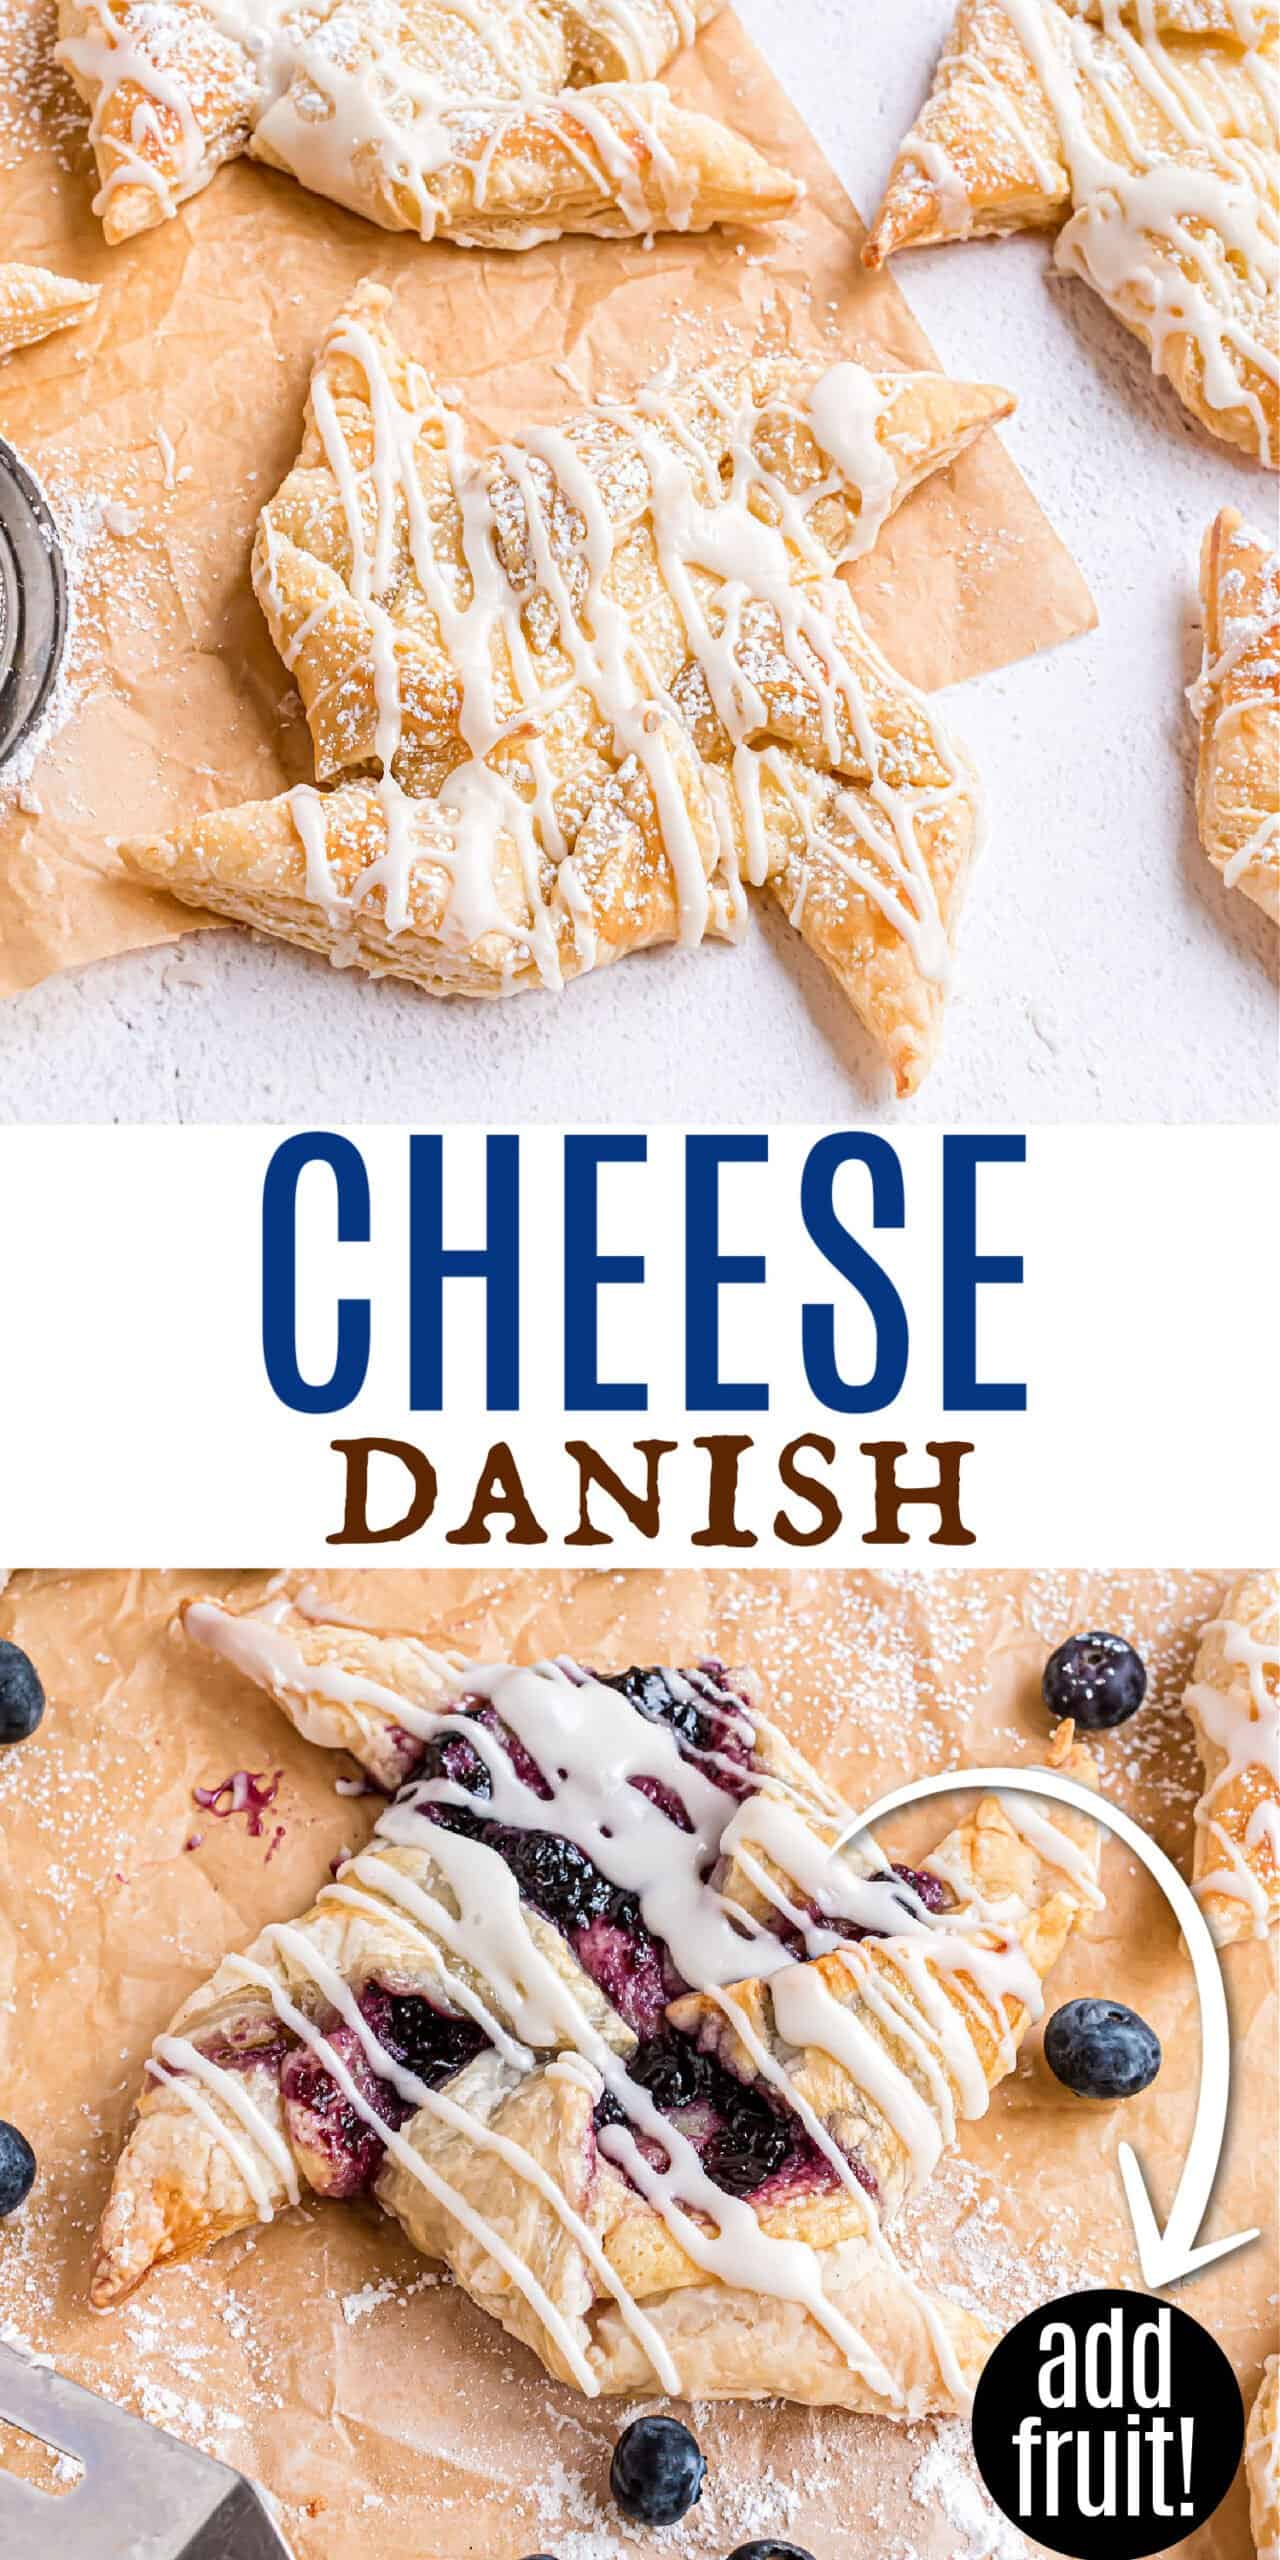
Making homemade Cheese Danish is easier than ever. Using just a few ingredients, you can learn how to make a flaky, delicious cheese danish in under 30 minutes. With a creamy filling and sweet icing, these are the perfect addition to a holiday breakfast or brunch.
Can’t resist the pastry case at your favorite coffee chain? You’ll love this Copycat Starbucks Lemon Loaf and these Flourless Chocolate Cookies too.
Why this Recipe Works
I used to think homemade danishes would be tricky to make. All that pastry dough and the fancy fillings, not to mention rolling and folding!
Using my favorite baking shortcut, puff pastry eliminates the extra work without sacrificing taste. This isn’t just the easiest Cheese Danish recipe–it’s also the BEST!
- Uses puff pastry sheets. No need to make fussy pastry dough from scratch.
- Ready in 30 minutes.
- Cream cheese custard filling. Full of flavor and easy to make.
- Sweet icing. Each cheese danish gets a dollop of vanilla sweetness for an extra delicious finishing touch.
- Delicious plain or with fruit. Cheese Danish tastes wonderful on its own. You can also use this recipe to make fruit danish by adding a little pie filling!
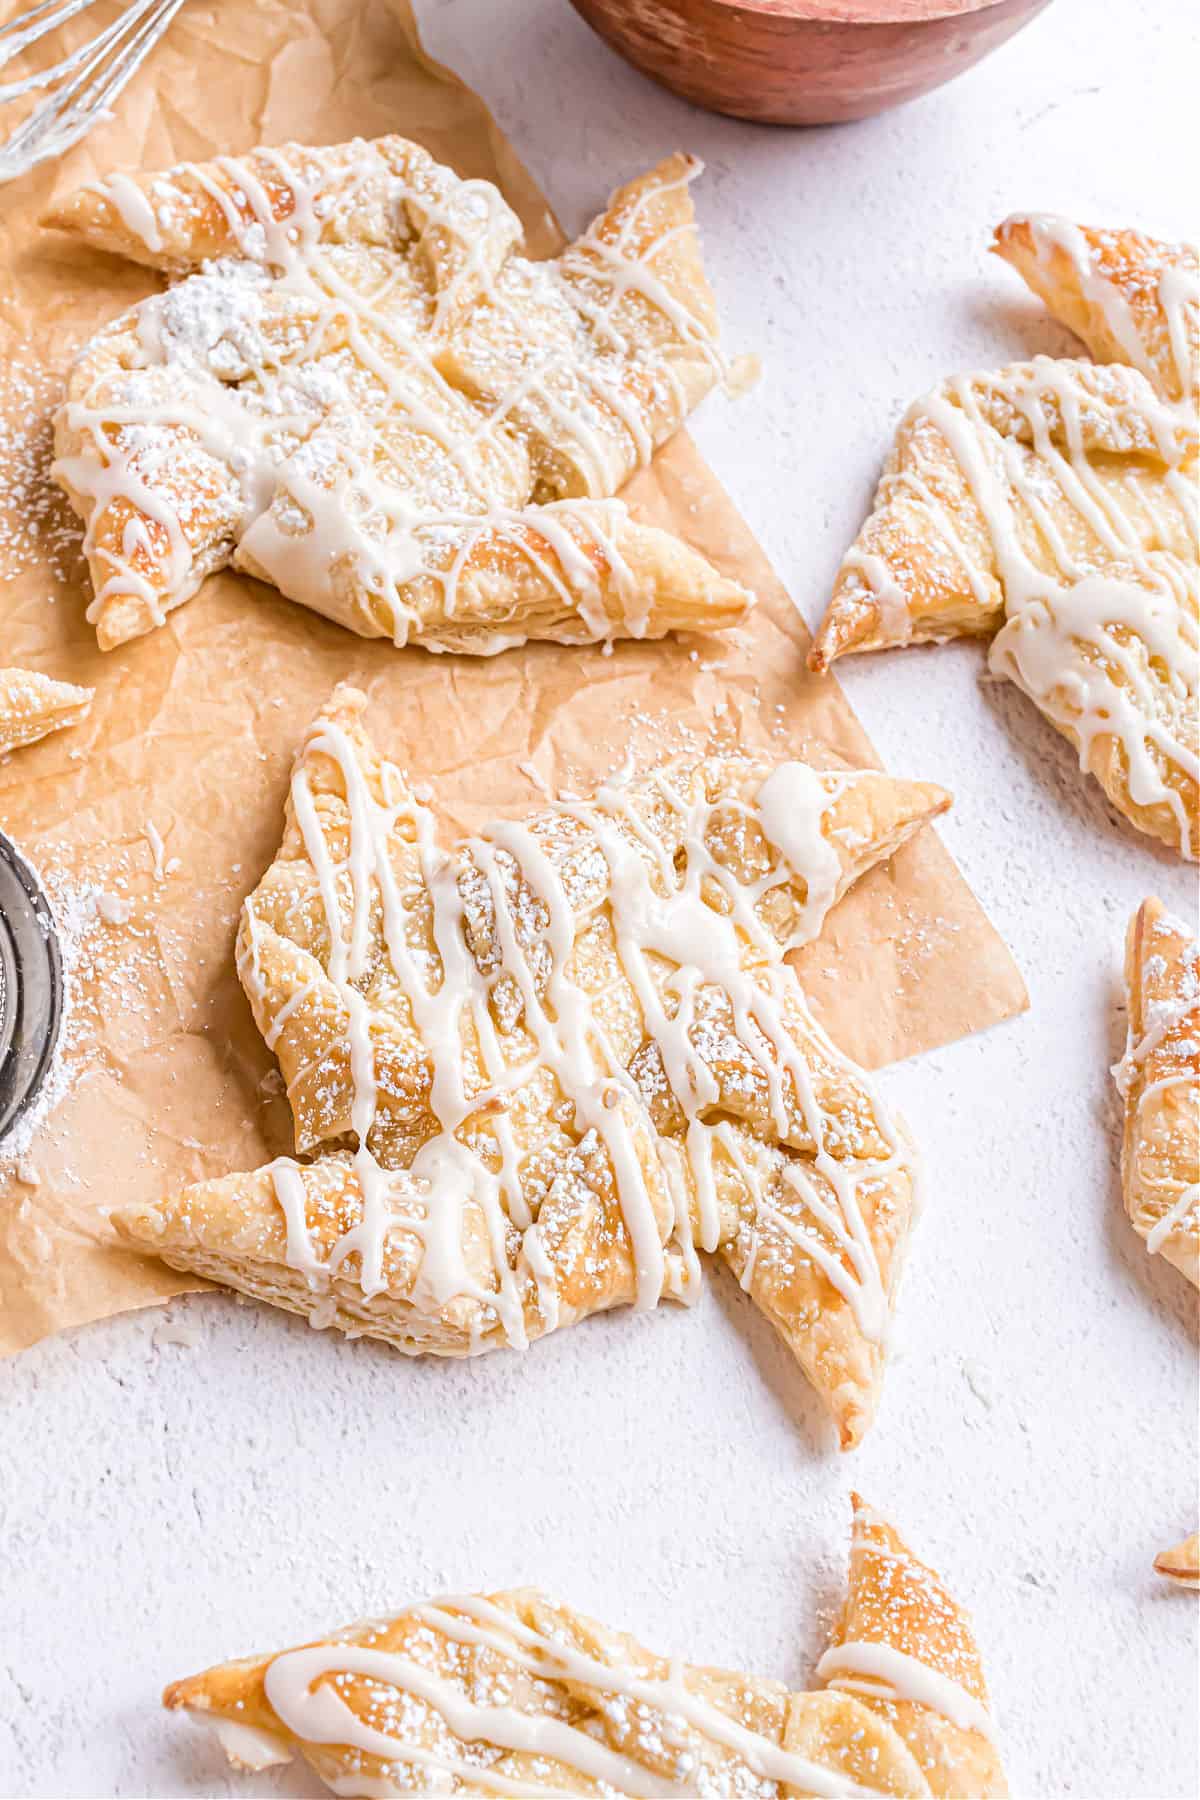
A cheesecake-like center is wrapped in buttery, flaky pastry dough. The ultimate breakfast treat that’s impressive enough for a special occasion and easy enough for every day!
Ingredient Notes
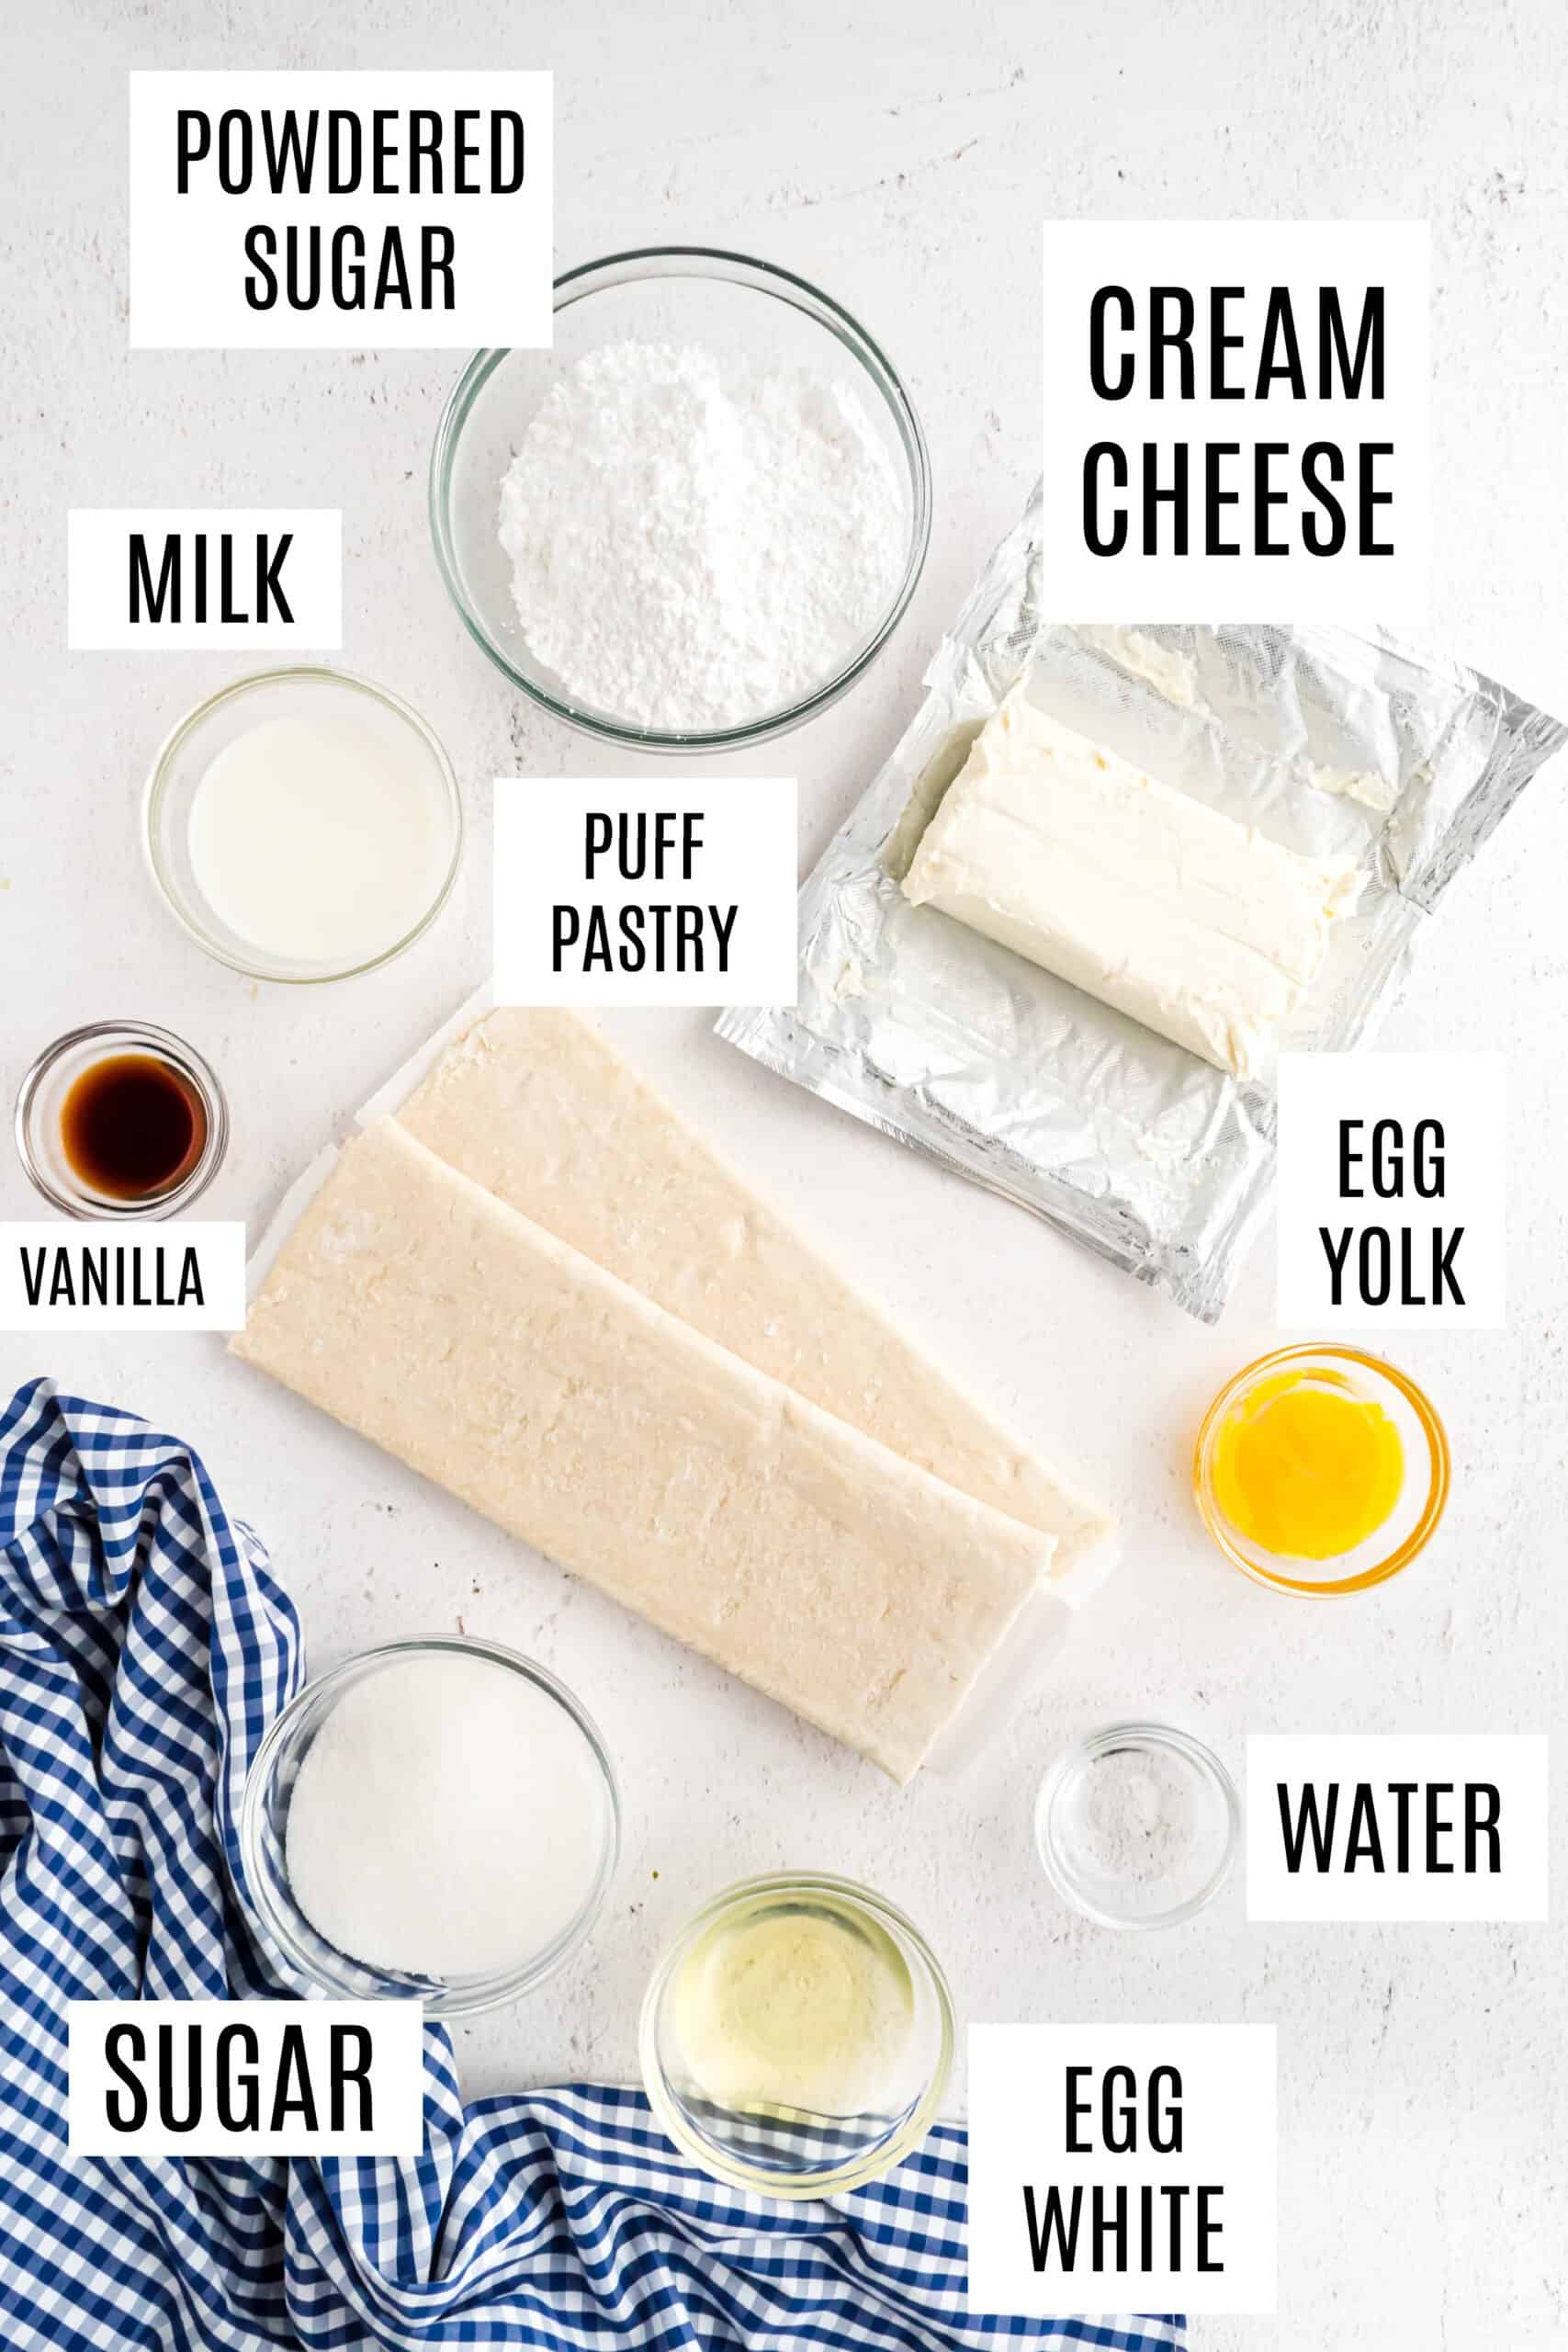
- Puff pastry sheets. I use frozen pastry dough, thawed at room temperature.
- Egg. You will need the yolk for the cheese danish filling. Reserve the whites for brushing the tops of the pastries.
- Vanilla. I love the flavor my homemade vanilla extract gives these homamde danishes.
- Cream cheese. Full fat cream cheese tastes best in this cheese danish recipe. Let it soften to room temperature so it’s easier to work with.
Easy Instructions
How to make Cheese Danish:
- Thaw the pastry. Follow package directions for your frozen puff pastry. While it’s thawing, line a sheet pan with parchment paper and preheat the oven.
- Cut pastry. I cut each sheet into quarters so I ended up with 8 big squares.
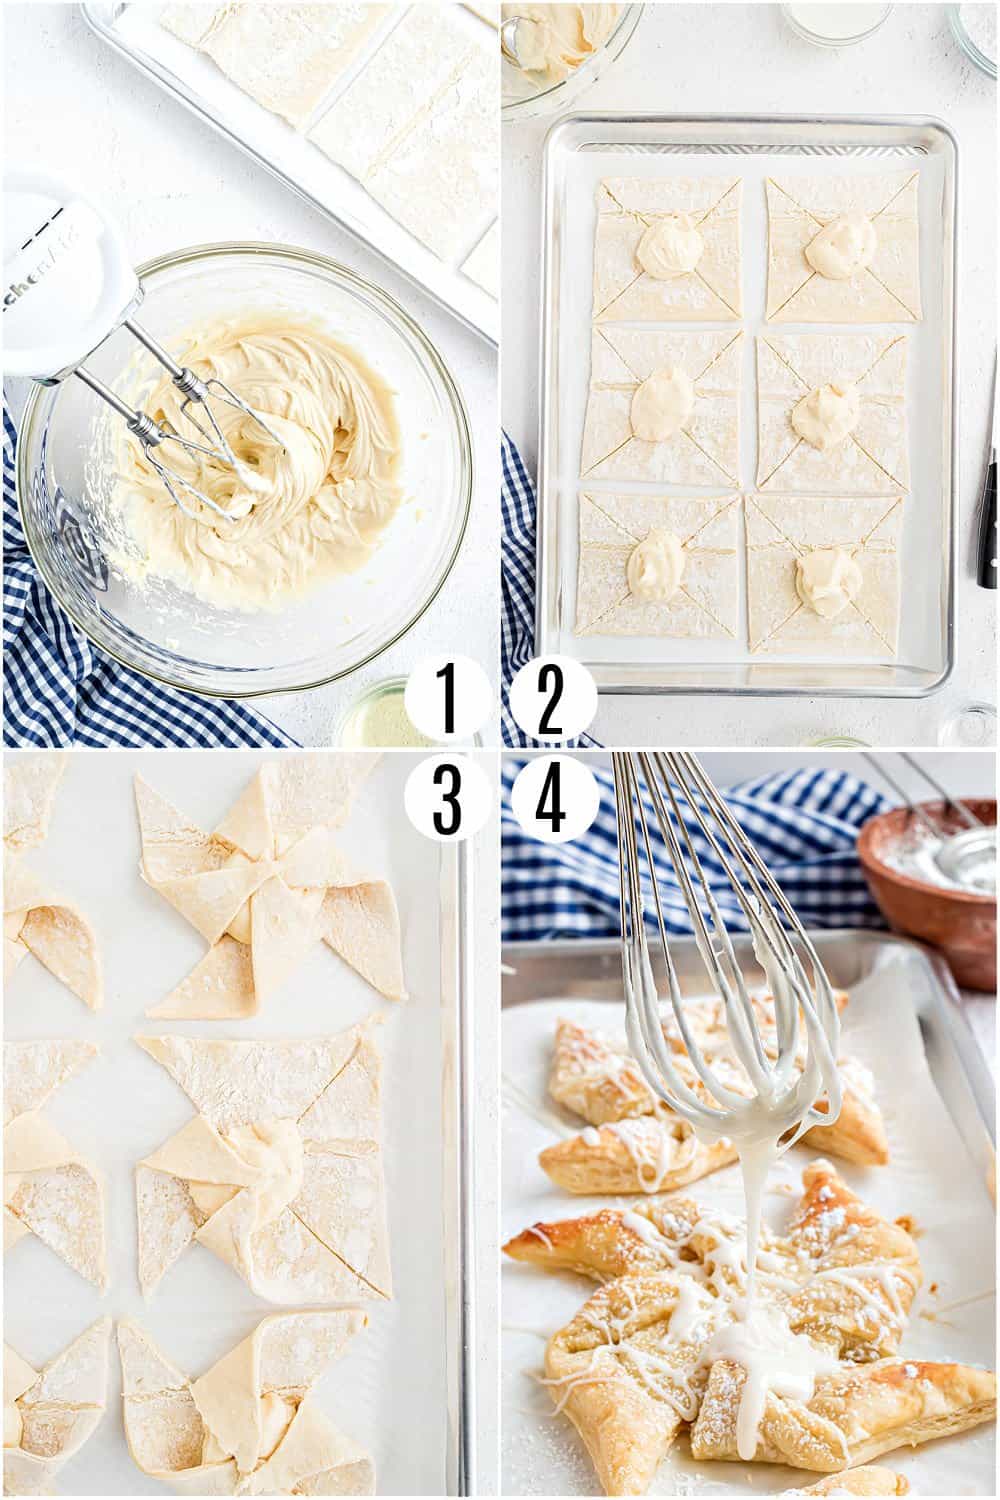
- Make the filling. Beat cream cheese with vanilla, sugar and egg yolk. Spoon the filling into the center of each pastry square.
- Fold and shape. Take a sharp knife and make a slice from the corner of each square until you reach the filling. You’ll end up with four triangles. Fold each triangle over the filling. Repeat with the remaining squares of pastry.
- Bake. Brush the tops of the unbaked Cheese Danishes with a mixture of egg whites and water. Bake until golden brown.
- Add icing. While the danishes are baking, whisk together powdered sugar with milk and a little more vanilla extract. Drizzle onto the baked danish.
Tips and Tricks
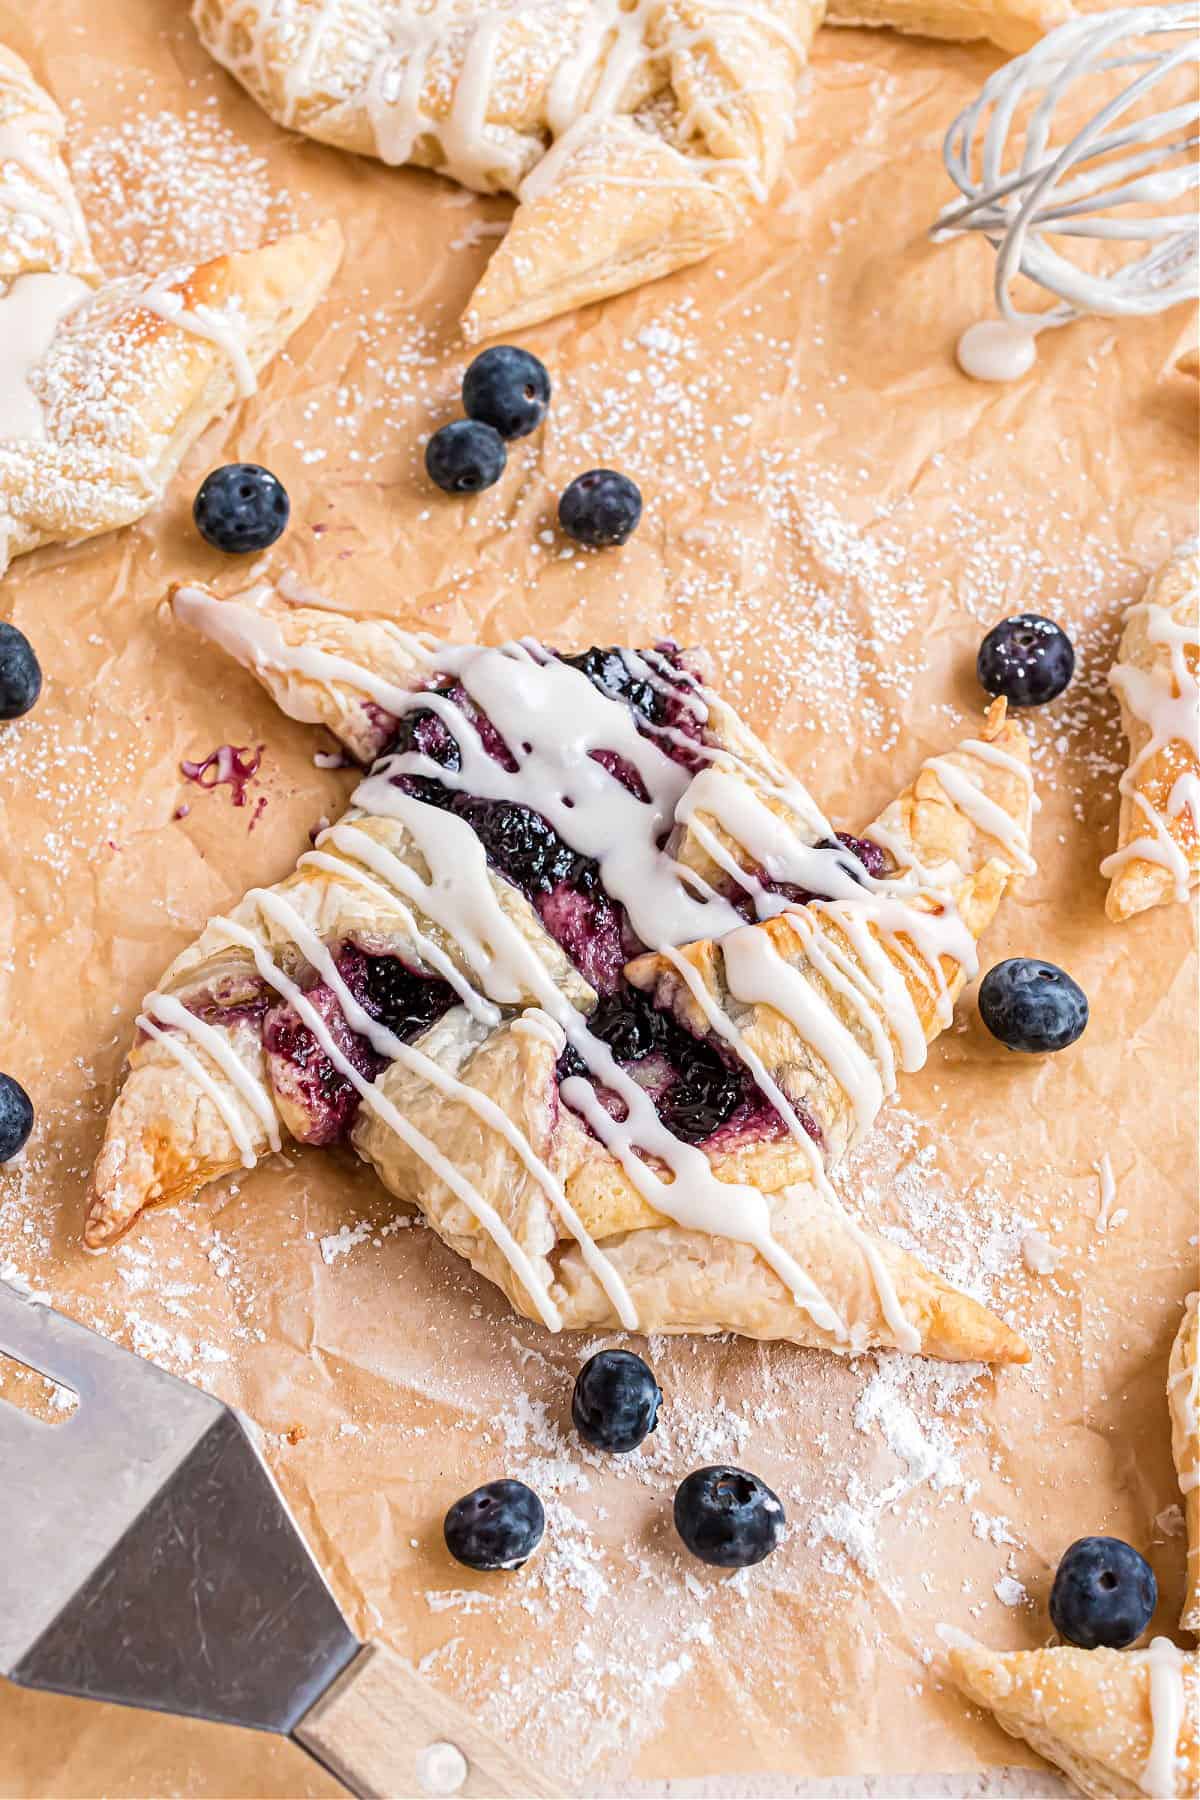
- Fruit Danish Recipe. Spoon a tablespoon of fruit pie filling into the center of each Danish triangle alone with the cheese filling. Blueberry, cherry and peach pie filling are all delicious additions to this recipe!
- Serve fresh. For best flavor and texture, homemade cheese danishes are best enjoyed within a few hours of baking.
- Dust with powdered sugar. For an even prettier (and sweeter) danish, dust with powdered sugar just before serving.
- Keep it simple. Instead of making the fancy cuts and shape, keep it simple. Dollop the cream cheese in the center of each square and bake. Voila. Same delicious cheese danish in a simple serving.
- Make a whole cake. Instead of cutting your puff pastry into squares, fill the center with the cream cheese filling. Make slits in the sides and bring them up to the center (like a braid). Bake. Slice and serve.
Recipe FAQs
I like to let my danishes cool for a few minutes before drizzling on the icing. If you can’t wait, be prepared for a messy (and less pretty) danish eating experience!
Believe it or not, danishes aren’t originally Danish! This type of pastry wrapped around a cheese center originated in Austria and was brought to Denmark by Austrian immigrants. The u0022cheeseu0022 descriptor refers to the cream cheese filling (like cheesecake!).
Yes, baked danishes can be transferred to freezer bags and frozen for up to a month. I recommend freezing without icing for best results. Let thaw and reheat in the oven before serving.
More Breakfast Pastries
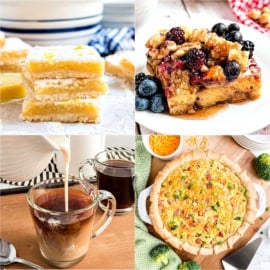
- Start your day off right with these Orange Scones! These Panera copycats are topped with a sweet orange glaze for a perfect treat!
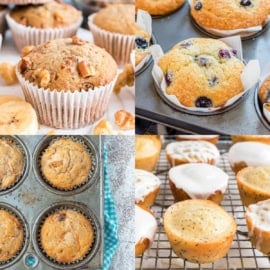
- Make these Banana Nut Muffins for the whole family to enjoy in the mornings! Love muffins? Add these Blueberry Muffins to the menu!
- These Coffee Cake Donuts are absolutely amazing! A cinnamon lovers dream donut for sure!
- Can you tell I love scones? Lemon Scones to Pumpkin Scones, they’re all so good!
Pin this now to find it later
Pin It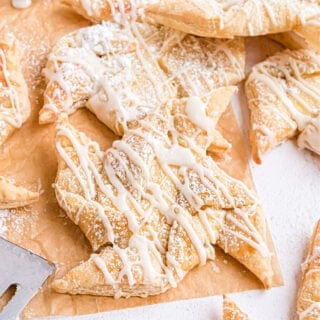
Cheese Danish Recipe
Ingredients
- 1 box frozen puff pastry sheets 17 ounce
- 1 package cream cheese, softened to room temperature 8 ounce
- ½ cup granulated sugar
- 1 teaspoon vanilla extract
- 1 egg separated
- 1 teaspoon water
For the Icing
- 1 cup powdered sugar
- ½ teaspoon vanilla extract
- 2 Tablespoons milk
Garnish
- 2 Tablespoons powdered sugar for garnish
Instructions
- Thaw puff pastry according to package directions. Mine took about 15 minutes at room temperature.
- Preheat oven to 400 degrees F. Line a cookie sheet with parchment paper. Set aside.
- Cut each sheet of puff pastry into fourths, resulting in 8 large squares. Set aside.
- In a mixing bowl, beat cream cheese with granulated sugar, vanilla extract, and egg yolk (save the egg white).
- Beat until fully combined and smooth. Spoon about 2 Tablespoons of filling into the center of each square of puff pastry.
- Using a sharp knife cut the pastry from each corner towards the center, just until you get to the filling. You will now have four *almost* triangles cut. Take the left edge of the triangle and bring it up over the filling. Repeat for all four triangles. The shape will resemble a pinwheel (see my photos in the blog post for a visual tutorial).
- In a small bowl, whisk the remaining egg white with water. Brush over the tops of the puff pastry.
- Bake in preheated oven for 15-20 minutes, until pastry is lightly browned.
- While danish is baking, whisk together the powdered sugar, vanilla extract, and milk for the icing. Whisk until smooth.
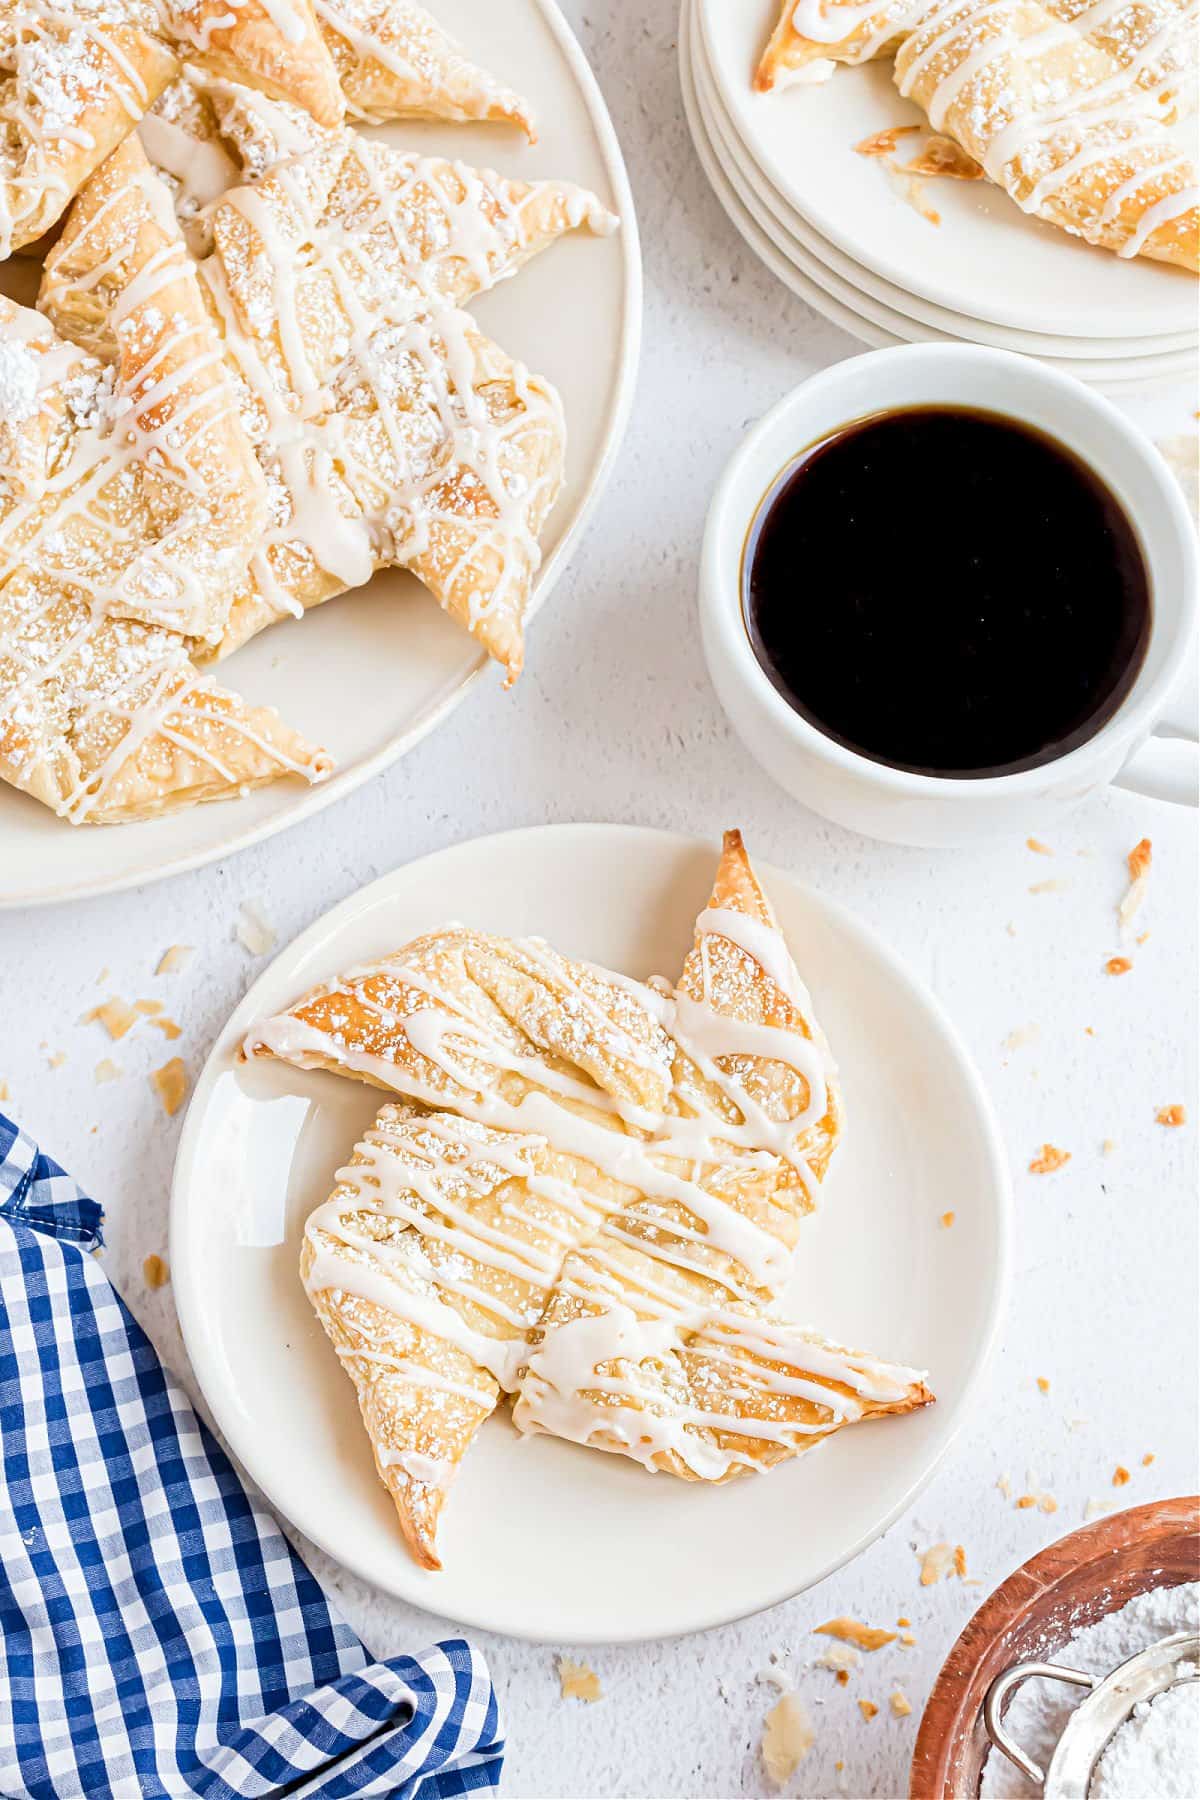
- Remove danishes from oven and drizzle with icing. Dust with powdered sugar right before serving. Serve within several hours for best flavor and texture!
Notes
- For a fruit danish, you'll need about 8 Tablespoons of pie filling (cherry and blueberry are my favorites). Spoon 1 Tablespoon of pie filling on each danish before baking. If you prefer less filling in your danishes, you can cut the cheese filling recipe in half if using pie filling.
- Serve fresh. For best flavor and texture, homemade cheese danishes are best enjoyed within a few hours of baking.
- Dust with powdered sugar. For an even prettier (and sweeter) danish, dust with powdered sugar just before serving.
- Keep it simple. Instead of making the fancy cuts and shape, keep it simple. Dollop the cream cheese in the center of each square and bake. Voila. Same delicious cheese danish in a simple serving.
- Make a whole cake. Instead of cutting your puff pastry into squares, fill the center with the cream cheese filling. Make slits in the sides and bring them up to the center (like a braid). Bake. Slice and serve.
- Freeze. Baked danishes can be transferred to freezer bags and frozen for up to a month. I recommend freezing without icing for best results. Let thaw and reheat in the oven before serving.
Nutrition
This better than Starbucks Cheese Danish recipe proves that anyone can make impressive homemade pastries. Brew a pot of coffee and enjoy a flaky danish with a creamy filling–without leaving the house!

Love this! I make something similar but don’t use the egg yolk in the the cream cheese mixture – I will be trying that next time – Thanks 😉 The last couple of times, I used Bailey Irish Cream in place of the milk for the icing (for an adults-only brunch). Everyone loved it!
Where can I find gluten free puff pastry.
I’m not sure!
Where can I find gluten free cheese danish recipe since I cannot find anyone that makes them . Thank you
I’m sorry, I don’t specialize in gluten free baking on this website.