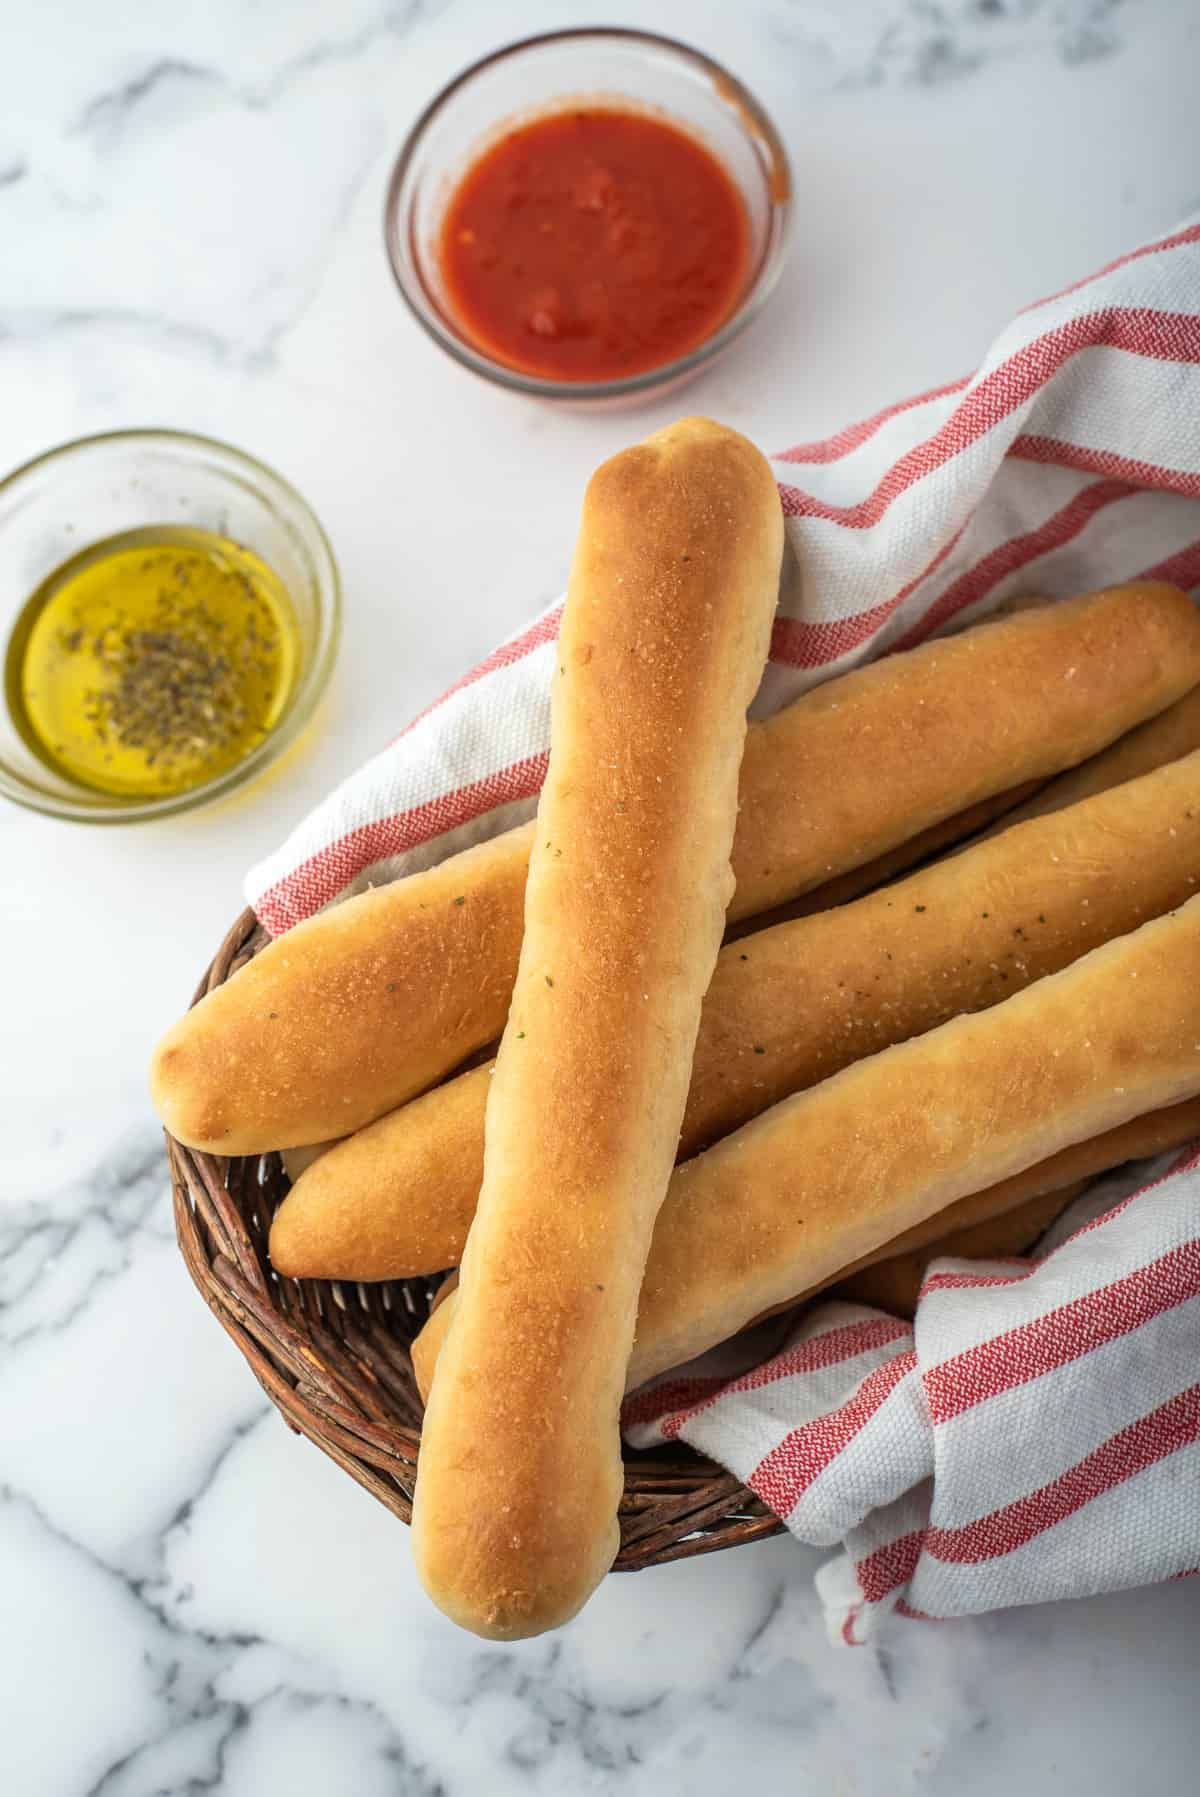
Copycat Olive Garden Breadsticks taste just like the ones you can’t stop eating at the restaurant! Make these soft garlic bread sticks as a side dish for your next Italian dinner.

Whether you choose homemade Garlic Bread or something easy like Puff Pastry Breadsticks, serving up a basket with your pasta is always a good idea!
Copycat Olive Garden Recipe
Is it possible to go to an Olive Garden and actually save room for your meal?
Let me be honest for a moment: The only reason I like going to Olive Garden is for their breadsticks and the classic Olive Garden salad.
The entrees are fine but I can never resist that basket of unlimited breadsticks. By the time my food arrives I’m too stuffed to eat my lasagna and wind up taking it home in a box.
This Copycat Olive Garden recipe makes bread that’s perfect to dip in a marinara sauce, or eat alone.
And in case you’re wondering? I have the same problem with these homemade bread sticks as I do with the ones at Olive Garden.
Yeast Dough
What makes Olive Garden bread sticks so good is the soft texture and perfect amount of garlic seasoning. Similar to my artisan bread recipe, today’s breadsticks use yeast.
- To make soft garlic breadsticks, you knead a yeast dough together until soft and stretchy.
- Letting the dough rest–once before shaping into sticks and once after–makes the finished bread sticks soft and puffy.
- I also make sure not to bake them for too long to ensure they stay soft. The tops get lightly golden brown then brushed with melted butter and garlic salt.
How to make Breadsticks
Proof the yeast:
Stir active dry yeast in warm water with a bit of sugar and let stand until it’s foamy.
( If your yeast doesn’t get foamy after 5 – 10 minutes, that means it’s dead and won’t work in any bread recipe. Toss it out and get some new yeast!)
Mix the dough:
Combine the yeast mixture with flour, salt and olive oil in a stand mixer and mix until a dough forms. Knead the dough for 7 to 10 minutes until smooth and elastic.
Depending on the humidity levels and altitude of your kitchen, you may not need the full amount of flour listed in the recipe. I add it a little bit at a time until I get the dough to the right consistency.
You can knead by hand on a clean surface or in the stand mixer fitted with the dough hook. If you choose to knead by hand, it may take a few minutes longer to get the right elasticity.
PRO TIP: You know the dough is ready when you can pinch a section with your fingers and stretch it a few inches without the dough breaking!
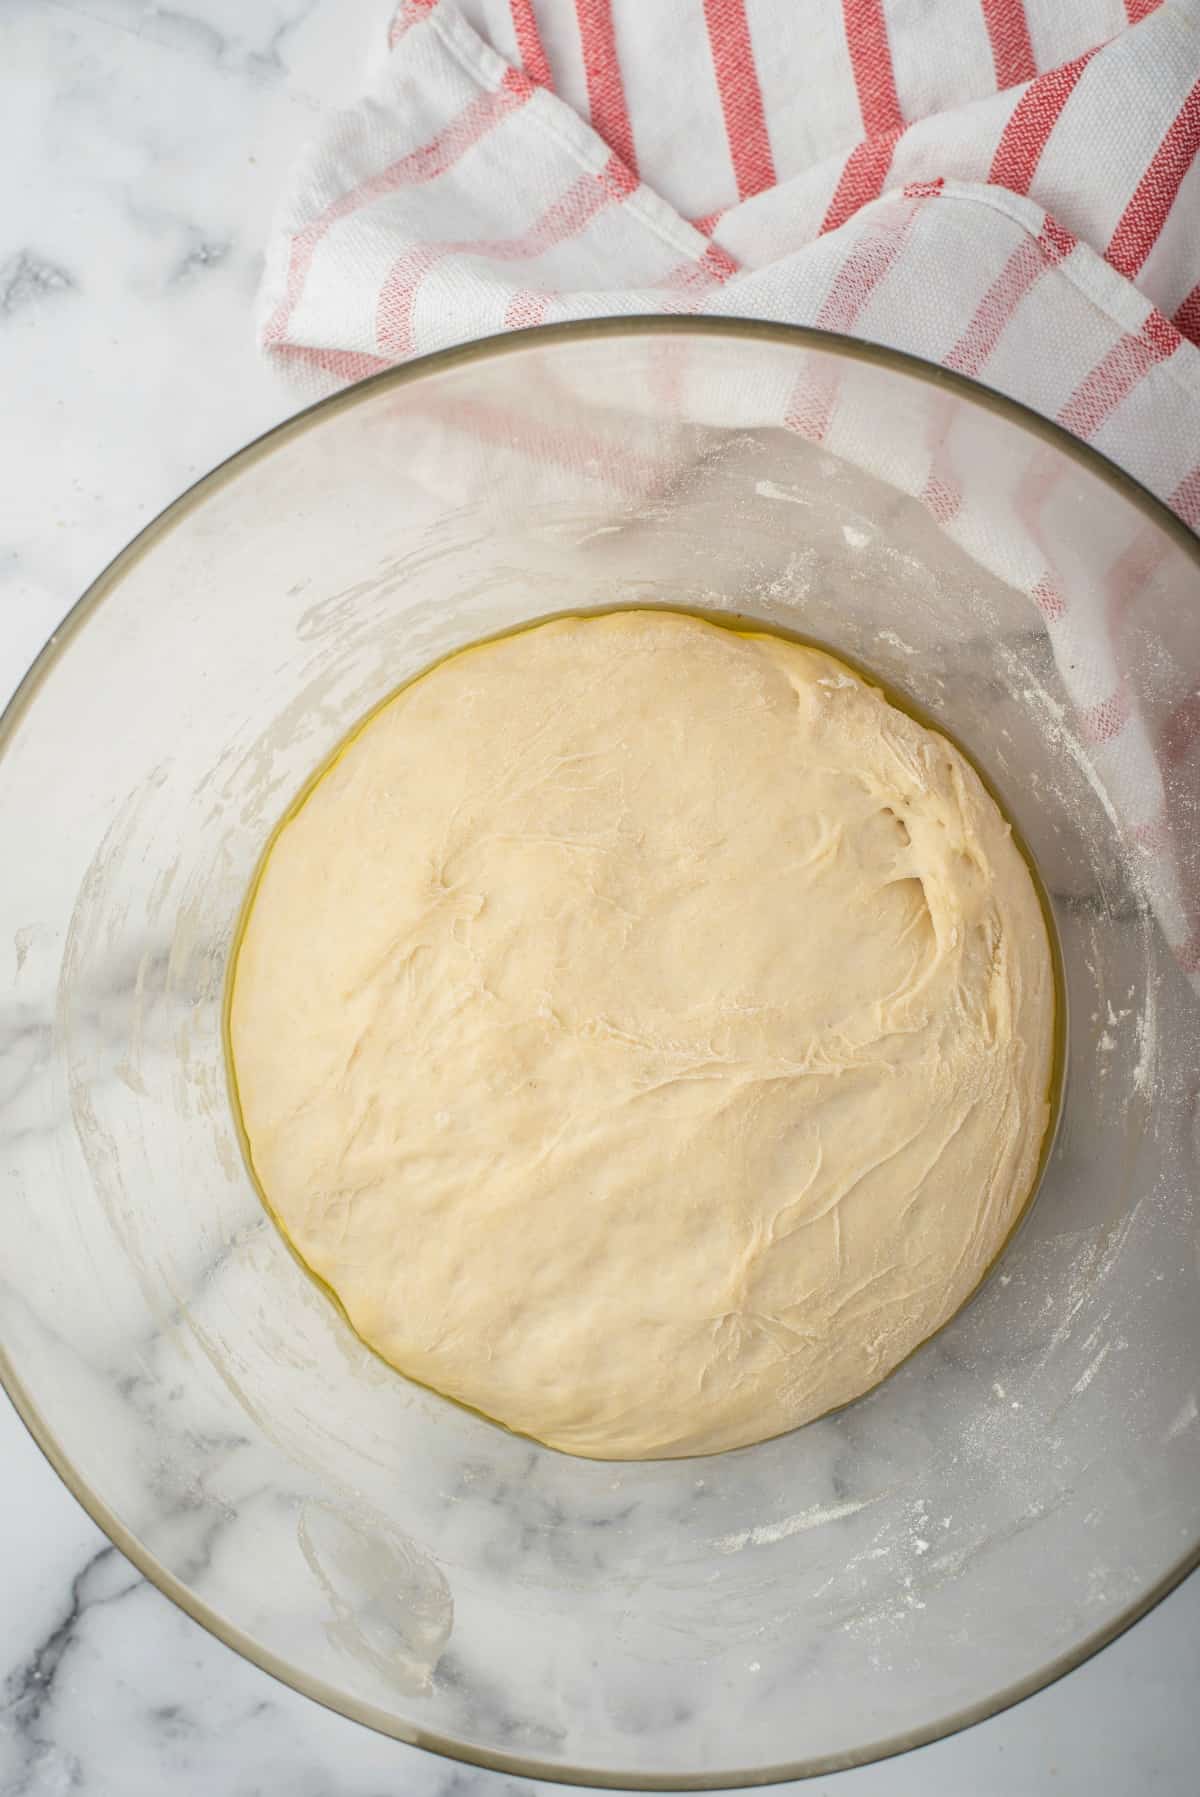
Next, cover the dough and let it rise in a warm place for about 45 minutes.
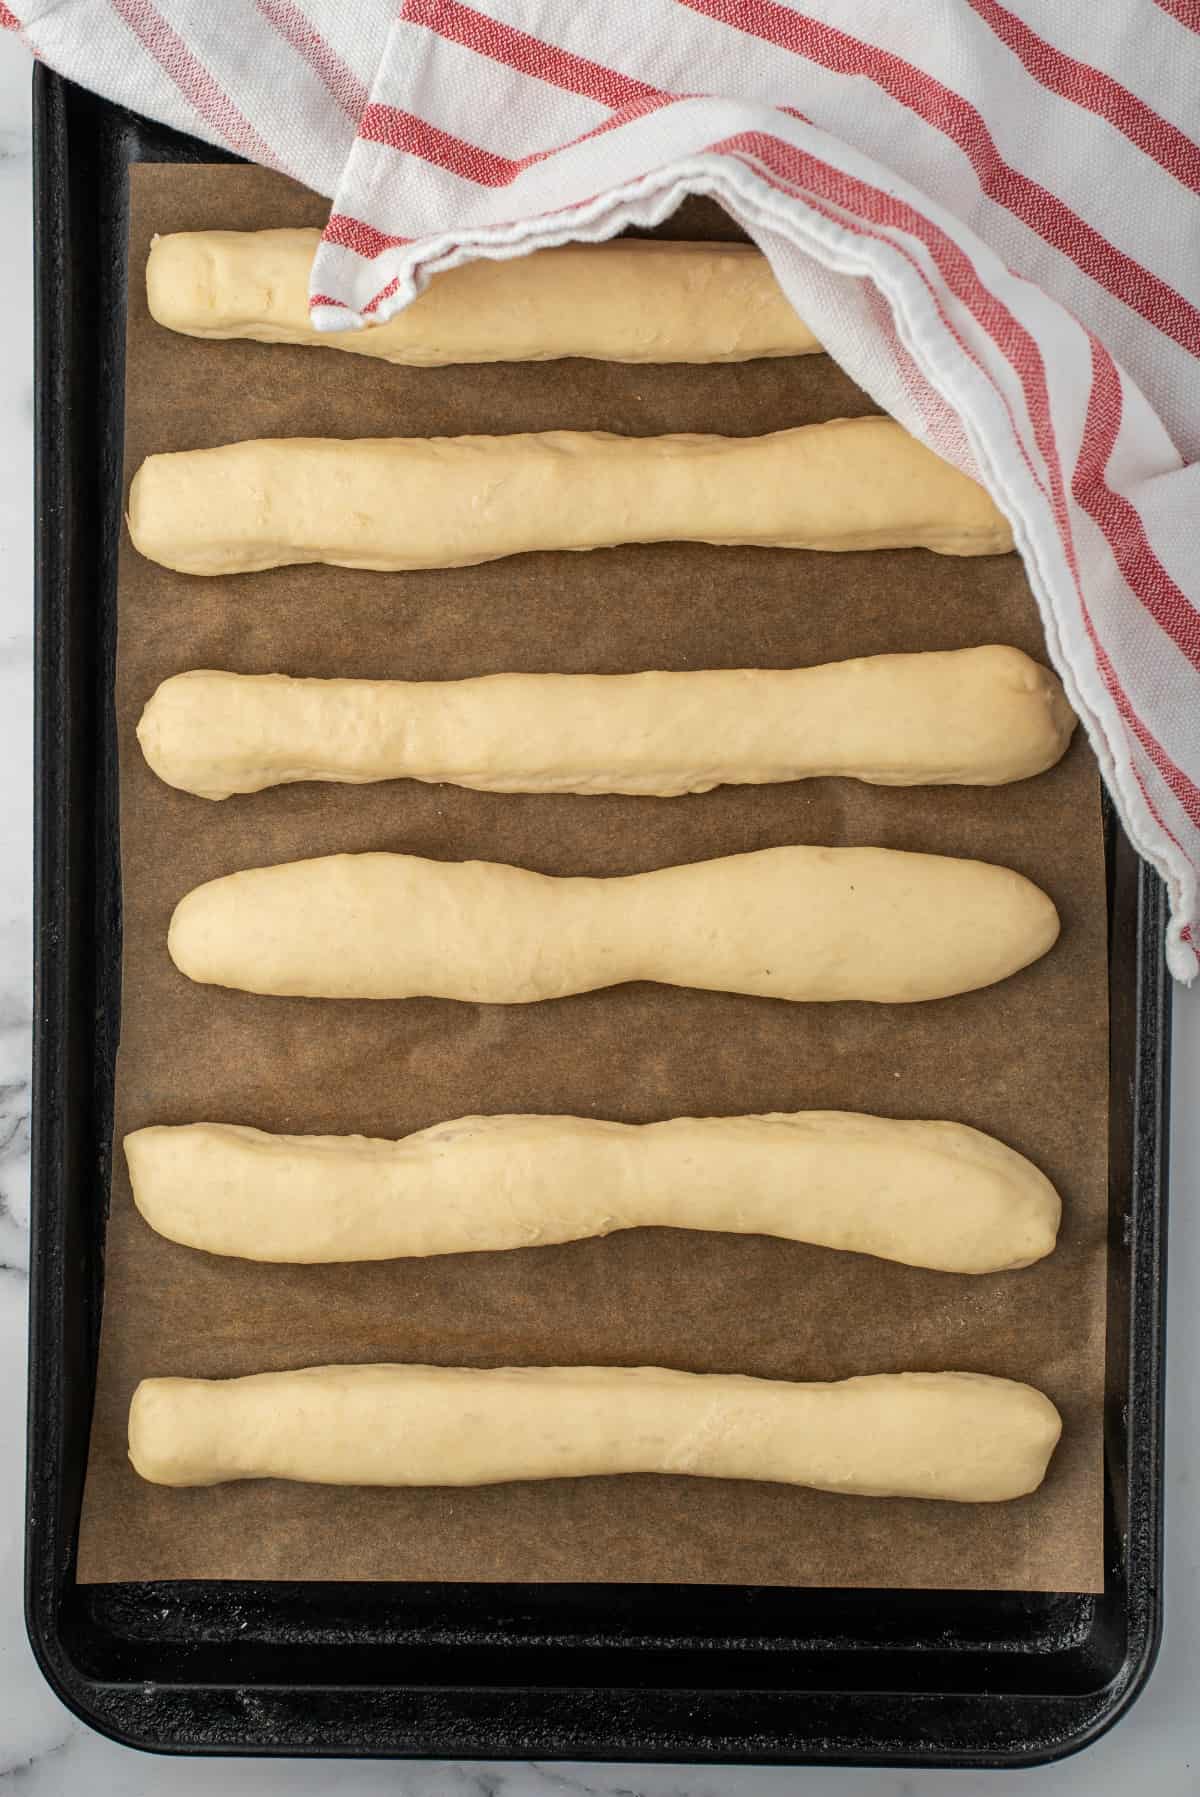
Shape the bread sticks:
Roll the dough out into a large rectangle, then slice it into about 10 strips. I make mine 8 – 9 inches long. Use a gentle touch to fold the sides of the strips in to make the edges more rounded.
Place the raw bread sticks on a baking sheet and cover. Let them rest another 30 minutes or until doubled in size.
Bake:
While the dough is resting, preheat the oven to 400 F. Bake the bread sticks for 12 minutes or until the tops are golden brown.
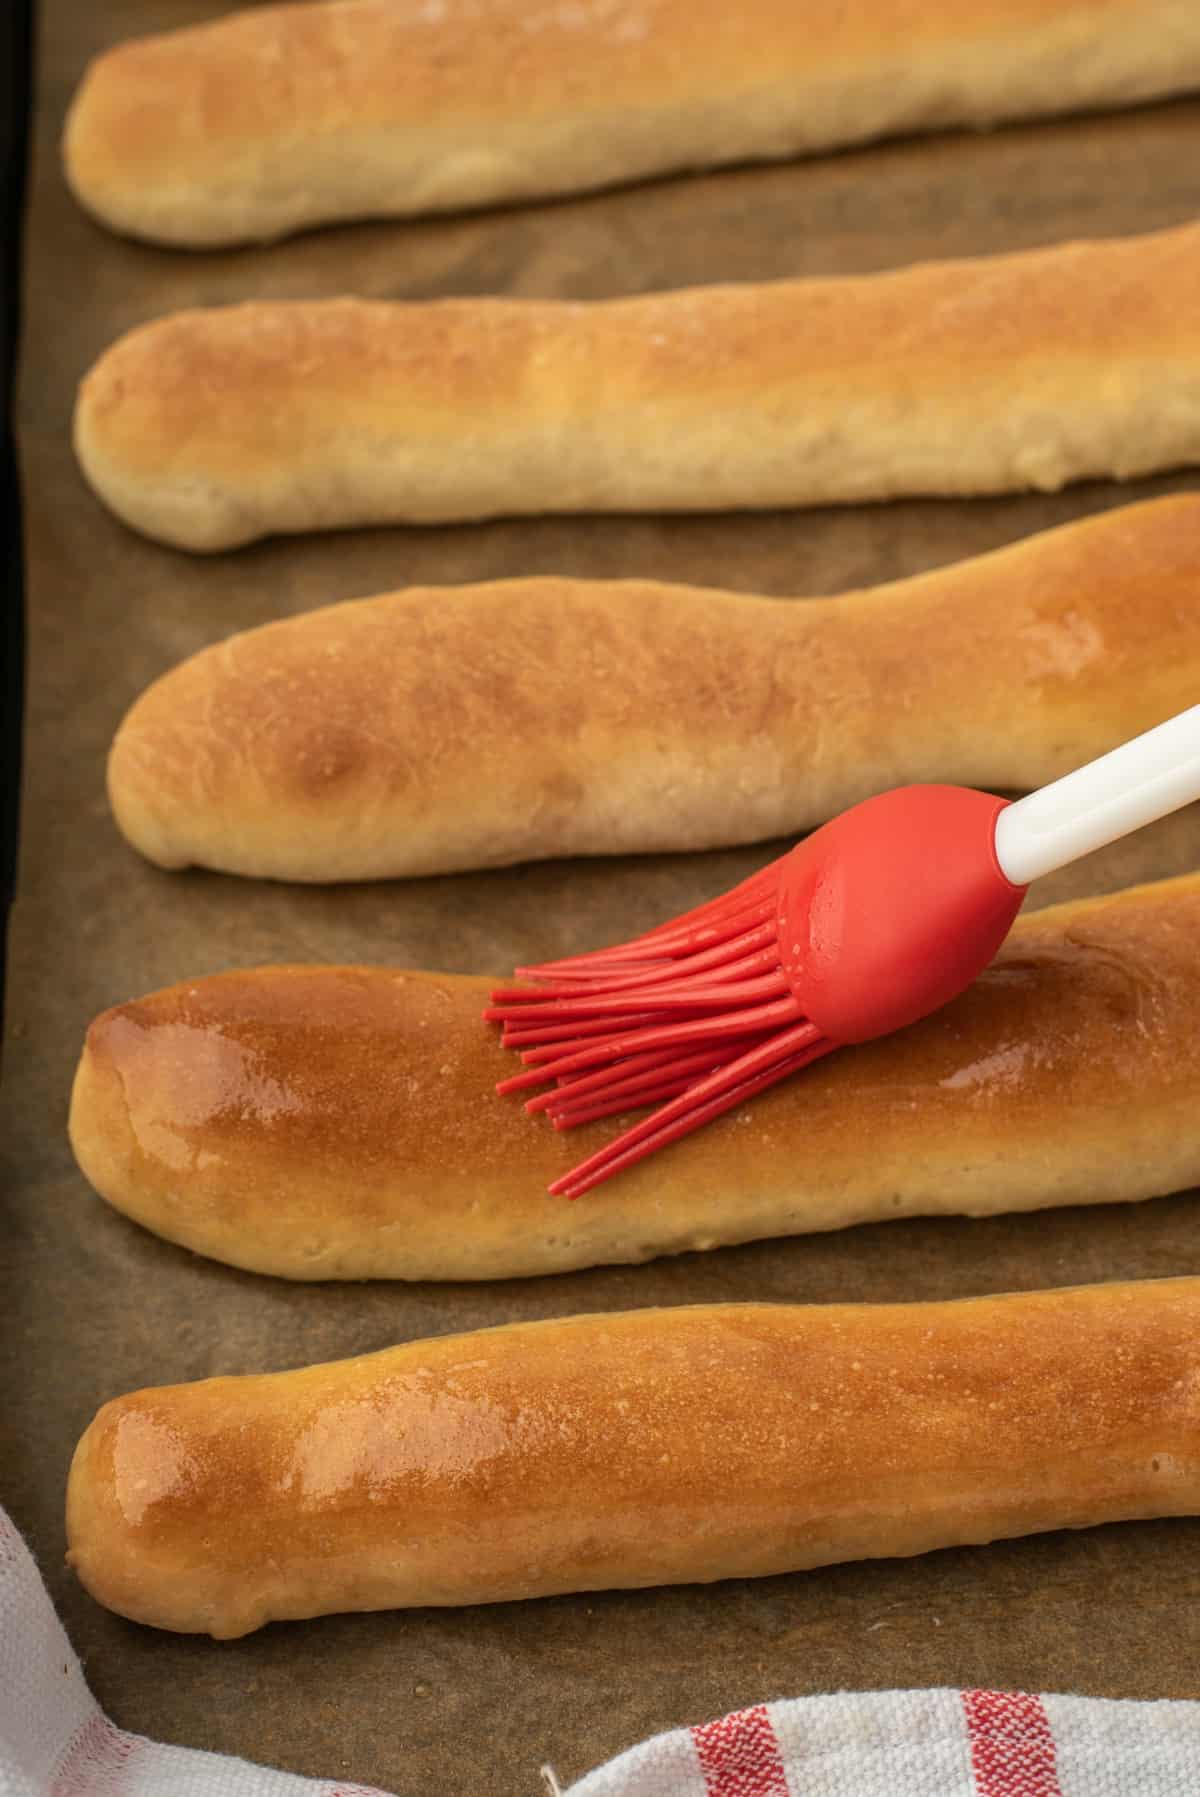
While the bread sticks are still warm brush them with melted butter and sprinkle each one with garlic salt.
Serve them warm right away! These are at their best when they’re fresh from the oven.
I don’t think you’ll hear any complaints about having to finish a basket of buttery garlic bread sticks while they’re hot and fresh, do you?
What to serve with Breadsticks
Make it a complete Italian Meal by making your favorite Instant Pot Lasagna recipe.
Start with a delicious batch of bruschetta and don’t forget to finish with some homemade cannoli.
Tips and Tricks
- What kind of yeast to use: You need active dry yeast for this recipe. 1 packet is perfect. If you’re using the active dry yeast from a jar, measure out 2 teaspoons.
- Even cutting: The best way to ensure evenly sized breadsticks is with a kitchen scale. Weigh the whole ball of dough first, then divide that number by 10 to figure out how much each breadstick should weigh. If you don’t have a kitchen scale or aren’t fussed about some slight size discrepancies, just eye ball it as best as you can.
- How to store: Keep these in an airtight container at room temperature for up to 3 days. You can reheat them in the microwave for a few seconds to warm, if you like.
Recipe FAQs
Grate fresh Parmesan cheese onto Olive Garden Breadsticks before baking for a cheesy touch. If you’re looking for a true cheese bread, try my Cheesy Garlic Bread recioe!
Yes, you can freeze these delicious soft bread sticks! Wrap them in foil, then place them in a freezer safe bag. Freeze for up to 3 months. When ready to eat, thaw in the microwave or the oven until warmed through.
If you don’t have garlic salt, you can make your own by using 3 parts salt to 1 part garlic powder. For this bread sticks recipe, use 1/4 tsp of garlic powder to 3/4 tsp table salt.
Make sure not to skip the step of dissolving the yeast in water. The proofing step not only helps guarantee your yeast is alive; it also adds necessary moisture to the bread stick dough.
More Easy Dinner Recipes
- Fresh and flavorful every time you make it, you will not be able to get enough of this delicious Pesto Pasta!
- Easy No Knead Dinner Rolls are the perfect side dish for your dinner table this week!
- Make some copycat and healthy White Castle Sliders! No more drive-thrus for you!
- Easy and creamy Ravioli Lasagna is fresh, tasty, and the perfect comfort food!
- Make this Million Dollar Casserole that tastes like a million bucks! So delicious and good!
- This creamy and cheesy Chicken Tetrazzini is always requested when all my children are home!
Love this recipe? Please leave a 5-star 🌟🌟🌟🌟🌟 rating in the recipe card below & a review in the comments section below!
Pin this now to find it later
Pin It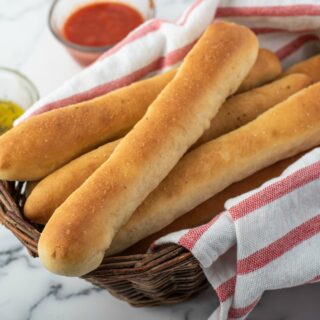
Olive Garden Breadsticks Recipe
Ingredients
- 1 cup water warm (about 90 – 110°F)
- 2 teaspoons active dry yeast 1 packet
- 1 Tablespoon granulated sugar
- 2 to 2 ½ cups bread flour divided
- 1 ½ teaspoon salt
- 2 tablespoons olive oil
- 2 tablespoons butter melted
- 1 teaspoon garlic salt
Instructions
- In a small glass bowl, dissolve sugar and yeast in the water. Let stand until frothy, about 5 to 10 minutes.
- In a large bowl or the bowl of a stand mixer, combine 1 ½ cups of flour with the salt. Pour in the yeast mixture and oil. Stir, or mix on medium-low in mixer, until combined.
- Gradually add more flour as you mix until dough pulls away from side of bowl and forms a ball. Knead on a well-floured surface, or with dough hook, adding more flour if needed, until smooth and elastic and no longer sticky, about 7 to 10 minutes.
- Place dough in an oiled bowl and cover with a towel or plastic wrap. Allow to rest for about 45 minutes. It will have nearly doubled in size.
- Line a large baking sheet with parchment paper. Carefully roll out dough on a well-floured surface into a 8 – 9 inch wide rectangle. Cut into 10 even sized strips, 8 – 9 inches long. (See Tips for how to get even-sized sticks.) Gently, and ever so slightly, roll strips to make them more rounded.
- Place bread sticks on the prepared sheet, about 1.5 to 2 inches apart. Cover and let rest until doubled in size (about 30 minutes).
- Preheat oven to 400°F. Bake uncovered for 12 to 14 minutes, until tops are golden brown.
- Remove from oven. Brush sticks with melted butter and sprinkle with garlic salt. These are best served warm.
Notes
- If you buy yeast in the packets, use 1 packet for this recipe. (1 packet = 2 ¼ teaspoons) The extra ¼ teaspoon will not affect the recipe, except that it may rise slightly faster.
- You may not need to use the full amount of flour. Flour in baking is very finicky, and varies greatly depending on several factors, including the humidity level in your kitchen and altitude.
- To ensure even-sized bread sticks, if you have a kitchen scale, weigh the dough then divide by the number of bread sticks you want (i.e. 10). You should easily get at least 10 out of this recipe. When you cut the dough into sticks, you can weigh each one to check the size.
- This recipe can be doubled, if 10 bread sticks is not enough for you! To do this, increase the yeast to 1 tablespoon, and double the rest of the ingredients.
- Can store in air-tight container at room temperature for up to 3 days.
Nutrition
No need to go out to eat to get your breads stick fix! Give this copycat Olive Garden recipe a try alongside a tossed salad and Italian Chicken for a crowd pleasing dinner.


Great recipe, like all bread recipes the amount of flour isdetermined by the baking environment so I ended up using 3C, that included my kneading flour. I just measured out 3-1/2C and used what was needed. The taste is great, with a tender bread stick with a little chewiness. I got 16 bread sticks about 6-7″ long. I put my dough into a rectangle as instructed, then used a floured pizza cutter to cut one strip at a time.
I think you should know that it is impossible to print out your “breadsticks” recipe because the “Do not sell or share my information” label on the right-side prints over important ingredient information.
Otherwise, I would love to be able to receive it.
Weird. I just tested and had no issues. Sorry you’re having troubles.
The first time I made these the kids all begged me to make them again. I made them a second time and doubled the recipe and it worked perfectly. Third time I made them I tried them without oil and they worked very well but were a little harder to form into sticks because the dough was too sticky…but it CAN be done for those trying to eat less oil. Tonight I am making them for the fourth time and so far they are equally as perfect as they have been before. My family loves them, they are easy to make and I have yet to have any leftovers.
Thank you for your tips! Glad you enjoy the recipe 🙂
I made these tonight and let me tell you…. they were a big hit! They were soft and so delicious! I sprinkled parmesan cheese on half and the others just brushed the melted butter. I will be making these again and again. I def have to practice making them a bit prettier, they were more rectangular vs a OG breadstick. Thank you!!!!
So glad to hear you enjoyed them. And practicing sounds delicious 😉
This was really good! Love that it is really easy to make!
Way too little liquids in this recipe. Not a chance of the dough sticking together.
Hmmm, I make these all the time with no problems. I use my kitchen aid mixer and the dough hook and it comes together just fine.
Try it again, because the dough is actually sticky
We are a bunch of volunteers and opening a new scheme in our community.
Your site offered us with useful info to work on. You have
done an impressive process and our whole community might be grateful to you.
Unquestionably imagine that that you said. Your favorite reason
appeared to be on the internet the easiest factor to take
note of. I say to you, I certainly get irked even as other folks consider
worries that they plainly do not recognise about.
You managed to hit the nail upon the highest and outlined out the entire thing without
having side-effects , other folks could take a signal. Will likely be
again to get more. Thanks
Um is it just me or is this missing the baking temp?
400 degrees!
there was a baking temp your just not looking
My family tried these breadsticks not too long ago at Olive Garden and we loved them. How wonderful that this recipe turns out just like them.
Oh yum, I love those Olive Garden breadsticks! I can’t wait to try your recipe!!
These are wonderful and easy to make! I hear ya on the “take out” box, lol.
I think I might just eat these for three days straight. Sounds yummy and easy!