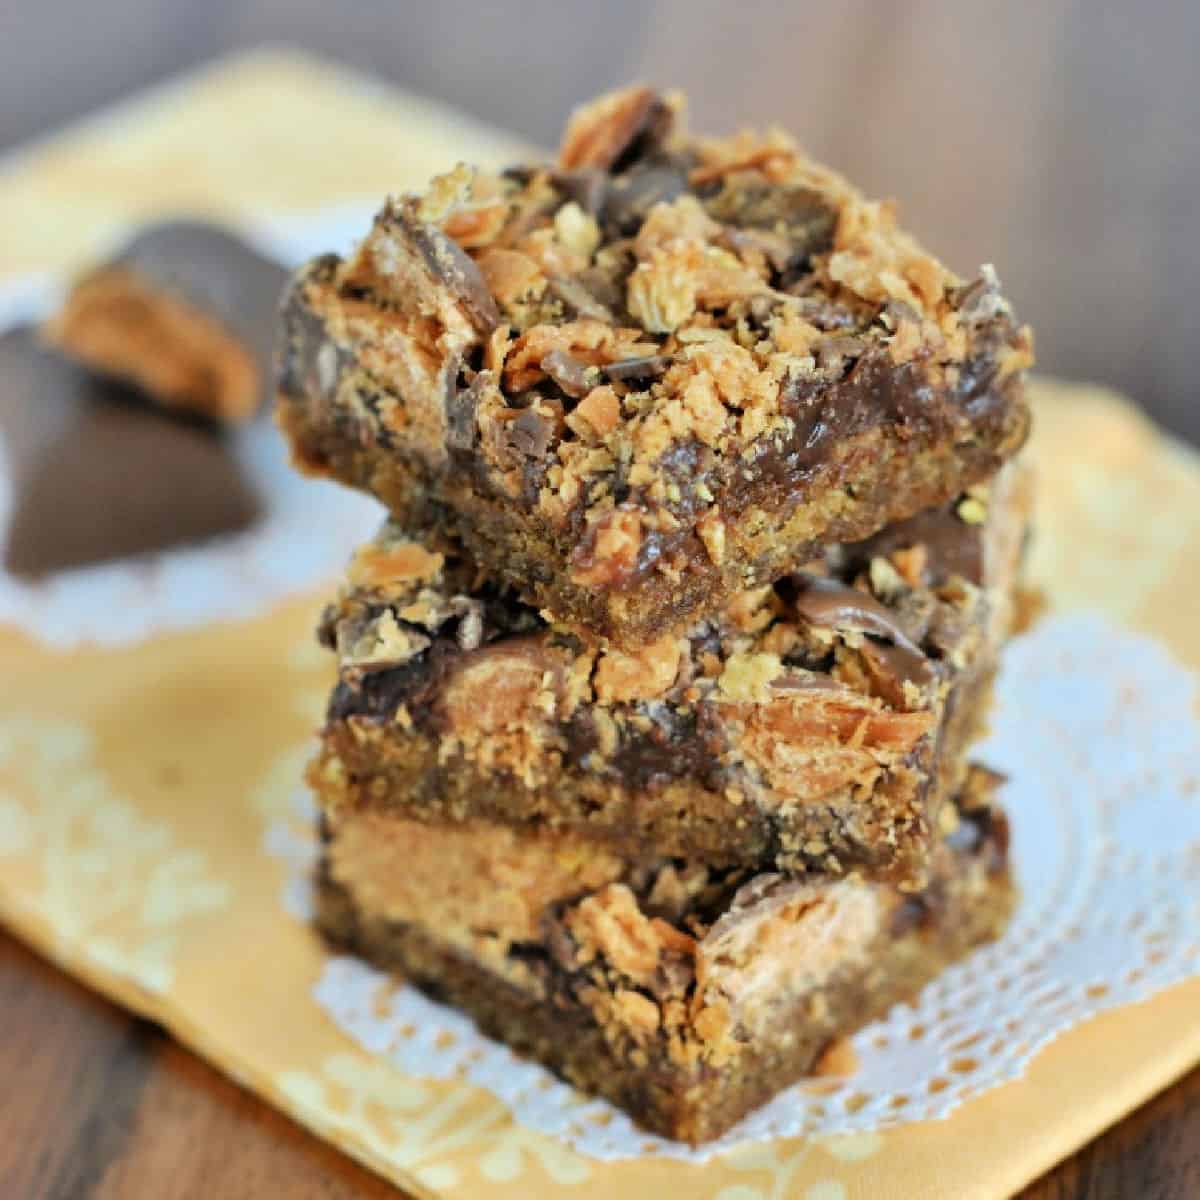
Butterfinger Fudge Cookie Bars are peanut butter cookies, topped with a soft chocolate fudge layer and crushed Butterfingers. A decadent combo of sweet, nutty, crunchy flavors no one can resist!
What happens when you combine a Butterfinger fudge recipe with 3 ingredient peanut butter cookies? Today’s cookie bars are the answer!
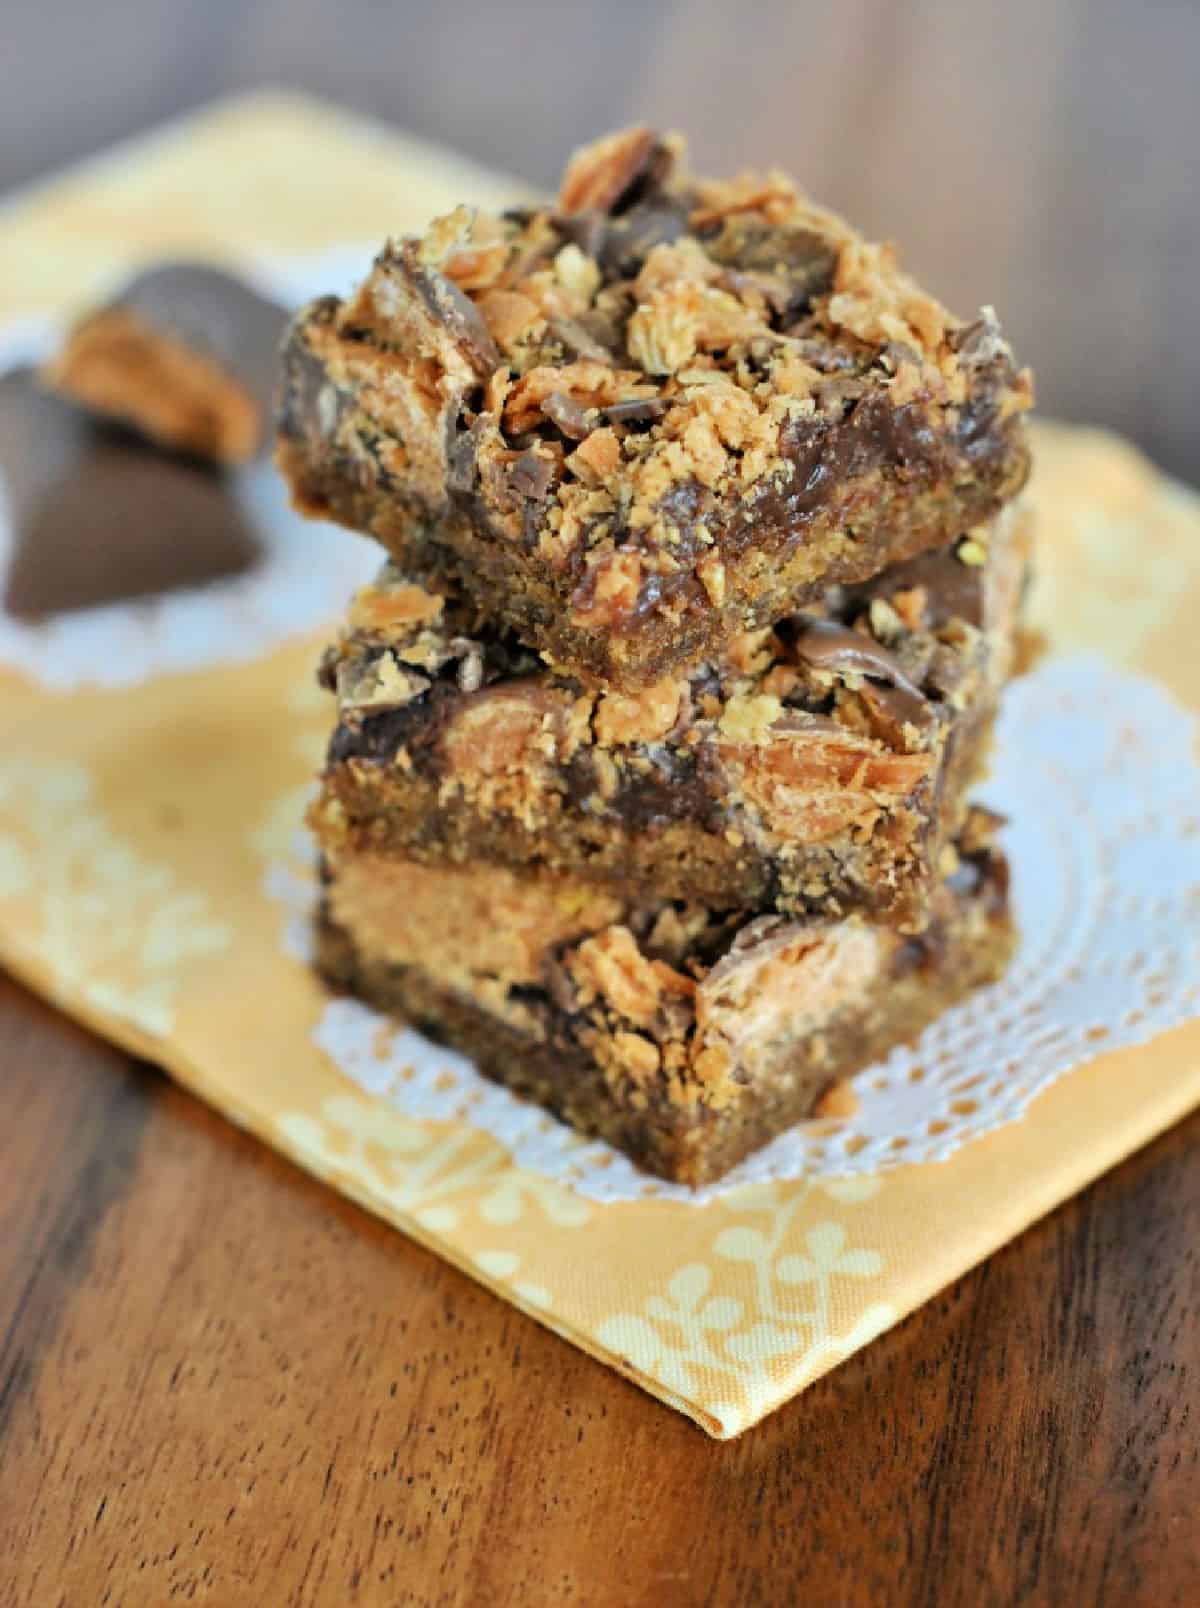
Why These Cookie Bars Are Best
A Butterfinger Fudge Cookie Bar that’s going to have everyone begging you for the recipe.
- Chewy peanut butter cookie base.
- Easy 3 ingredient fudge topping.
- Real Butterfinger candy bars on top!
This is a dense, fudgy cookie bar with a satisfying crunch from the crushed Butterfingers on top. Every bite is loaded with sweetness balanced with a hint of salt from the peanut butter.
Serve them with a big glass of milk or a mug of hot chocolate for a crowd-pleasing sweet treat!
Ingredient Notes
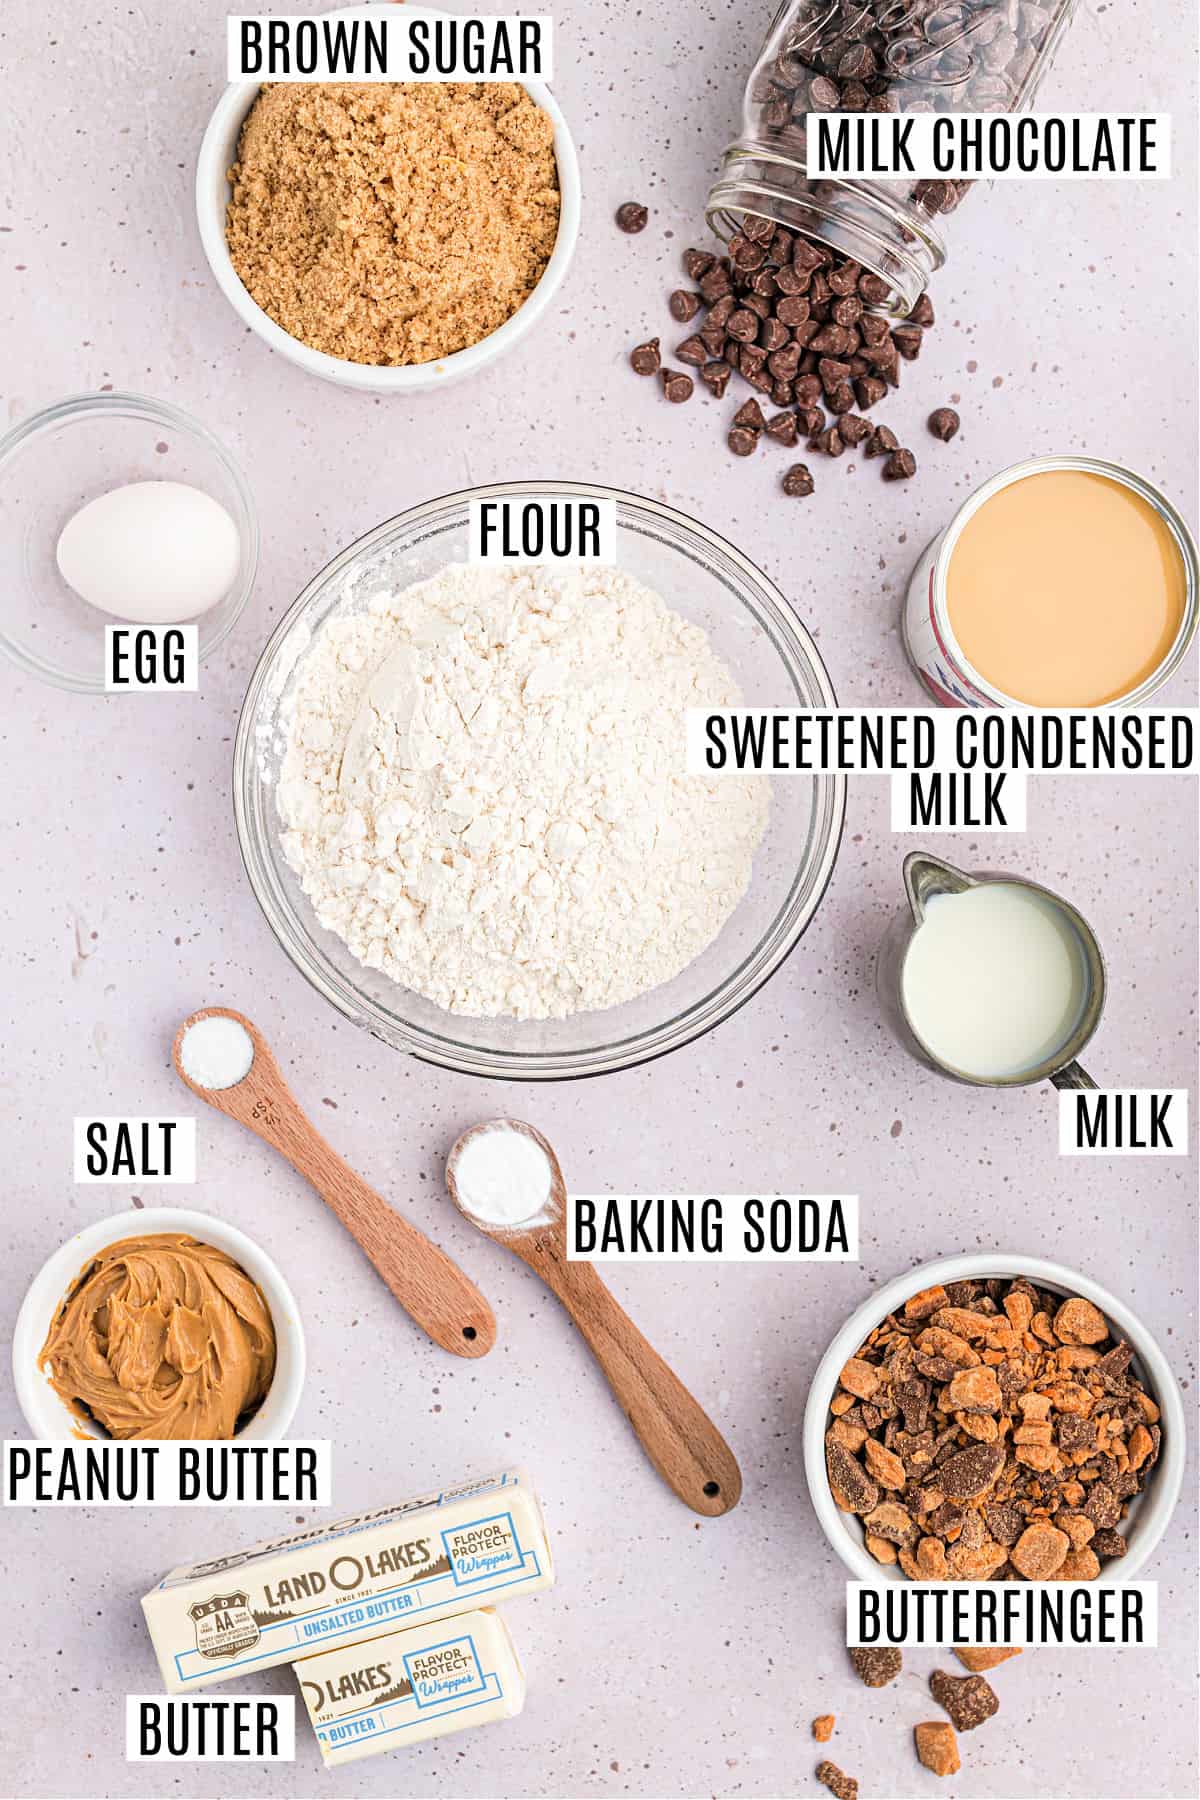
- Peanut butter – Use the standard shelf stable variety, not the refrigerated kind you have to stir for best results.
- Milk chocolate morsels – These are the base for the fudge topping. For a dark chocolate twist, use semi-sweet morsels instead.
- Sweetened condensed milk – It’s combined with the chocolate to make the fudge. Don’t try to substitute evaporated milk—trust me!
- Butterfinger bites – These are bite-sized versions of the full candy bar that are easy to crush.
Tips and Tricks
- This recipe starts by making a peanut butter cookie dough from scratch. For an even quicker and easier option, use a roll of store bought refrigerated peanut butter cookie dough instead!
- Make the fudge while the cookie bars are baking. By the time the bars are done, the fudge will be ready to pour on top.
- Press the crushed Butterfingers onto the fudge while it’s still warm.
- Let the bars cool completely before cutting. The bars will be soft and gooey at first but they will firm up as they set and cool.
Recipe FAQs
Place the Butterfinger bites in bag with a zip top. Use a mallet or rolling pin to crush the candies into coarse pieces. They don’t need to be evenly sized or completely pulverized. The variety of textures adds to the deliciousness!
Store these bars in an airtight container at room temperature. If your house runs warm, you may want to refrigerate them to help them hold their shape. They keep well for about a week but cookie bars always disappear long before then in my house!
The Butterfingers will lose their crunchiness the longer you store them, but the flavor will still be delicious.
This Butterfinger Fudge Cookie Bars recipe was tested in a half sheet pan ( 15 x 10 x 1 inches). You can use a 9×13 pan instead, but the cookie bars will be thicker and take longer to bake.
More Easy Dessert Recipes
- Banana Pudding Recipe
- Oatmeal Cream Pie
- Chocolate Peanut Butter Pie
- Strawberry Cupcakes
- Peanut Brittle Recipe
Love this recipe? Please leave a 5-star 🌟🌟🌟🌟🌟 rating in the recipe card below & a review in the comments section below!
Pin this now to find it later
Pin It
Butterfinger Fudge Cookie Bars
Ingredients
For the Cookie Bar:
- ¾ cup unsalted butter softened
- 1 ¼ cups light brown sugar packed
- ½ cup creamy peanut butter
- 1 large egg
- 2 Tablespoons milk
- 1 ¾ cups all-purpose flour
- ½ teaspoon kosher salt
- 1 teaspoon baking soda
For the Topping:
- 12 ounce milk chocolate morsels
- 14 ounce can sweetened condensed milk
- 2 bags Butterfinger Bites, crushed 8 ounce each
Instructions
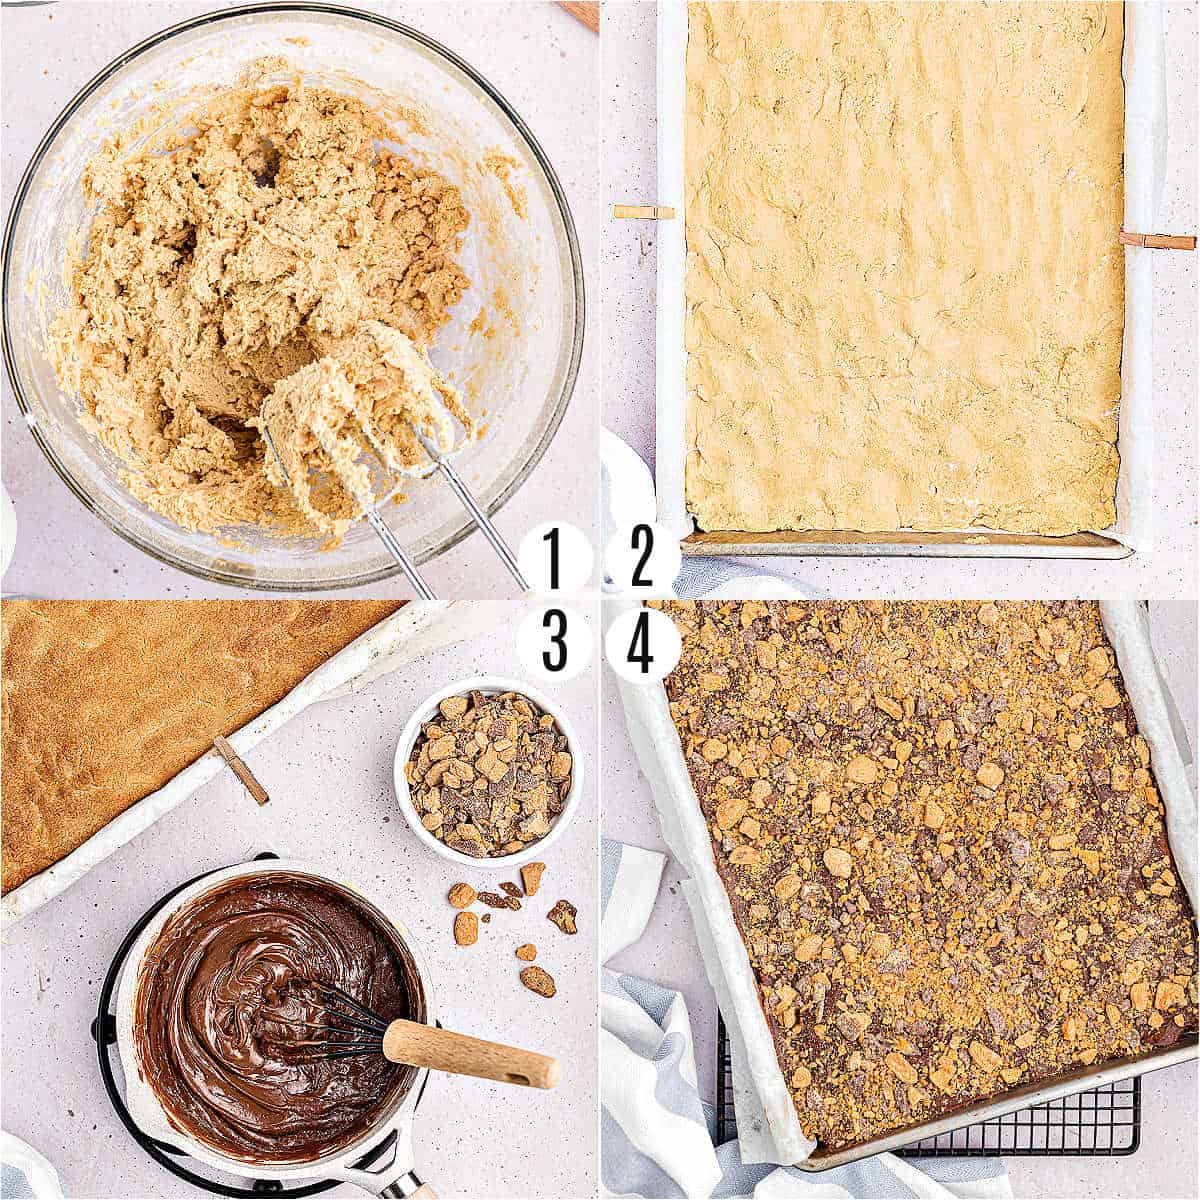
- For the cookie bars, beat butter and brown sugar in mixing bowl until combined. Add peanut butter. Beat in egg and milk. Beat in the flour, salt and baking soda. Press dough into a 15x10x1 baking sheet lined with parchment paper. Dough will be sticky, I dipped my fingers in flour before pressing. Bake in a 375 degree oven for 15-18 minutes. Remove from oven.
- On stovetop in small saucepan, heat sweetened condensed milk until warm. Whisk in the milk chocolate and continue stirring until smooth.
- Pour fudge over cookie bars. Top with crushed Butterfingers, pressing them into the fudge lightly. Allow to cool completely and cut into small bars.
Notes
Nutrition
Cookies, peanut butter and fudge—three of life’s best things come together in this recipe for Butterfinger Fudge Cookie Bars!


These turned out so delicious. They were eaten before the day was over!