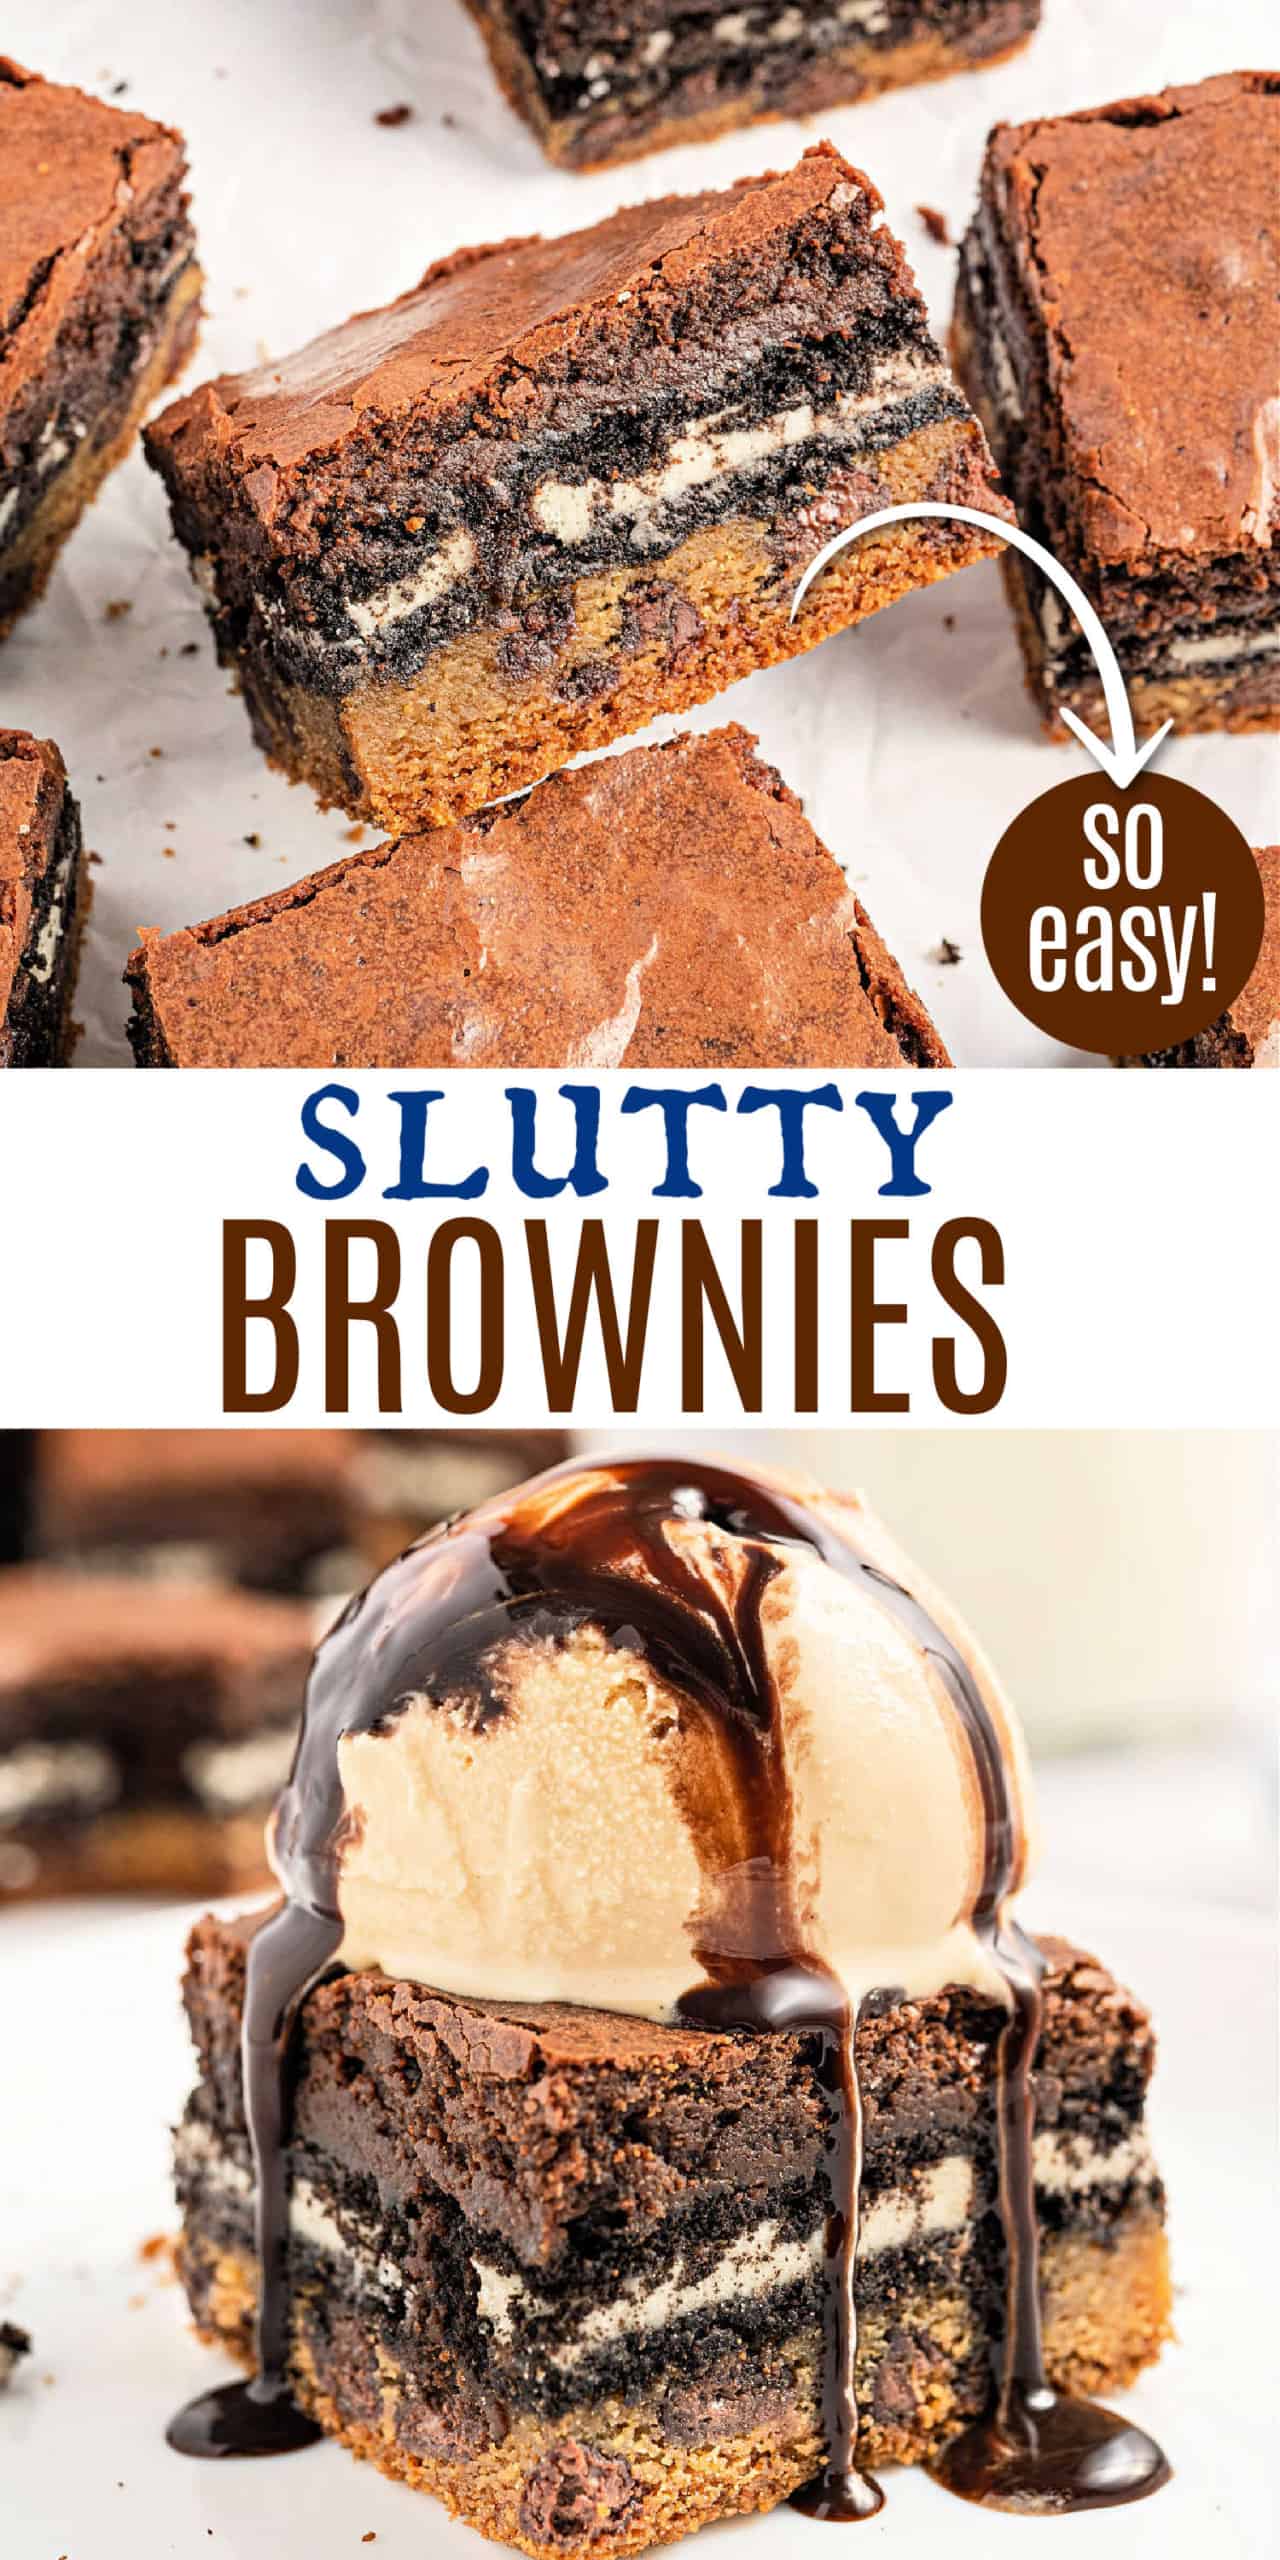
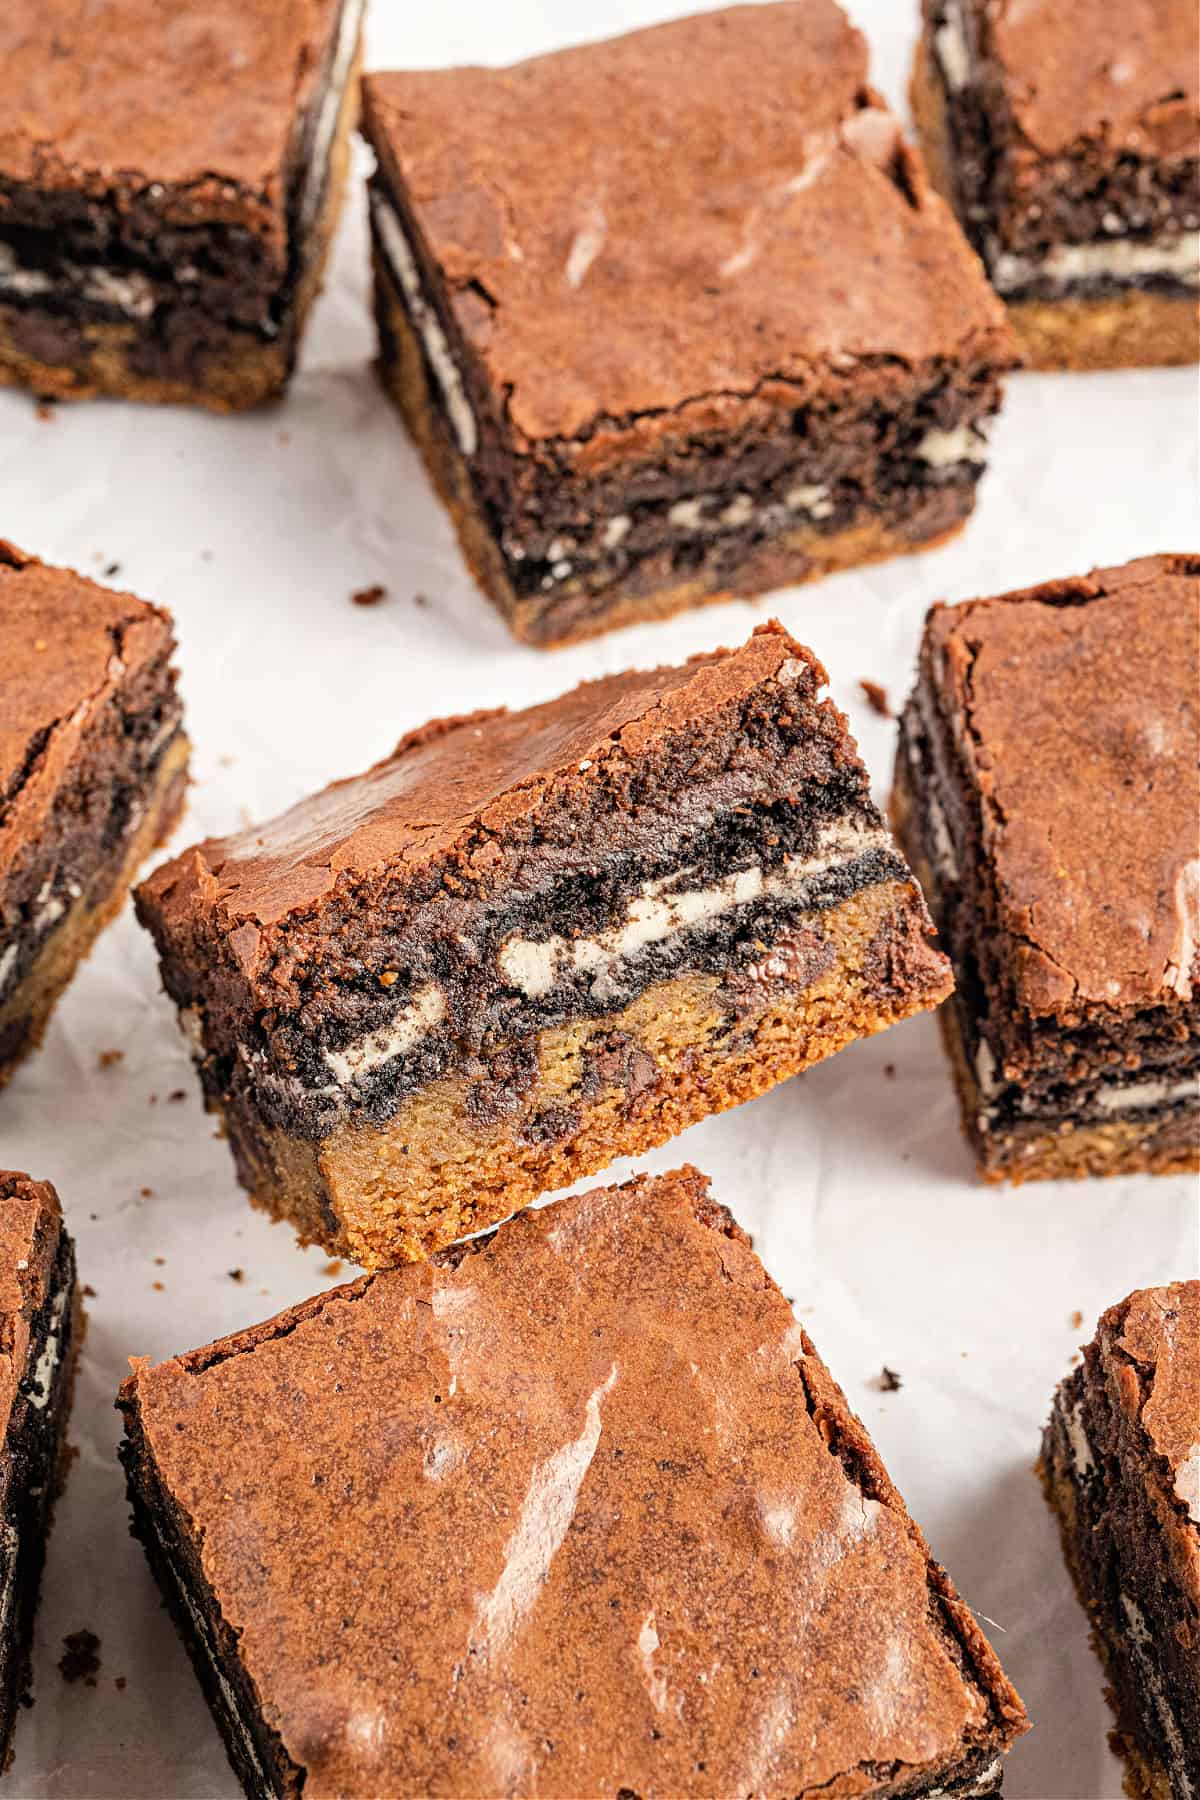
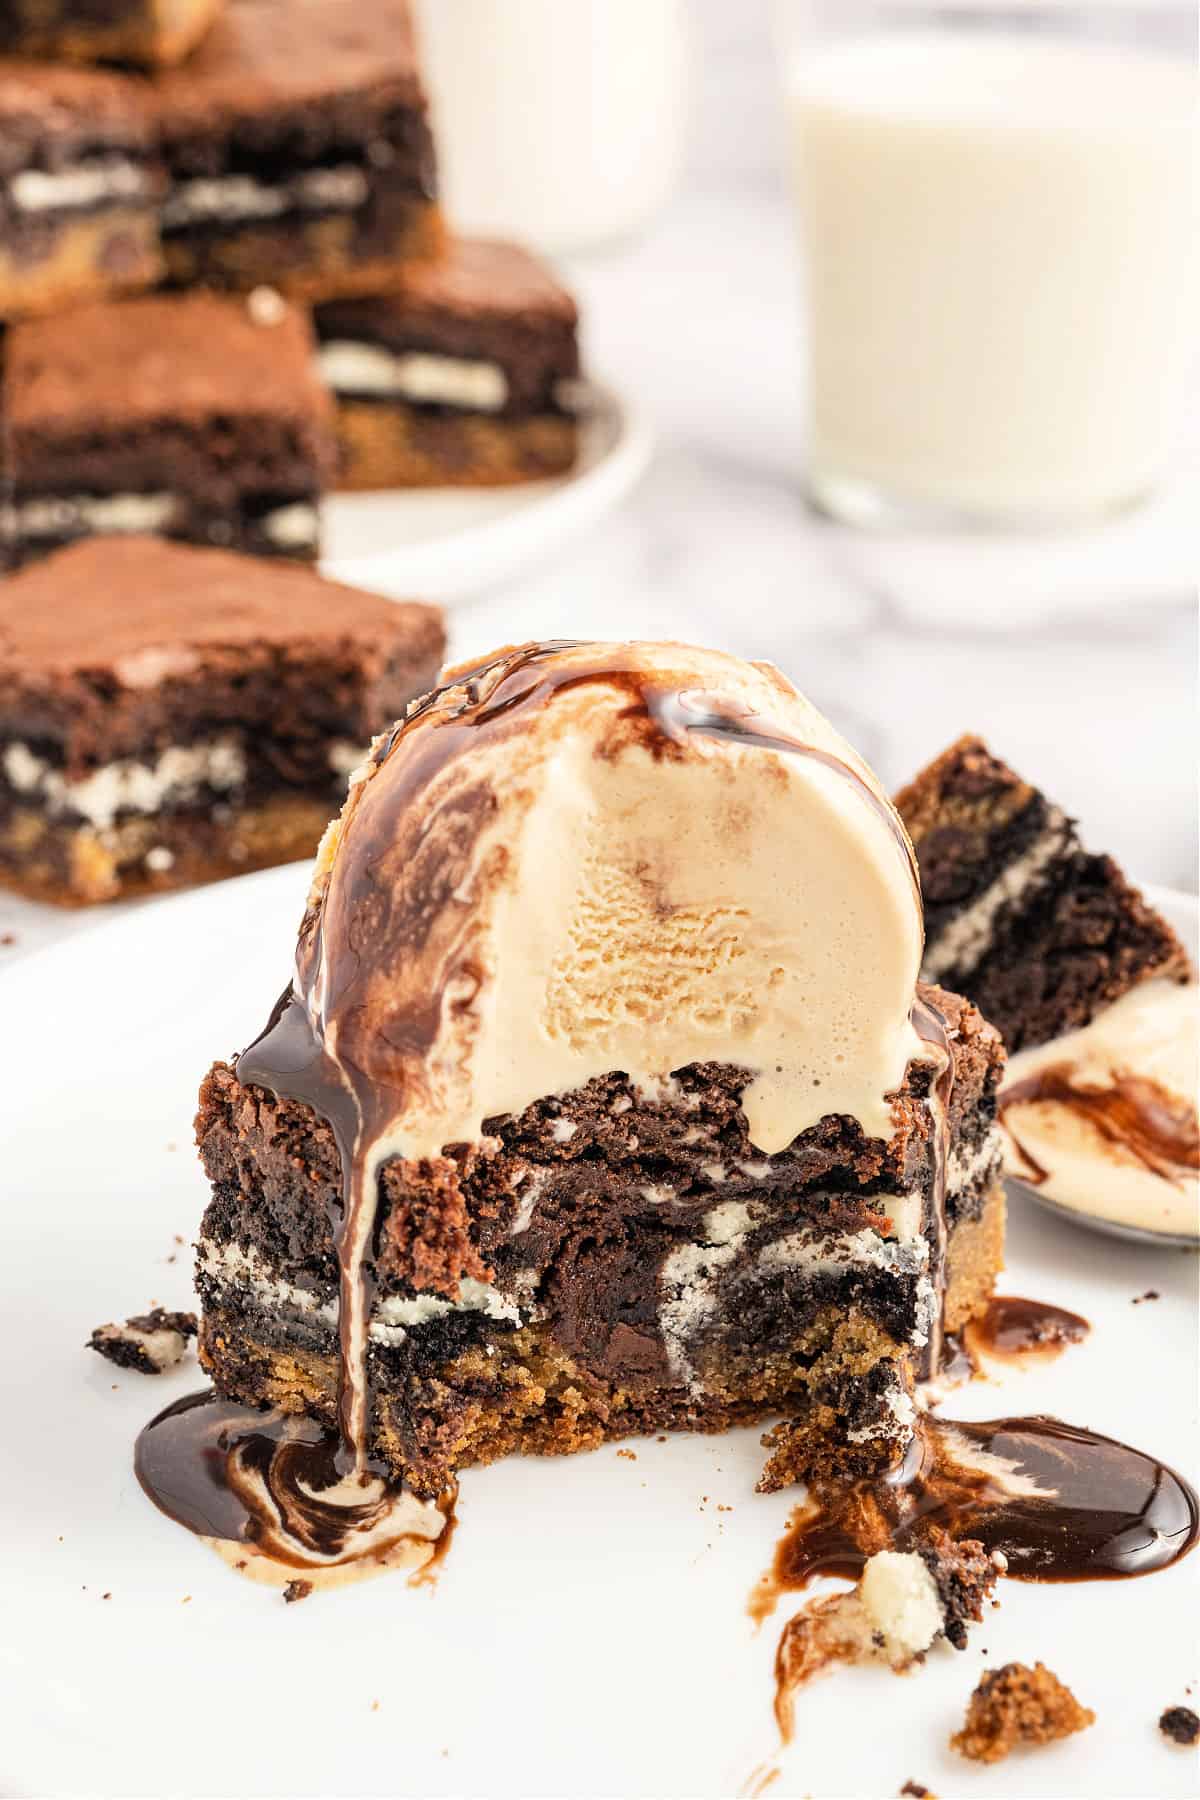
Slutty Brownies are the dessert version of pure indulgence. Made on a cookie dough base with a layer of your favorite Oreos, this dish is topped with a generous layer of brownie batter. What’s not to love?
If you’re a sucker for gooey brownie desserts, be sure to try our Oreo Brownies next. Or give our chocolate chip lasagna recipe a try asap!
Why Slutty Brownies Work
There are few desserts that make me feel guilty, but this is one of them. Simply put, they deliver. So, if you’re craving sweets, this dish is perfect. Only 20 minutes of hands-on prep, then sit back and enjoy. I won’t tell a soul.
I first saw mention of slutty brownies on Kevin and Amanda’s website many years ago. What are they you might be asking?
Imagine the most decadent treat. We took our favorite Brookies, and stuffed them with Oreos. You’re welcome!
Here are a few reasons why you’ll love it,
- Three desserts in one. If you can’t decide which dessert to make, this recipe has three desserts in one: cookie dough, Oreos, and brownies. It’s a terrific trio.
- Pure indulgence. If you’re a chocolate or Oreo lover like me, this recipe is a dream come true. It delivers all the indulgence that it promises and then some.
- A truly dynamic recipe. You can customize everything. Pick your favorite cookie dough and brownie batter, and layer it with your favorite Oreos. You can keep it simple with classic flavors (as shown in the recipe) or go crazy with flavor combinations. It’s totally up to you.
We used our favorite chocolate chip cookie recipe and paired it with our decadent brownie recipe. Match made in heaven!
Ingredient Notes
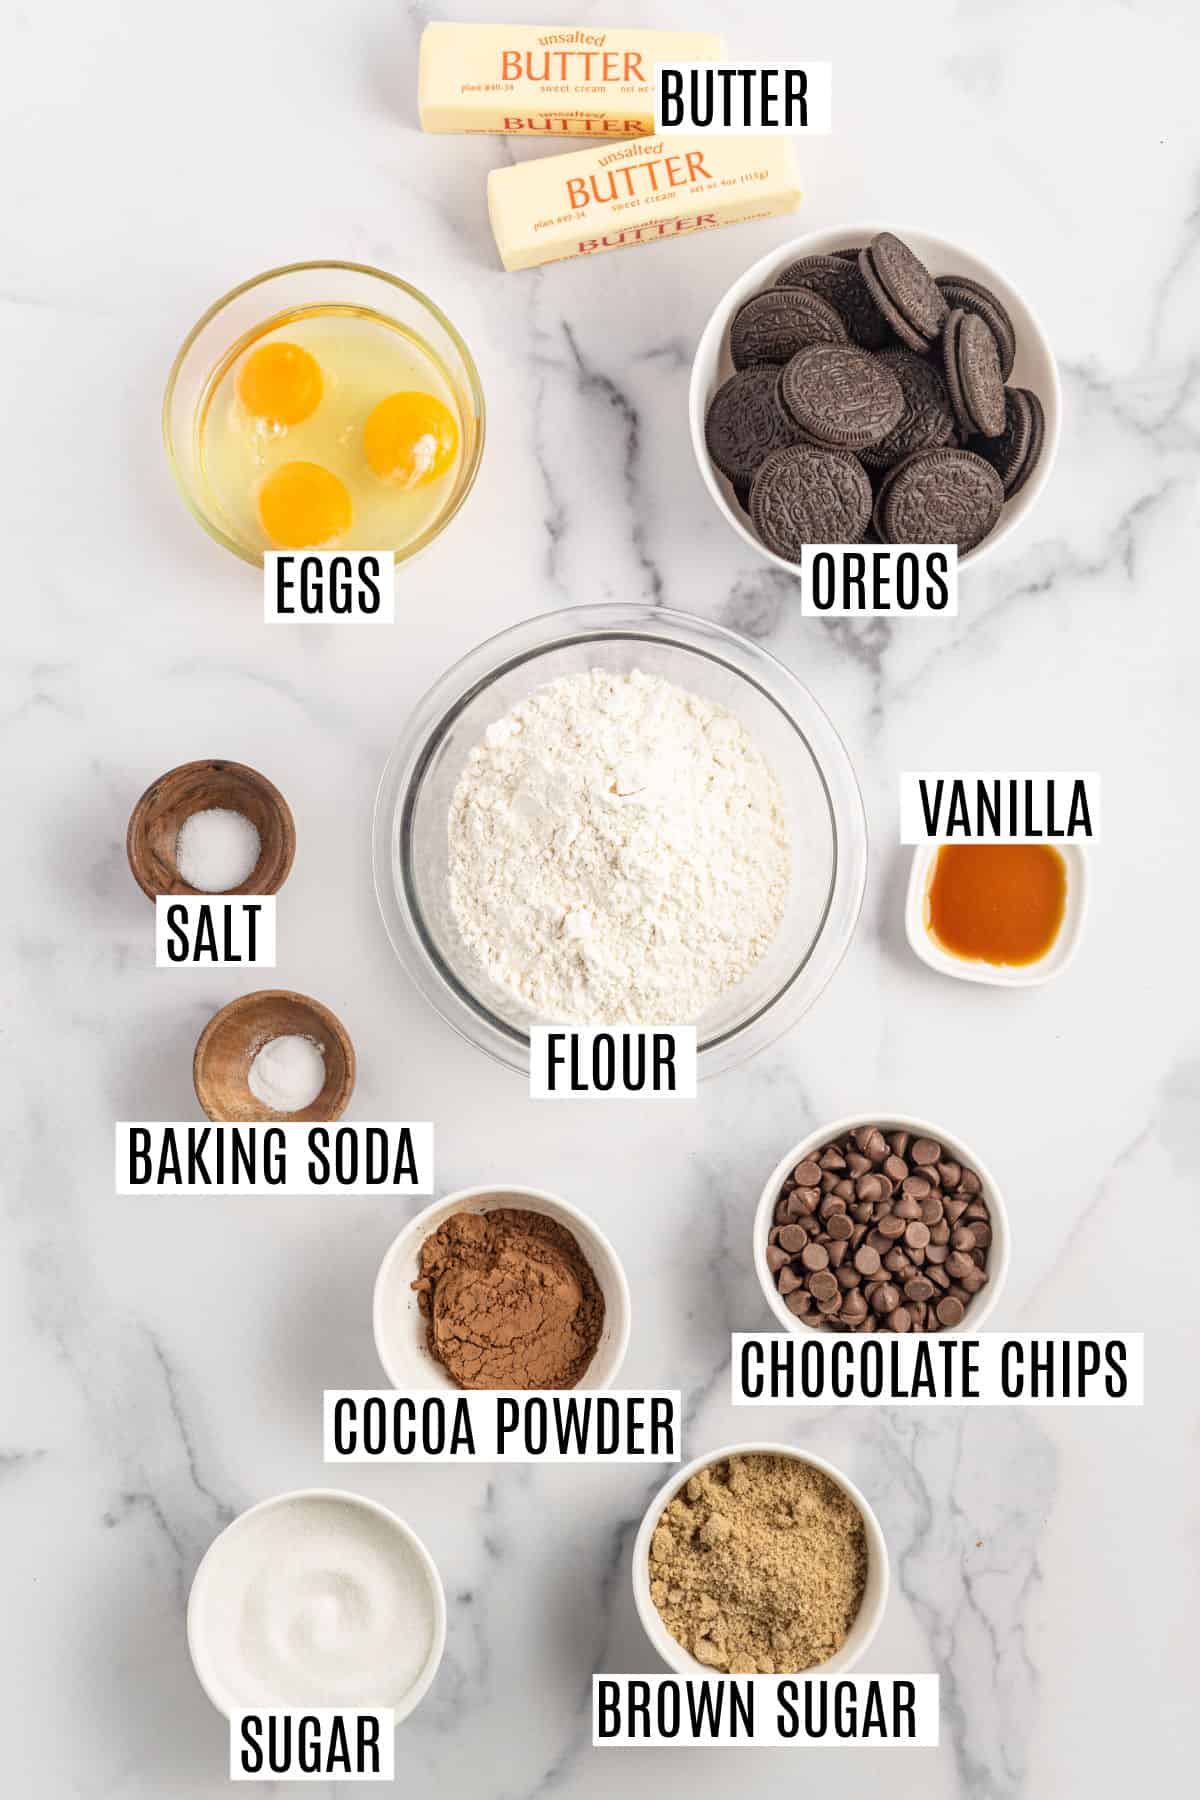
- All-Purpose Flour – It gives the cookies the perfect consistency and texture. Use my guide on how to measure flour so that you don’t end up with a dry and tough cookie layer.
- Baking Soda – It’s the only leavener used in the cookie dough, so don’t skip it.
- Kosher Salt
- Unsalted Butter – Softened butter makes it easy to cream it with sugar.
- Light Brown Sugar
- Egg – Room temperature eggs help bind the dough properly.
- Vanilla Extract – To elevate all the flavors use your favorite store-bought pure vanilla extract or make it at home using my homemade vanilla extract recipe.
- Semi-Sweet Chocolate Chips – white, dark, or milk chocolate chips can also be used.
- Oreos – I use regular Oreos for this recipe, but you can use any Oreos you like.
- Butter – Unsalted butter helps control the salt in the recipe. Butter is essential to give the brownie layer a chewy texture.
- Unsweetened Cocoa Powder – Adds an intense chocolate flavor without adding extra sugar.
- Granulated Sugar – It locks in the moisture, making sure the brownies (and cookies) turn out soft and moist.
Easy Instructions

- Make the cookie layer. Mix flour, baking soda, and salt in a bowl and keep aside. In another bowl, cream butter and sugar until fluffy. Then add eggs and vanilla, followed by the dry ingredients and chocolate chips. Press the dough onto a lined baking pan.
- Place the Oreos. Place them in a single layer over the cookie dough and keep aside.
- Make the brownie batter. Mix melted butter and chocolate chips, followed by cocoa powder, sugar, and salt. Mix in the eggs and vanilla extract. Then add the flour and mix. Pour this batter over the oreo layer.
- Bake and cool. Bake at 350°F for 40-45 minutes, then let them cool completely before slicing and serving.
Tips and Tricks
- Use your favorite Oreos. I usually use regular Oreos, but you can use any variety you prefer! Choose holiday Oreos for a specific holiday if desired.
- Alter the baking time. If you want the cookie dough and brownies to be soft and gooey, bake it for 35-40 minutes. Or, if you want it slightly crisp and done all the way through, bake it for 45-50 minutes.
- Cool it before slicing. As tempting as these brownies are, make sure you wait for them to cool down completely before cutting. This will allow you to cut neat slices with clean corners. But if you’re not concerned about the presentation, then dig in with a spoon while it’s still warm.
- Make sure you use a 9X9 baking dish. This is the ideal size to bake the layers all the way through. If you use a smaller baking tin, the cookie dough and brownie batter won’t cook through, and if you use a larger tin, the brownies will come out crisp and hard.
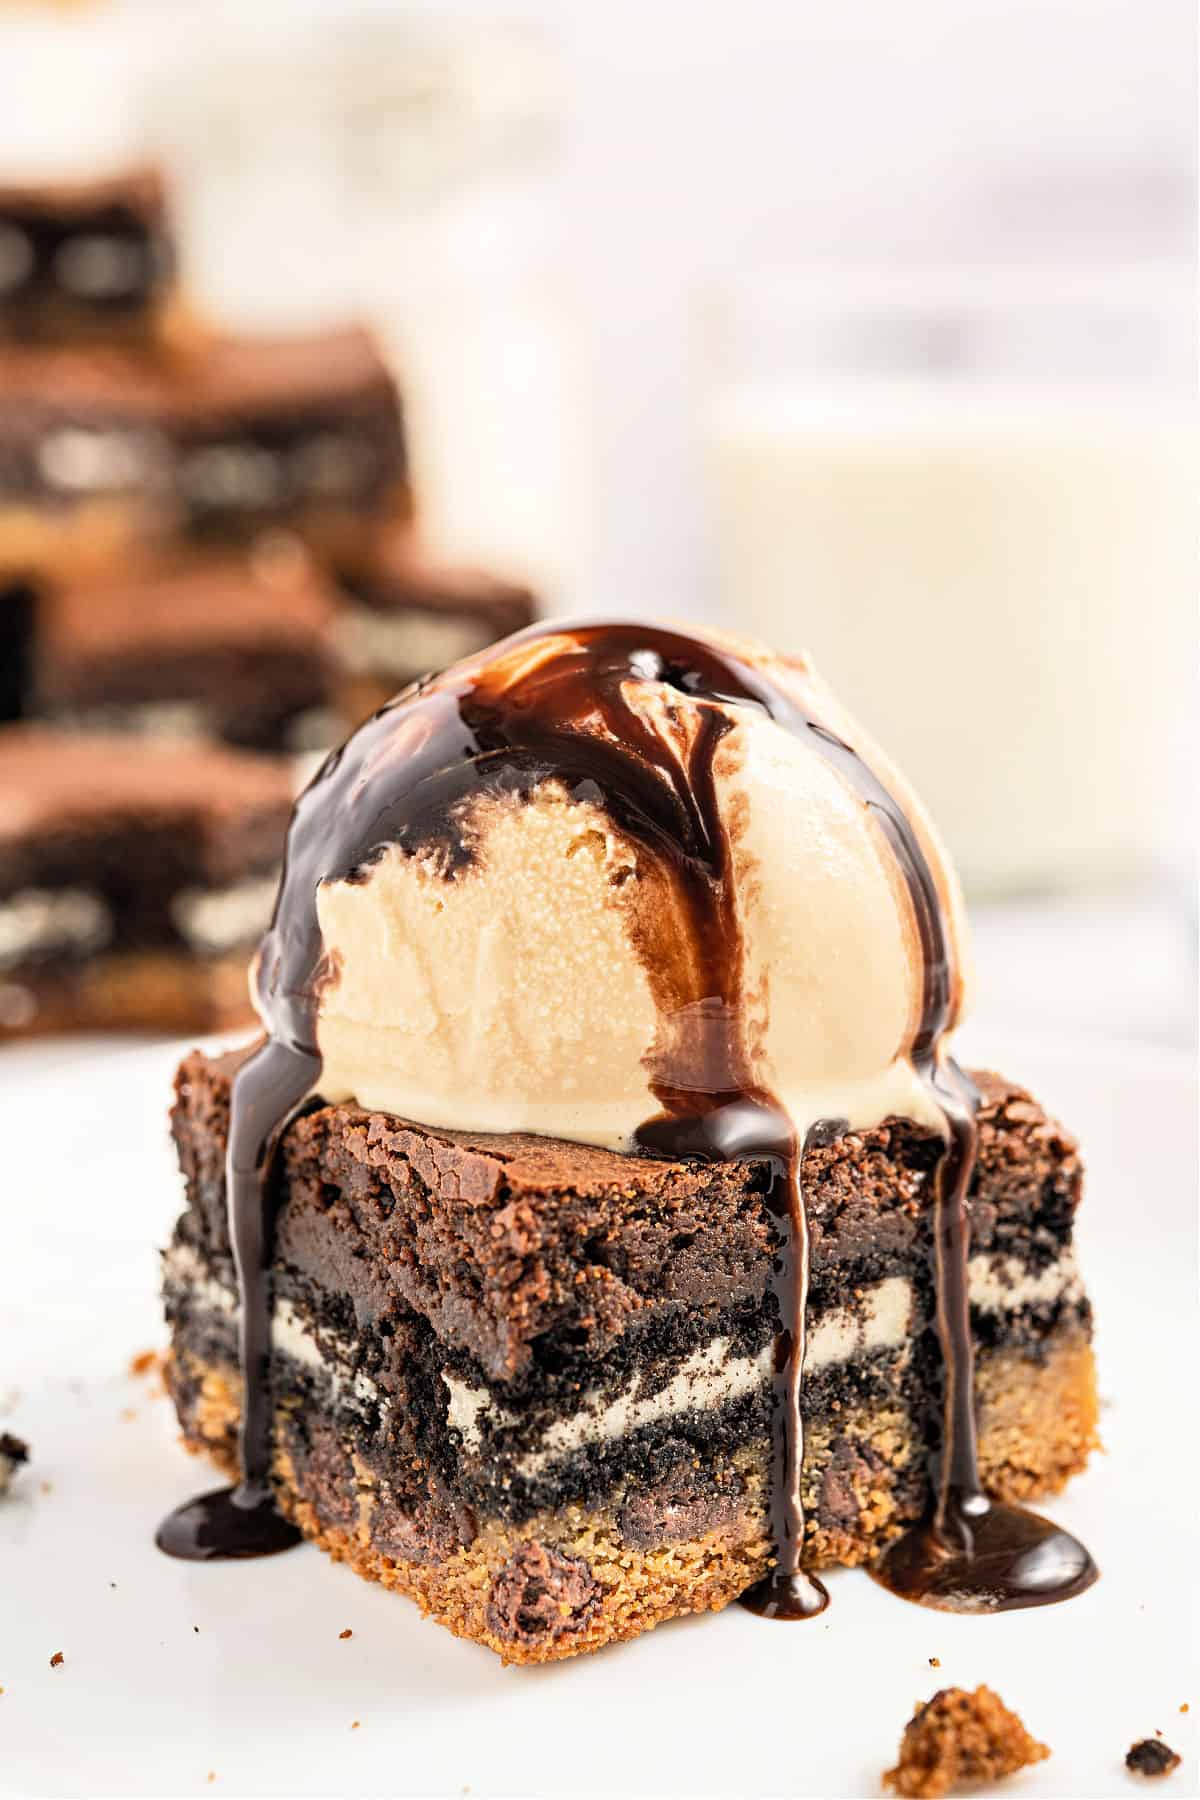
- Serve it up. Use our delicious vanilla ice cream with homemade chocolate syrup for a delicious finish. Cookies and cream ice cream would also be delicious, as well as caramel sauce!
Recipe FAQs
You can store the brownies in an airtight container at room temperature for up to 4 days or refrigerate them in an airtight container for up to 7 days. But remember to bring them up to room temperature before serving, or the brownies may be a little tough to eat.
Yes. You can store the brownies in an airtight container in the freezer for up to 2 months. Thaw them overnight on the counter or in the fridge before serving. These brownies are best served at room temperature.
Absolutely. If you’re feeling lazy or just don’t have the time, then buy your favorite cookie dough and boxed brownie mix and make these Slutty Brownies. It’s a real time-saver. However, homemade always tastes better, and this recipe is rich, indulgent, and well-balanced with the right amount of sweetness.
More Brownie Recipes
See all Brownies and Bars recipes


Pin this now to find it later
Pin It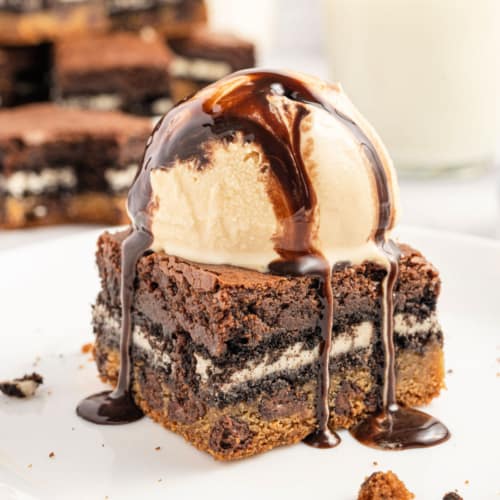
Slutty Brownies
Ingredients
For the Cookie Layer
- 1 ½ cups all-purpose flour
- ½ teaspoon baking soda
- ½ teaspoon kosher salt
- ½ cup unsalted butter softened
- ¾ cup light brown sugar packed
- ¼ cup granulated sugar
- 1 large egg room temperature
- 1 teaspoon vanilla extract
- 1 cup semi-sweet chocolate chips
- 20 Oreo cookies
For the Brownie Layer
- ½ cup unsalted butter
- ½ cup semi-sweet chocolate chips
- ¼ cup unsweetened cocoa powder
- 1 cup granulated sugar
- ½ teaspoon kosher salt
- 1 teaspoon vanilla extract
- 2 large eggs room temperature
- ⅔ cup all-purpose flour
Instructions
- Preheat the oven to 350 degrees F. Grease a 9×9-inch baking pan with shortening or line it with parchment paper. Set aside.
- For the cookie layer: Mix together the flour, baking soda, and salt with a whisk in a small bowl. In a separate large mixing bowl, use an electric mixer to cream together the butter, light brown sugar, and granulated sugar until thick and fluffy.
- Add the egg and vanilla extract and mix until combined. Gradually add the dry ingredients and continue mixing until a thick, sticky cookie dough is formed.
- Fold in the chocolate chips, then press the cookie dough evenly into the bottom of the parchment-lined baking pan.
- Place the Oreos in a single layer over the cookie dough. Put the pan to the side while you make the brownie batter.
- For the brownie layer: Melt the butter in a small saucepan over medium heat. Once melted, remove from heat and stir in the chocolate chips until melted.
- Add the cocoa powder, sugar, and salt, and whisk until the ingredients are mixed. Add the eggs and vanilla extract and beat with the whisk until the eggs are fully combined.
- Use a spatula to mix in the flour, just until combined, then pour the batter over the layer of Oreos. Spread it out evenly with a spatula.
- Bake the brownies for 40-45 minutes or until a toothpick inserted in the middle comes out clean. Let the brownies cool for at least an hour before slicing and serving.
Notes
- Oreos– use any variety you prefer! Choose holiday Oreos for a specific holiday if desired.
- Baking for 35-40 minutes will result in softer, moister brownies, but the cookie layer may look slightly under-baked.
- Allowing the brownies to cool for an hour will prevent them from falling apart when you slice them.
- Storage: Store the brownies in an airtight container at room temperature for up to 4 days. Or, store the brownies in an airtight container in the fridge for up to 7 days. Bring to room temperature before serving or the brownies may be a little tough to eat.
- Freezer: Store the brownies in an airtight container in the freezer for up to 2 months. Thaw overnight on the counter or in the fridge before serving. These are best served at room temperature.
- Make it Easy: Use refrigerated cookie dough and boxed mix brownies for even easier baking.
- See blog post for more recipe tips and tricks.

Could this be made with both top and bottom layers being brownie?
I suggest you just make these: https://www.shugarysweets.com/oreo-brownies/