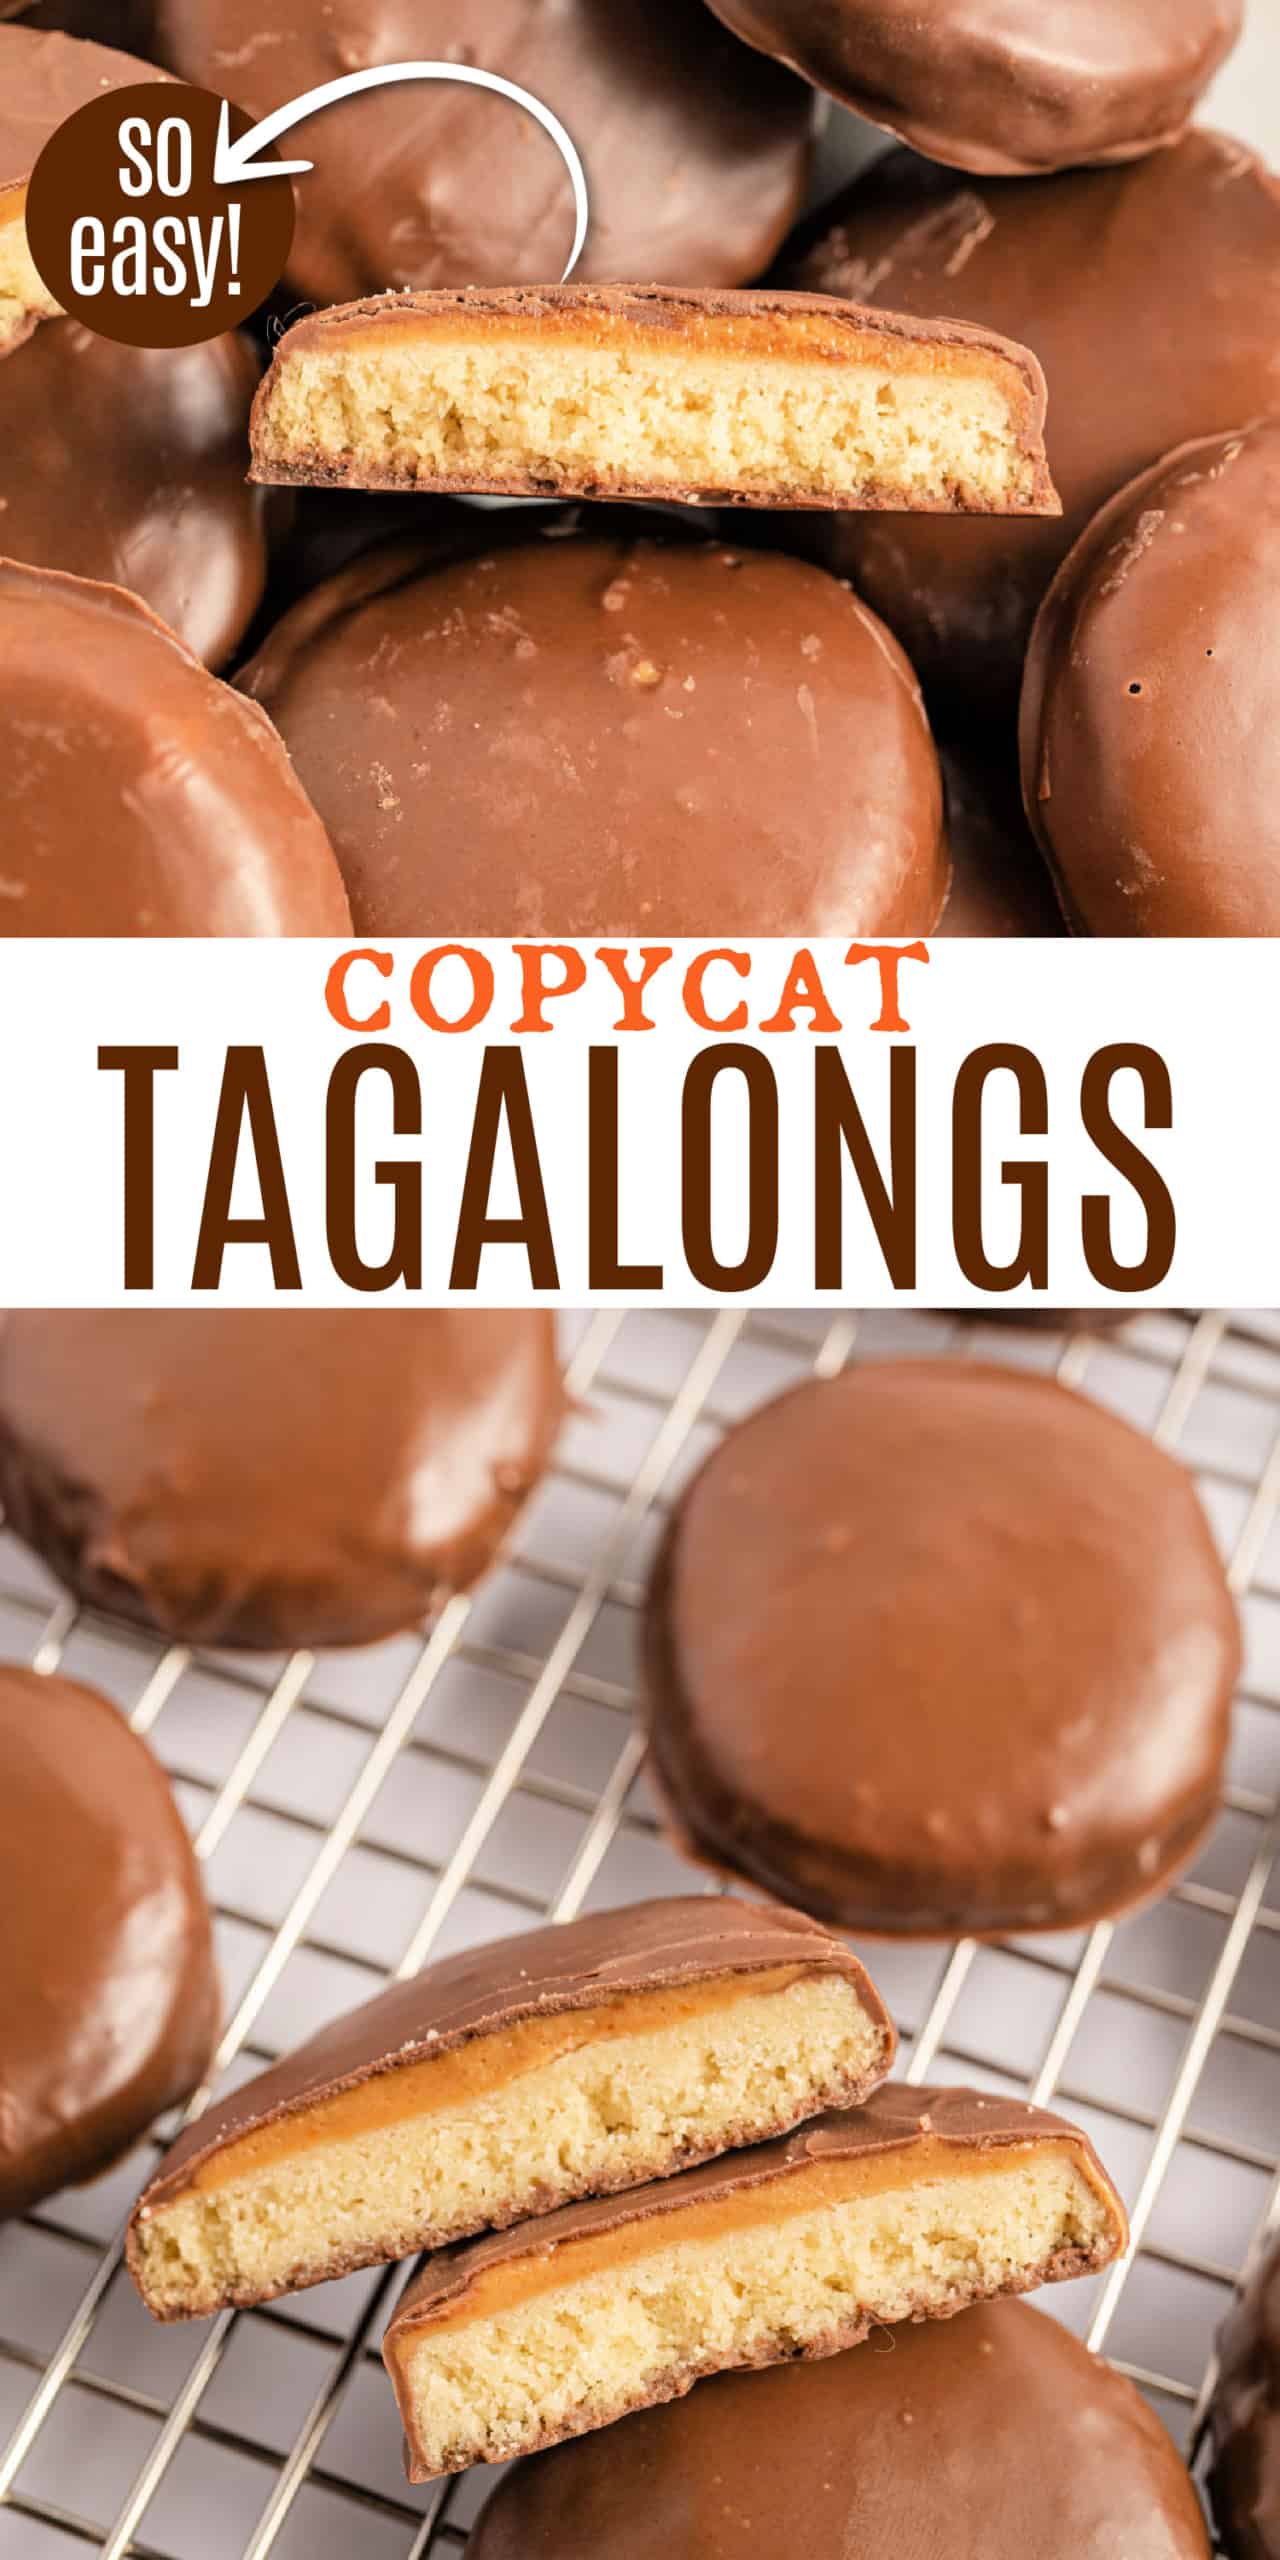
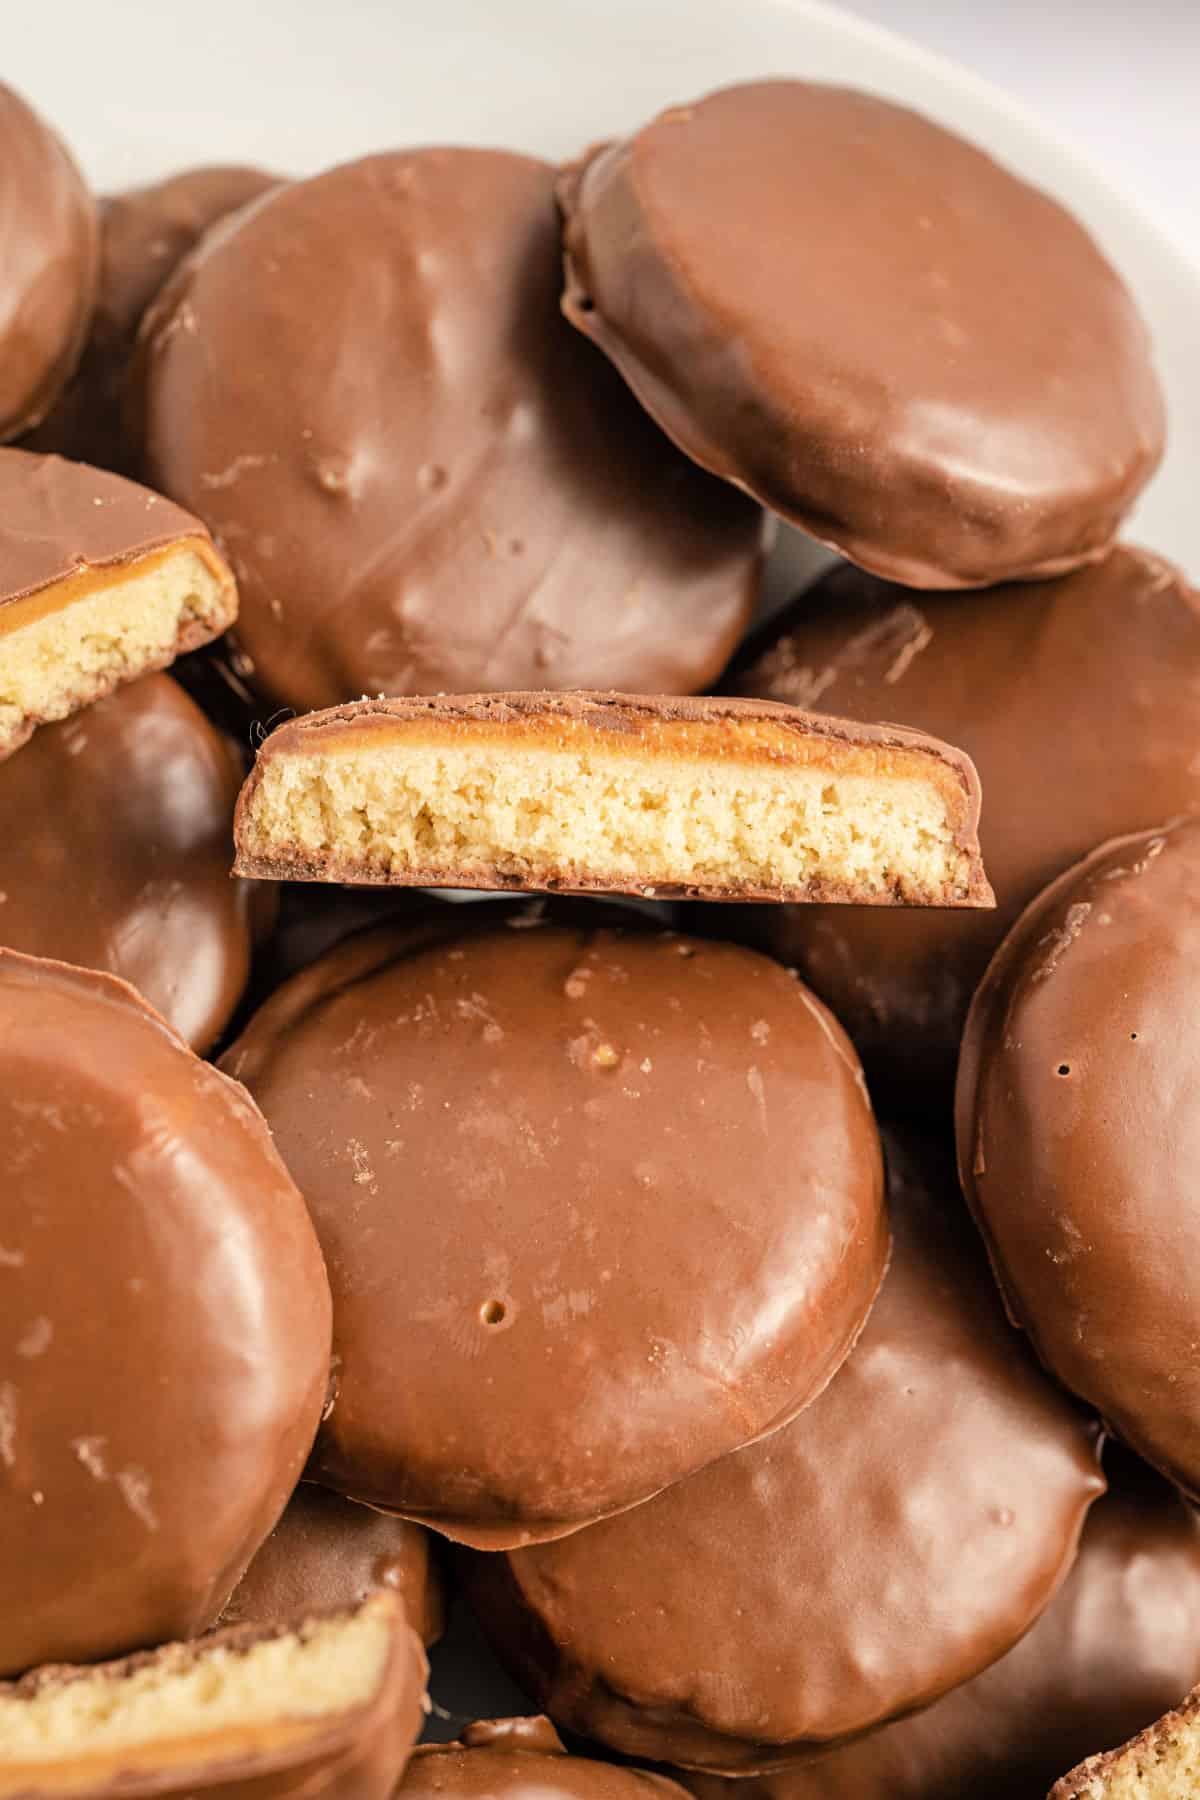
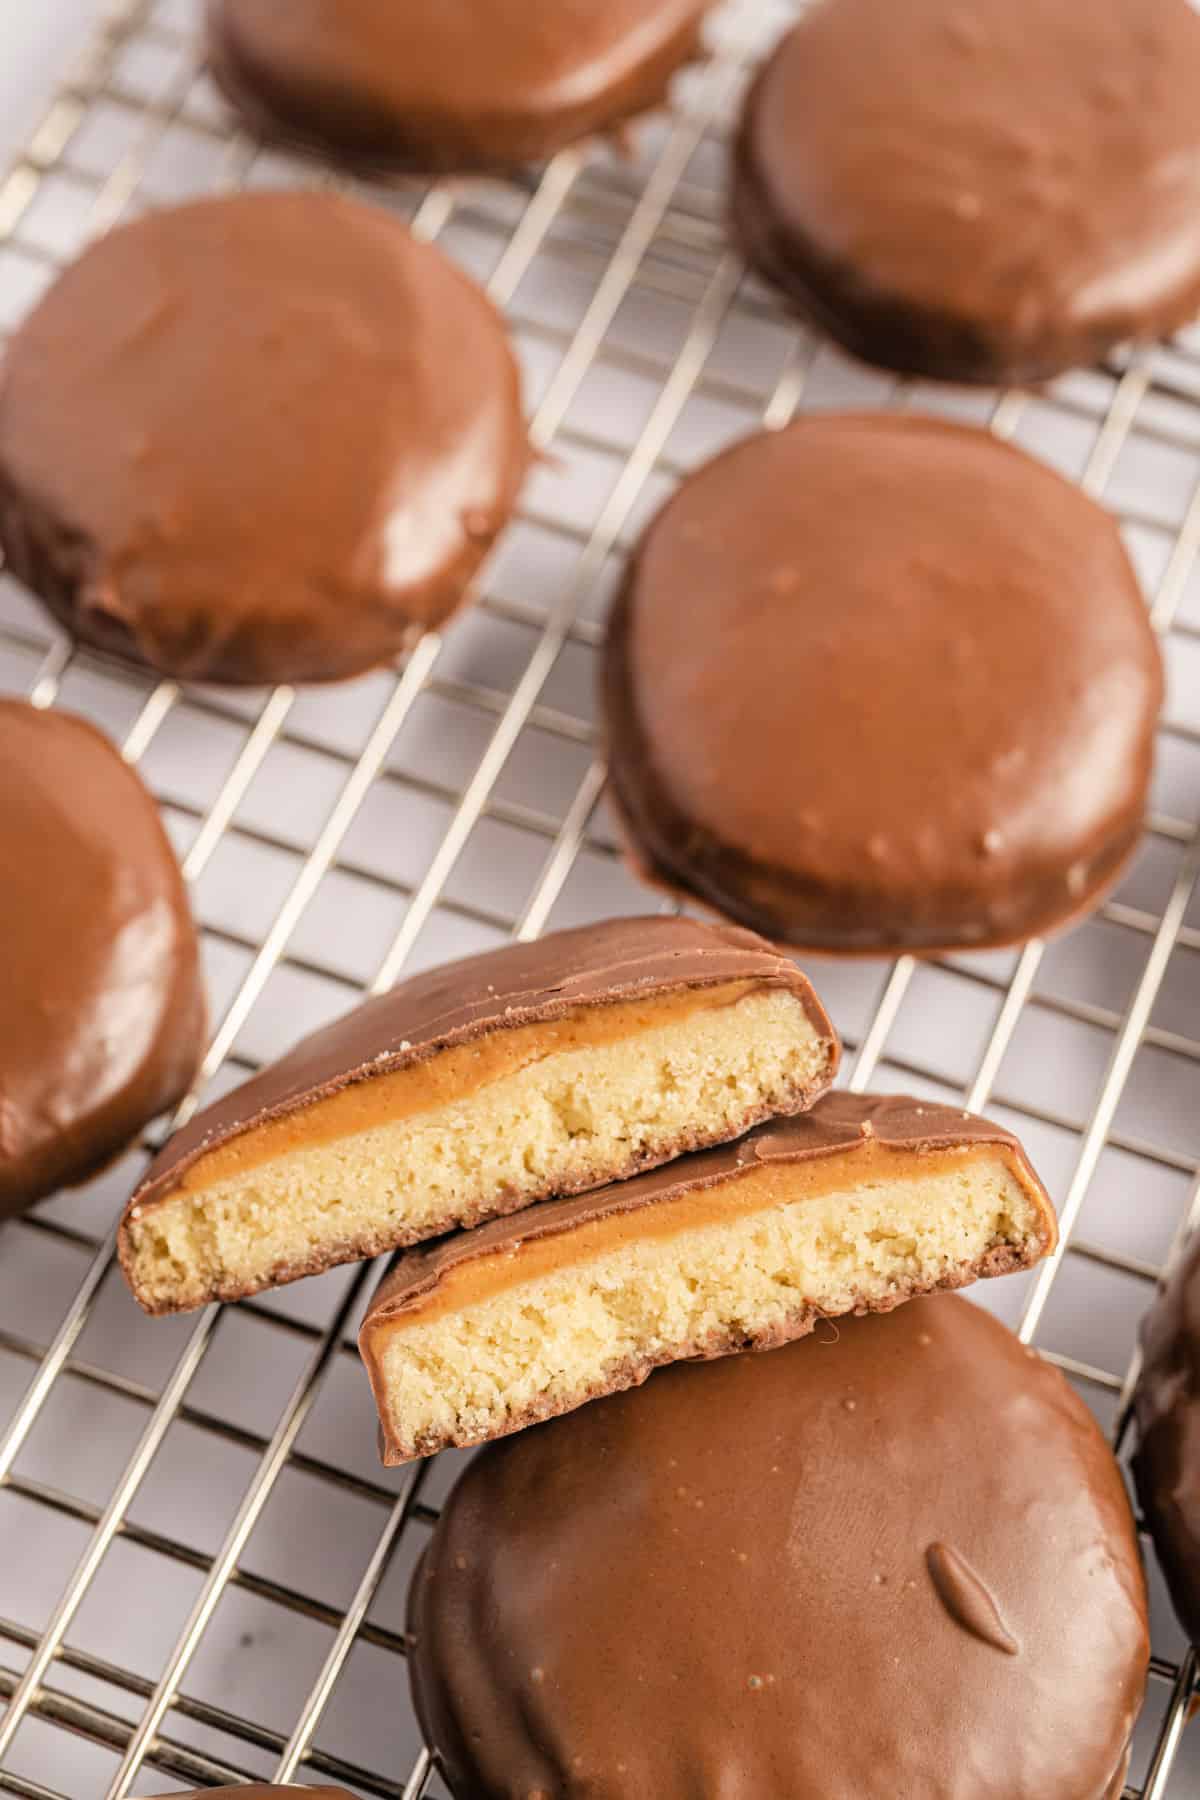
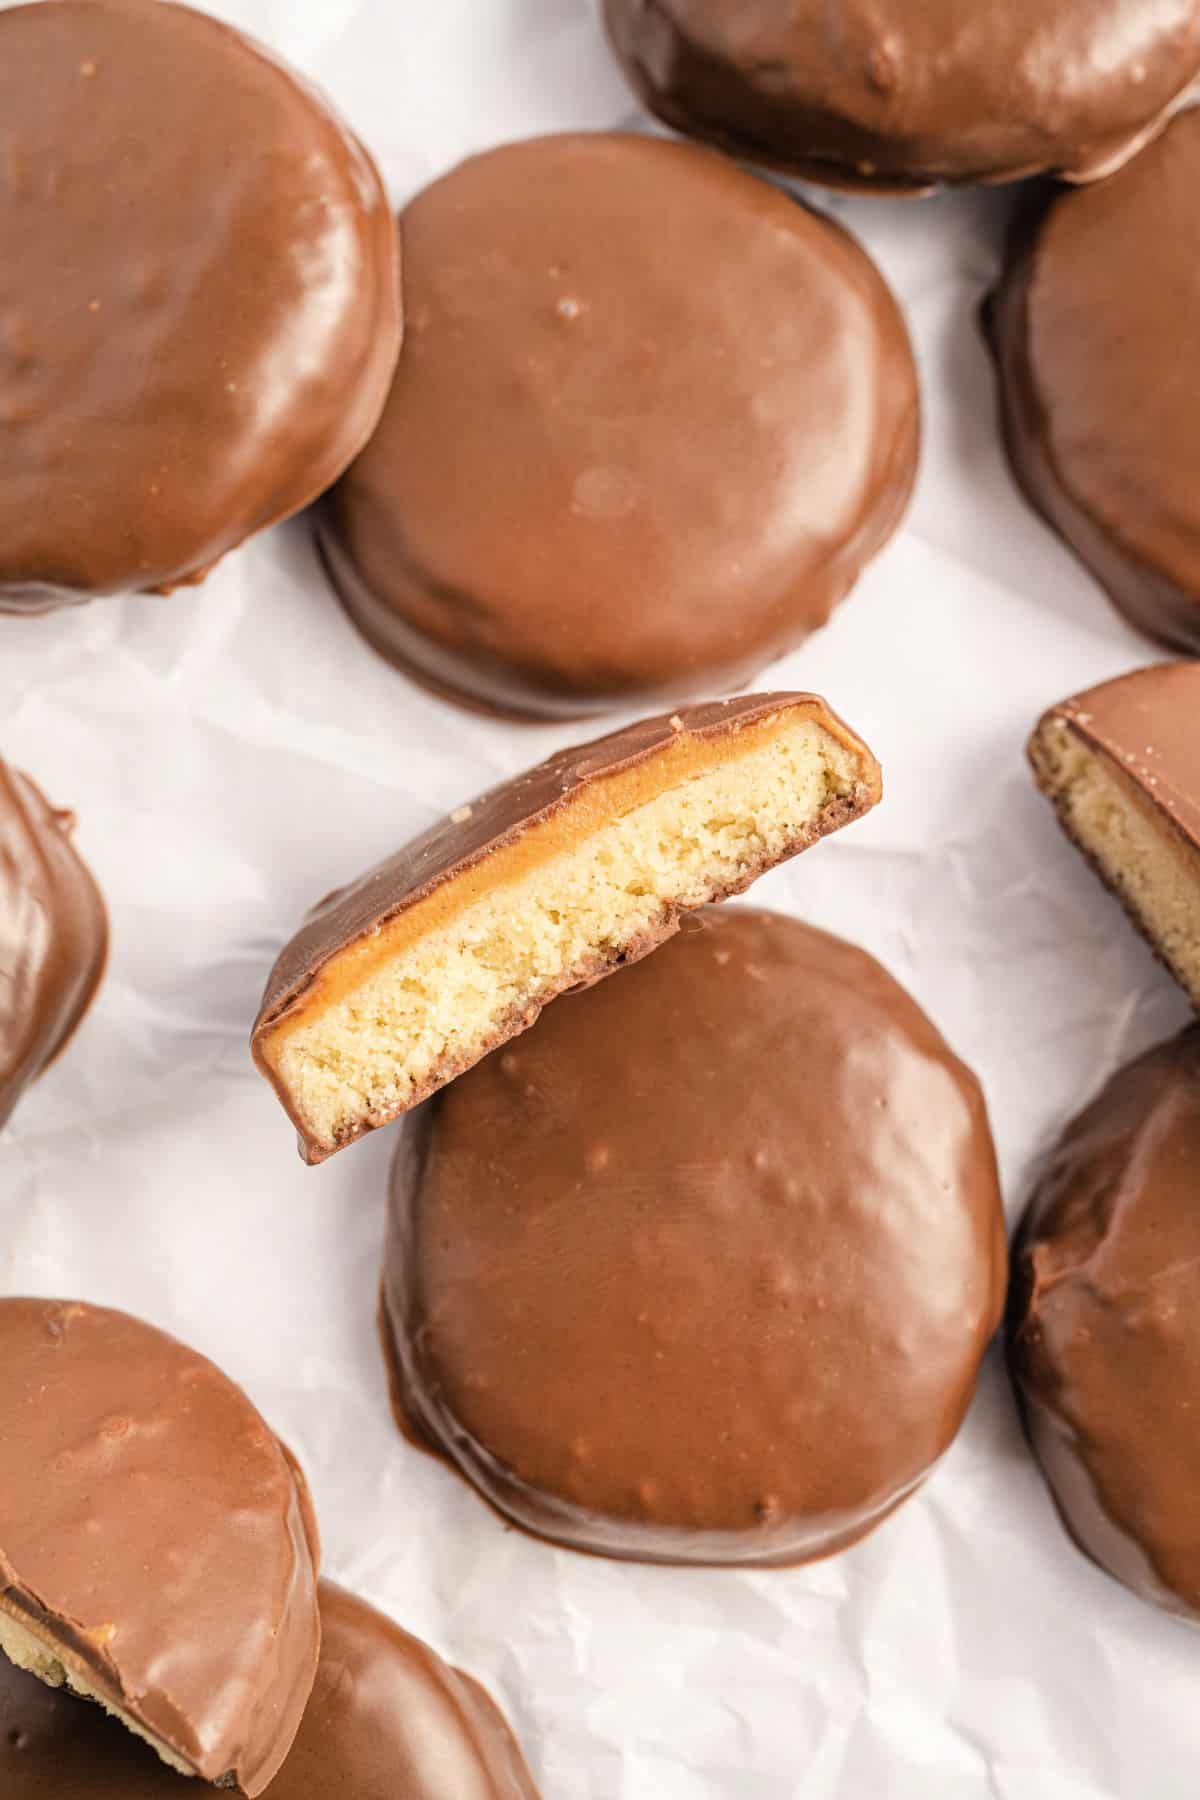
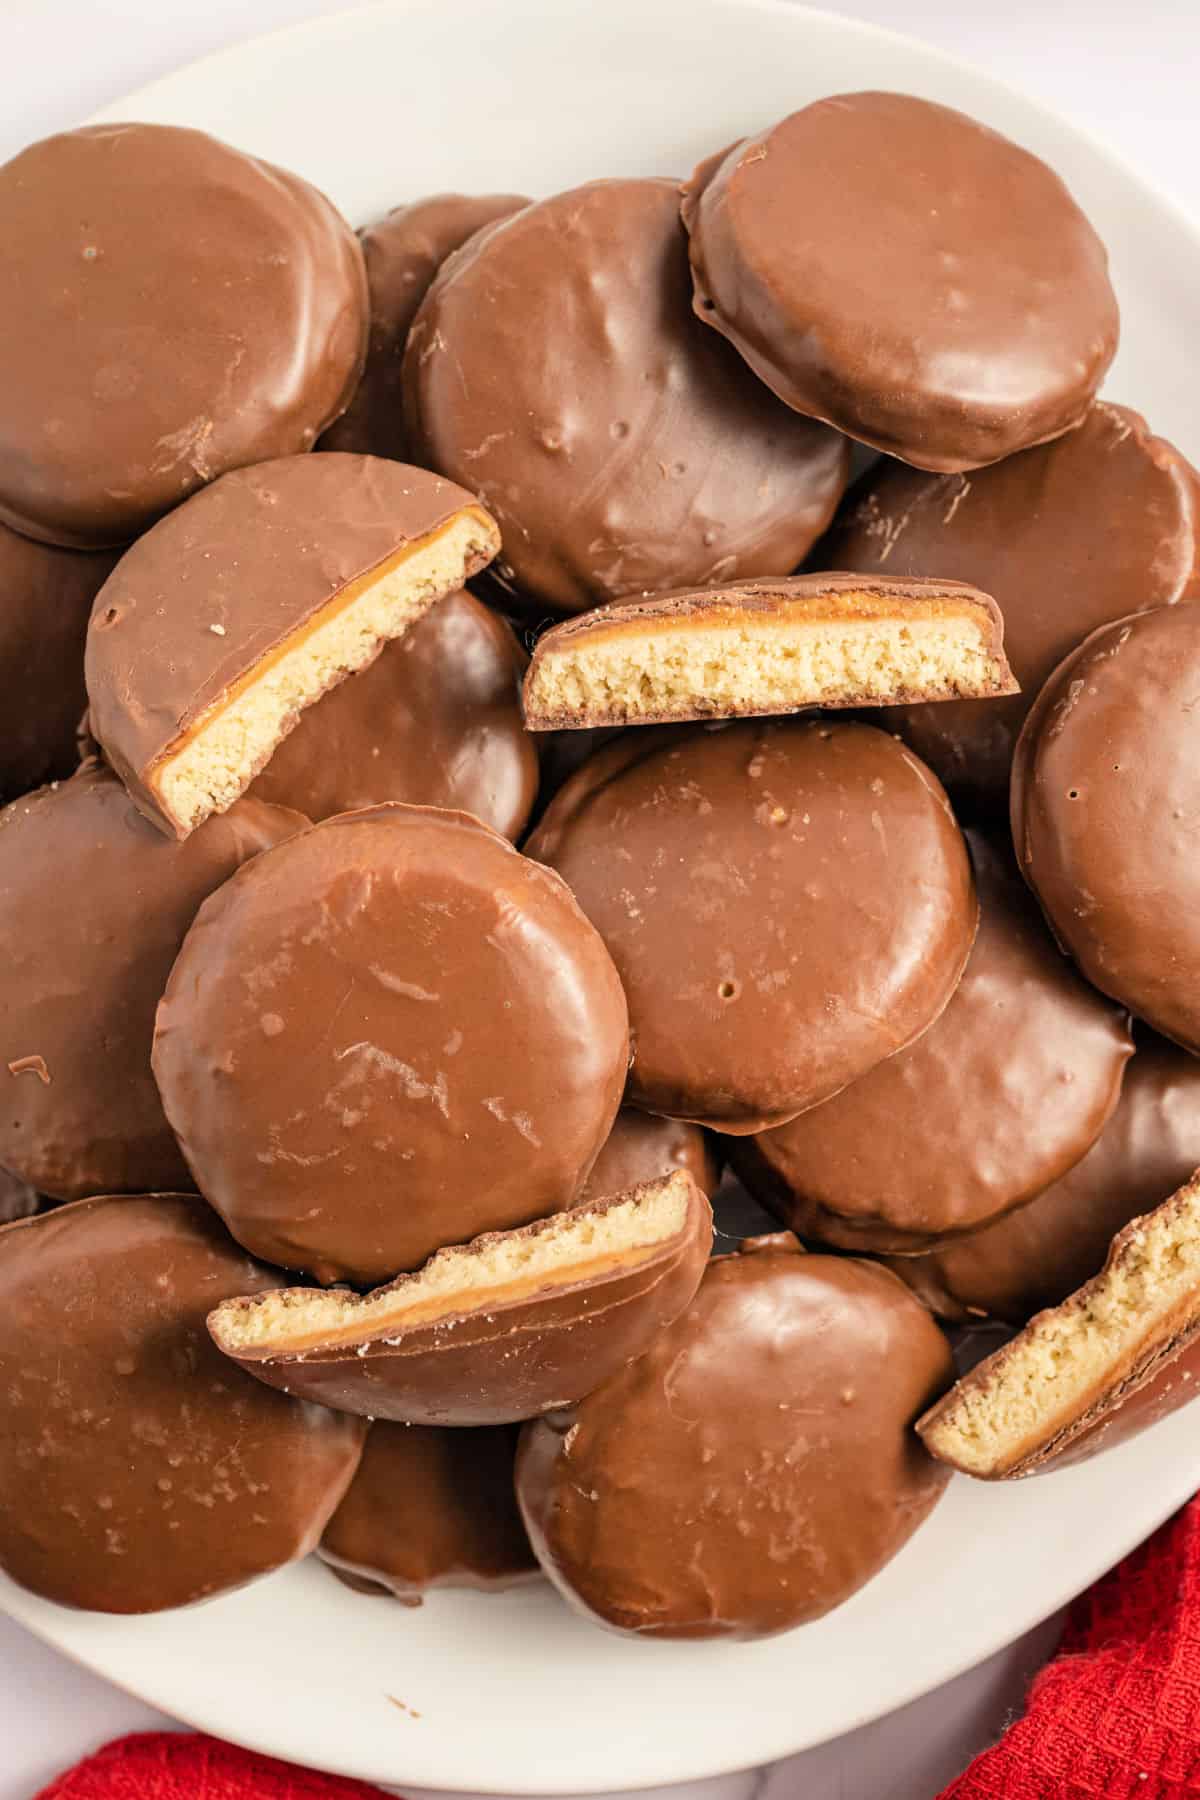
Homemade Tagalong Cookies make the perfect balance of buttery shortbread, fluffy peanut butter filling, and rich milk chocolate. No need to wait for Girl Scout season – whip up these irresistible classics right now!
This Tagalongs recipe brings you the iconic taste you crave whenever you crave it. With my copycat Girl Scout Tagalongs recipe, you’ll get all of the buttery shortbread cookie bliss, creamy peanut butter, and an indulgent chocolate coating, on your terms.
- It’s basically effortless. With easy-to-follow instructions, crafting these cookies is a breeze. No need to be a baking expert; you’ll achieve impressive results every time.
- The perfect gift. These homemade Tagalongs make for heartwarming gifts. Surprise your friends and family with a batch, and witness their delight as they enjoy the familiar flavors with your personal touch.
- You’ve already got the ingredients. Everyday pantry staples are all you need. Uncomplicated and hassle-free, this recipe ensures you can whip up these delectable cookies without a trip to the store.
Ingredient Notes
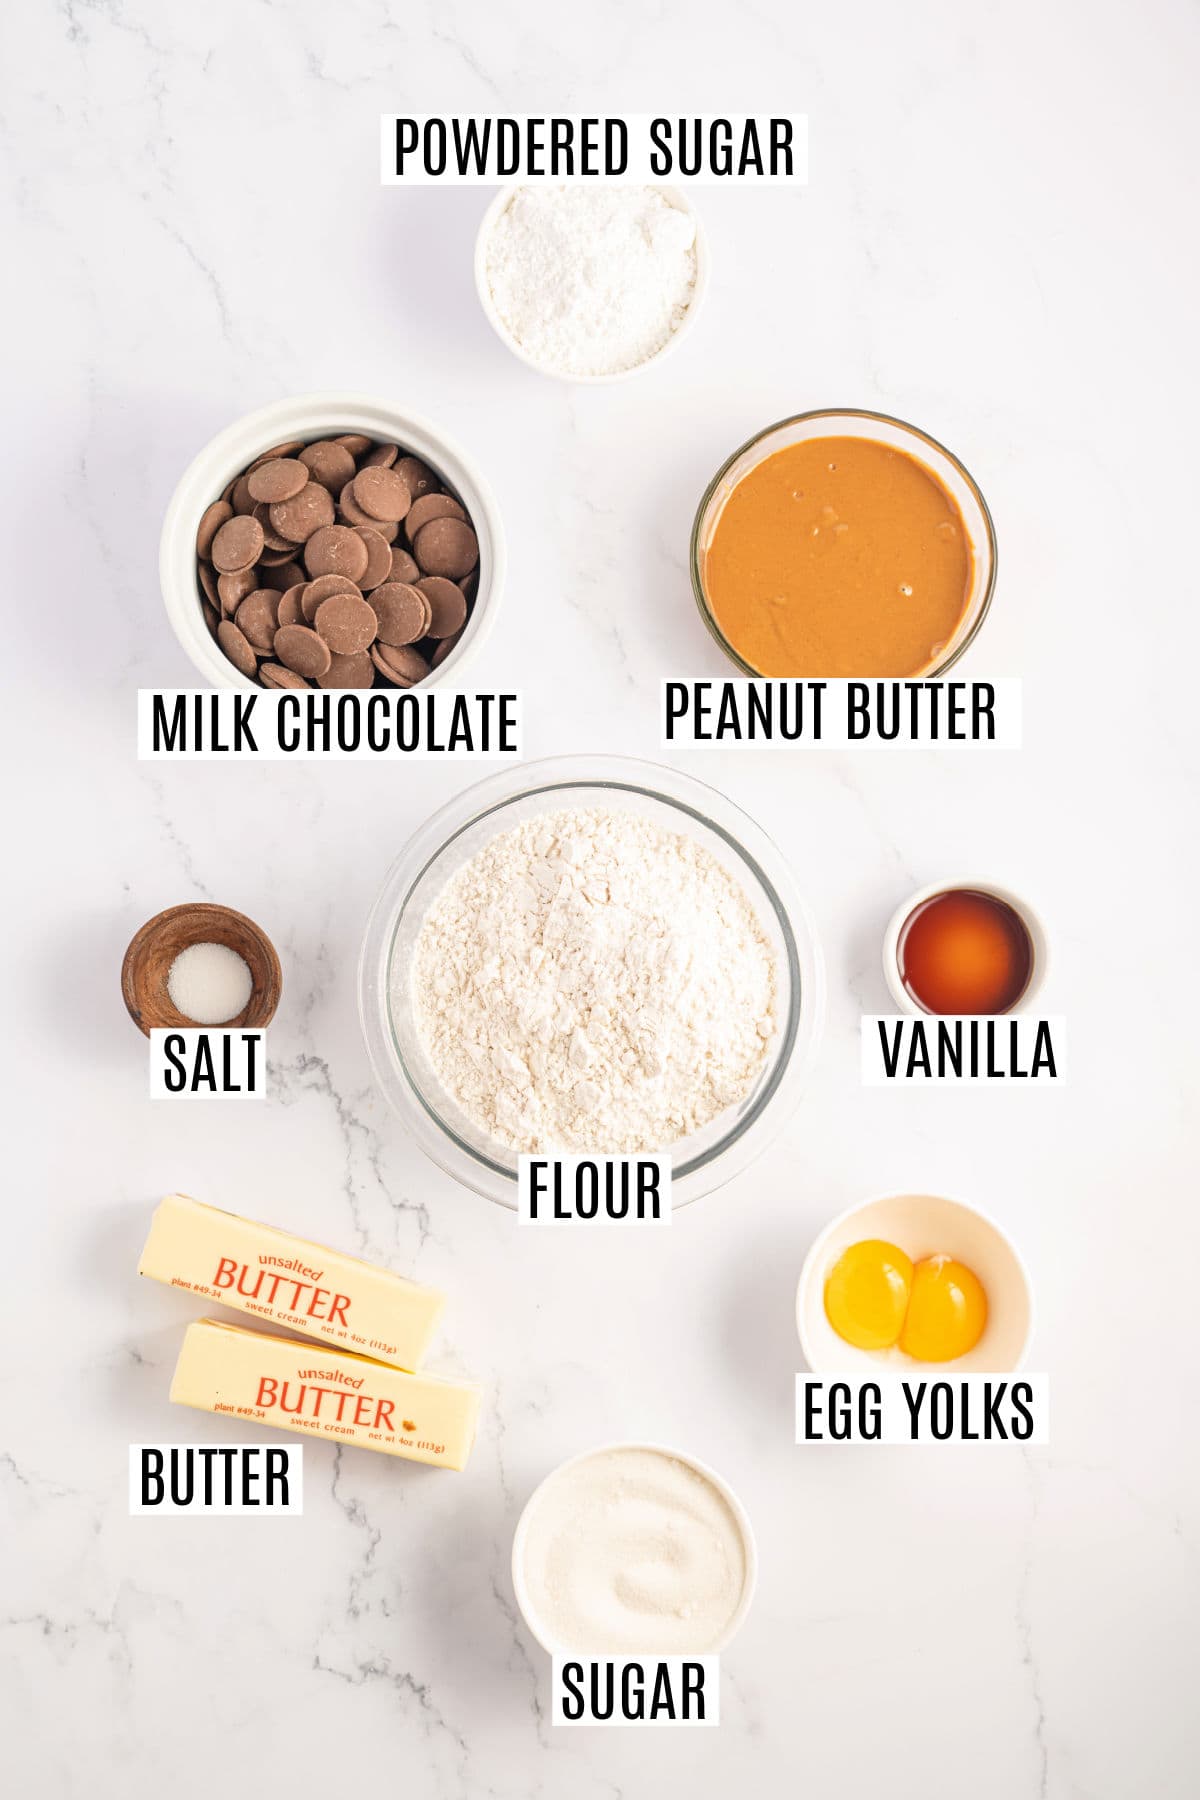
- Unsalted Butter – Using unsalted butter allows you more control over the saltiness of the cookies. With additional salt and peanut butter in the recipe, you’ll want to skip salted butter to achieve a tasty balance of flavors.
- Granulated Sugar – Granulated sugar dissolves quickly to sweeten the dough evenly. You can substitute equal parts for coconut or brown sugar in a pinch, but the finished cookie flavor and texture will differ.
- Egg Yolks – Egg yolks add richness and moisture to the cookies. Save the unused egg whites for a morning breakfast scramble or homemade meringue cookies!
- Kosher Salt – Kosher salt is less salty than table salt. This makes it especially suited to balancing the sweetness of these cookies without overpowering them.
- All-Purpose Flour – No need for fancy flours. All-purpose flour has the protein content and structure that will keep these cookies moist, tender, and the ideal amount of crumbly.
- Creamy Peanut Butter – Make sure to use regular creamy peanut butter like Jif, Skippy, or Peter Pan. You won’t want to pick a chunky peanut butter or one that separates. Both of these variations will alter the texture of the filling.
- Powdered Sugar – Sometimes called confectioners’ sugar or icing sugar. The super fine consistency creates a fluffy, melt-in-your-mouth texture.
- Chocolate Melting Wafers – These are the fastest and simplest way to achieve a smooth chocolate coating with a delectable snap. Tagalongs typically feature milk chocolate. However, you can use dark or white chocolate for delicious variations.
PRO TIP- We love making our own homemade vanilla extract, but if using store bought, be sure it’s pure extract, not imitation (for best flavor).
How to Make Tagalongs
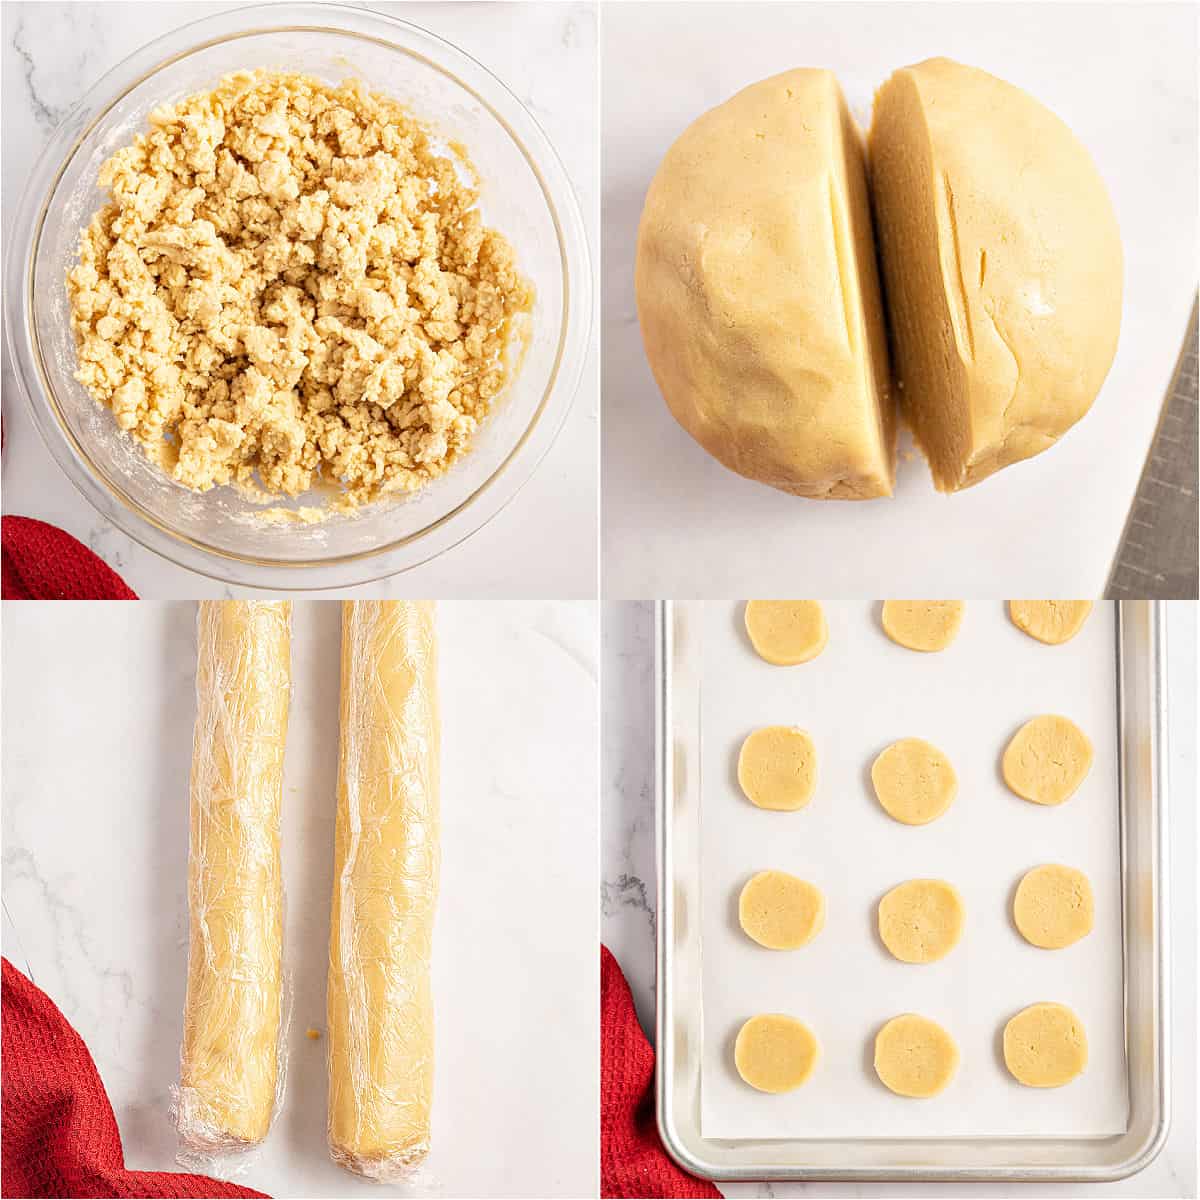
- Create the Dough. In a mixing bowl, cream unsalted butter and granulated sugar until fluffy. Incorporate egg yolks, vanilla extract, and salt until well blended. Mix in flour until fully combined (dough may be crumbly).
- Shape. Shape the dough into one large smooth ball. Divide the dough in half and form each half into a log.
- Roll the Dough. Roll each log on parchment paper until 1½” thick. Wrap each log separately in plastic wrap and refrigerate for 45 minutes.
- Get Prepped. Preheat oven to 350°F. Unwrap the chilled dough and slice it into ¼” thick cookies. You should get about 24 cookies from each log. Arrange cookies 1-2” apart on a parchment-lined cookie sheet.
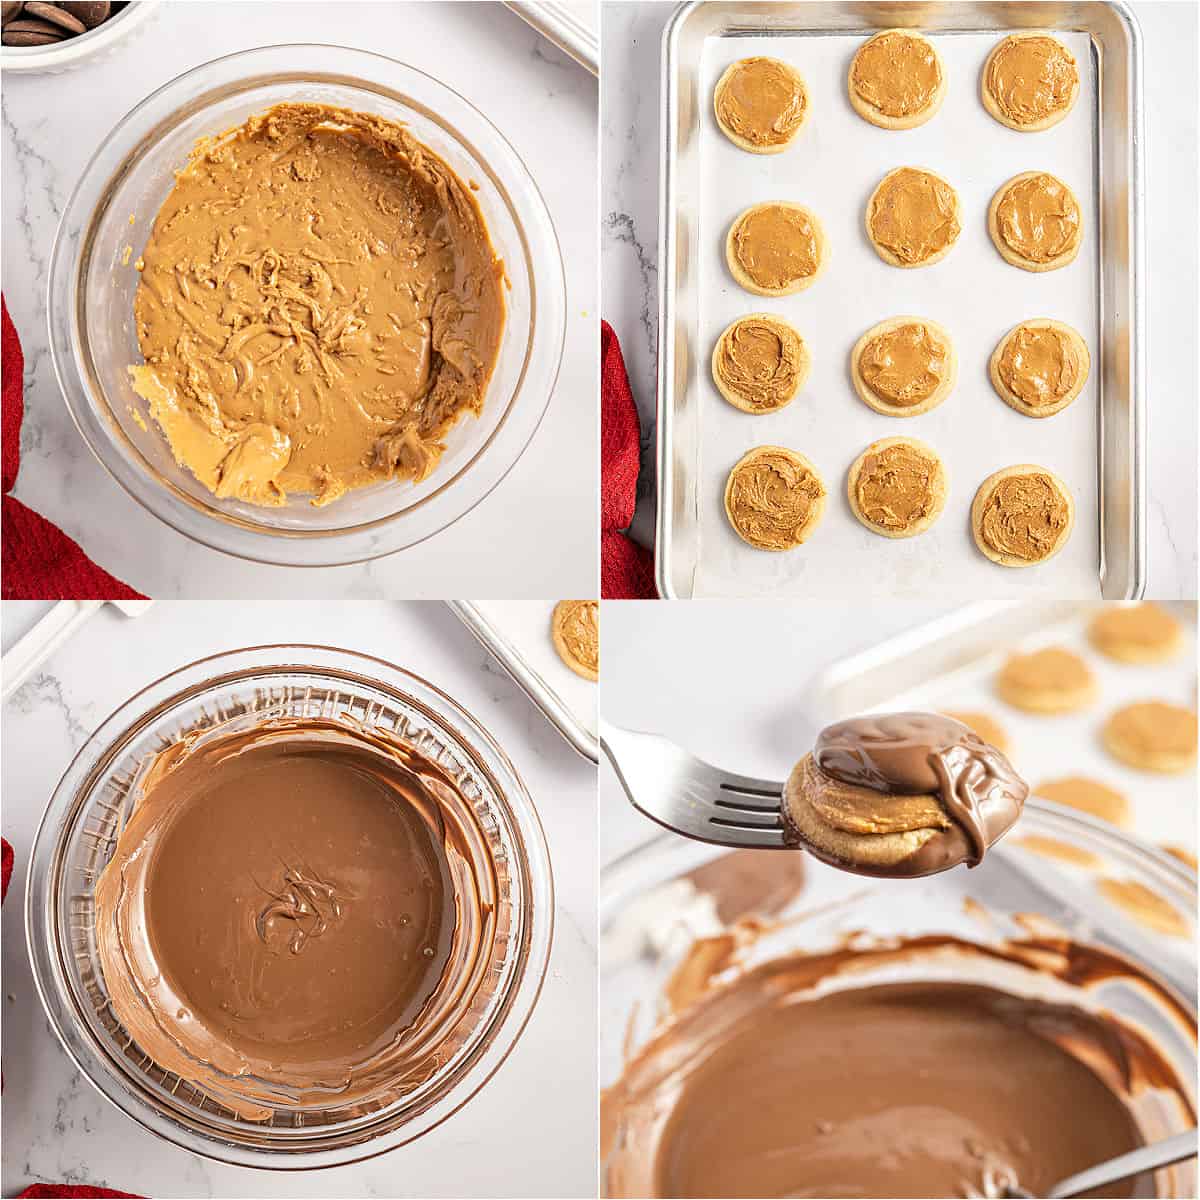
Whip-Up Peanut Butter Filling.
- Beat the peanut butter with powdered sugar until fluffy.
- Scoop a heaping teaspoon onto each cookie and smooth it evenly.
Dip in Chocolate.
- Melt chocolate wafers.
- For each cookie, gently drop it (bottom side down) into the chocolate and then support it with a fork. Use a spoon to scoop up and drizzle chocolate over the top. Then, tap off the excess and place on parchment paper.
Tips and Tricks
- Speed the process. Replace the homemade shortbread with prepackaged Nilla Wafers for the fastest and easiest Tagalong dupe ever!
- Less space, more cookies! The shortbread won’t spread much in the oven, so you can pack the cookie sheets pretty full. I can fit about 20 cookies per sheet.
- Don’t dunk! If you submerge the cookie into the chocolate coating, it will become a lumpy, crumby mess. Follow the dip and drizzle method to keep the cookie coating smooth.
- Cut down on dry time. To set the chocolate quickly, pop them into the fridge or freezer. If you use regular untempered chocolate, the cooler temperature can cause the chocolate to “bloom.” That’s where the milk fat comes to the surface and crystallizes, leaving a dull, white, or gray appearance. If this happens, the cookies will still be just as delicious (but not as pretty).
Recipe FAQs
Tagalongs are a popular type of Girl Scout cookie. They feature a buttery shortbread base, a creamy peanut butter filling, and a chocolate coating.
Stored in an airtight container, homemade Tagalongs can last up to two weeks at room temperature. For longer storage, consider refrigerating or freezing them. Just be sure to let them come to room temperature before enjoying them again.
Achieving the perfect Tagalongs involves shaping the dough, chilling it, and baking until the edges turn lightly brown. The peanut butter filling and chocolate coating add the finishing touches.
More Easy Desserts
Love chocolate and peanut butter? Our peanut butter brownies are an indulgent treat, that is easy to make too! Or give my easy peanut butter pie a try next!
Love girl scout treats? I took some of the classic flavors of cookies to make my easy Thin Mint Puppy Chow and homemade Samoa candy!
Pin this now to find it later
Pin It
Tagalong Cookies Recipe
Ingredients
- 1 cup unsalted butter, softened
- 1 cup granulated sugar
- 2 large egg yolks
- 2 teaspoons vanilla extract
- ½ teaspoon kosher salt
- 3 cups all-purpose flour
- 1 cup creamy peanut butter
- 1 cup powdered sugar
- 2 packages milk chocolate melting wafers, 10 ounce each
Instructions
- In a large mixing bowl, cream together the butter and granulated sugar until fluffy. Add the egg yolks, vanilla, and salt until fully blended.
- Add flour until fully blended. Dough will be crumbly. Shape the cookie dough with your warm hands into a large smooth ball. Cut the ball in half, then shape each half into a log. Roll it carefully on parchment paper until the dough log is 1 1/2 inch thick. Wrap each log of dough in plastic wrap. Refrigerate for about 45 minutes.
- Preheat oven to 350 degrees F. Unwrap the chilled dough. Slice 24 (1/4-inch thick) cookies from each log. Place cookies on parchment paper lined cookie sheet, about 1-2 inches apart.
- Bake cookies for about 16 minutes, until the bottoms edges of the cookies lightly brown. Cool cookies completely after baking on a wire rack.
- For the peanut butter filling, beat creamy peanut butter with powdered sugar in a bowl. Lay cookies on parchment paper and drop a heaping teaspoon (use a small cookie scoop for easy scooping) onto the top of each cookies. Use your fingers to spread it out as evenly as possible.
- Melt chocolate wafers according to package directions. Once melted and smooth, drop cookies (bottom side down) into the chocolate. Use a fork to hold the cookie and a spoon to drizzle chocolate over the top. Tap off any excess chocolate. Place cookie back on parchment paper.
- Repeat with remaining cookies.
Notes
- Make it easier. Swap out the homemade cookie filling with Nilla Wafers instead!
- Counter: Place the cookies in an airtight container, like a ziplock bag, and leave them on the counter for up to 4 days. Cookies may get melty in warmer temperatures.
- Refrigerator: Place the cookies in an airtight container, and store them in the fridge for up to 8 days. Enjoy chilled or bring to room temperature before serving.
- Freezer: Place the cookies in a gallon-sized freezer ziplock bag, and store them in the freezer for up to 3 months. Thaw overnight in the fridge then serve chilled or bring to room temperature.
- You don’t have to spread the cookies too far apart on the baking sheet. They will only spread slightly while baking. I was able to fit 20 cookies on a large cookie sheet.
- I don’t recommend dunking the entire cookie into the melted chocolate because the peanut butter may come off the cookies a little bit and cause some small lumps.
- To help the chocolate set faster, you can place the cookies under a fan or place them in the fridge or freezer. Please note, putting them in the refrigerator or freeze may cause them to sweat at room temperature.
- See blog post for more recipe tips and tricks.