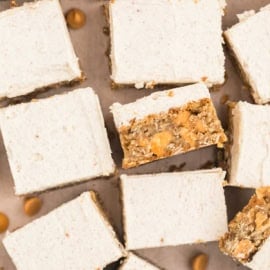
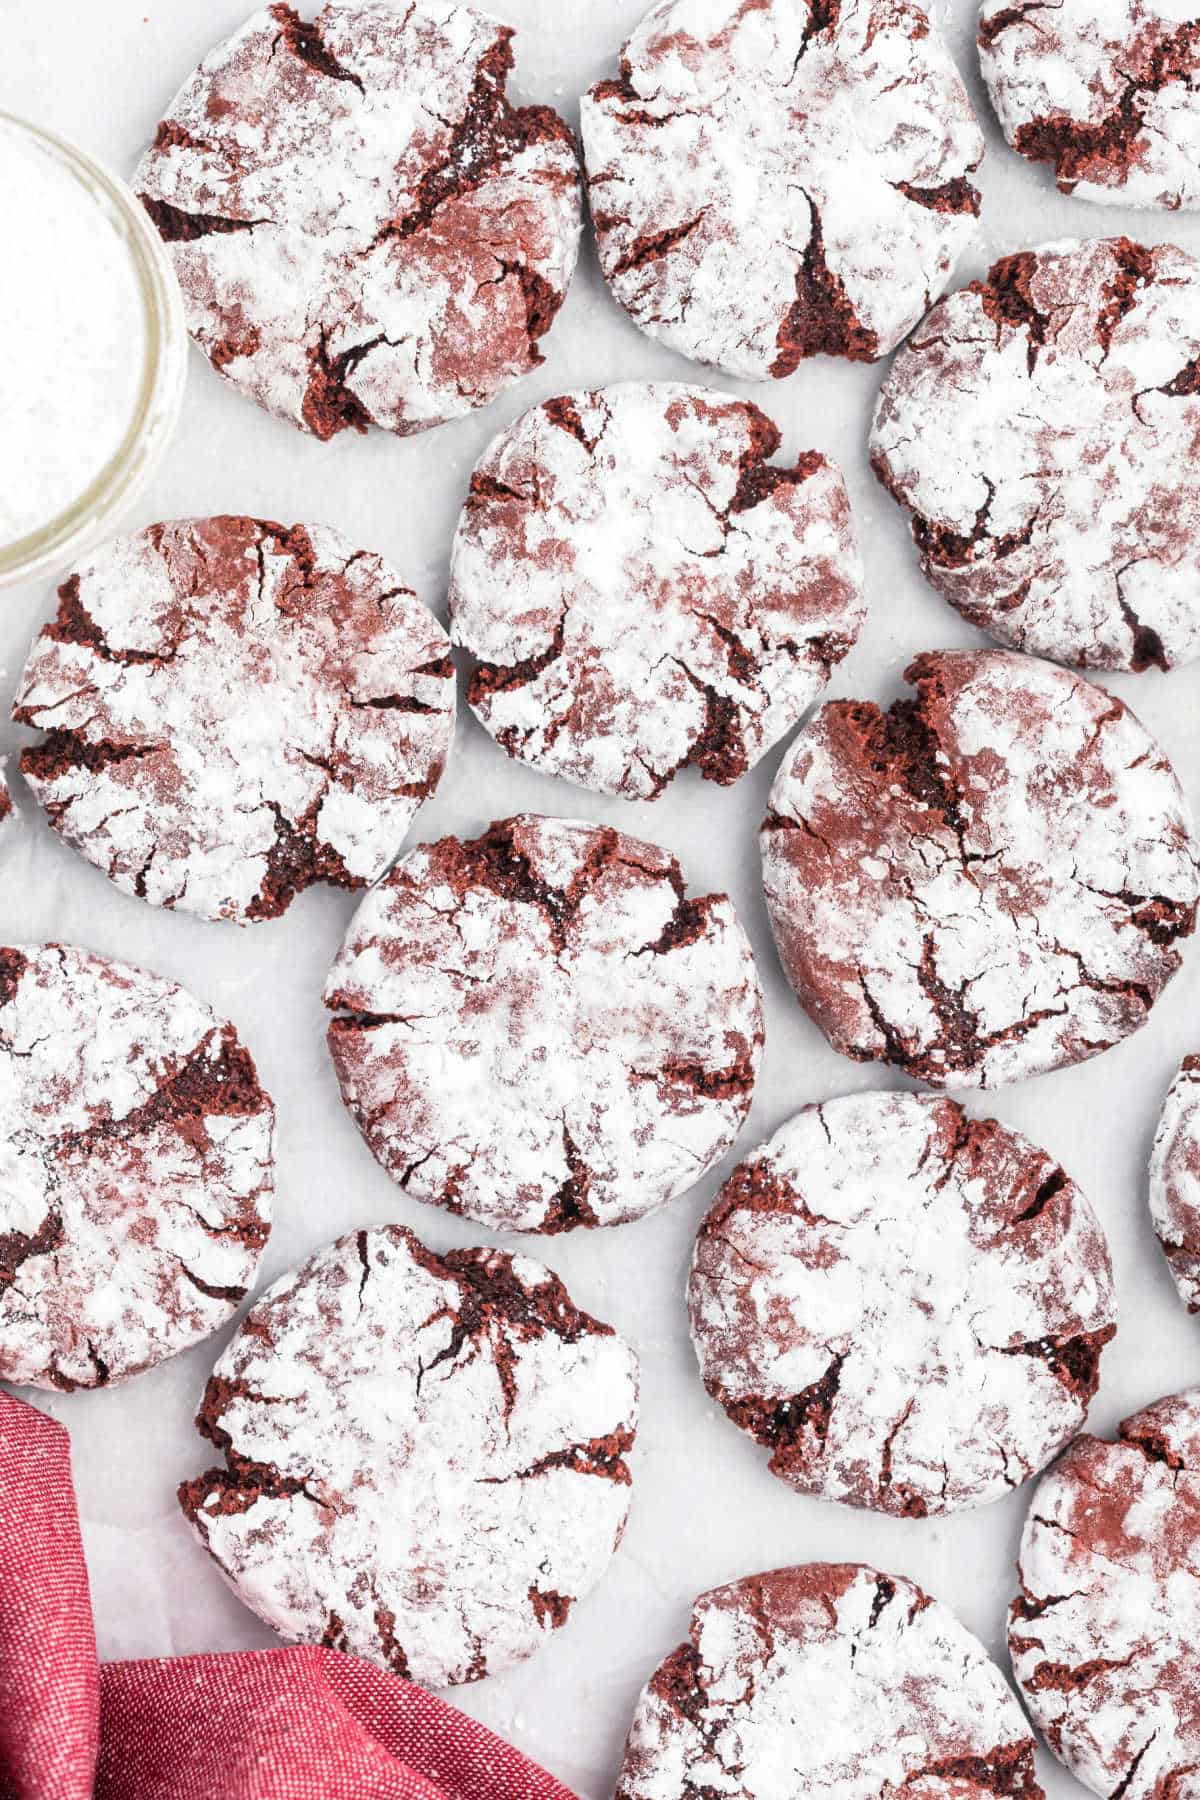
Red Velvet Crinkle Cookies are chewy, moist, and full of rich chocolate flavor. And with the striking crinkle effect, these unique cookies are sure to stand out among all the rest!

Why these Red Velvet Cookies are Best
Chocolate Crinkle cookies are a holiday favorite for us.
Today’s must-try recipe captures the classic red velvet cake flavor in cookie form.
- From scratch. Many red velvet cookies are made like my red velvet cake mix cookies. Today’s recipe is from scratch, yet still easy.
- Coating raw cookie dough in powdered sugar achieves the stunning crinkle effect. As the cookies spread in the oven, they reveal a deep red hue in stark contrast to the bright white sugar.
- A mixture of white and brown sugar creates the perfect soft yet chewy texture.
- Faster and simpler than other decorative cookies but just as impressive.
- This chilled cookie recipe means you can make the dough ahead of time and bake it whenever you’re ready.
Ingredient Notes
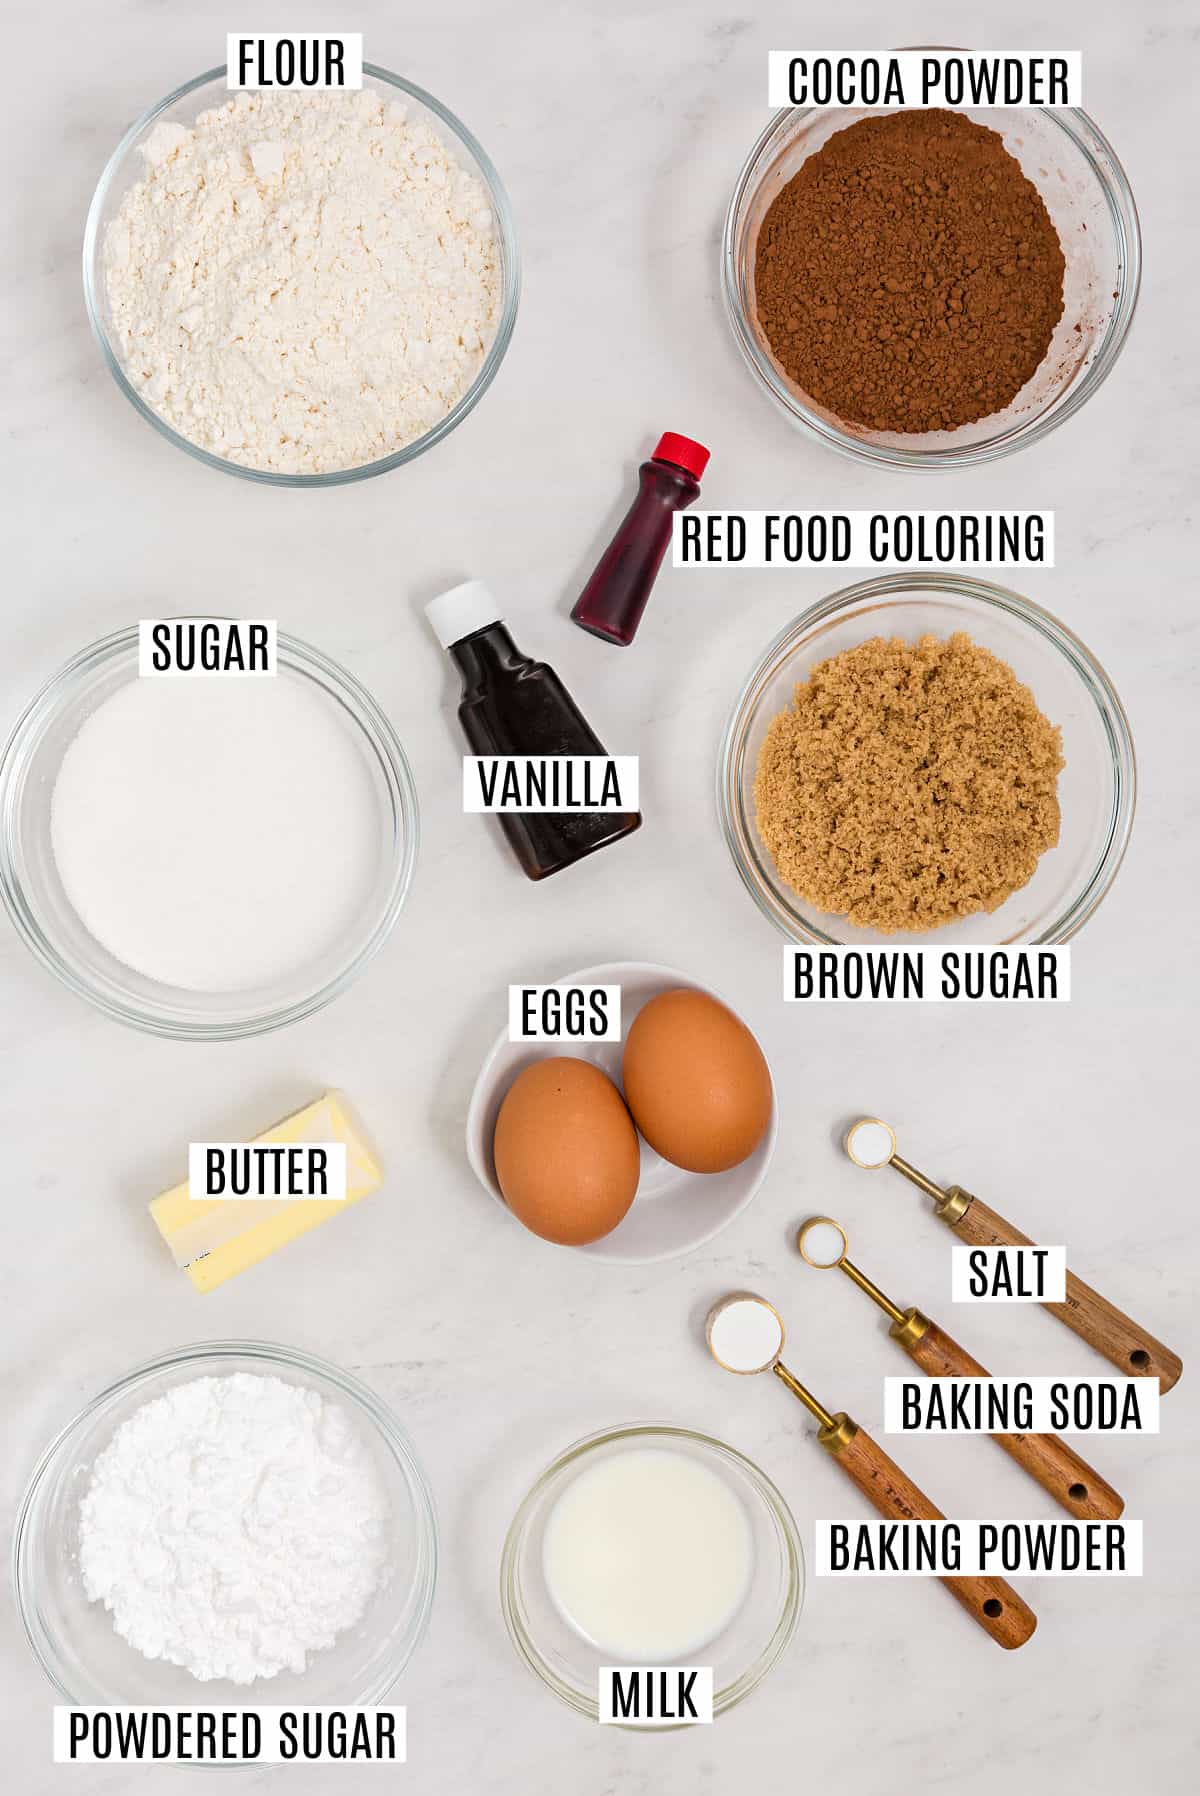
- All-Purpose Flour– use our tips on how to measure flour properly.
- Unsweetened Cocoa Powder
- Baking Powder
- Baking Soda
- Salt – Use kosher salt instead of iodized table salt for a cleaner, more subtle flavor.
- Melted Butter – Reach for unsalted butter if you can. If not, skip the additional salt in the recipe.
- Granulated Sugar
- Light Brown Sugar
- An Egg + An Egg White– creates the perfect chewy texture.
- Milk – I use whole milk, but any dairy milk will do.
- Food Coloring – Gel food coloring will give you a more vibrant and intense red color without the risk of altering the consistency like liquid food dye.
- Powdered Sugar
PRO TIP- We love making our own homemade vanilla extract, but if using store bought, be sure it’s pure extract, not imitation (for best flavor).
How to Make Red Velvet Cookies
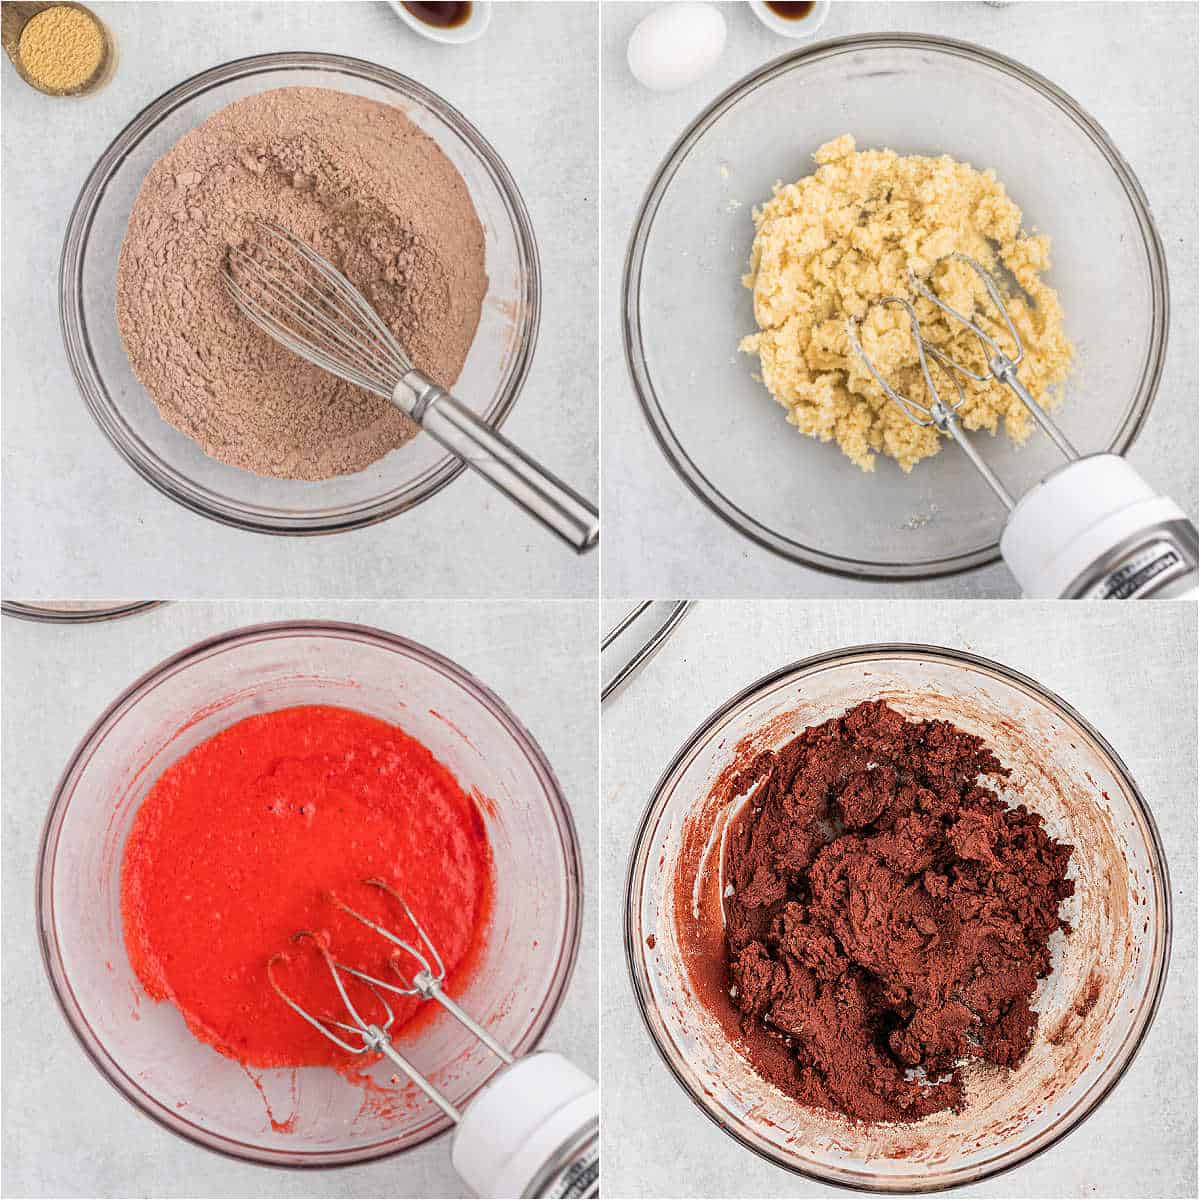
- Mix Dry Ingredients – Combine the flour, cocoa powder, baking powder, baking soda, and salt. Pre-mixing the dry ingredients ensures even distribution throughout the dough. Plus, there’s less of a chance of overworking the flour.
- Beat Butter & Sugars – With a stand or hand mixer, beat the room-temperature melted butter with the white and brown sugar.
- Combine With Wet Ingredients & Food Dye – Add a whole egg, an egg white, milk, and vanilla to the butter and sugar mixture. Mix until completely smooth. Next, incorporate the red gel food coloring until you reach your desired hue.
- Incorporate Dry Ingredients & Chill – Introduce the dry ingredients to the batter, and mix until the ball of dough comes together. Don’t over-mix. Cover the bowl with cling film and chill in the fridge for at least 30 minutes.
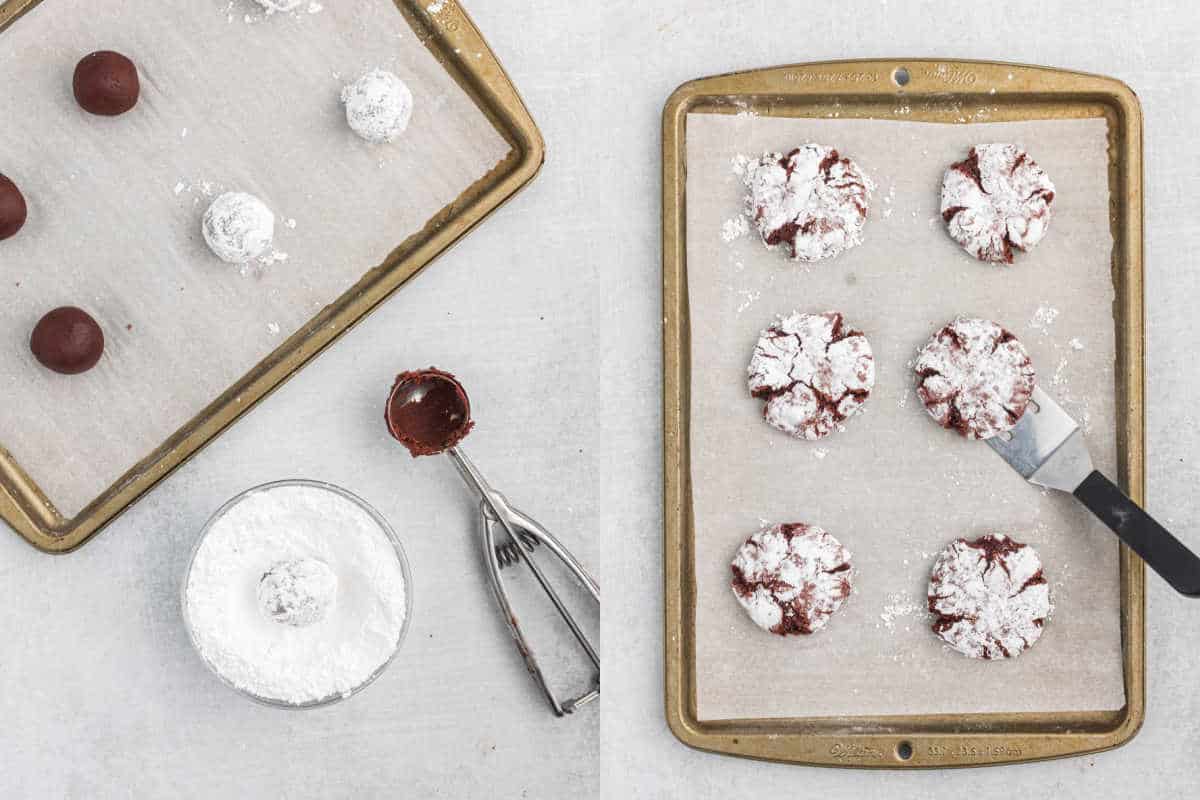
- Divide Dough & Coat – Take 1-2 tablespoons of dough at a time, and roll it in a shallow dish of powdered sugar until coated. Then, place each cookie 2 inches apart on a parchment-lined cookie sheet.
- Bake & Cool – Bake the cookies in a 350°F oven for 8-10 minutes until the tops achieve the signature crinkle effect. Finally, remove them from the oven and allow the cookies to cool on the pan for 5 minutes before transferring them to a wire rack to cool completely.
Tips and Tricks
- The color of the dough will fade as it bakes. So when coloring the dough, push the red gel color a bit further than you would normally.
- Once you add the flour to the dough, be careful not to over-mix. You don’t want to overdevelop the gluten, or the texture will change. Stir until just combined.
- Keep some cookie dough on hand to bake up in a pinch by freezing the cookie dough. Then, thaw, roll the dough in powdered sugar, and bake as usual.
- By swapping out the gel food coloring, you can easily transform this recipe into Blue Velvet or Pink Velvet. You can’t beat a tray of rainbow crinkle cookies for a birthday party or other celebration.
More Easy Holiday Desserts
- I’m a big fan of red velvet desserts. From my easy red velvet biscotti to this red velvet cheesecake cake, there’s something for everyone to love! And they make the perfect Valentine’s Day dessert.
- Readers love my easy red velvet cupcakes (topped with cream cheese frosting)! But my red velvet cake balls top the list of favorites around here!
- Whip up a batch of these chewy red hot cookies using leftover holiday cinnamon candies in an easy drop sugar cookie dough.
- Move over Starbucks, these homemade Cranberry Bliss Bars are better than yours, for real.
Pin this now to find it later
Pin It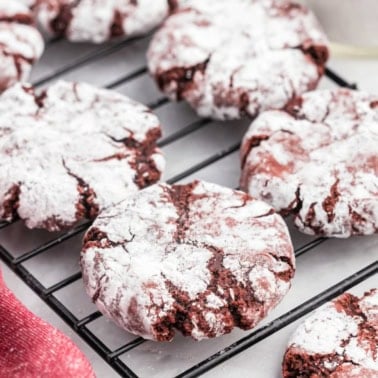
Red Velvet Crinkle Cookies Recipe
Red Velvet Crinkle Cookies are chewy, moist, and full of rich chocolate flavor. And with the striking crinkle effect, these unique cookies are sure to stand out among all the rest!
Ingredients
- 2 cups all-purpose flour
- ½ cup unsweetened cocoa powder
- 1 teaspoon baking powder
- ¼ teaspoon baking soda
- ¼ teaspoon kosher salt
- ¼ cup unsalted butter melted
- ¾ cup granulated sugar
- ¼ cup light brown sugar packed
- 1 large egg
- 1 large egg white
- 1 Tablespoon whole milk
- 2 teaspoons vanilla extract
- ½ teaspoon red gel food coloring
- ½ cup powdered sugar
Instructions
- In a mixing bowl, whisk together the flour, cocoa powder, baking powder, baking soda, and kosher salt. Set aside.
- In a large mixing bowl, beat the melted butter with sugars until blended. Add in egg, egg white, milk, and vanilla. Mix until smooth, then add red food coloring. (Use more or less to achieve desired color, just note the color fades as it bakes)
- To the mixing bowl, add in flour mixture, just until combined. Do not over mix.
- Cover with plastic wrap and chill cookie dough for 30 minutes.
- Preheat oven to 350 degrees F. Line a cookie sheet with parchment paper and set aside.
- Add powdered sugar to a shallow bowl. Set aside.
- Roll 1 -2 Tablespoons chilled cookie dough into the powdered sugar, generously coating the cookie dough. Place on baking sheet about 2-inches apart.
- Bake for 8-10 minutes, until tops are crinkled. Remove and cool on pan for 5 minutes, then cool on wire rack completely.
Notes
- Gel food coloring achieves a more vibrant color than regular liquid food coloring.
- Crinkle cookies rely on a hot oven and enough leavener to rise and “crack.” Make sure your oven is pre-heated before baking and that your baking powder (or baking soda) isn’t expired!
- Store cookies in airtight container at room temperature for up to 5 days.
- Freeze cookies in airtight container (or ziploc freezer bags) for up to 3 months. You can also freeze the cookie dough for up to 3 months, before rolling in powdered sugar. After thawing dough, roll in powdered sugar and bake.
Nutrition
Serving: 1cookie, Calories: 110kcal, Carbohydrates: 20g, Protein: 2g, Fat: 3g, Saturated Fat: 1g, Polyunsaturated Fat: 1g, Cholesterol: 21mg, Sodium: 54mg, Fiber: 1g, Sugar: 10g
Did you make this recipe?Mention @shugarysweets or tag #shugarysweets!