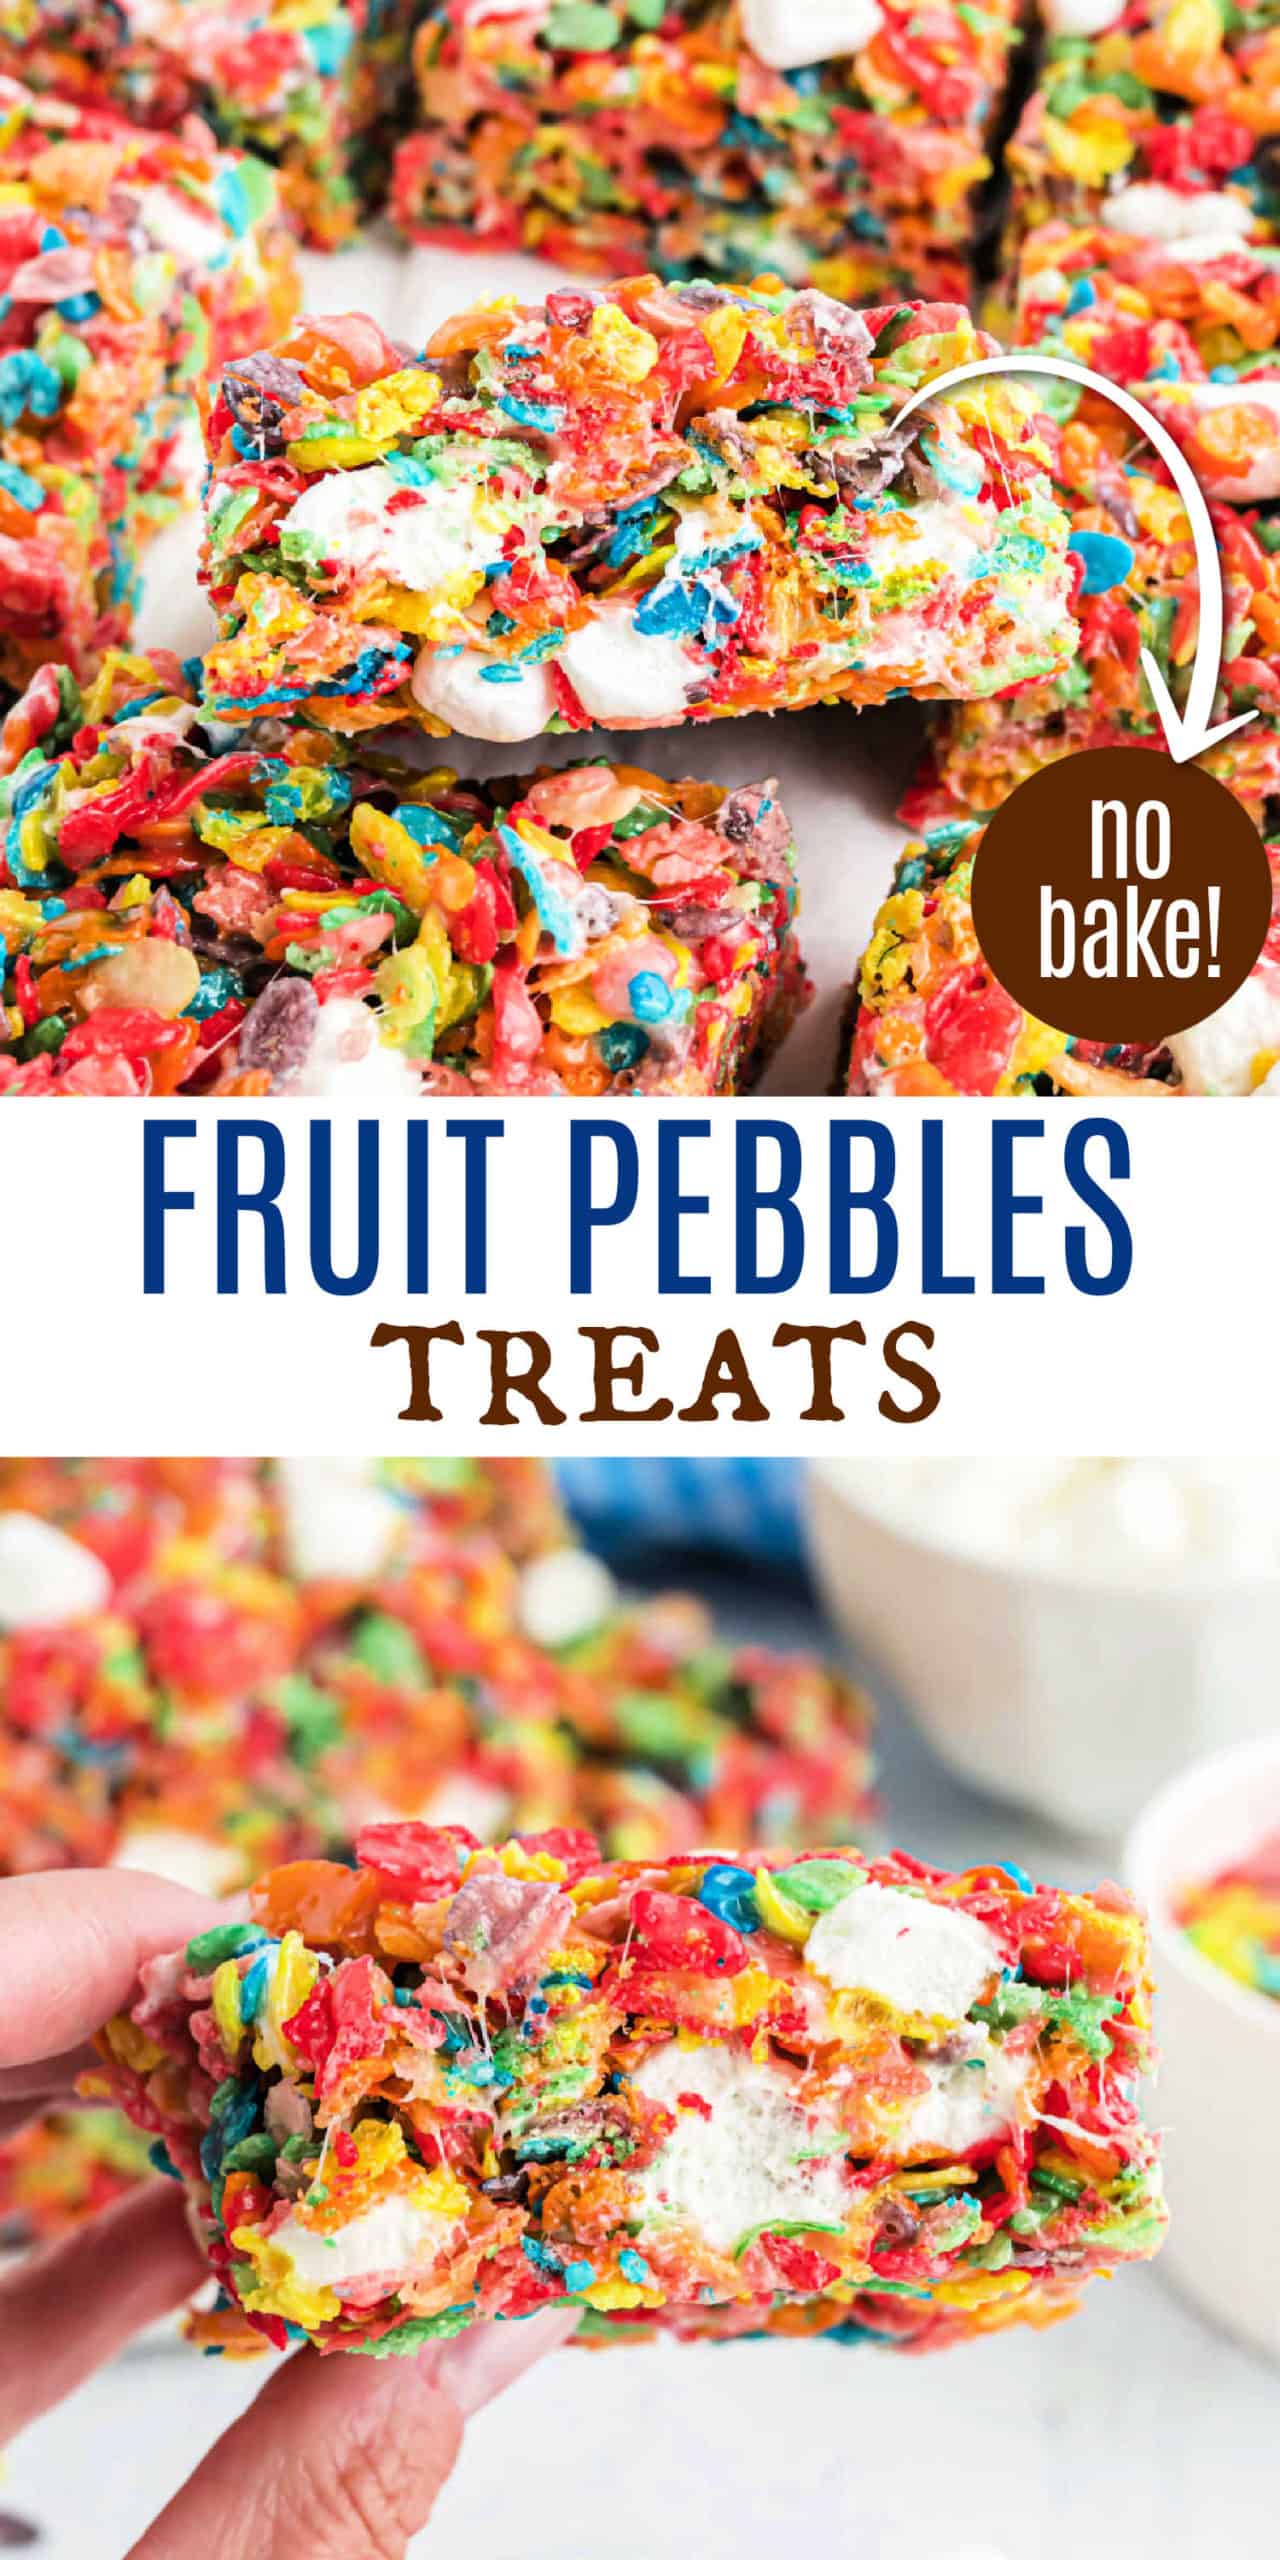
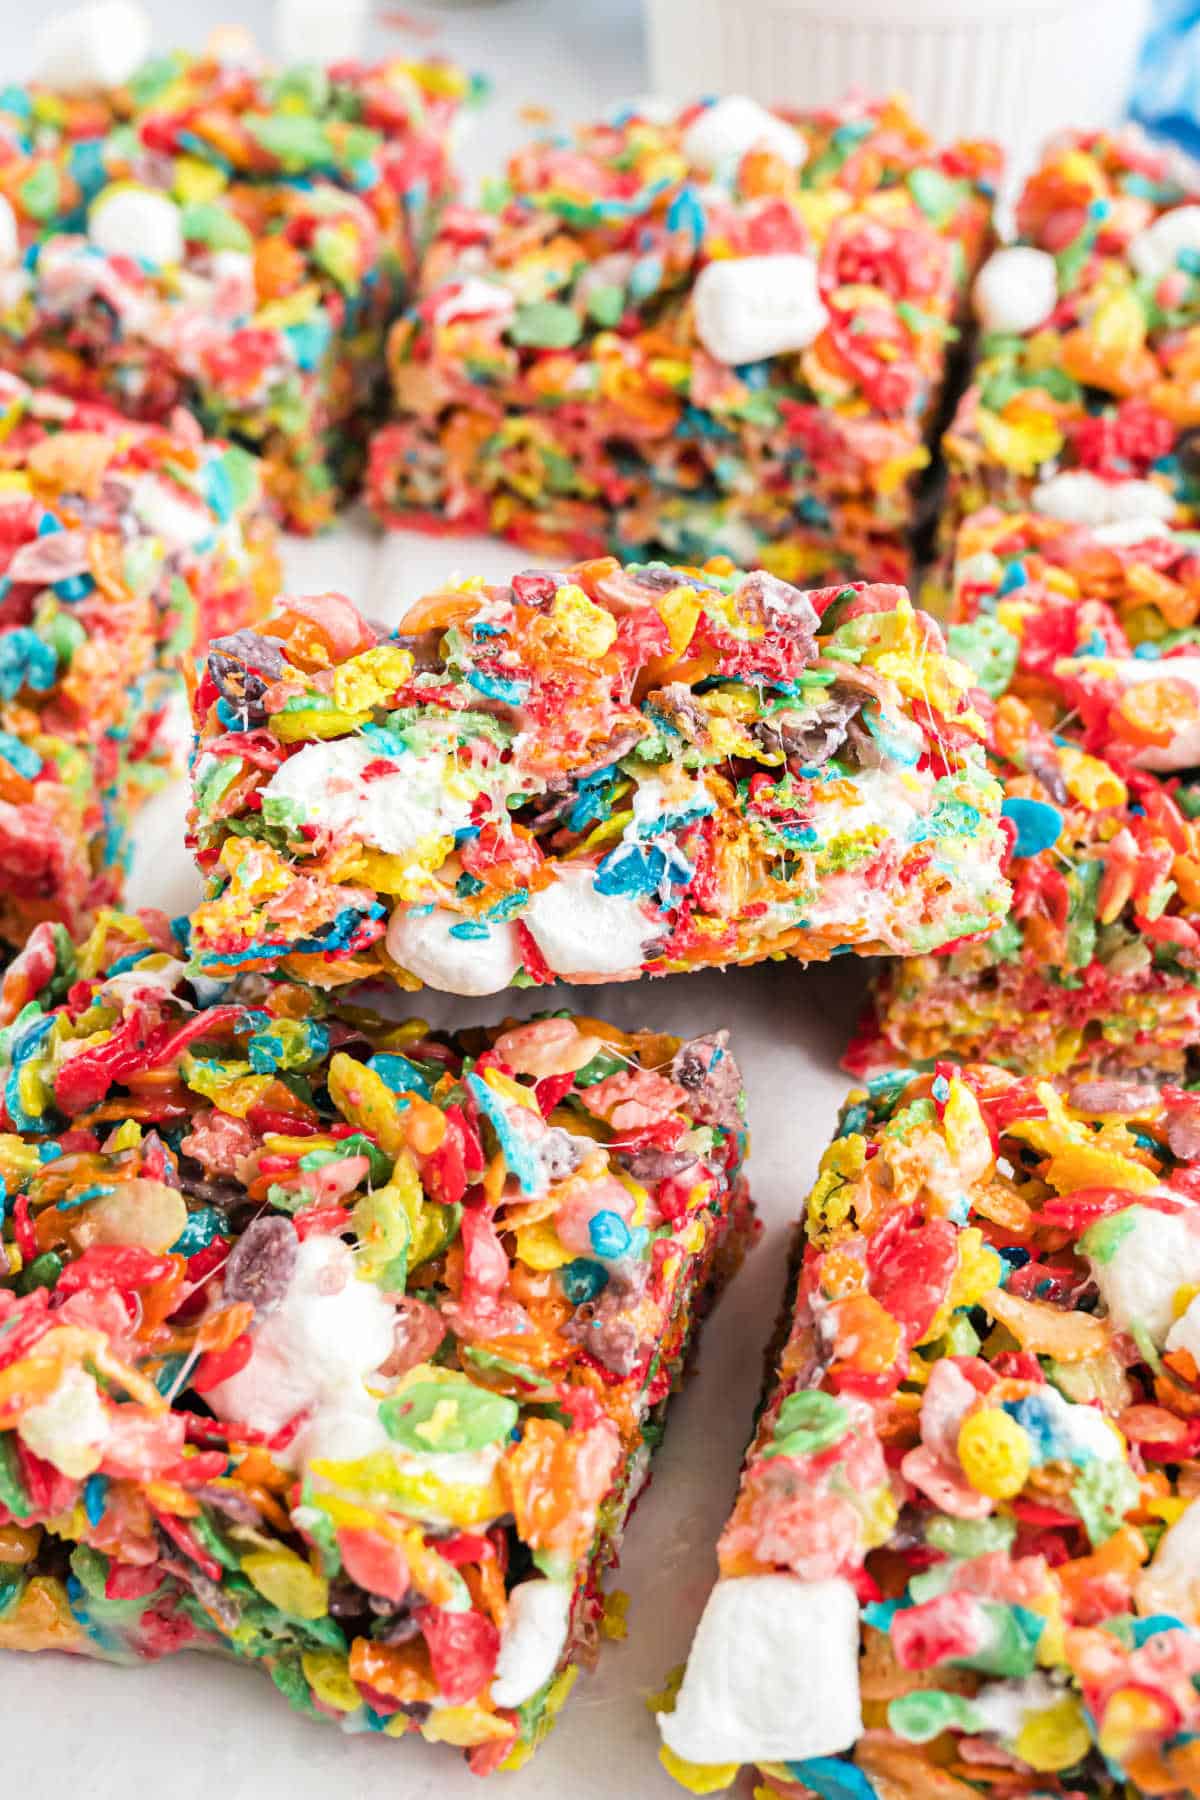
Fruity Pebble Rice Krispie Treats are no bake dessert bars with only 4-ingredients. Easy to make and fun to eat, these gooey treats are a hit with the whole family!
Recipe originally published in July 2022. Recipe notes and photos updated in May 2024.
Aimee’s Recipe Notes
- Taste: Sweet, fruity, and nostalgic with a marshmallow flavor.
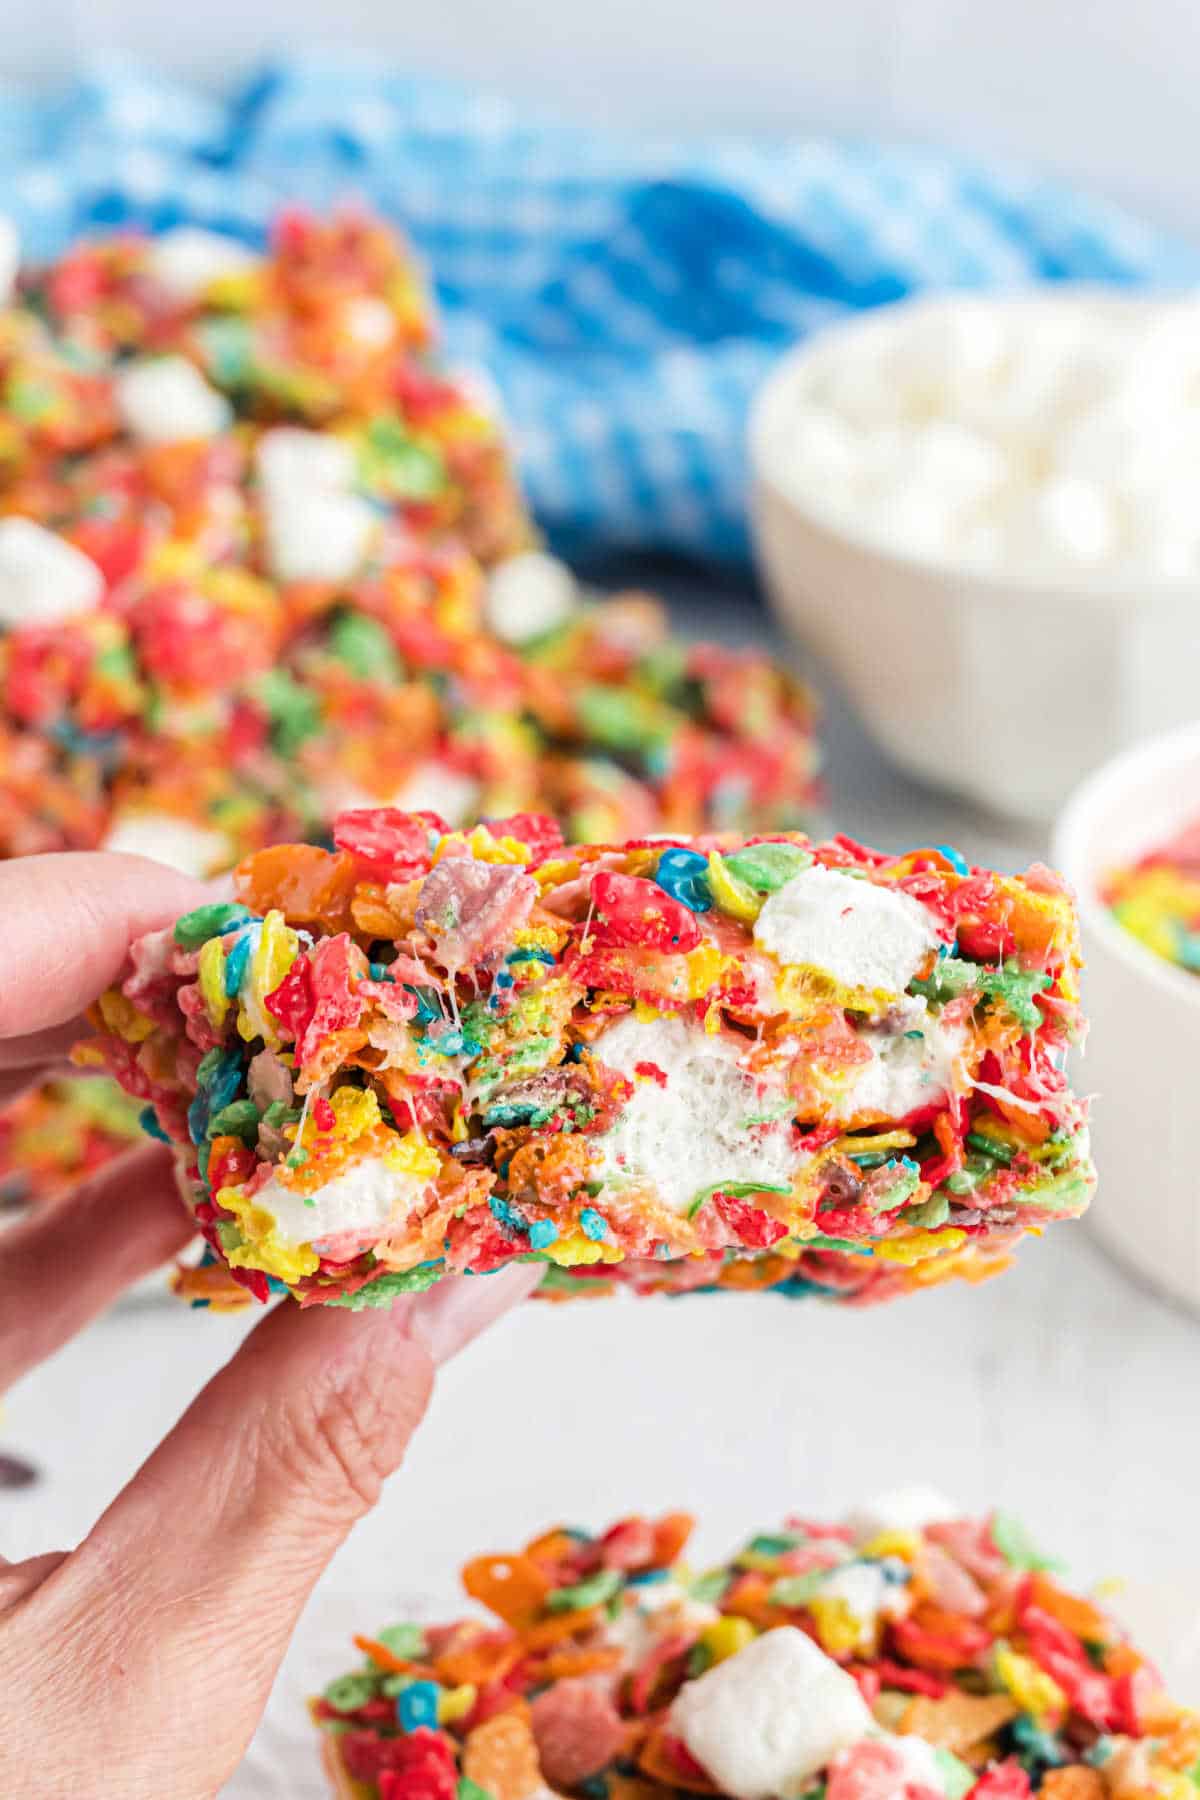
- Texture: Soft, gooey, and chewy with a slight crunch from the cereal.
- Ease to Make: Quick and beginner-friendly, perfect for kids and adults alike.
- Top Tip: Press the mixture lightly into the pan to keep the treats soft and fluffy instead of dense.
Anyone who’s known me for more than 5 minutes knows that Rice Krispie Treats are my favorite dessert of all time.
I love baking fudgy brownies, coconut cakes, and chocolate chip cookies. But my favorite treat is marshmallows and cereal- soft and chewy.
- The fruity cereal packs gives a sweet fruity flavor to a classic dessert.
- Gooey ribbons of marshmallow.
- So colorful thanks to the fruity pebbles cereal.
- Quick and easy to make.
- Only 4 ingredients for this dessert!
These Fruity Pebbles Treats are all of the things I love about the Rice Krispie version, only with the fun pop of fruit flavors and color!
Kids go nuts for these, and so do I. They would be an instant hit at any bake sale, birthday party or potluck! Swap out the cereal and make a batch of Froot Loop Treats instead!
Rice Krispies aren’t the only cereal you can turn into a dessert. I love all kinds of cereal based treats, from Cheerio Bars to Lucky Charm Treats and now this fruity pebbles version.
Featured Recipe Review
“These are so yummy. Pan was gone almost before I got them cut! Have saved this one for sure!” – Joanne
As a big fan of rice krispie treats, it’s only fitting that I take my same viral treat and use different cereals. This one is thick and chewy too!
Just Four Ingredients
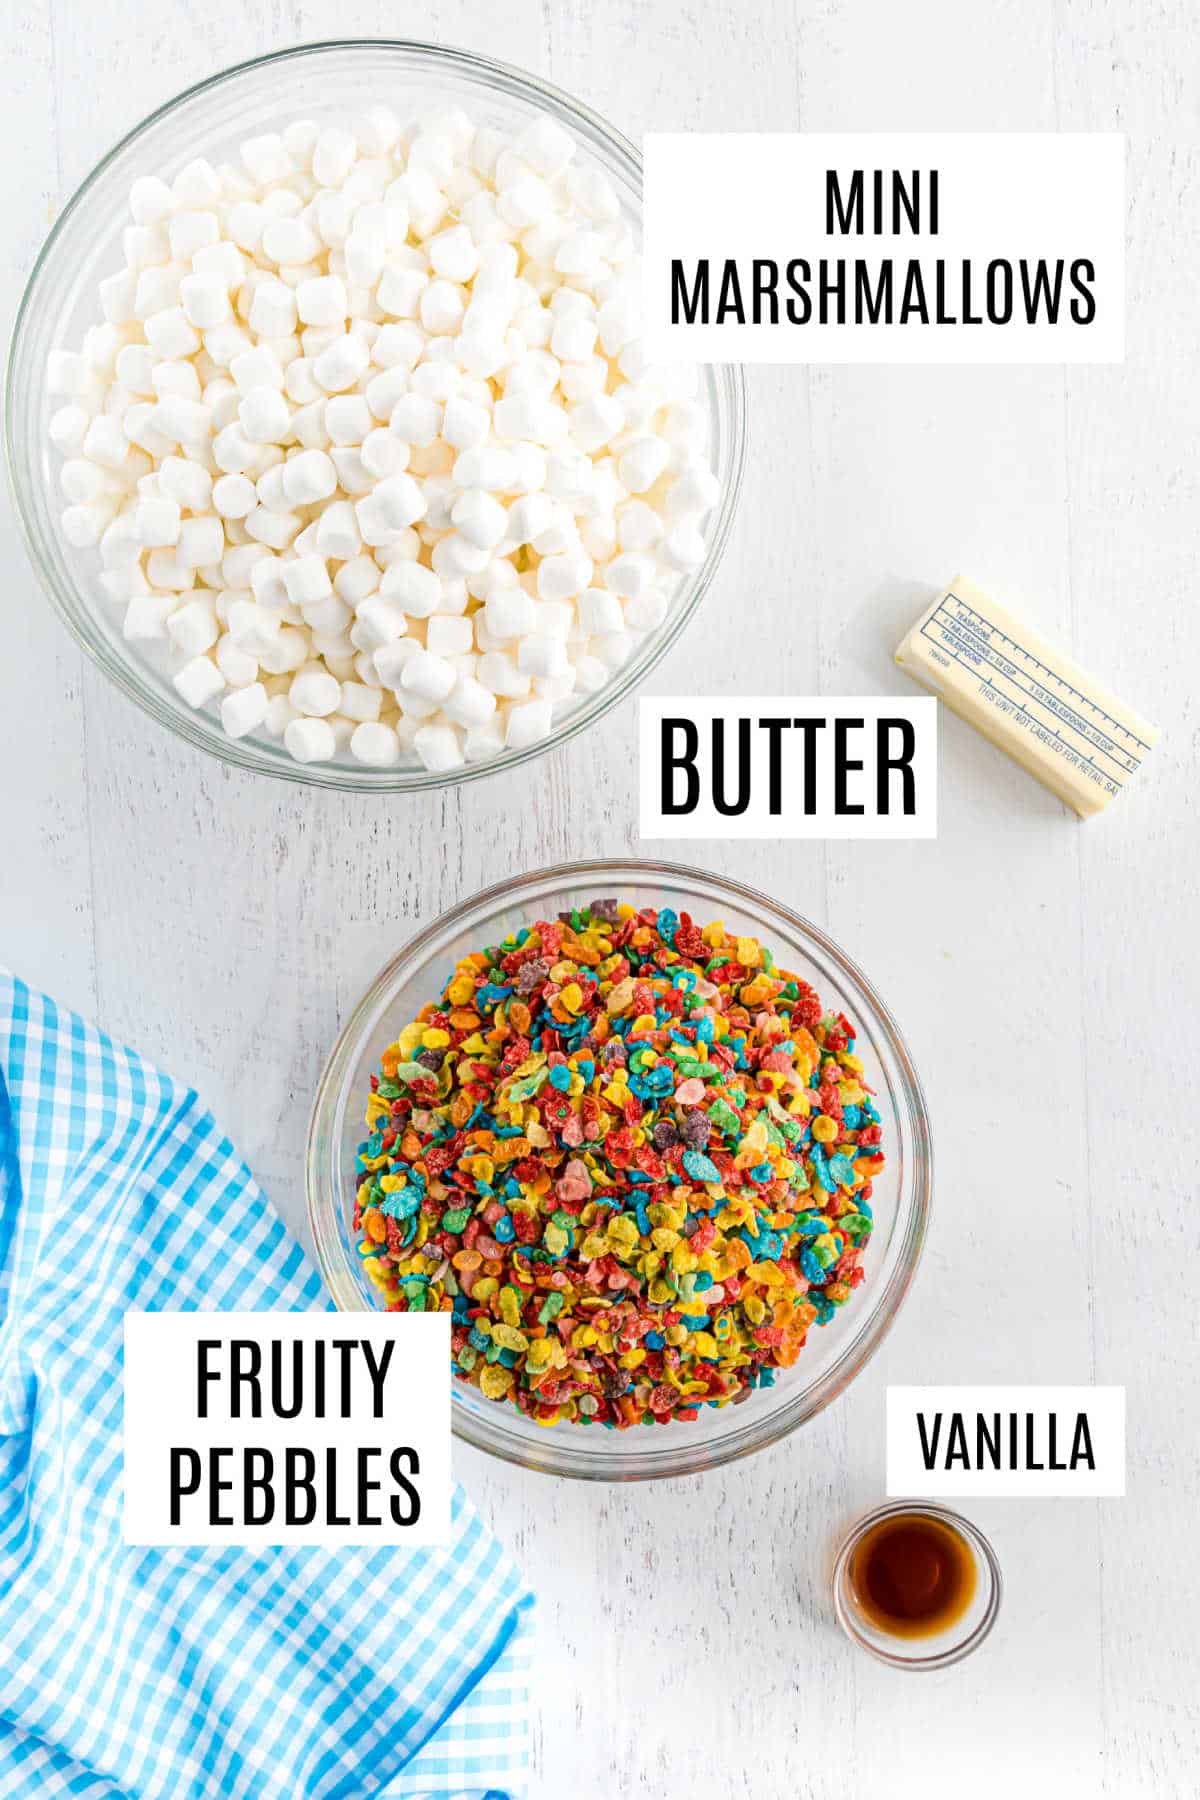
The ingredients for Fruity Pebbles marshmallow bars are so simple. Here’s everything you need.
- Salted butter. Usually I use unsalted butter in my baking, but the salt helps enhance the flavors in today’s recipe.
- Fruity pebbles cereal. I used the original flavor. There is also a birthday cake option that would be delicious if you are making these for a birthday celebration! Cocoa pebbles are an easy swap to make chocolate rice krispie treats.
- Mini marshmallows. The mini sized ones are perfect for folding in at the end for extra marshmallow goodness. You can even use the colorful fruity marshmallows to add even more fruity flavor!
- Vanilla. My secret ingredient for BEST flavor. It creates the illusion that you’re using homemade marshmallows in this recipe.
How to Make Fruity Pebble Rice Crispy Treats
- Use fresh marshmallows for this recipe. Those stale marshmallows in the back of your pantry will make the treats taste, well, stale. Grab a fresh bag before you make Fruity Pebbles treats.
- Line your baking dish with parchment paper. Use binder clips to help it stay in place as you add the treats to the pan. This way you don’t have to worry about the bars sticking.
- Dampen your fingers. Keep the treats from sticking to your hands by dipping your fingers in water before pressing them into the pan. Like magic! Works better than butter and your hands won’t end up greasy.
- Press GENTLY! The number one reason Fruity Pebbles Treats come out hard is pressing the cereal mixture into the pan too firmly. Use a light touch and only press as much as you need to spread out the treats.
- Let set for 1 hour before cutting. The cereal bars should be soft enough to slice but still hold their shape.
More Easy Dessert Recipes
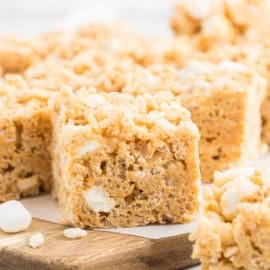
- These Peanut Butter Krispie Treats are so creamy and delicious! If you love RKT’s, try these Fluffernutter Krispie Treats too!
- Nothing better than a classic like Banana Pudding, with that fresh banana flavor! Add some homemade whipped cream to top it off!
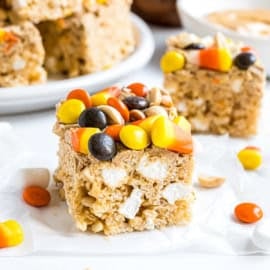
- Pumpkin Pie Rice Krispie Treats are filled with all your favorite fall flavors in every bite!
- Any chocolate peanut butter lovers out there? Make Chocolate Peanut Butter Pie for your next craving!
- Easy no-bake Avalanche Cookies are deliciously soft cookies! No oven needed for these chocolate peanut butter delights!
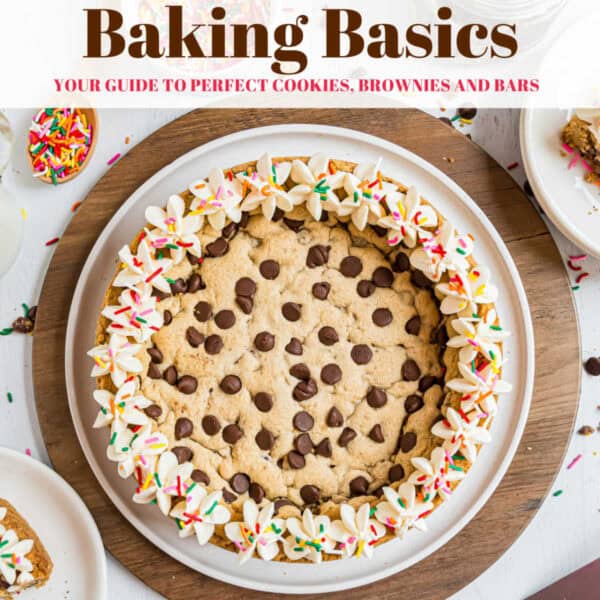
My Cookbook is Here!
- 5 categories of delicious treats!
- Full page photos for EVERY recipe.
- QR codes with every recipe to receive BONUS recipes!
- 35 mouth-watering, expert tested recipes!
Pin this now to find it later
Pin It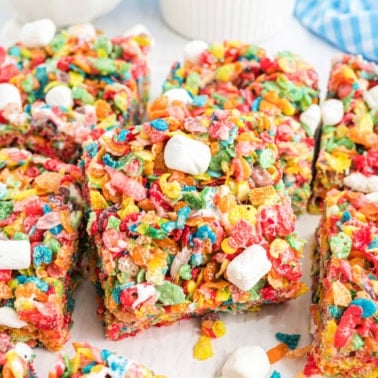
Fruity Pebble Krispie Treats Recipe
Ingredients
- 6 Tablespoons salted butter
- 16 ounce bag mini marshmallows divided
- 1 teaspoon pure vanilla extract
- 6 cups Fruity Pebbles cereal
Instructions
- Line a 9-inch square baking dish with parchment paper. Set aside.
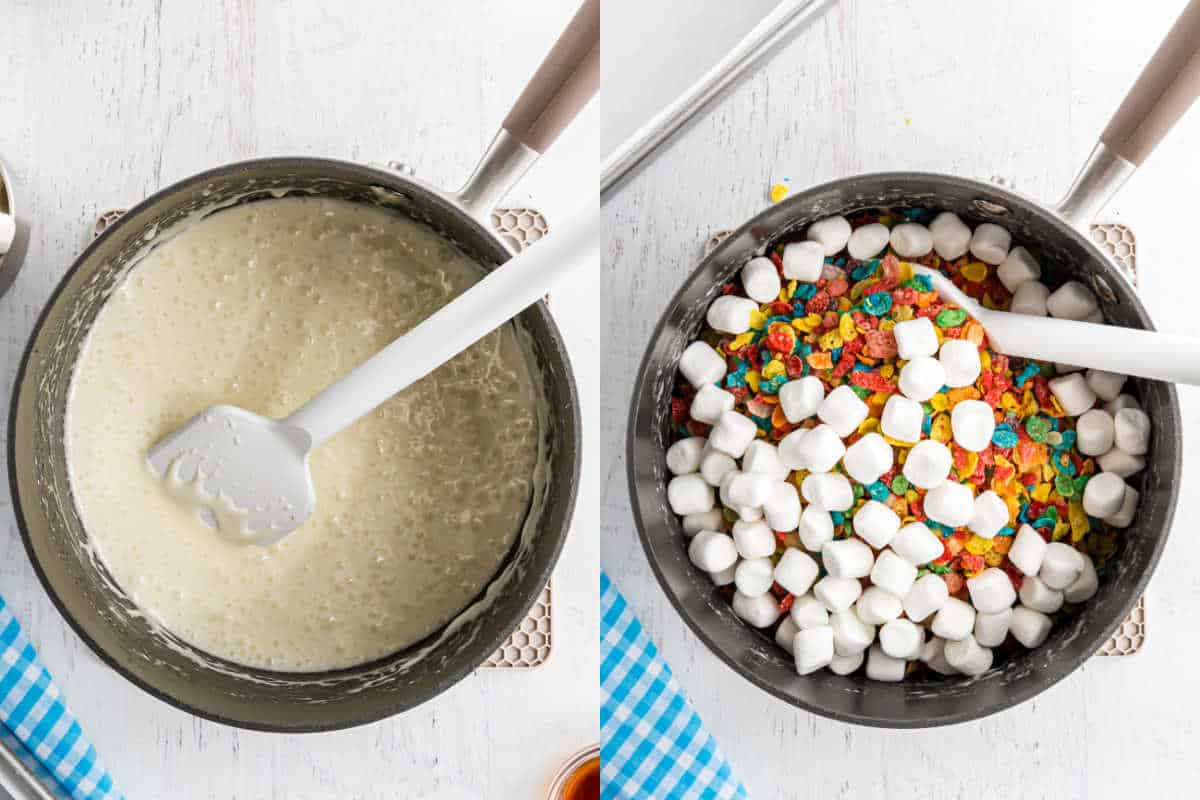
- In a large saucepan, melt butter over medium heat. Once melted, add in all but 1 cup of the marshmallows. Reduce heat to low and continue stirring until completely melted.
- Remove from heat and stir in the vanilla. Add the cereal and the remaining 1 cup of marshmallows and gently stir until combined.
- Pour into the prepared baking dish. Press GENTLY with your fingertips just until completely spread out (the harder you pack them in, the harder they are to eat).
- Allow to set, about 1 hour. Cut and enjoy!
Notes
- How many marshmallows do I need? One 16 ounce bag of marshmallows is about 8-9 cups. You’ll melt all but one cup of the marshmallows in the butter, reserving the last cup for adding with the cereal.
- Line a 9-inch square baking dish with parchment paper. This way you don’t have to worry about extra butter on your fingertips, or the other extreme of your bars sticking to the pan! Use binder clips to help the parchment paper stay in place.
- Use fresh marshmallows. Seriously, they make a difference. Don’t grab that bag that’s been in your pantry for months and months thinking it will be okay since you are melting them. It won’t be okay.
- Add my secret ingredient. VANILLA EXTRACT. Not imitation vanilla, but PURE VANILLA extract. It makes a difference in creating the illusion that you’re using homemade marshmallows.
- DO NOT (I repeat) DO NOT press these bars into your pan firmly. Using your fingertips, GENTLY press them in just until they are spread out. The harder you pack them in, the harder they are when it’s time to eat them!
- The trick to pressing them in your pan without sticking to your hands is to run your fingers in water, shake off the excess, and press. Voila. No sticking!
- Store in an airtight container for two days. If they last that long, I’d be shocked!
Nutrition
Move over, Rice Krispies Treats! These no-bake Fruity Pebble Treats are a delicious and brightly colored twist on the classic childhood dessert.

Yummy yummy. Simple and easy to make and very tasty. The lucky charms version is also very good. I love her recipes
Thank you Joanne!
These are so yummy. Pan was gone almost before I got them cut! Have saved this one for sure!
So glad you love it!