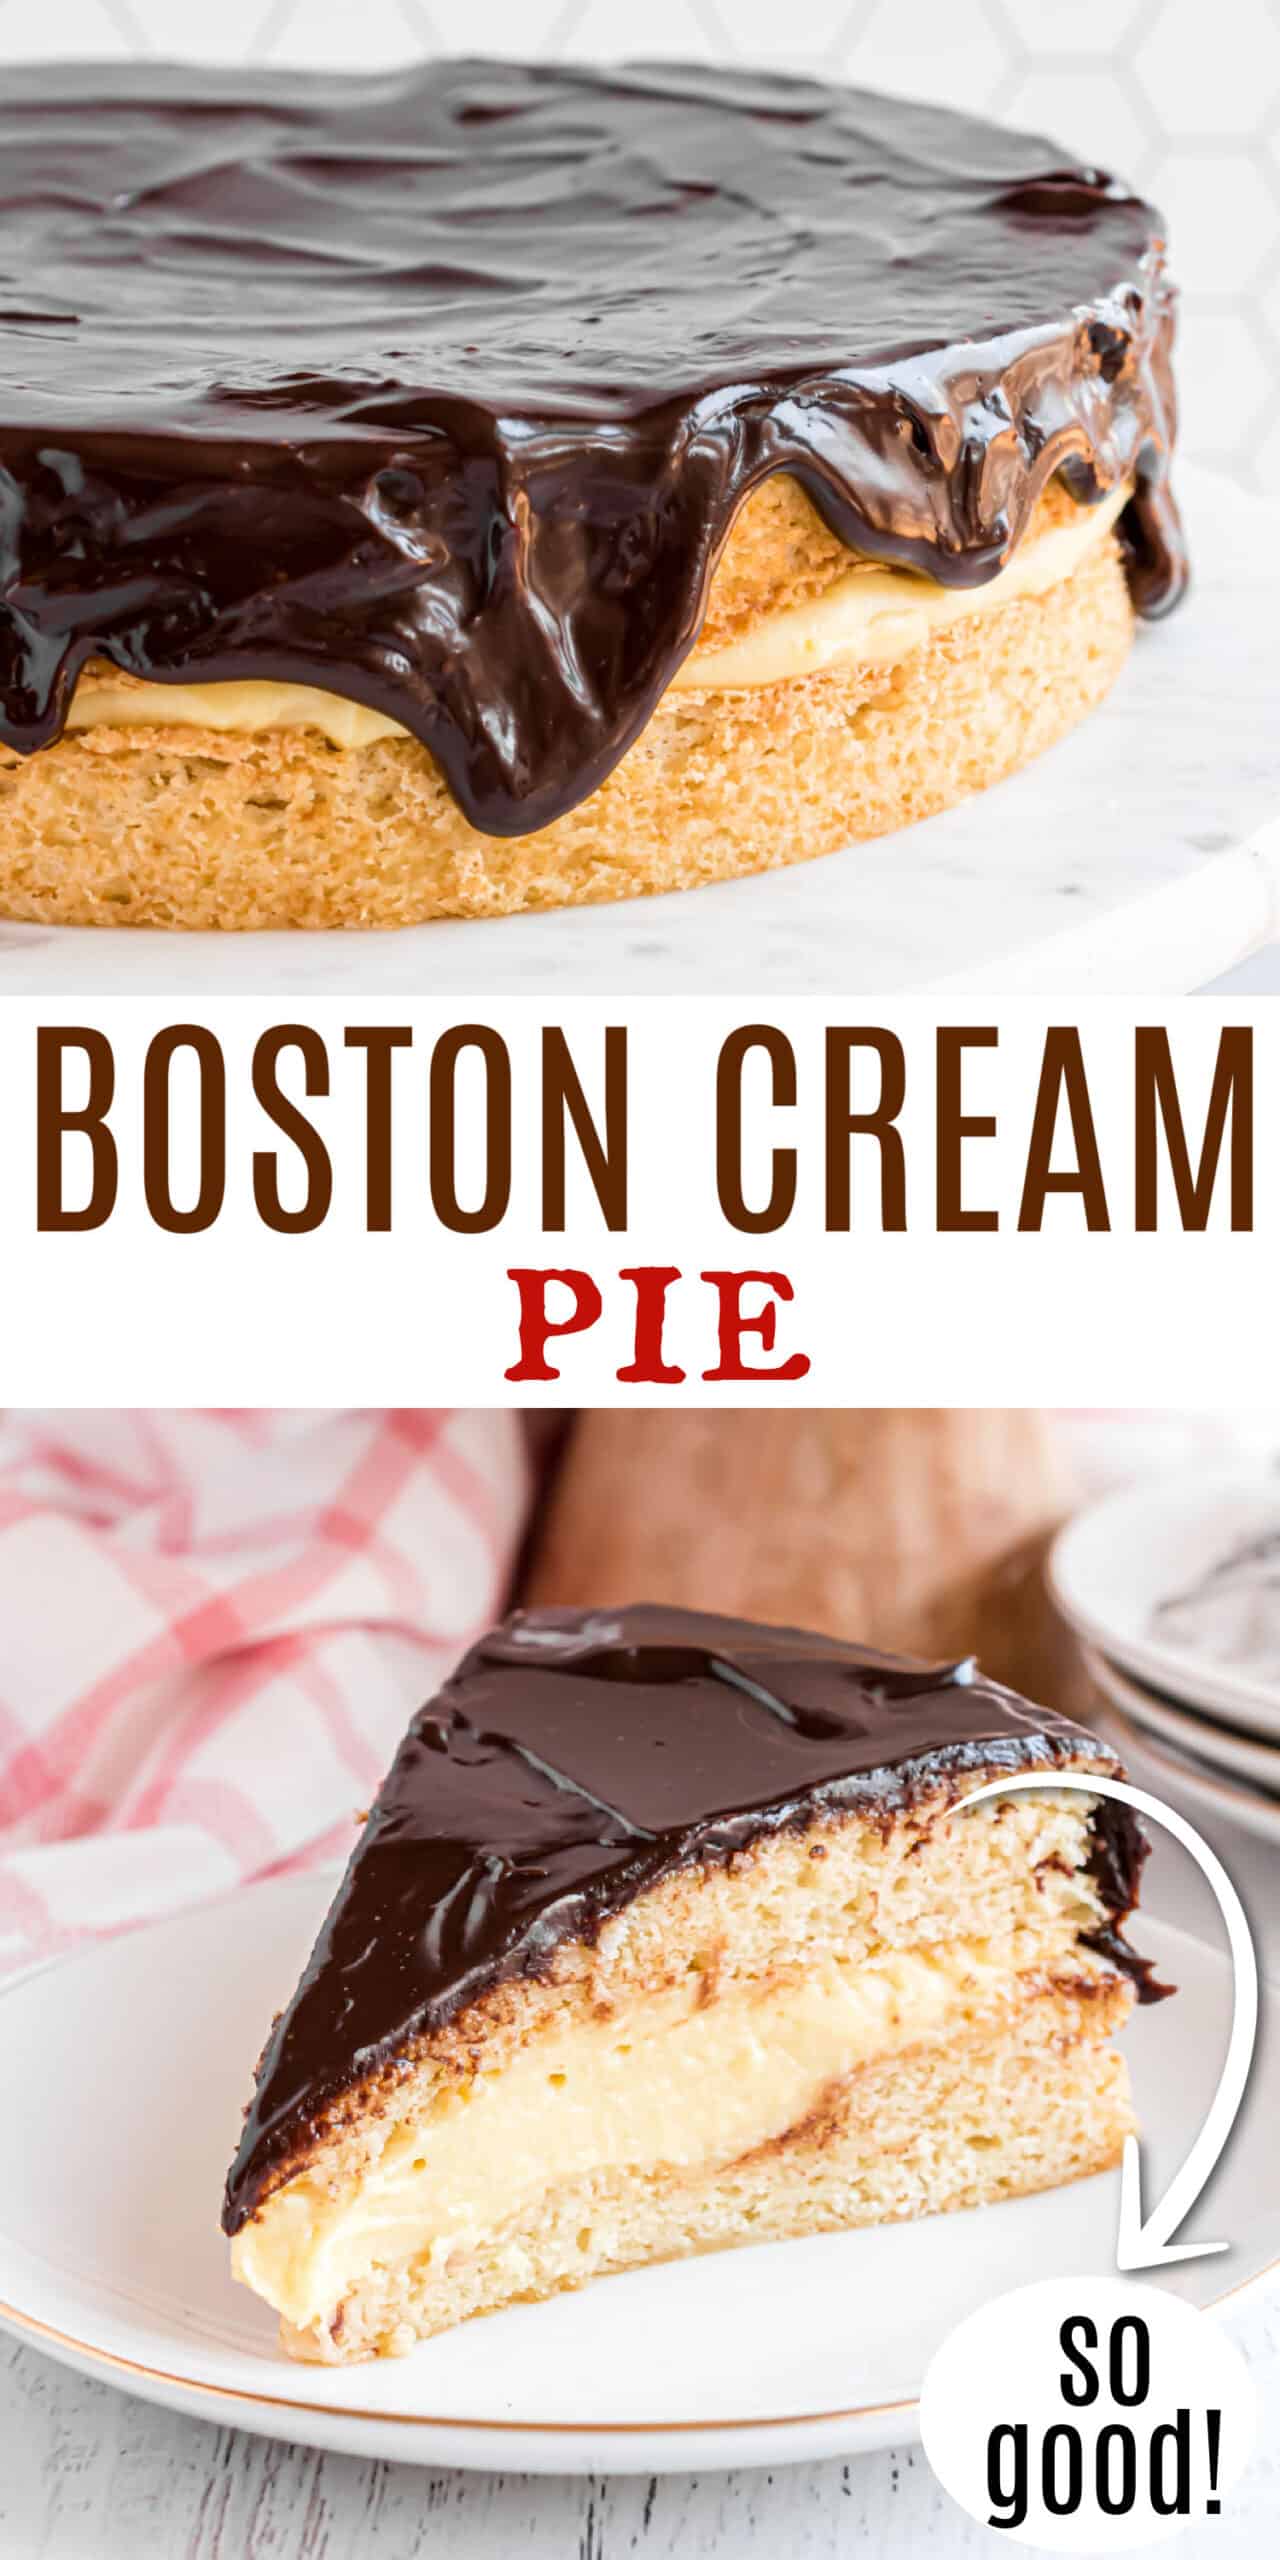
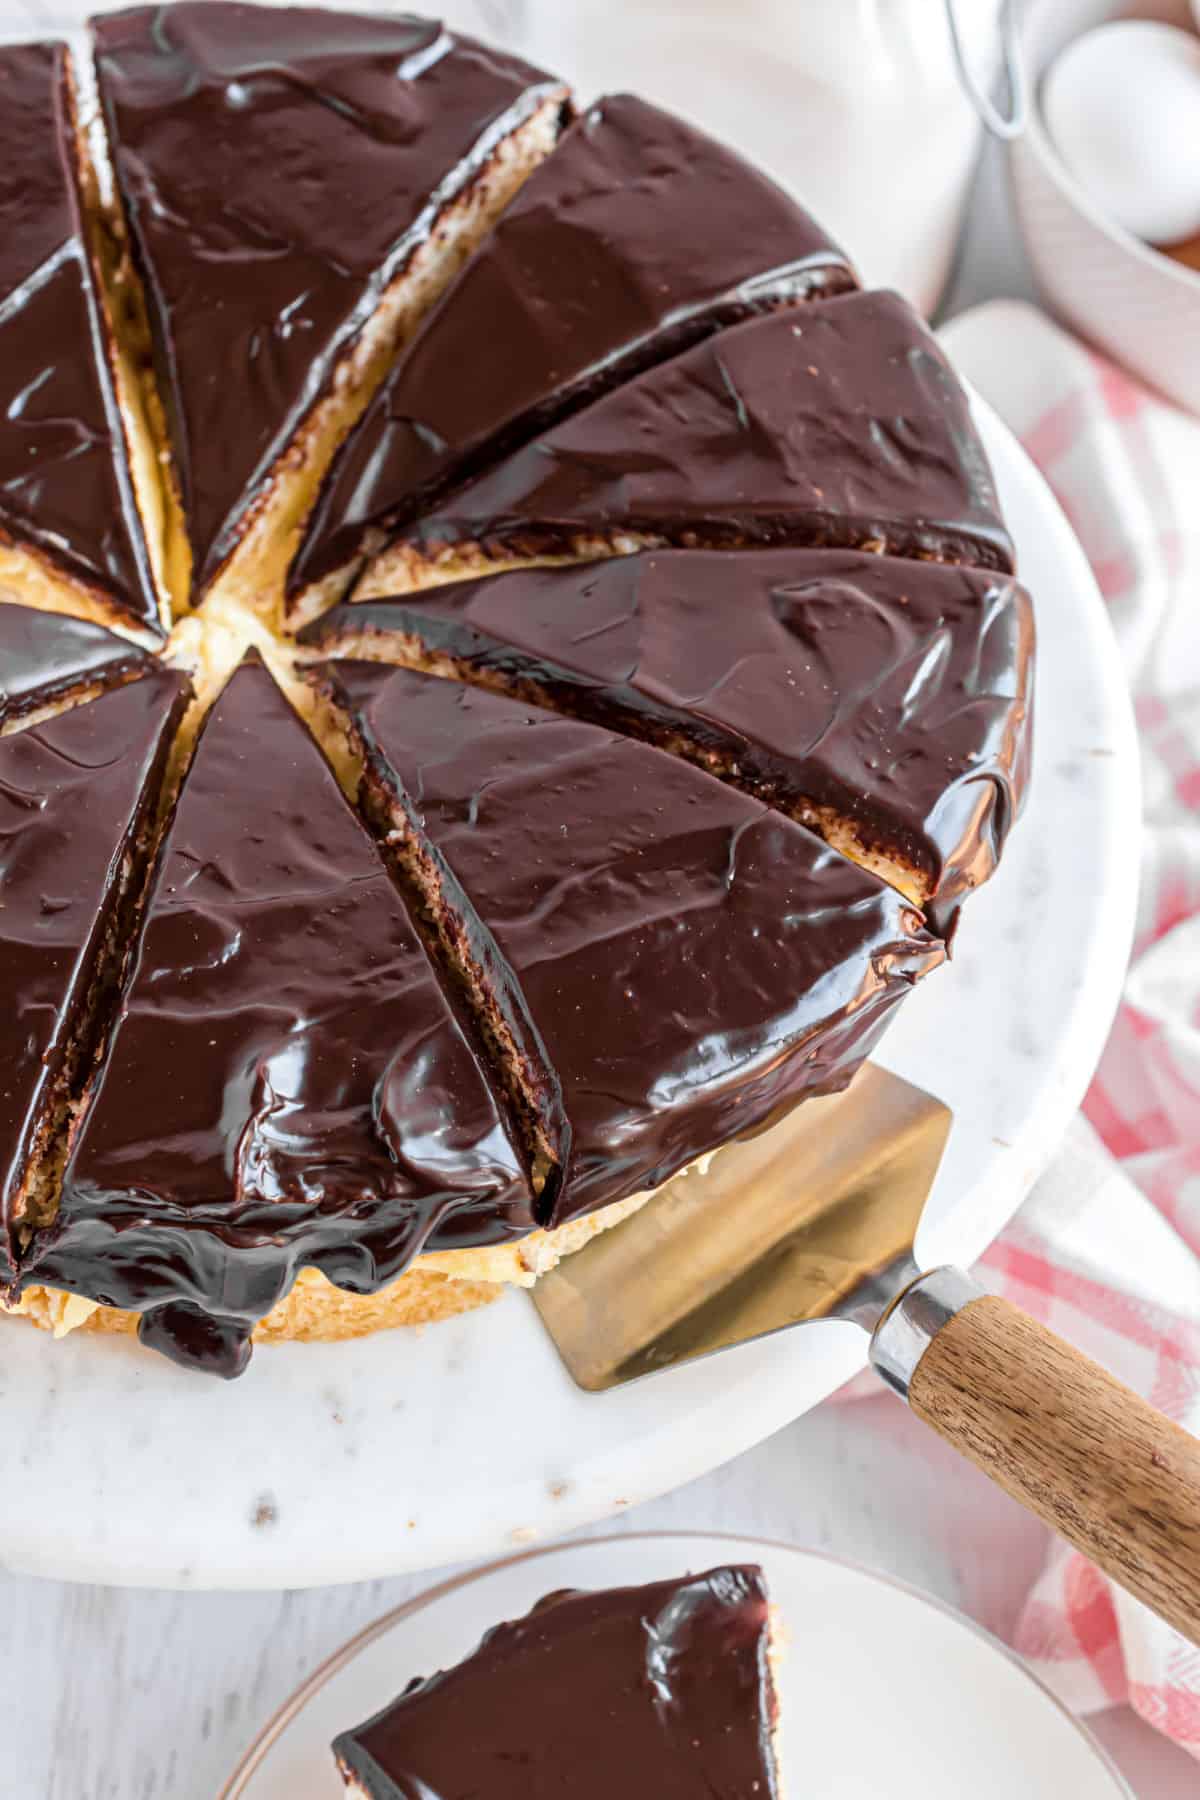
This classic Boston Cream Pie recipe brings together light sponge cake, homemade pastry cream, and a sweet chocolate ganache. What can sometimes be a finnicky cake is proven easy with my no-fail recipe!
Love Boston Cream Pie? You’ll love my Boston Cream Donuts recipe too! Or give our cream puff cake a try (and drizzle with chocolate)!
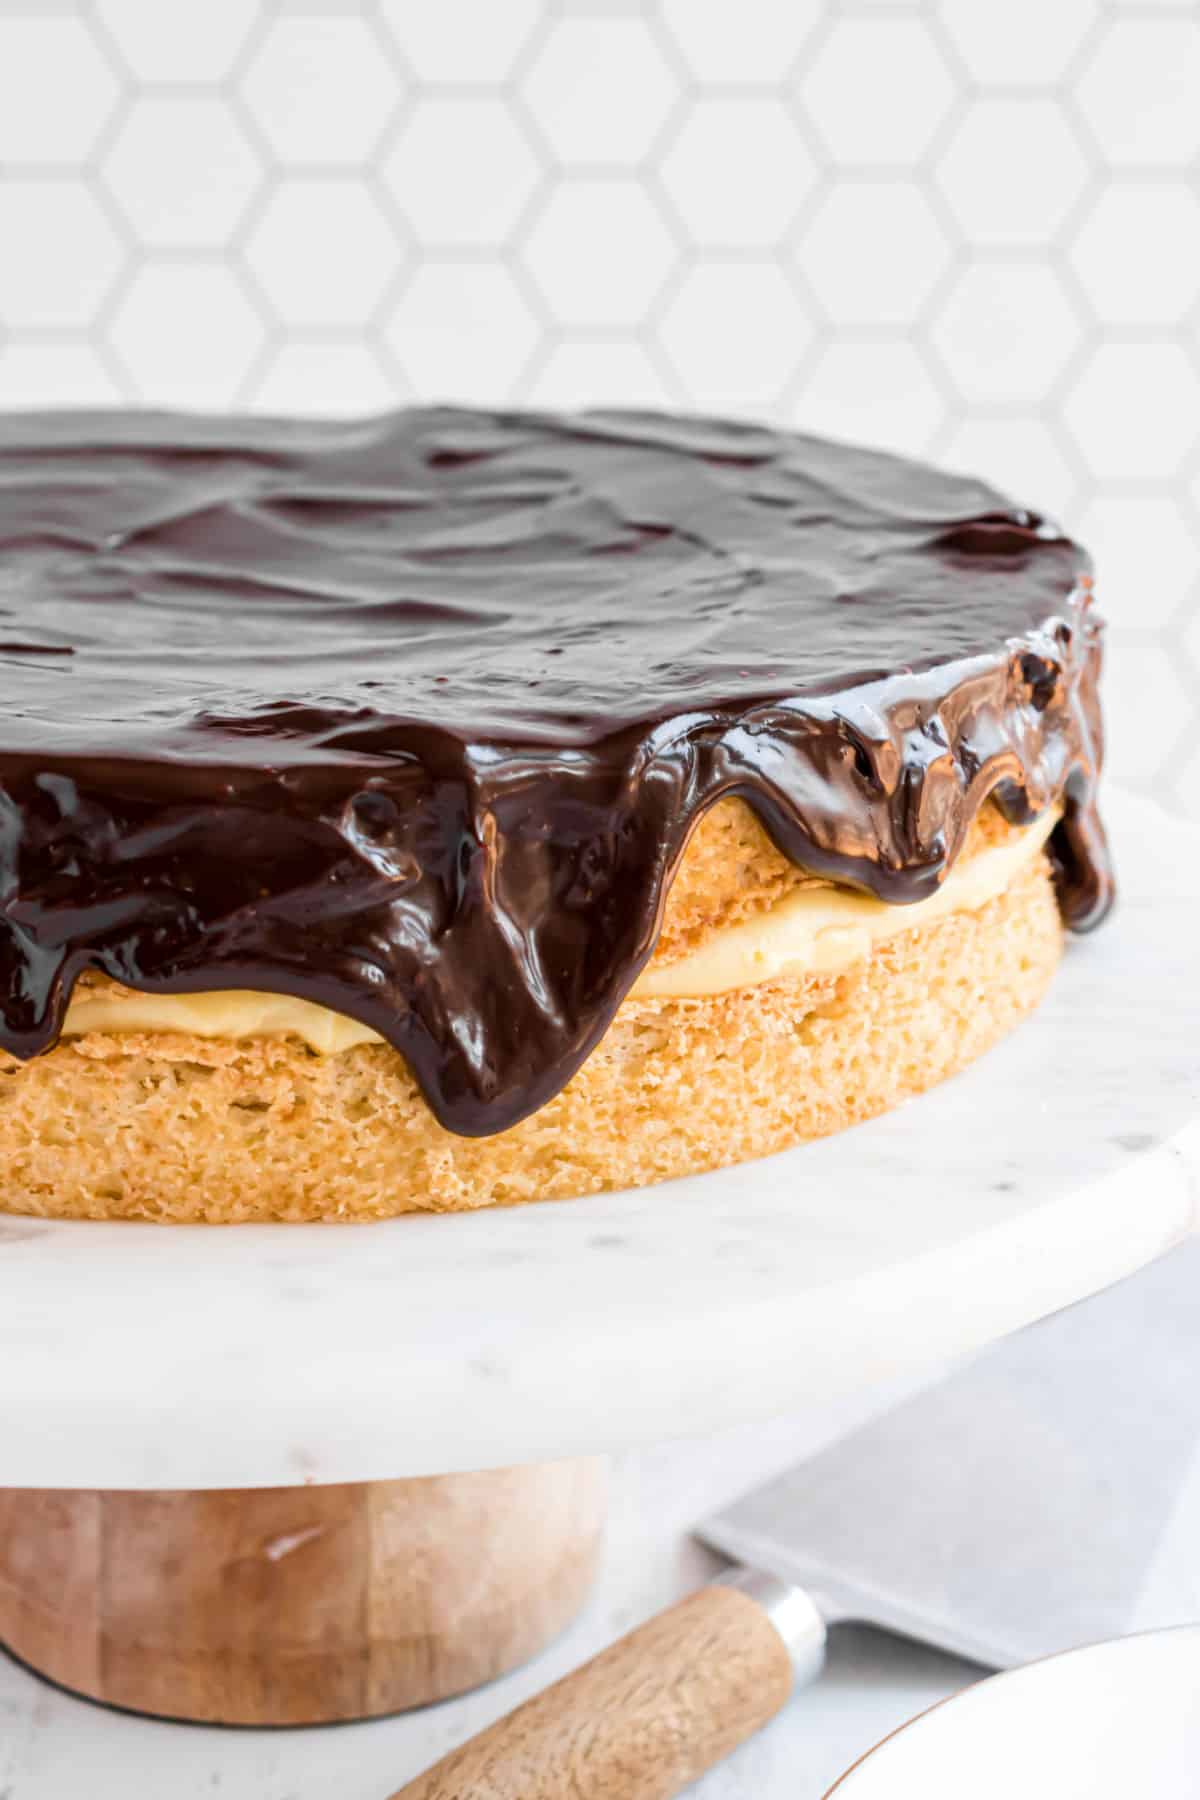
Why this Boston Cream Pie is Best
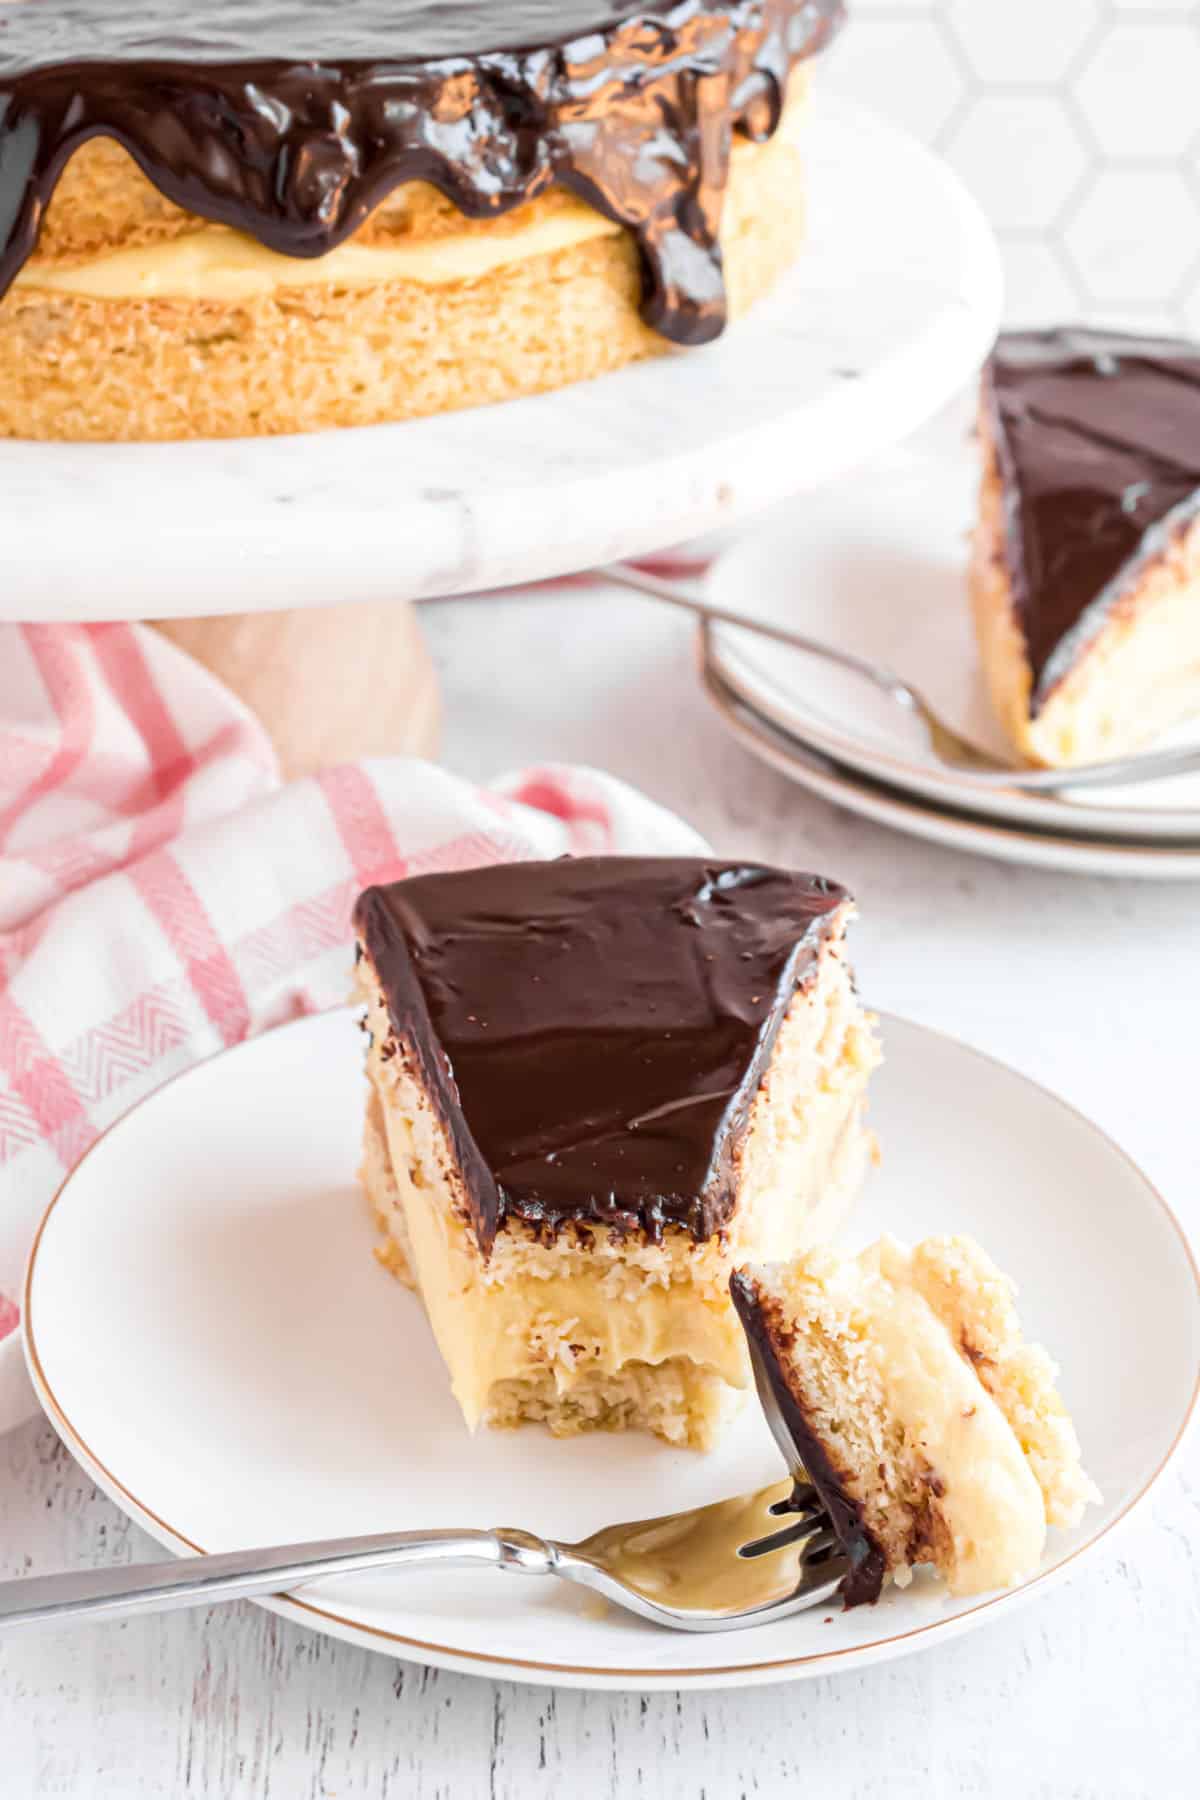
Don’t let the name fool you. Boston Cream Pie isn’t a pie at all. This cake is made by layering buttery sponge cake with vanilla pastry cream.
- Perfect pastry cream. Made with a custard base and fragrant vanilla, the cream filling in this recipe is out of this world.
- Shiny ganache frosting. Using corn syrup in the glaze makes the cake glisten with a professional touch.
- Easy instructions. We’ll walk you through every step of making a perfect homemade Boston Cream Pie from scratch. No guess work and delicious results!
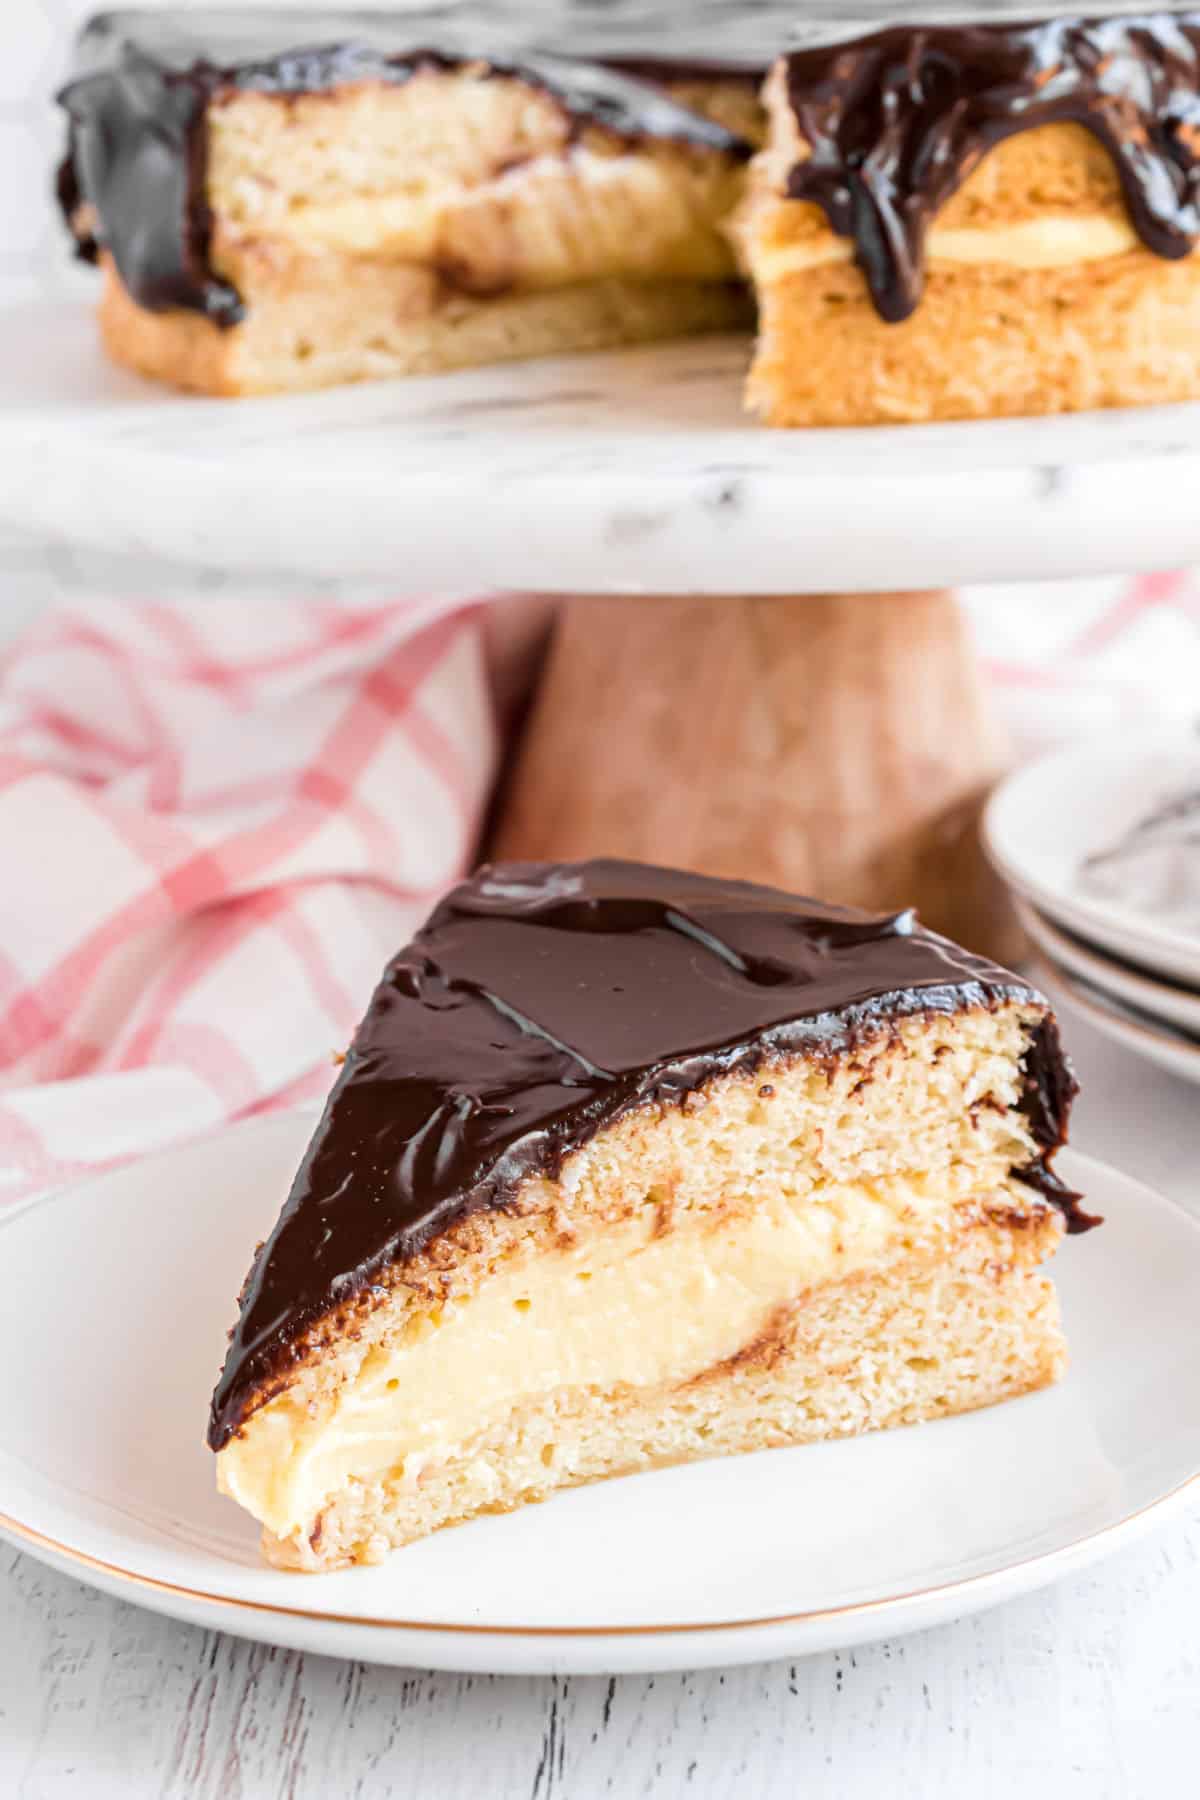
The spongy hot-milk cake is the perfect base for today’s boston cream pie. It’s soft and moist, but firm enough to hold up to the pastry cream filling.
We used this sponge cake as a base to our delicious tres leches cake recipe too!
Ingredient Notes
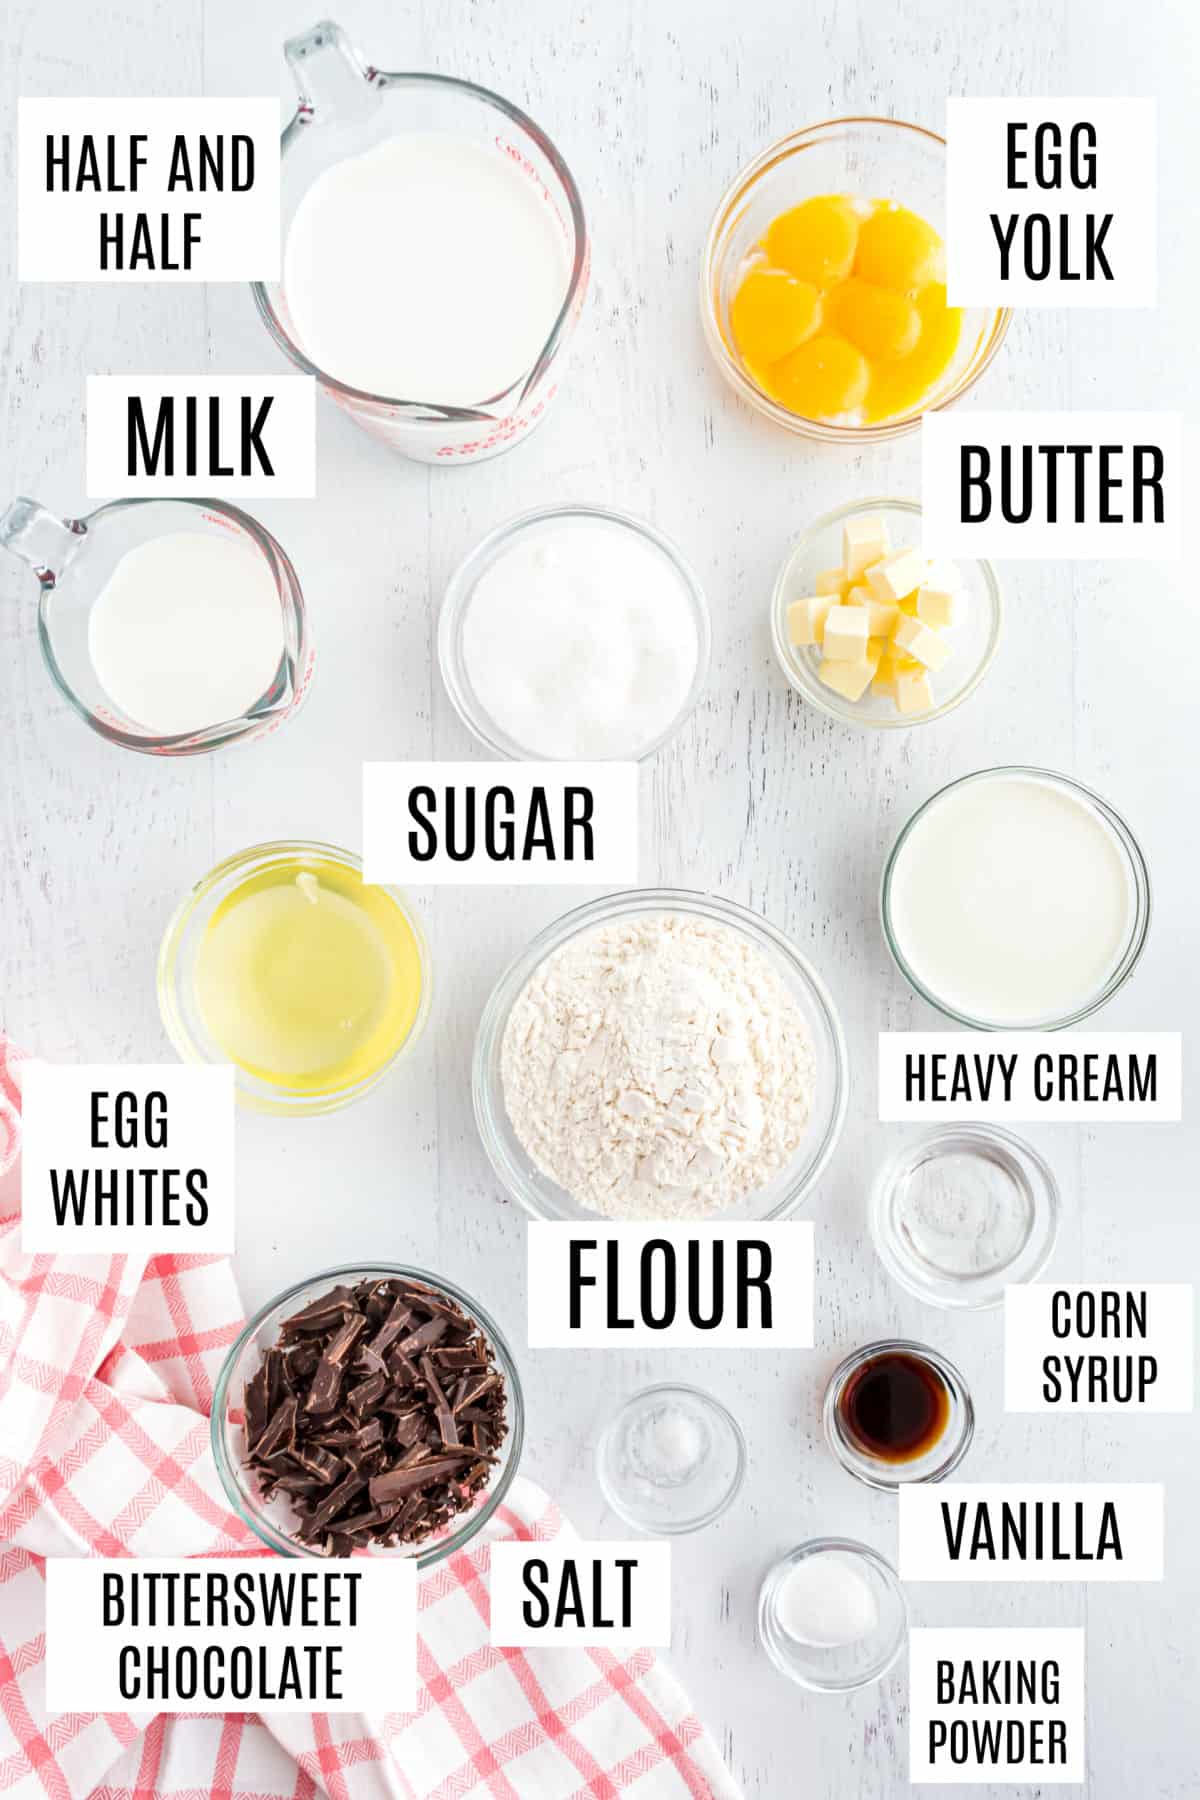
- Eggs. You’ll need 3 eggs for the cake, and another 6 egg yolks for the pastry cream. Save those whites and make a batch of meringue cookies!
- Light corn syrup. This makes the chocolate ganache topping shiny, but can be omitted from the recipe if you prefer.
- Unsalted butter. Keep the butter cold until adding to the pastry cream. Helps the pastry cream firm up and thicken, but also enhances the flavor.
How to Make Pastry Cream
The trickiest part of making Boston Cream Pie is getting the custard cream just right. It takes a little care and attention but the results are well worth it! You can also use this cream in our easy cream puff recipe.
- Warm the Half and Half. Heat half and half in a sauce pan until it reaches a gentle simmer.
- Make the Filling. While the half and half is warming up, whisk the egg yolks, sugar, and salt together in a separate bowl until smooth.
- Add all purpose flour to the egg mixture and whisk well. Slowly whisk in half a cup of the warmed half and half. Then, return the newly combined cream and egg mixture to the pan with the rest of the half and half.
- Thicken the filling.
- Chill. Remove the filling mixture from heat, then whisk in cold butter and vanilla until fully incorporated. Cover the pan with plastic wrap and place in the refrigerator. Let the pastry cream chill for at least two hours before using.
How to Assemble Boston Cream Pie
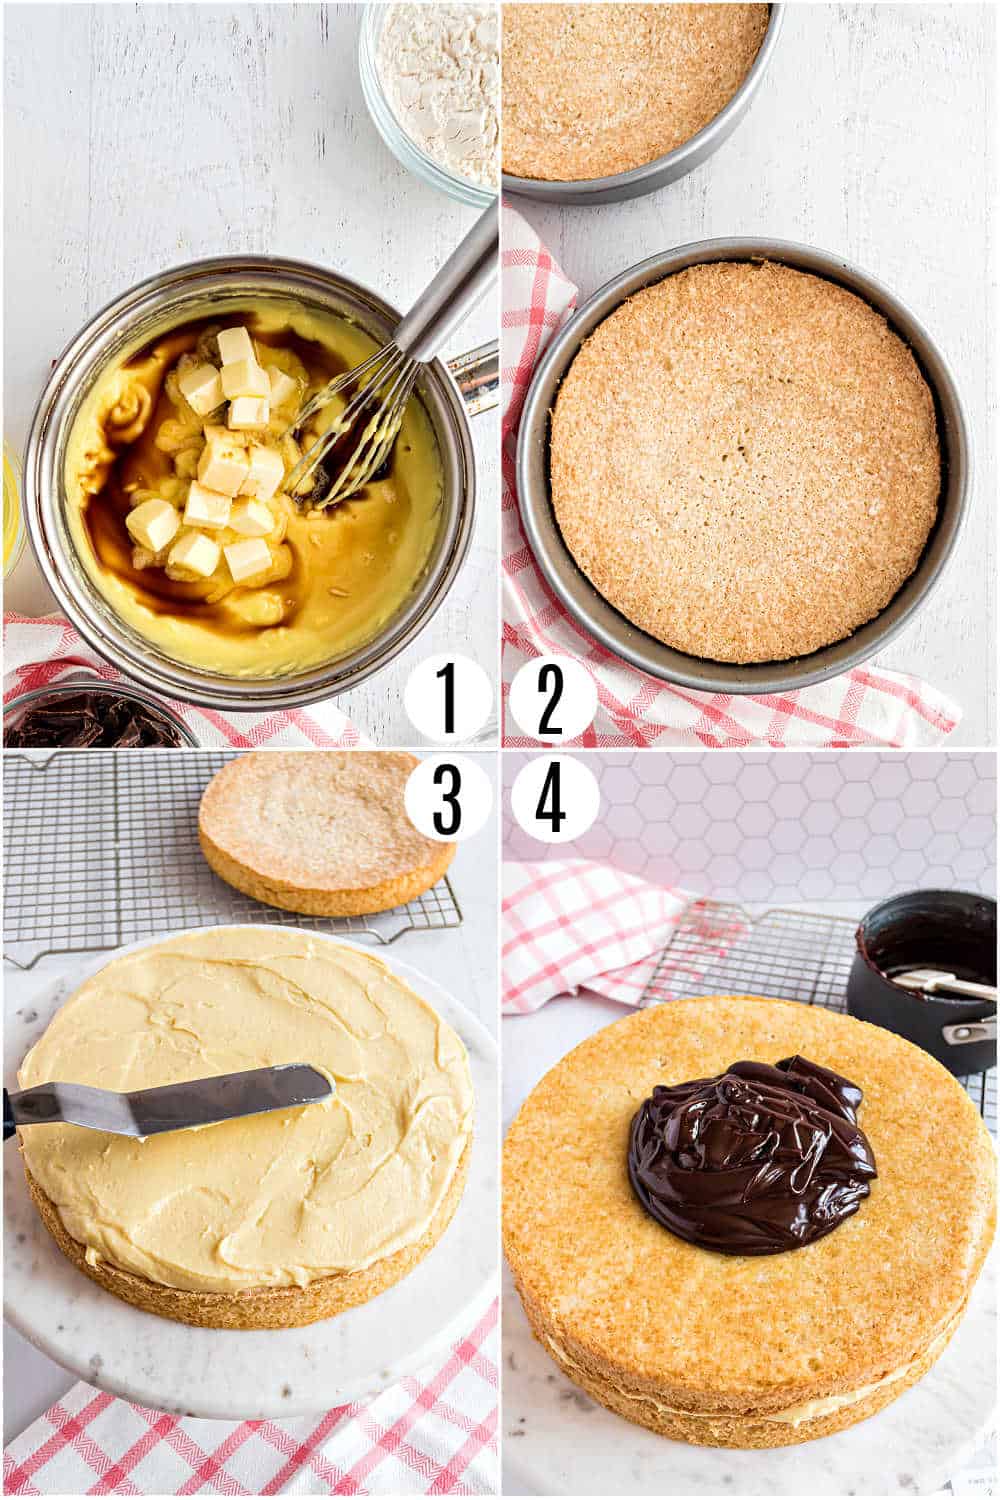
Once the cake layers are baked and cooled and the pastry cream is set, it’s time to assemble the Boston Cream Pie.
Place one cake layer on a cake plate. Spread the pastry cream over the cake, using a spatula to distribute it all the way to the edges.
Add the second cake layer on top. Pour the chocolate glaze onto the top of the cake and let the excess drip down the sides.
Tips and Tricks
- Make ahead. You can bake the cakes ahead of time to make prepping the Boston Cream Pie easier. Cooled cakes can be wrapped in plastic wrap and stored at room temperature for up to 24 hours.
- Freezing. If you want to prep the cake further ahead of time, store cooled cake layers in the freezer for up to 1 month.
- Do not over whisk. Over whisked or under heated pastry cream will not thicken properly.
- Chill the cream. Don’t skip this step! It’s important for helping the pastry cream firm up. Plan ahead of time to allow at least 2 hours for the cream to chill.
Recipe FAQs
If your filling is runny, you may not have heated the cream mixture sufficiently. Substituting milk for the half and half will also result in pastry filling that is runnier. Be sure to follow the directions completely and use ingredients as listed.
Store Boston Cream Pie covered in the fridge. Let it come to room temperature before serving for best taste.
The pie moniker dates back to the early 20th century when home bakers commonly baked cakes in pie plates. Original Boston Cream Pies were baked in pie pans and then layered like a cake.
I don’t recommend substituting milk here. The heavy cream gives the ganache a richer, creamier flavor.
Favorite Cake Recipes
See all Cake recipes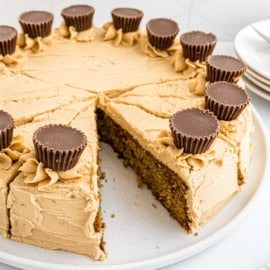

Pin this now to find it later
Pin It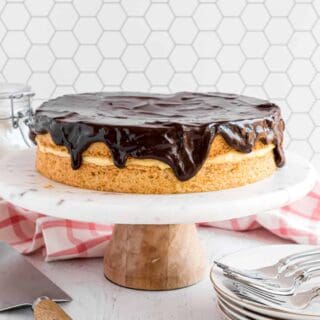
Boston Cream Pie Recipe
Ingredients
For the pastry cream filling
- 2 cups half and half
- 6 large egg yolks room temperature
- ½ cup granulated sugar
- pinch salt
- ¼ cup all-purpose flour
- 4 Tablespoons unsalted butter cold (cut into cubes)
- 2 teaspoons vanilla extract
For the Cake
- 1 ½ cups all-purpose flour
- 1 ½ teaspoons baking powder
- ½ teaspoon kosher salt
- ¾ cup whole milk
- 6 Tablespoons unsalted butter
- 1 ½ teaspoons vanilla extract
- 3 large egg whites room temperature
- 1 ½ cups granulated sugar
For the Glaze
- ½ cup heavy whipping cream
- 2 Tablespoons light corn syrup
- 4 ounce bittersweet chocolate chopped
Instructions
For the Pastry Cream
- In a medium size saucepan over medium heat, add half-and-half. Heat just until simmering.
- While that is warming up, whisk the egg yolks, sugar, and salt in a bowl until smooth. Add the flour to the egg mixture and whisk until fully incorporated. Remove the half-and-half from heat and while whisking, slowly add 1/2 cup of the warm half and half to the yolk mixture to temper. While whisking constantly, return the tempered yolk mixture to the remaining half-and-half in the saucepan.
- Turn the heat to medium and cook, whisking continuously, until the mixture becomes slightly thickened (about 1-2 minutes). Reduce heat to low-medium and simmer, while whisking constantly, for 8 minutes.
- After 8 minutes, increase the heat to medium, whisking constantly, until a rolling bowl (bubbles on the surface), for 1-2 minutes.
- Remove from heat, whisk in cold butter cubes and vanilla extract until melted and fully blended.
- Top with plastic wrap (press it on the surface) and refrigerate for at least 2 hours or up to 24 hours.
For the Cake
- Preheat oven to 325 degrees F. Grease two 9-inch cake pans and line with parchment paper. Spray with baking spray.
- In a medium bowl, combine flour, baking powder, and salt. Set aside.
- In a small saucepan over low heat, add milk and butter, and cook until butter is melted. Remove from heat and add in the vaniklla extract. Set aside.
- In a large mixing bowl (stand mixer), using the whisk attachment, beat egg whites with sugar until light and airy (about 5 minutes). Add the hot milk mixture and whisk by hand until fully incorporated. Add in the dry ingredients, mixing by hand until blended.
- Working quickly, divide batter into the two prepared pans. Smooth the top with a spatula. Bake for 20-22 minutes, until tops are lightly browned and a toothpick inserted in the center comes out clean.
- Transfer cakes to cooling rack and allow to cool completely IN THE PANS (about 2 hours).
- Run a knife around the edges, and invert cakes onto cooling rack once cooled. Remove parchment paper and carefully turn the cakes right side up.
For the Glaze
- In a small saucepan over medium heat, combine cream and corn sryup.
- Allow to simmer, then remove from heat. Add chocolate and let sit for 5 minutes. Whisk until smooth.
- Assembly
- To assemble. Place 1 cake layer on cake platter. Whisk the cold pastry cream gently, then spoon onto center of cake. Using a spatula, spread evenly to the edges.
- Place the second cake layer over the pastry cream (bottom side up). Press lightly.
- Pour glaze onto center of top layer of cake. Let the excess drip down the edges.
- Serve and enjoy!
Notes
- If the pastry cream has not been heated sufficiently, or it’s been overwhisked it may not thicken properly. Be sure to follow intructions completely and plan ahead to give the cream filling time to chill.
- Adding corn syrup to the ganache gives a shiny touch, but it can be made without corn syrup if preferred.
- Cooled cakes can be made 24 hours ahead of time. Wrap the cooled cake in plastic wrap and keep at room temperature for one day. Or wrap in plastic, then foil and freeze for up to one month. Defrost at room temperature before unwrapping.
- Assembled cake can be refrigerated for up to 1 day. It tastes best when served at room temperature.
- Recipe lightly adapted from Cooks Illustrated.
Nutrition
More Cake Recipes
Bakery quality Boston Cream Pie made at home! The combination of luscious cream filling and shiny chocolate icing is the ultimate in impressive desserts.

Seems like all your recipes aren’t gluten free…..so I might quit looking….i never see ant alternatives for the flour
I am not a gluten free website.
This is the first time I made a double boston cream pie. OMGoodness it was perfection!!! Thank you for your recipe!!
Jannie Louvier
Oh my goodness this is my favorite dessert and this recipe DID NOT disappoint. Thanks.
So happy to hear it!
This Boston cream pie turned out so good! Can’t wait to make it again!
Enjoyed this for Easter brunch and it was a hit all around the table! Easy and delicious; my whole family loved it!