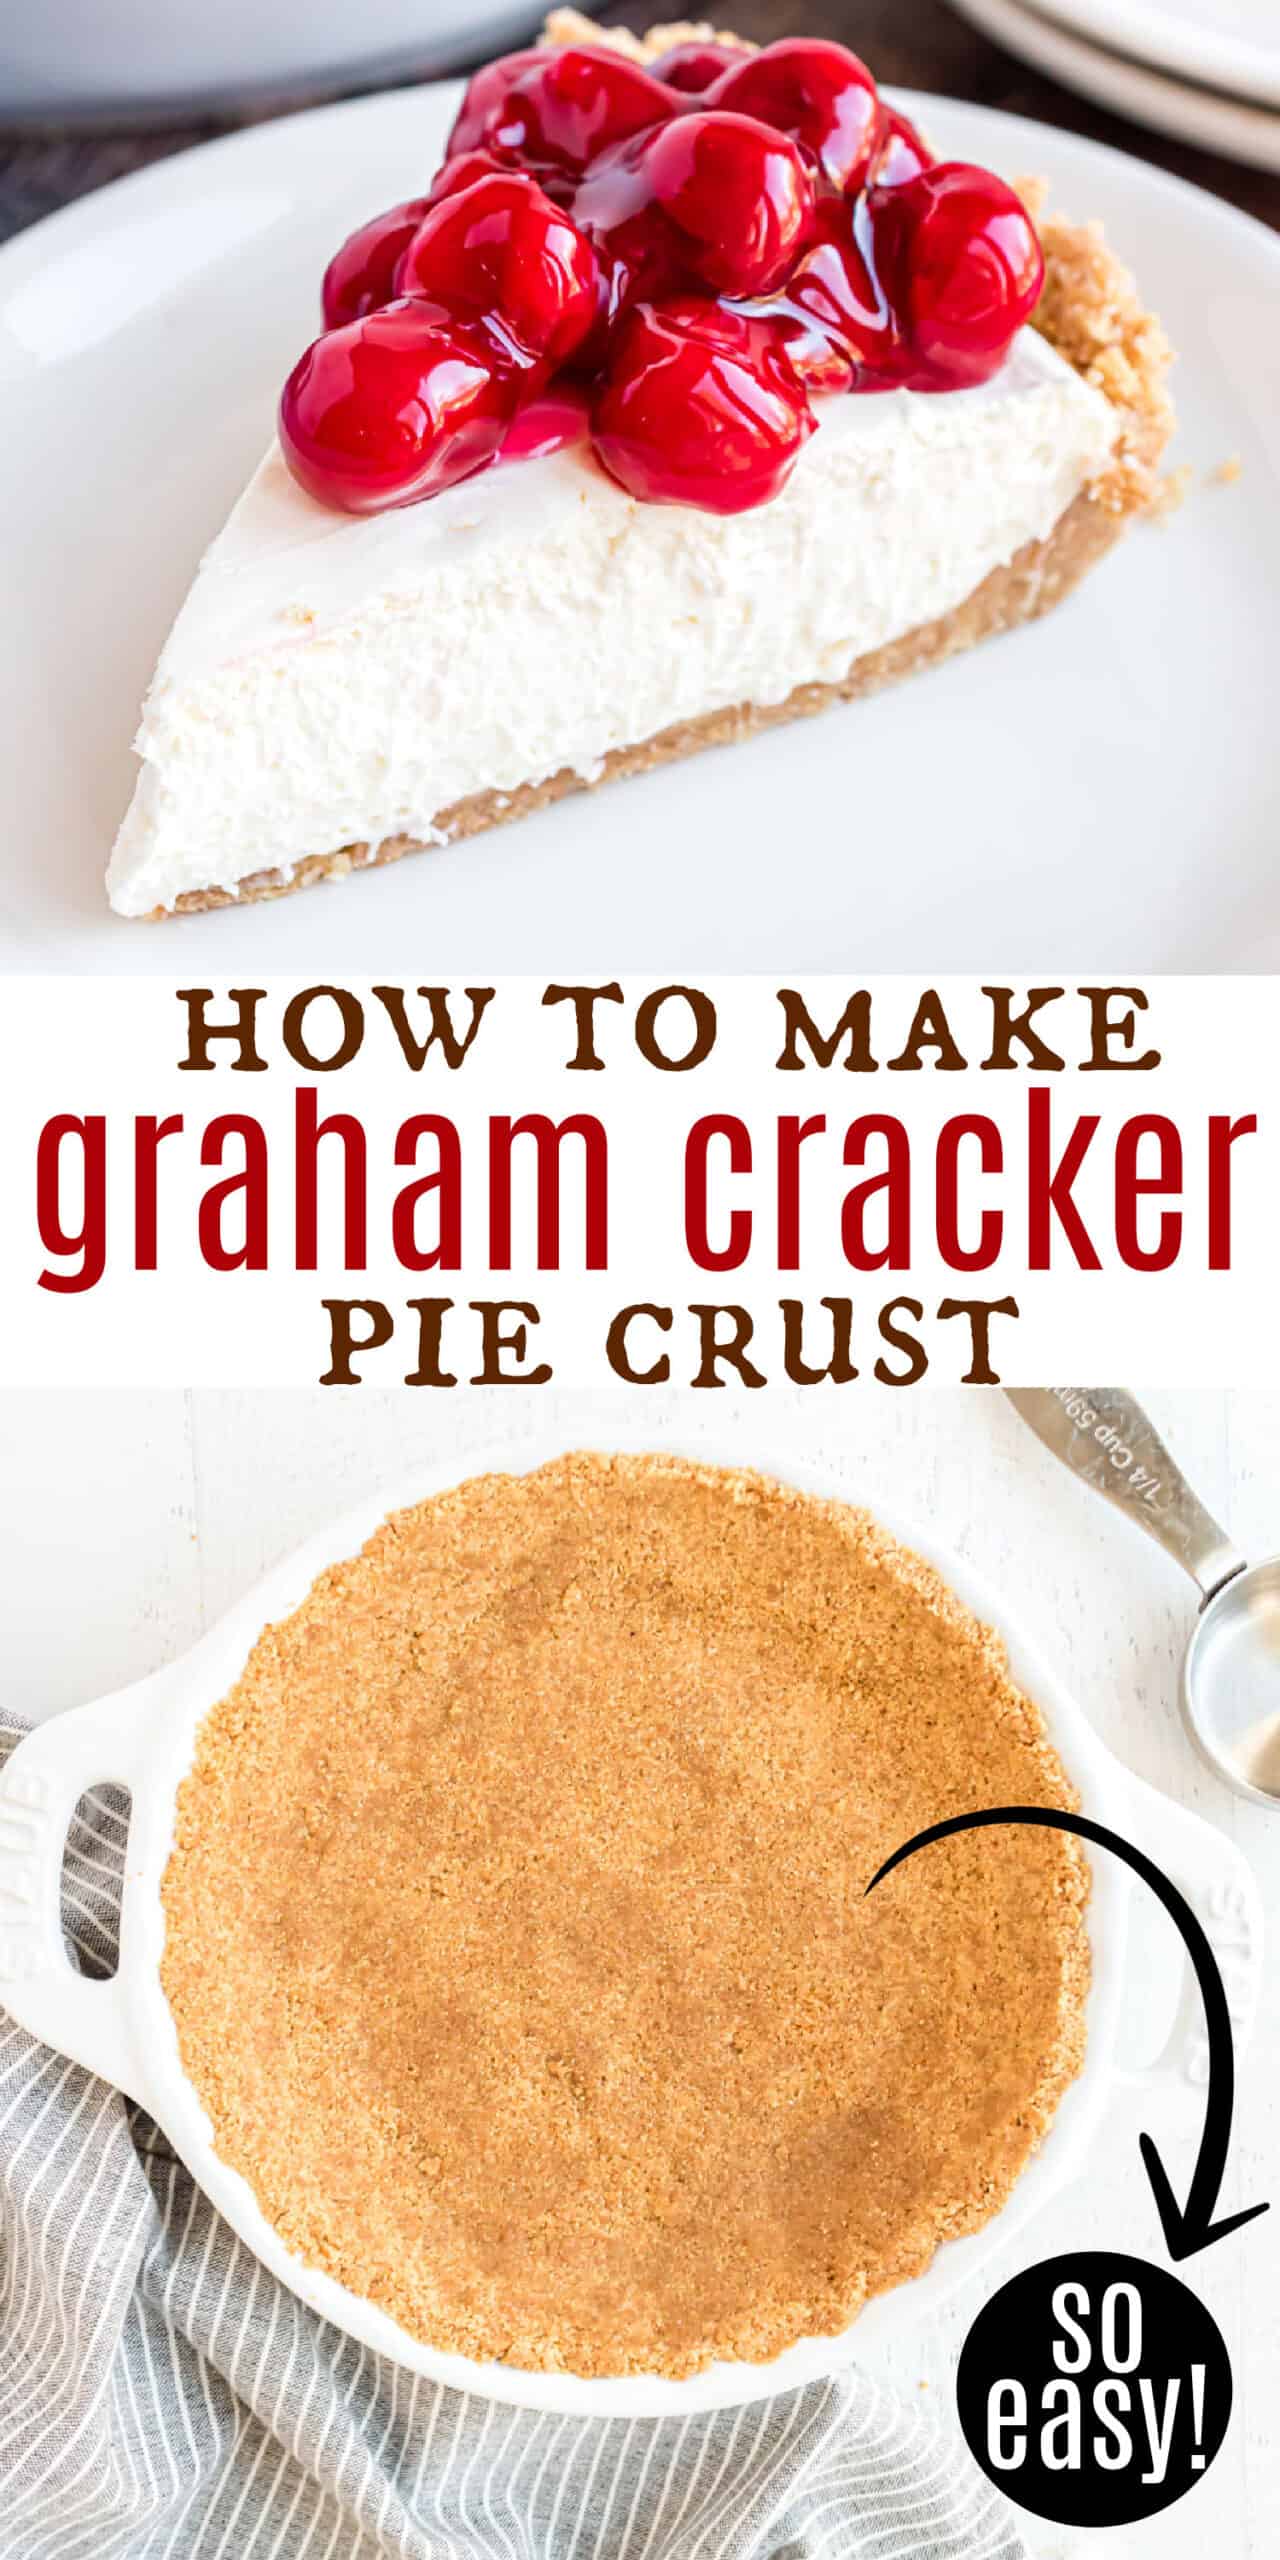
This homemade Graham Cracker Pie Crust is easy, versatile and delicious! With just three ingredients, you can make a perfect graham cracker crust for everything from no-bake pies to cheesecake.
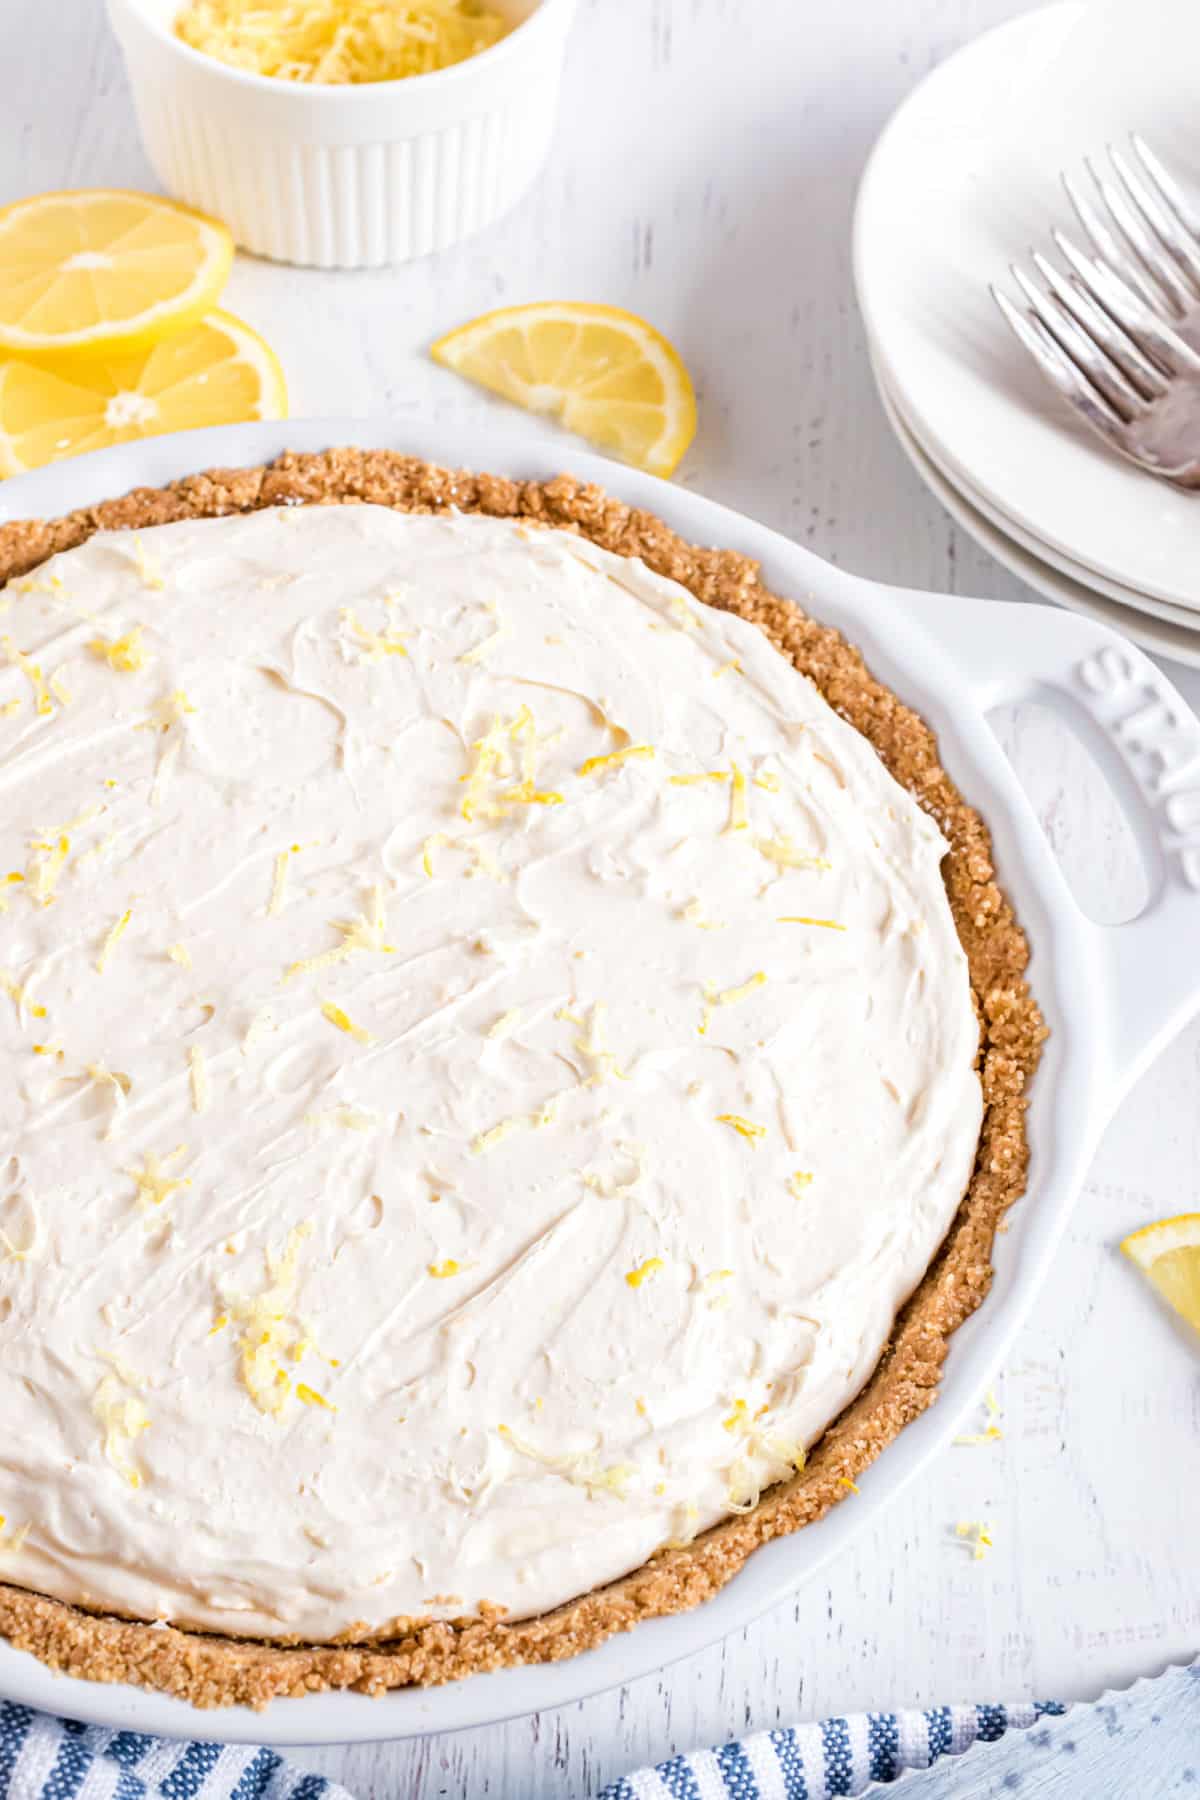
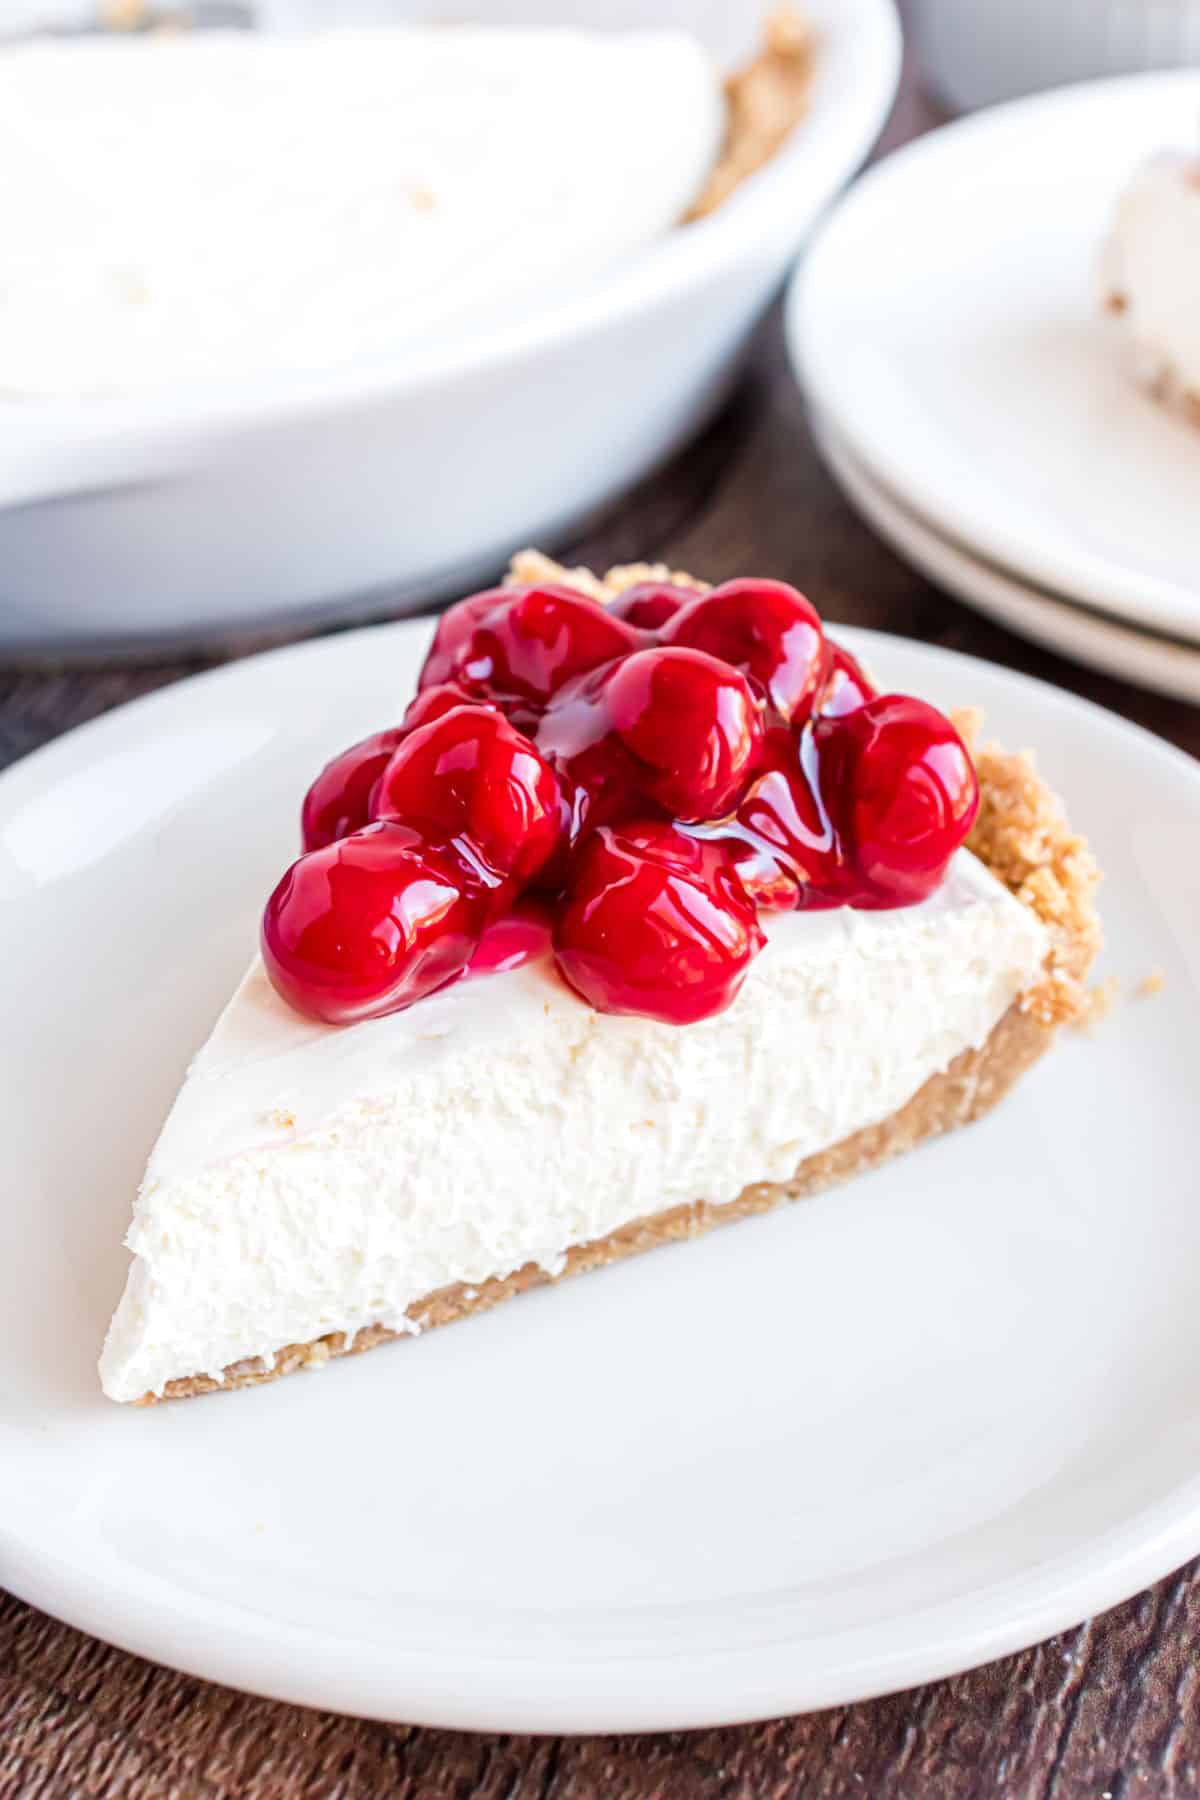
Once you know how to make a graham cracker pie crust, you’re ready to whip up a No Bake Lemon Cheesecake or this S’mores Pie!
Why Make Your Own Crust
Graham cracker crusts are about the easiest homemade pie crust you can make.
It’s only a little bit more effort than opening up a packaged one from the store, and the results are much tastier.
- Homemade graham cracker crust tastes much fresher than the store bought. It hasn’t been sitting on a shelf for weeks!
- It only takes a few minutes to make a graham cracker crust at home. No blind baking required.
- This recipe works for both baked and no-bake recipes.
- You can adjust the recipe for just about any size pie plate or baking dish.
Ingredient Notes
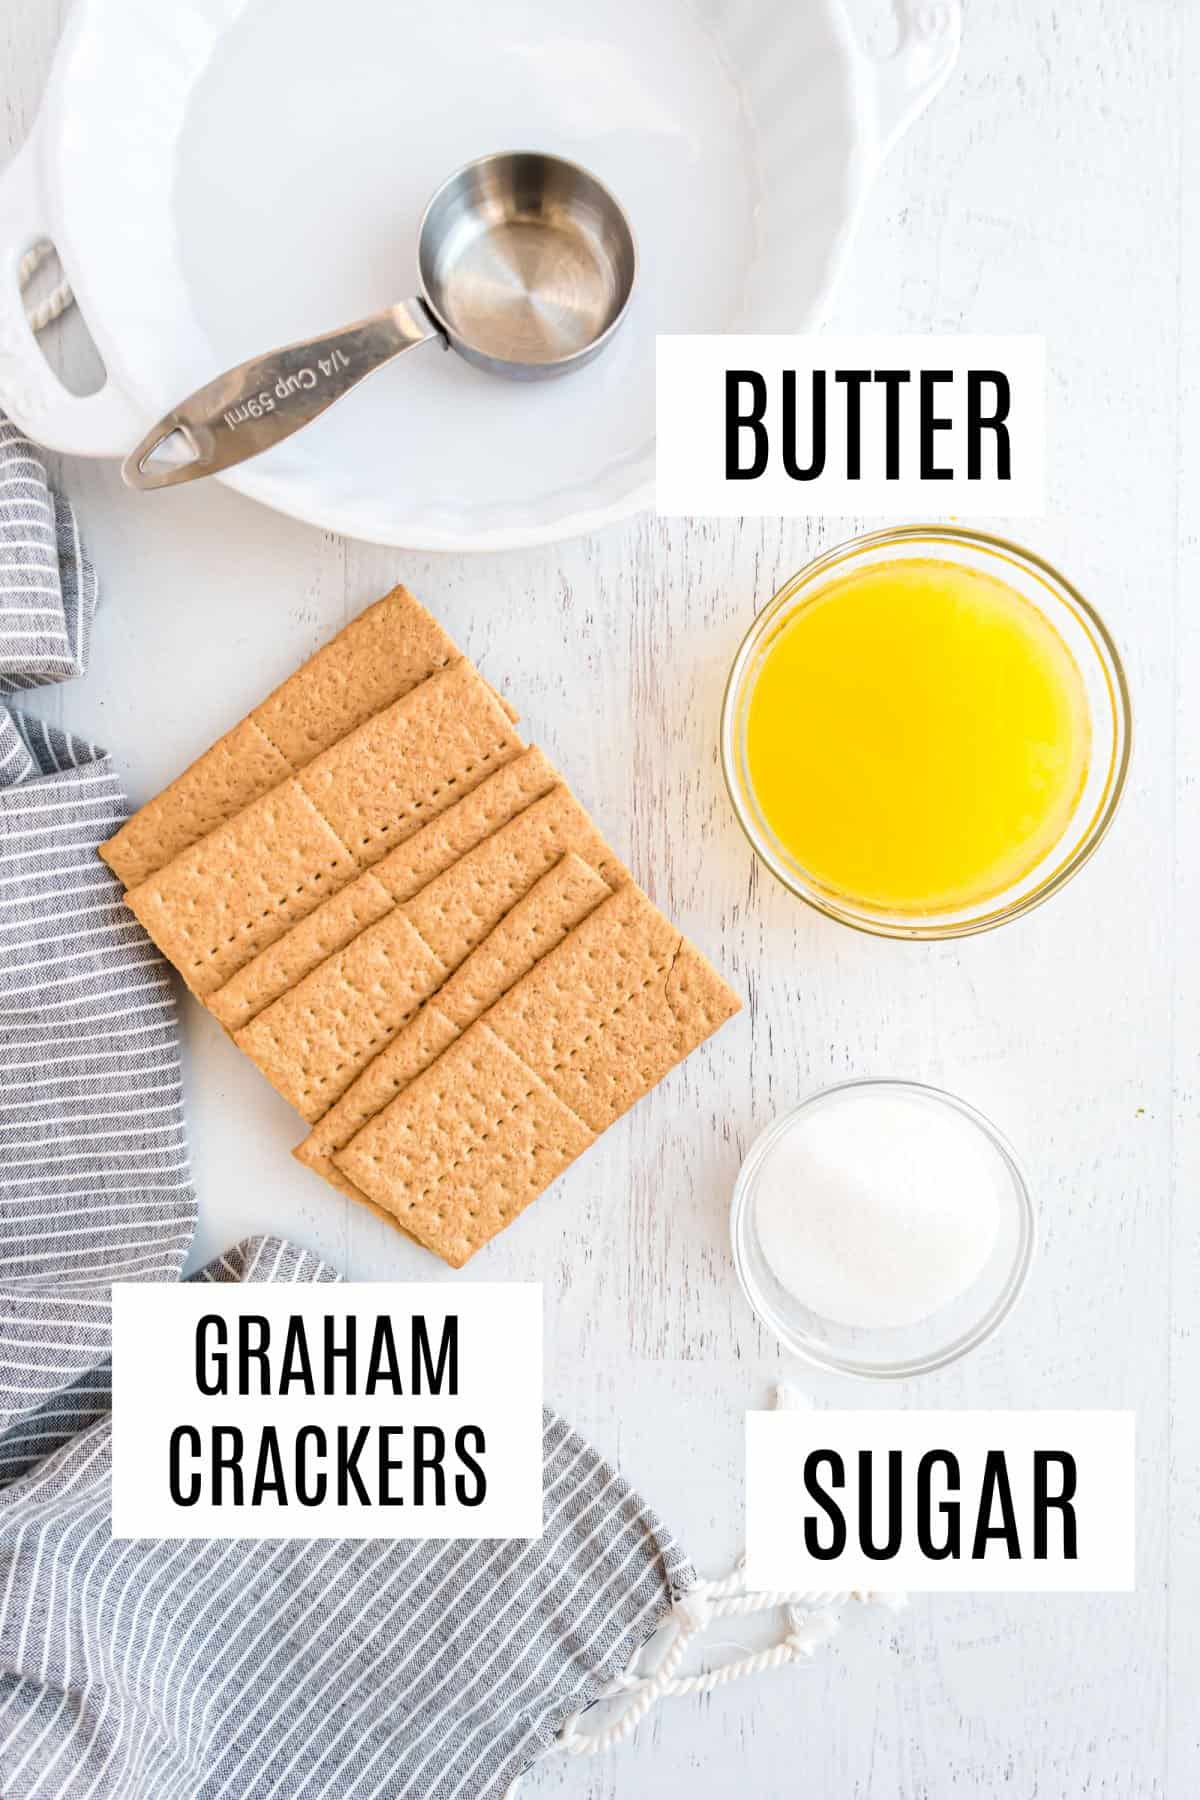
Here’s what you need for this graham cracker pie crust recipe.
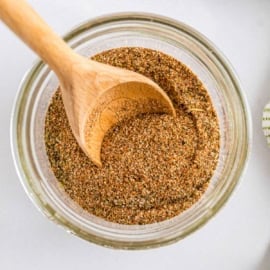
- Graham crackers are pulsed in the food processor to form fine crumbs.
- Sugar provides a little extra sweetness.
- Butter binds the crumbs and sugar together while adding rich flavor.
This recipe makes enough crust to cover an 8 or 9 inch pie plate. It can also be used for a square 8 or 9 inch baking dish. Will also provide enough crust for a 9-inch springform pan if only lining the bottom. If you want the crust to go up the sides, double the recipe.
Want to make it in a rectangular 9 x 13 dish instead? Simply double the recipe and you’ll be set.
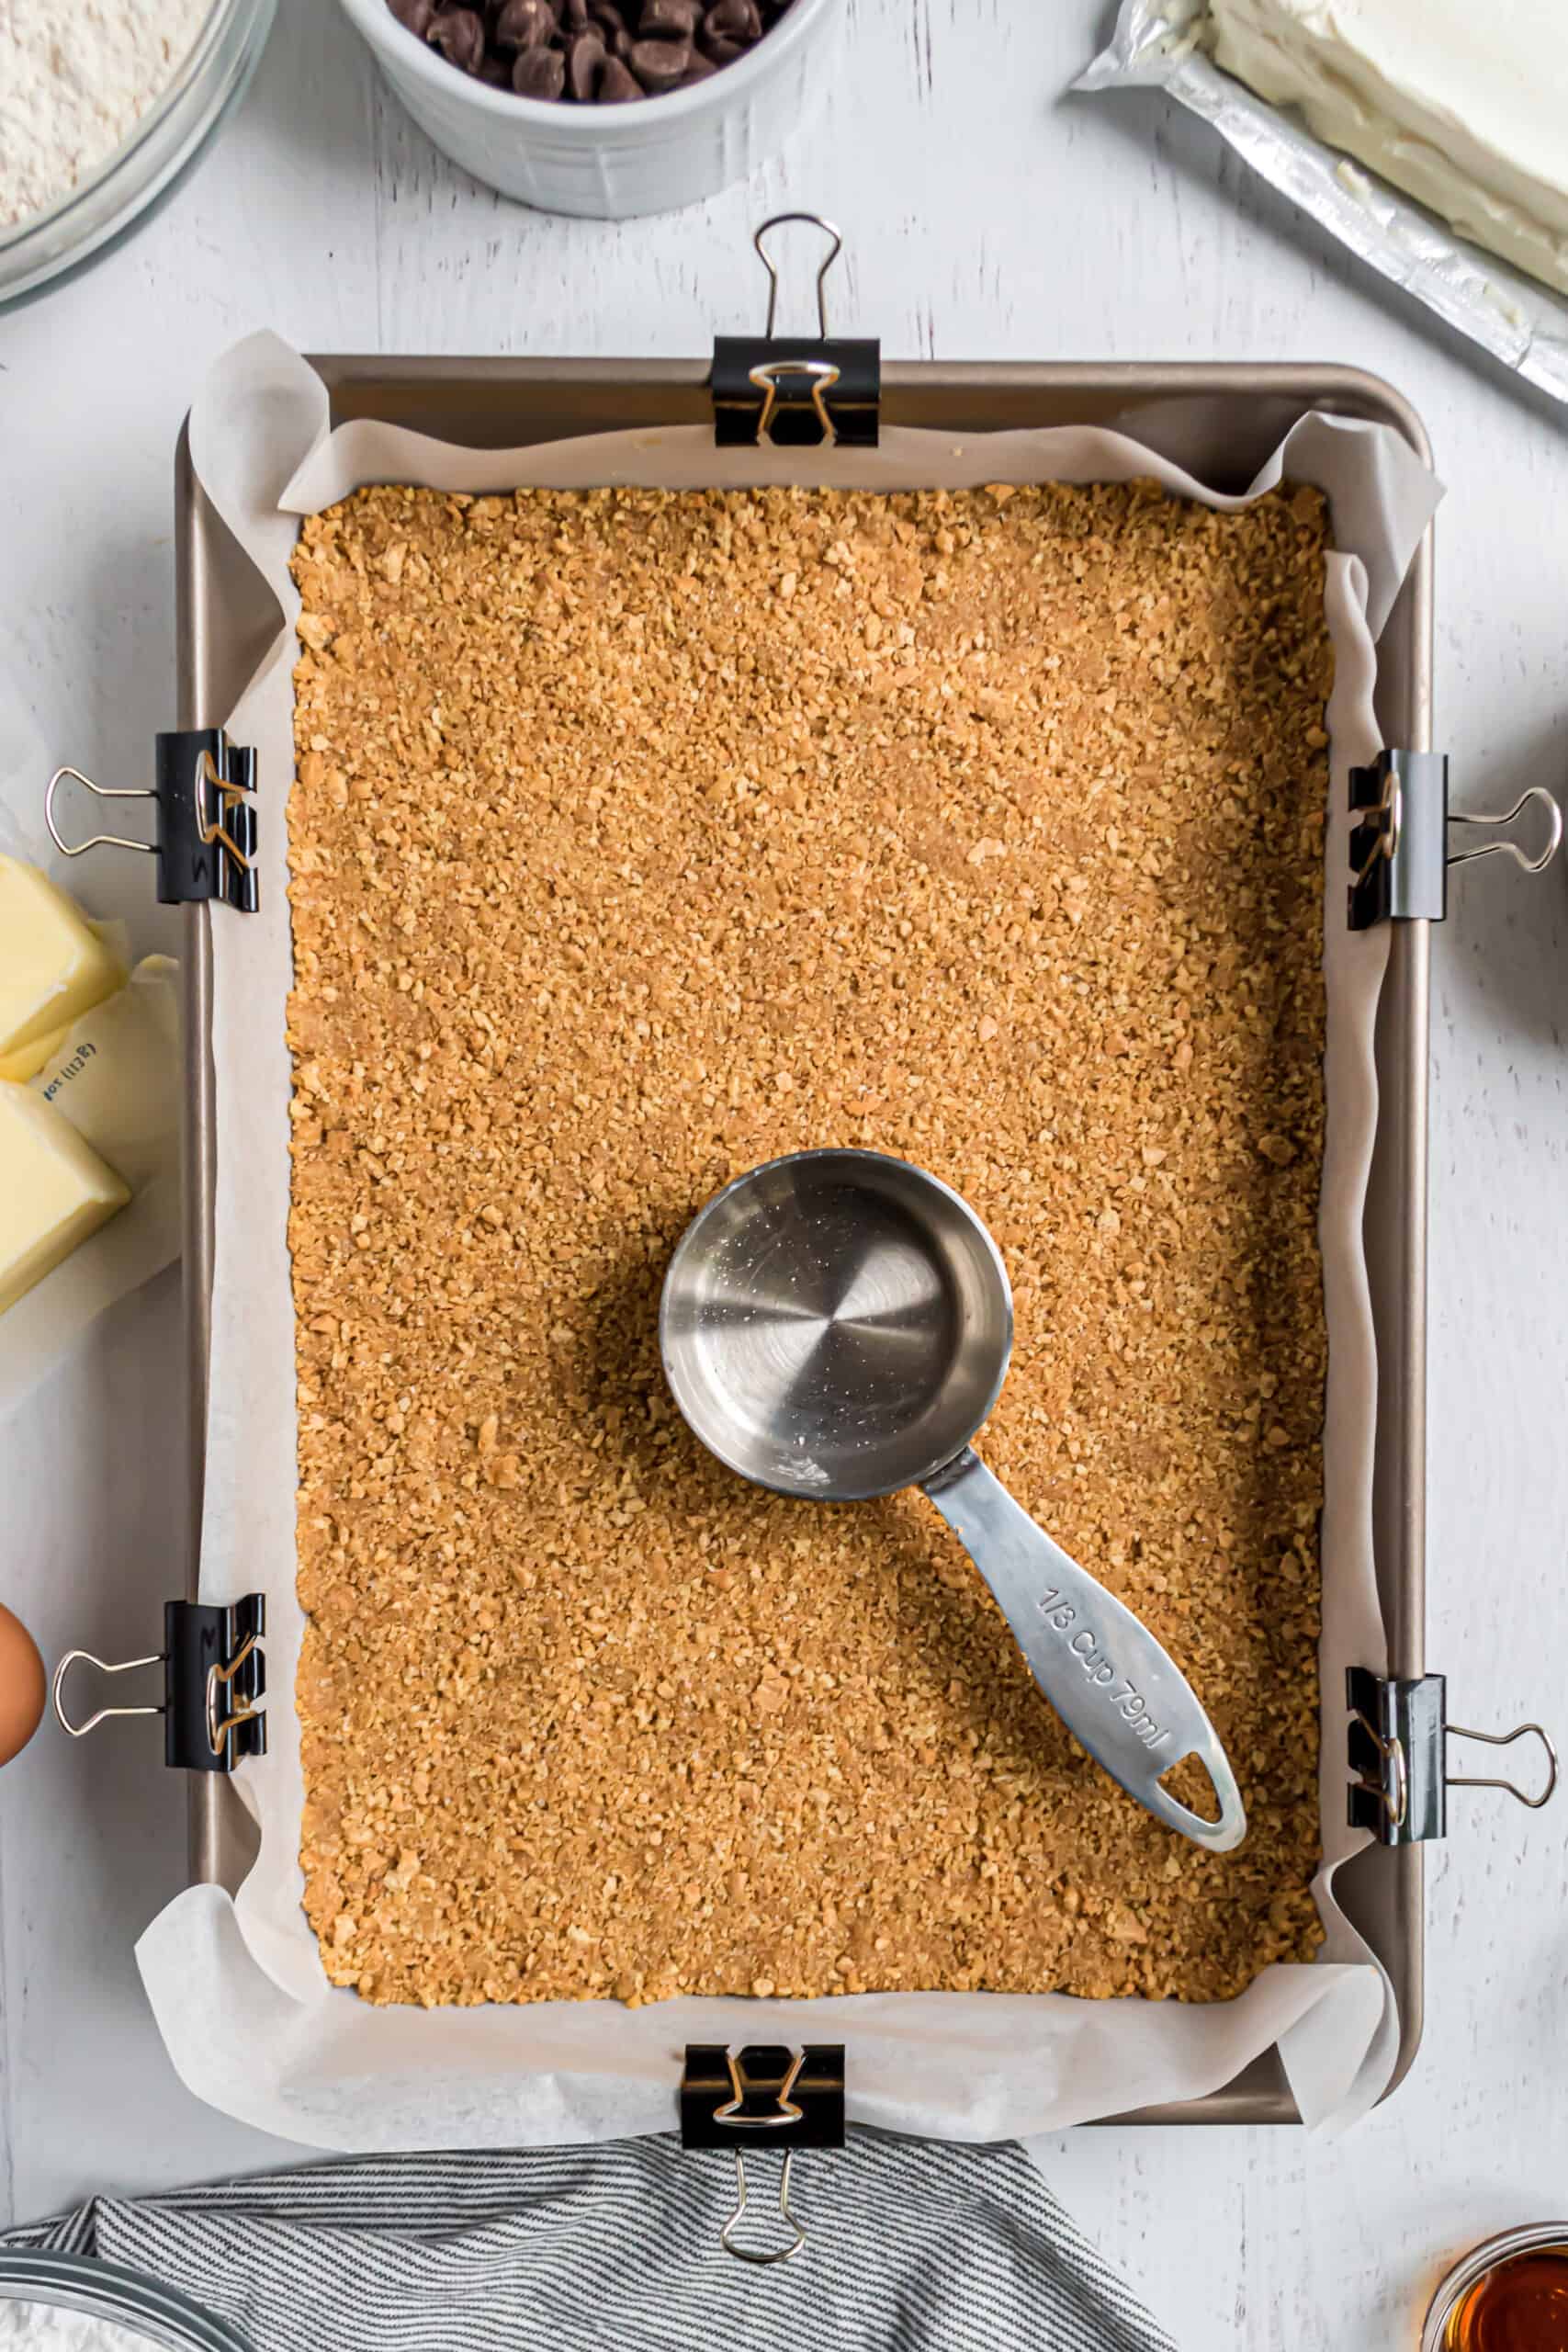
Press the crust into the pans. As with Rice Krispie Treats the harder your press, the harder your finished crust will be. In this case though, YOU WANT THAT.
Can I make a graham cracker crust without a food processor?

It’s easiest to make graham cracker crust using a food processor. To achieve the crumb texture, graham crackers need to be crushed into a sand-like consistency.
- If they’re not fine enough the butter won’t hold them together and you’ll have a crumbly mess on your hands.
- Some readers have had success using a mallet and a little elbow grease to crush the crumbs but we don’t recommend it for this recipe. It’s time consuming and doesn’t produce consistent results–just sore arms!
The good news is that you can purchase ready-made graham cracker crumbs at the grocery store! If you don’t have a food processor, we recommend using the store bought crumbs for this recipe.
Measure the graham cracker crumbs according to the recipe. Use a form to stir them together with the melted butter and sugar, until combined.
Should I blind bake my graham cracker crust if I’m using it in a no-bake recipe?
There is no need to bake this graham cracker crust.
The crackers themselves are already baked, so there is no food safety risk in skipping the baking.
However blind baking the crust does give it a crispier texture that some bakers prefer for no-bake recipes.
To blind bake graham cracker pie crust:
- Preheat the oven to 350℉.
- Place the pie crust in the center rack of the oven.
- Bake for about 10 minutes or until you see the edges begin to brown.
If you choose to blind bake the crust, make sure to cool the crust completely before adding the filling!
What is the key to a graham cracker crust that doesn’t fall apart?
Butter!
Graham cracker crust falls apart when it’s dry. Moisture and fat from melted butter hold the crumbs together. Typically, the more butter your crust has, the less likely it is to fall apart.
Our recipe has ⅓ cup of melted butter. You may add up to ½ cup total, depending on how the crust is holding together. That said, it is possible to add too much butter to a graham cracker pie crust! Any more than ½ cup tends to make the crust hard.
For best results, make sure all the crumbs are being coated and the melted butter is evenly distributed when you combine the crust ingredients. Even distribution of butter is key to a crust that holds its shape.
Recipe FAQs
Graham cracker crust becomes hard if its pressed too firmly into the baking dish. You want to use just enough pressure to hold it together but not be rock solid.
You sure can! You may want to blind bake it first before freezing. This helps it hold up better during storage. Once it’s cooled, wrap the graham cracker crust tightly with saran wrap and keep frozen for up to 3 months.
If your graham cracker crust is soggy, make sure you are using real butter (and not a low fat spread or margarine).
Do I have to line my baking dish?
- No lining is required for no-bake recipes made in a pie plate like our No Bake Cheesecake.
- For no-bake recipes made in a square baking dish, we recommend lining your dish with foil first before adding the crust. Foil lining makes it easier to serve the dessert from the pan or add the ability to lift it out and cut for serving, like we do with these Apple Cheesecake Bars with Caramel
- For recipes that require baking, like our Key Lime Pie Bars, we recommend lining your baking dish with parchment paper first.
Serving Suggestions
- This Banana Split Cheesecake is sweet, refreshing, and flavorful! Top it with some Toasted Pecans for a nice crunch!
- Make this Blueberry Cheesecake and impress your family and friends! Easy, simple, and packed with that fresh blueberry flavor!
- These creamy Chocolate Chip Cheesecake Bars are the perfect weeknight treat! Simple to make and eat!
- Try out this No Bake Cheesecake, so simple you won’t believe! Add a rich, decadent chocolate ganache frosting on top!
- These Mini Malt Ball Cheesecakes are the perfect single-serving Easter treat!
Pin this now to find it later
Pin It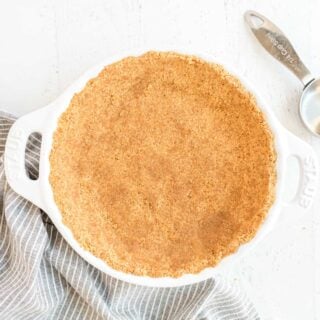
How to Make a Graham Cracker Pie Crust
Ingredients
- 1 ¼ cups graham cracker crumbs about 9 full size crackers
- 2 Tablespoons granulated sugar
- ⅓ cup unsalted butter melted
Instructions
- In a food processor, pulse graham crackers into fine crumbs. Add sugar and pulse a few times. Add melted butter. Pulse until crumbly.
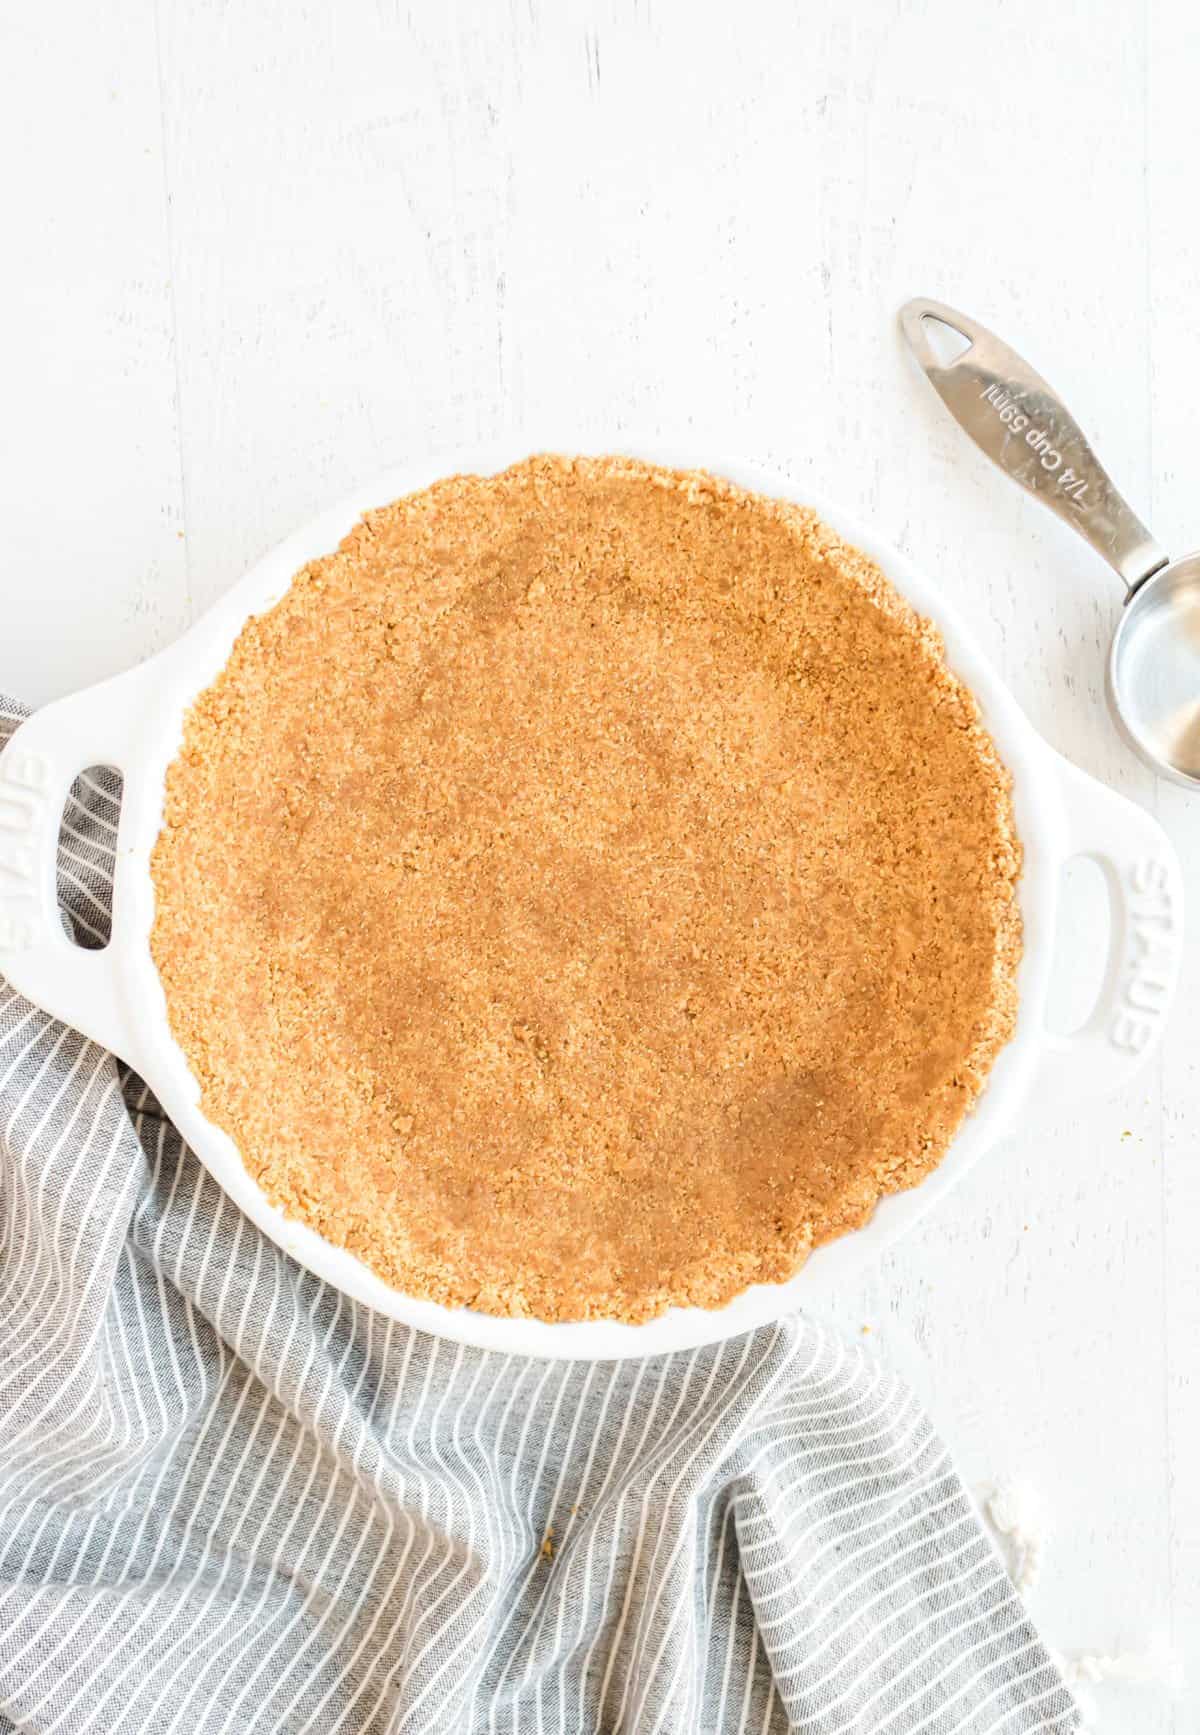
- Pour mixture into desired dish (see notes below).
- Using the bottom of a measuring cup, or the palm of your hand, firmly flatten and compress the crumb mixture. If making the crust in a pie plate, press the crust up the sides of the dish first, making sure the crust is high enough to hold the filling, and then work on the flat surface.
- Fill and enjoy!
Notes
- Works for an 8 or 9-inch pie plate, an 8”x8” or 9”x9” square baking dish. Recipe can be easily doubled to make 2 graham cracker crusts or 1 larger crust to fit in a 9”x13”. If using a 9-inch springform pan, double the recipe so that the crust can go up the sides (or if you only want the bottom covered, keep recipe as is).
- This graham cracker crust is very versatile, because it can be used for no bake and bake recipes.
- Can I freeze my crust for later? Sure! You may want to blind bake it first so that it holds up during storage. After it has completely cooled, wrap tightly in saran wrap and freeze it for up to 3 months.
Nutrition
More Baking Basics
See all Basics recipes


Life is sweeter when you know how to make graham cracker pie crust! This easy recipe is the only one you’ll ever need for any recipe that starts with graham cracker crust!

I needed a pie crust for a pie that I was making this weekend and this was PERFECT! Thank you!
This is one recipe everyone needs. A keeper for sure!
Love this graham cracker pie crust recipe! So easy to make and love this recipe.