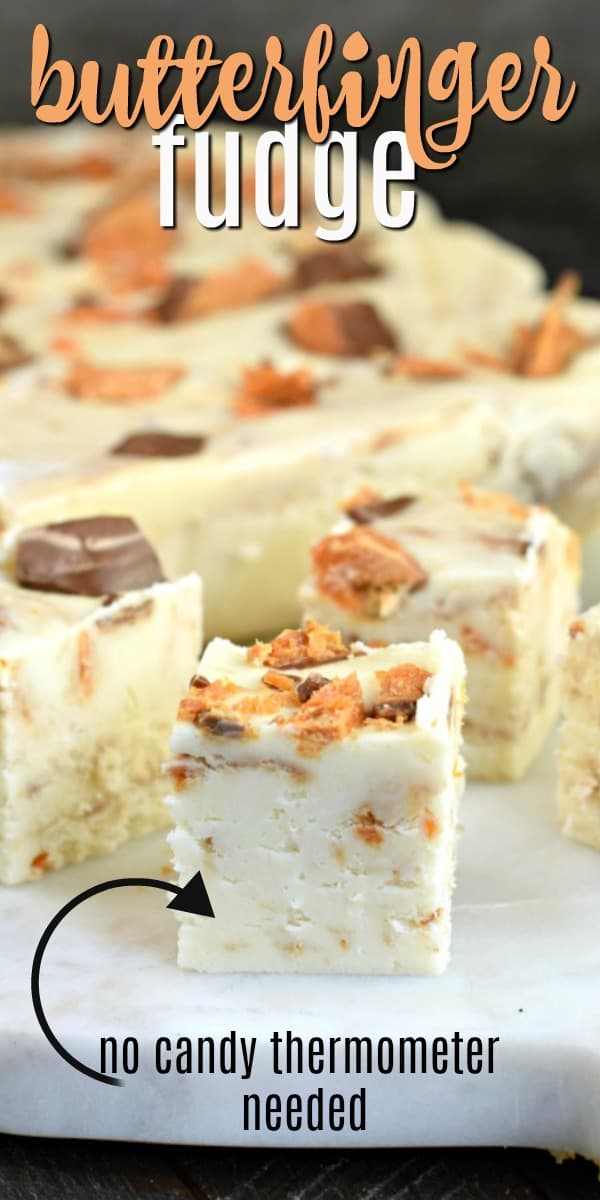
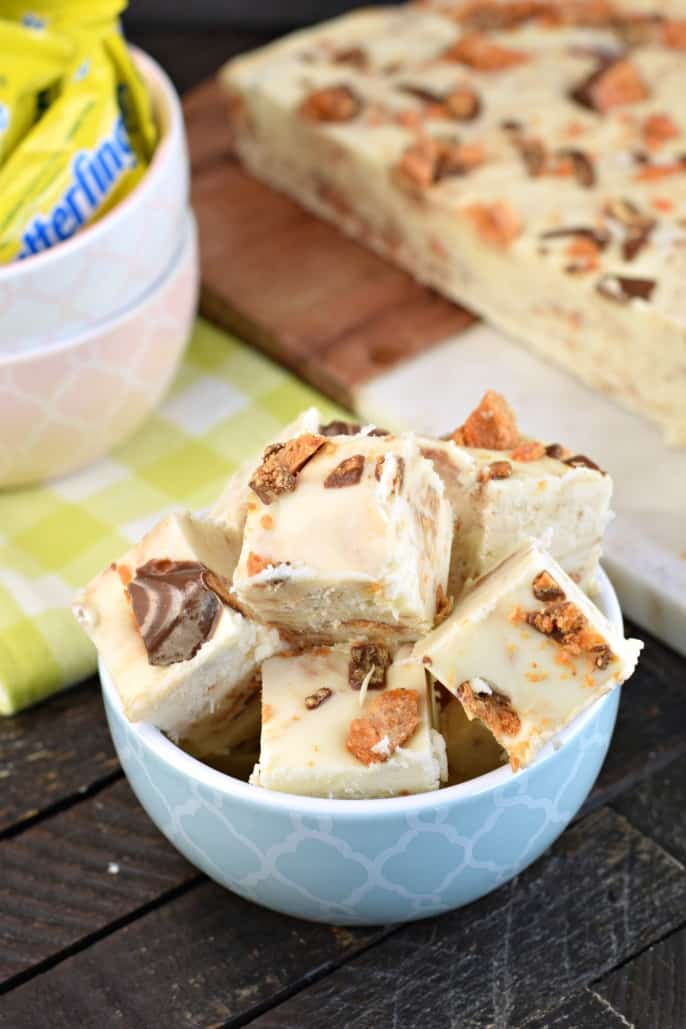
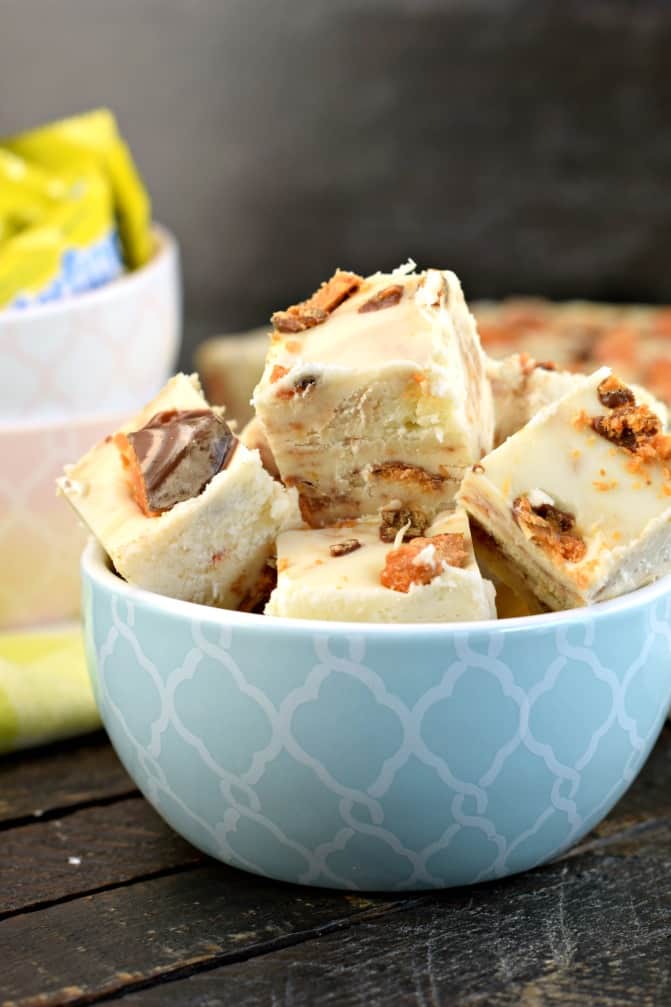
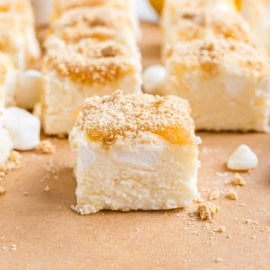
Sweet vanilla fudge filled with pieces of Butterfinger candy. This delicious Butterfinger Fudge recipe will remind you just how much you love those crunchy peanut butter candy bars! No candy thermometer needed!
Adding butterfinger candies to dessert is so easy and delicious. Try making this Butterfinger Cookie recipe soon! Or add some crushed candy bars to frosting and make these delicious Butterfinger Cupcakes for your next party.
Vacation Fudge
On one of our vacations this summer, I tried Butterfinger fudge for the first time. Since then, I have seen it at several more fudge shops. Who knew this was such a hot flavor!
Why had I never thought to put butterfinger candy bar pieces into fudge before?
I love Peanut Butter Fudge and White Chocolate Cookie Dough Fudge so combining the chocolate coated peanut butter cookie pieces into one fudge recipe is a no brainer!
Make this to share with your family or add it to your list for including in this year’s holiday cookie trays!
Pieces of fudge wrapped in a festive container and tied with a ribbon also make wonderful hostess gifts and party favors! But I bet I don’t need to tell you what to do with fudge.
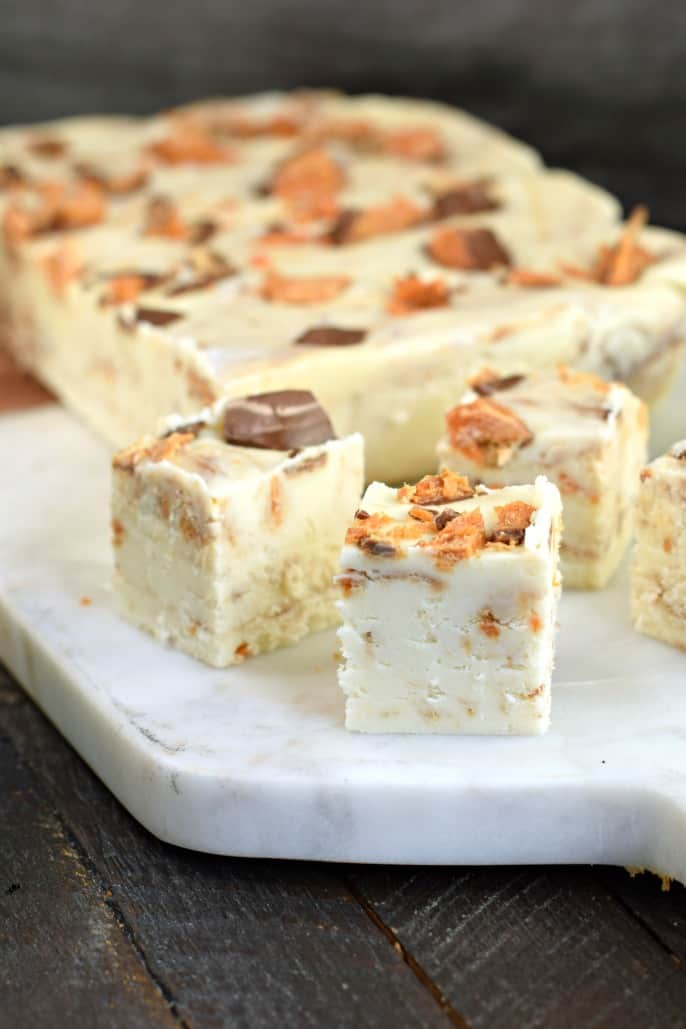
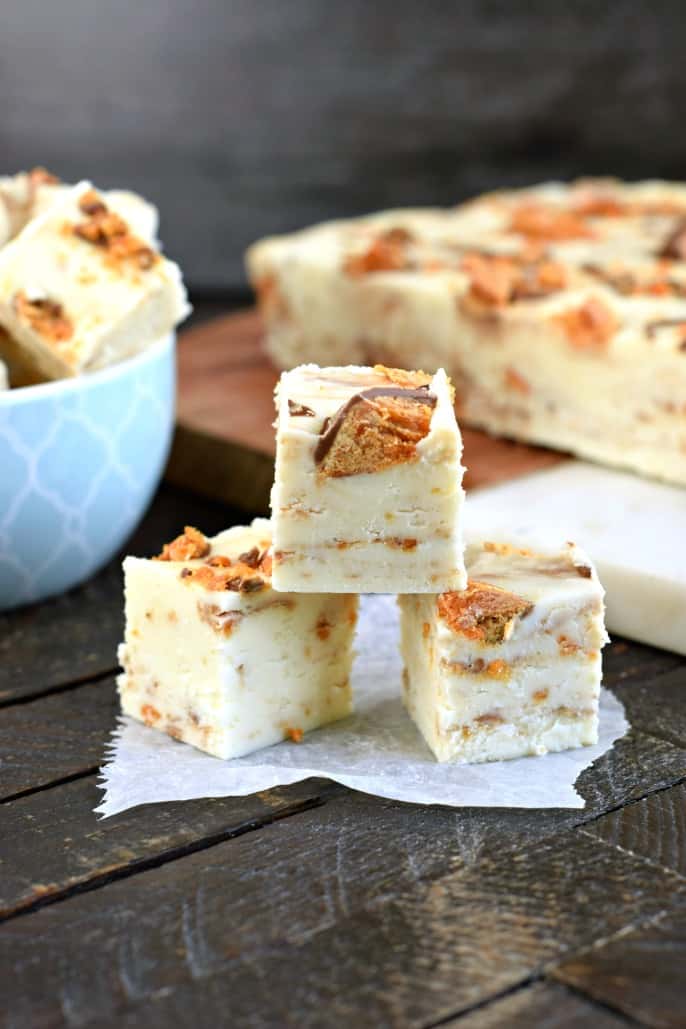
It’s rich, sweet and everyone loves it. End of story. Now let’s make some White Chocolate Butterfinger Fudge!
Vanilla or White Chocolate
The Butterfinger fudge I tried on vacation had a white chocolate base. I tried my best to mimic that here and I think the results were even better.
It’s technically a vanilla fudge since it doesn’t actually contain any cocoa butter.
In fact, most white chocolate fudges don’t contain any white chocolate at all! Call it vanilla or call it white chocolate–when you try it, you’ll agree that it’s delicious.
Using a vanilla fudge in this recipe helps the flavor of the butterfingers stand out!
Every bite of fudge includes creamy vanilla, sweet milk chocolate and peanut butter flavor. The best of everything, in my opinion!
There’s a misconception that homemade fudge is tricky to make. While it takes precision to make real fudge the way a candy shop makes it, you don’t even need a candy thermometer with this recipe.
Aimee’s Pro Tip
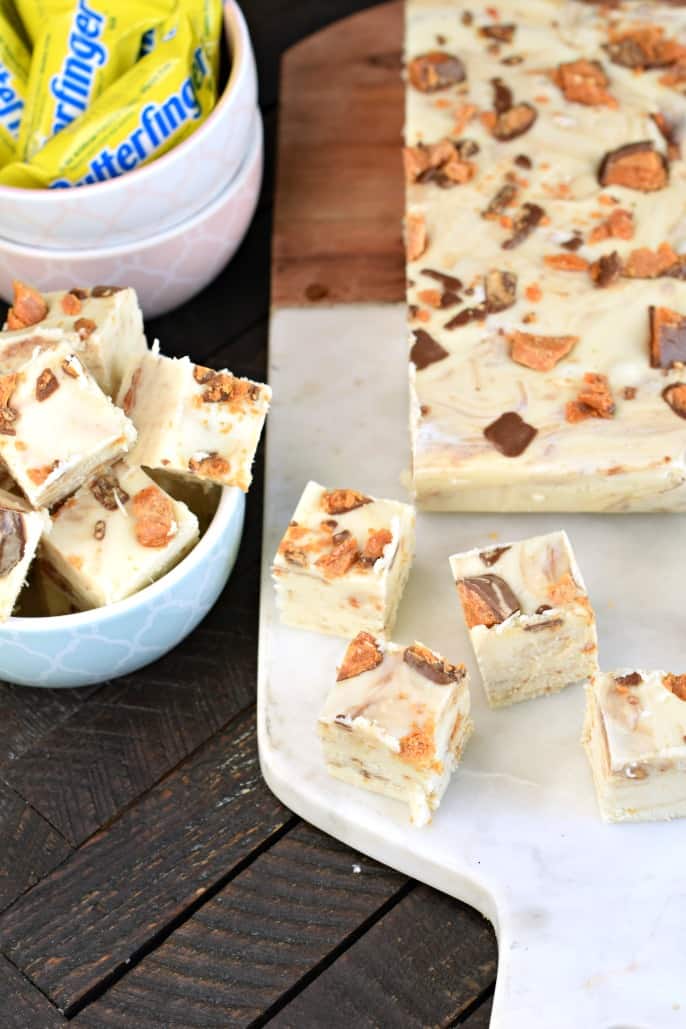
How to crush the butterfingers: Place the unwrapped bars in a gallon sized ziploc bag. Use a heavy rolling pin to break apart the bars. You don’t want to pulverize the bars; we’re going for lots of chunky pieces rather than pure crumbs.
Storage tips
- Store this fudge at room temperature for best flavor. While some fudge can last a long time, the butterfingers get chewy after about a week.
- Be sure to keep the peanut butter fudge in a container with a sealed lid. This is important for keeping the fudge moist and smooth. No one wants dry crumbly fudge, right?
- If you don’t want to eat the fudge right away, you can also freeze it!
To freeze fudge: Place squares of fudge in a freezer safe bag, with wax or parchment paper between layers to keep them from sticking together. Thaw in the fridge or on the counter top.
More Easy Dessert Recipes
- Make this easy and creamy Maple Peanut Butter Fudge for a delicious treat!
- Lover of chocolate and PB? This smooth and creamy Chocolate Peanut Butter Fudge is just for you then!
- Flavorful and buttery smooth, these Butterfinger Fudge Cookie Bars are absolutely incredible!
- Make some fun and festive Candy Corn Cookies that bring some of your favorite treats together!
- Creamy Peanut Butter Cookies just got easier! Try this 3 Ingredient PB Cookie recipe that even your kids can help with!
Pin this now to find it later
Pin It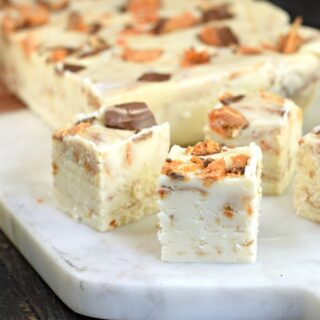
Butterfinger Fudge
Ingredients
- 2 cups granulated sugar
- ¾ cup heavy whipping cream
- ¾ cup unsalted butter
- Pinch of kosher salt
- 11 ounce white chocolate chips
- 1 jar marshmallow cream 7 ounce
- 8 snack sized Butterfinger bars crushed
Instructions
- Prepare an 8-inch square baking dish by lining it with parchment paper. Set aside.
- Add white chocolate chips and marshmallow cream to a large mixing bowl. Set aside.
- In a large, heavy saucepan, add butter, cream, sugar and salt. Bring to a boil over medium high heat, stirring frequently. Once boiling, continue to boil for a full 5 minutes, stirring constantly.
- Remove from heat and pour over white chocolate and marshmallow cream. Using an electric mixer, blend for about one minute, until chips or morsels are melted and mixture is smooth.
- Add chopped butterfinger candy to top, or fold into the fudge (my favorite way). Pour mixture into prepared baking dish and allow to set firm at room temperature, for about three hours.
Notes
- This recipe uses 8 snack size butterfingers (not the MINI sized bars). Or use 4 full size bars.
- Once set, cut into bite sized pieces and store in an airtight container at room temperature for up to one week, or freeze fudge for up to 3 months.
Nutrition
Unwrap a few butterfingers and make this fudge! You’ll be glad you did.

Made this for a group of friends, and it was a HUGE hit!
I love your fudge recipes. Any time I need a recipe for candy in a particular flavor, I come to you. This one sounds absolutely delicious.
Thank you 🙂
Aimee, I love ur reciepes but I have a question
U say to use a 11×7 pan can find one would
a 10x 7 1/2 work or a 12 1/2 x 8 1/2 work better
Please let me know going to try this tomorrow
Thanks
I LOVE YOUR RECIEPES
I WANT TO RUNSOME OFF BUT I DON’T SEE A PLACE TO RUN THEM OFF
I did use the candy thermometer (although it is old). They taste fine, just don’t look pretty. My husband ate them though.
This is what happened to me, I think I may have beaten it too long. I dont have a mixer. So I did it a little longer and it started to set in the bowl, so it looks a little crumbly but is delish none the less 🙂 I will definitely try this one again
If your fudge comes out crumbly, it means you cooked it for too long and some of the water has evaporated away from the fudge and that causes it to become crumbly. If your fudge doesn’t then you didn’t boil it for long enough, so it really has nothing to do with your mixing technique and everything to do with setting the timer for five minutes and pulling it as soon as the timer goes off. Hope that helps.