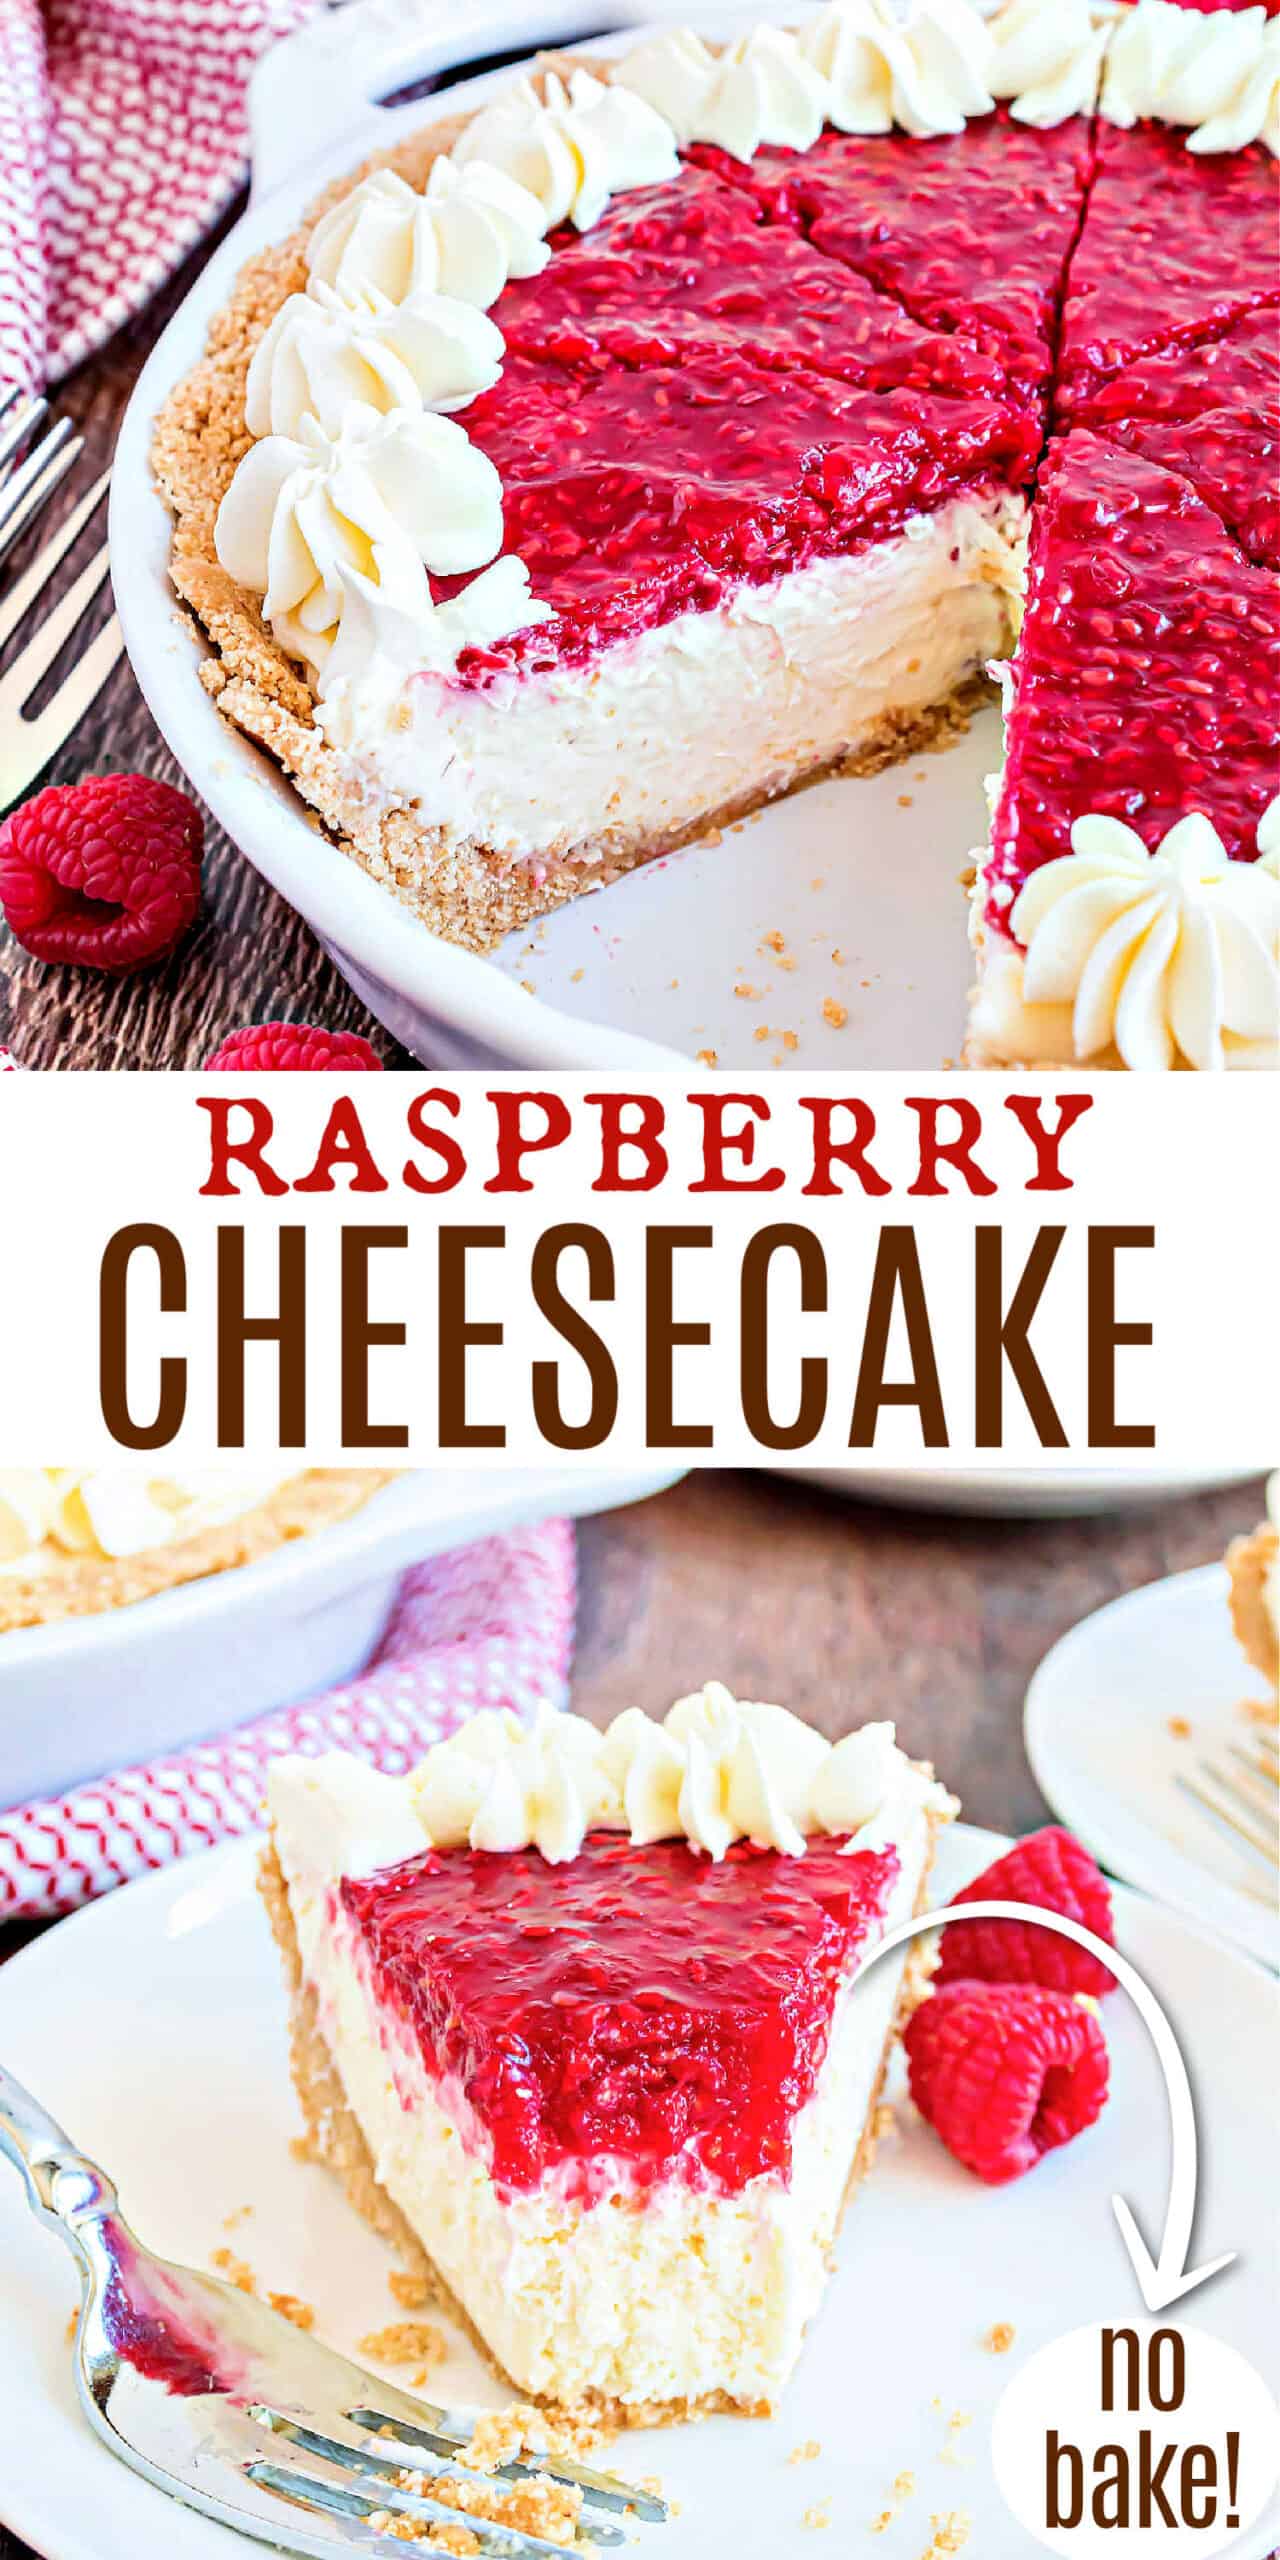
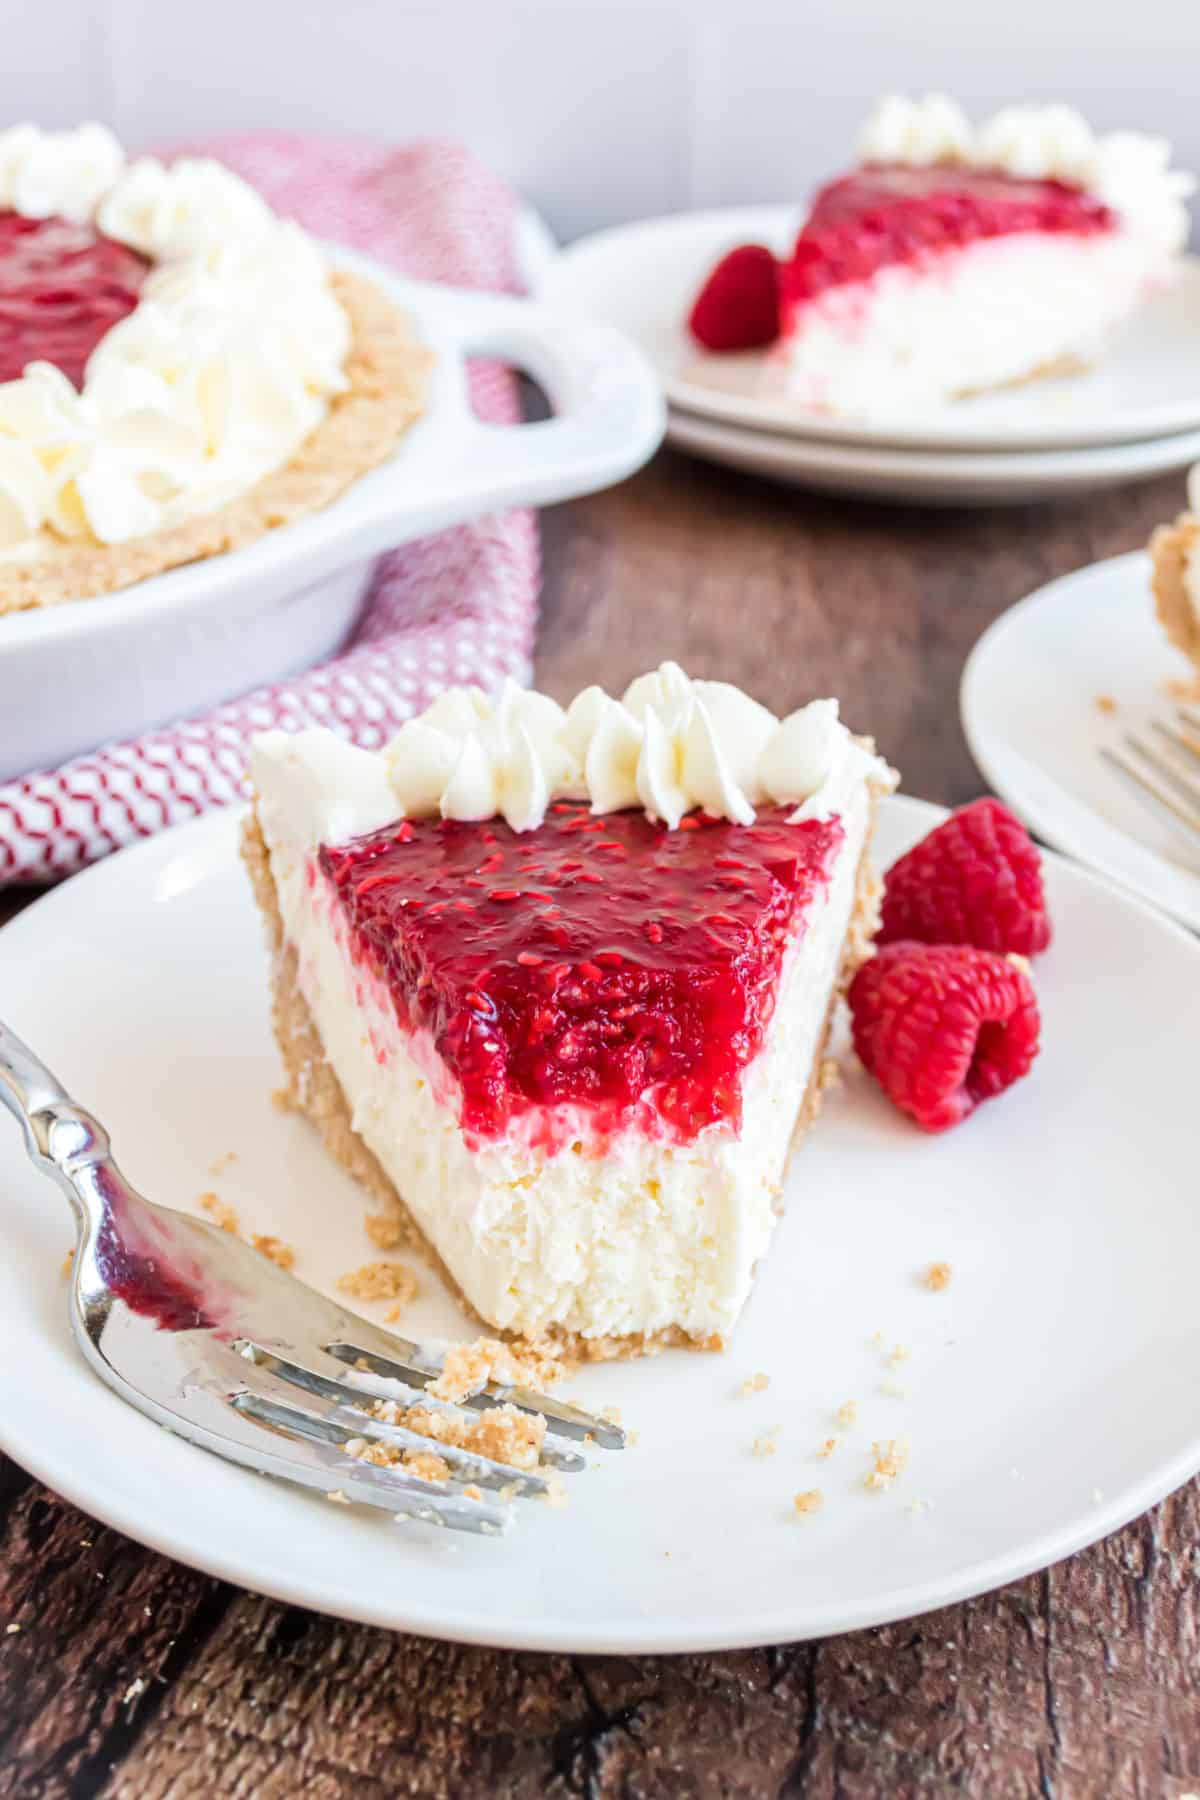
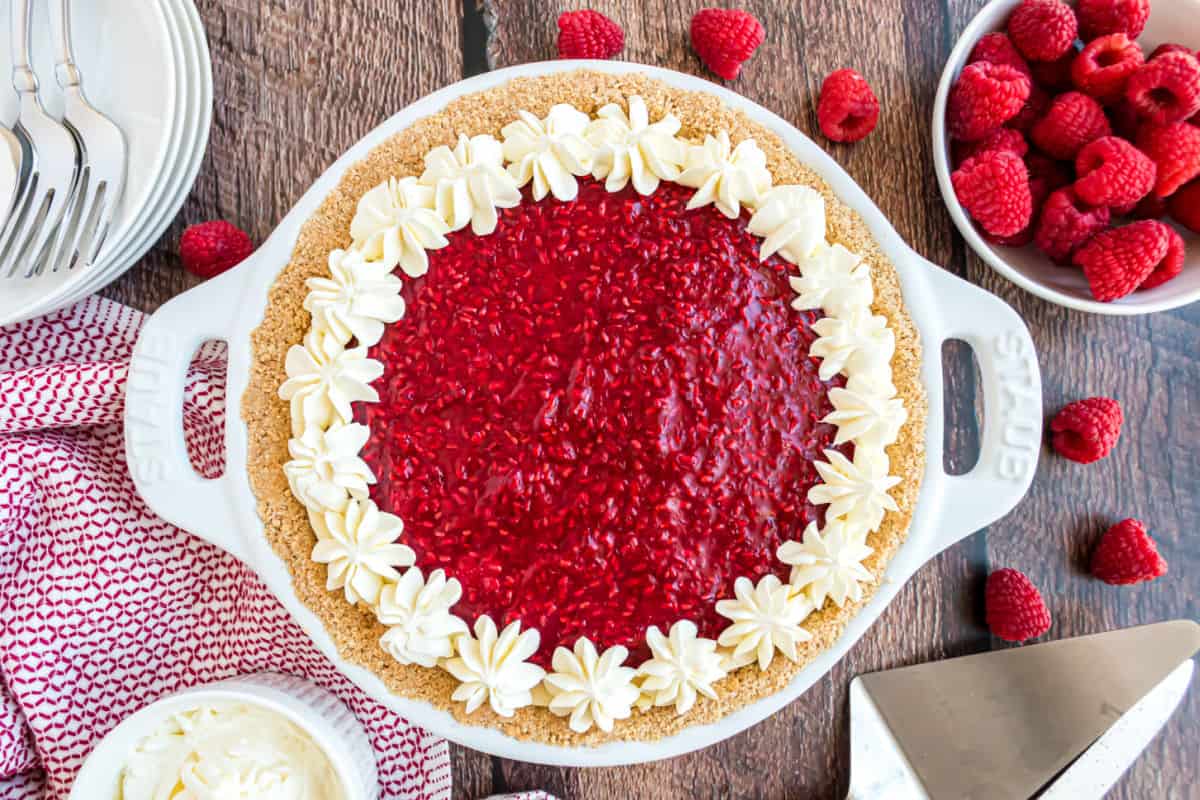
This easy No Bake Raspberry Cheesecake is a beautiful and delicious dessert with a graham cracker crust, creamy, luscious filling and tons of fresh raspberry flavor in the topping!
We’re big fans of raspberry desserts. From creamy raspberry truffles (dipped in dark chocolate) to my easy copycat Subway raspberry cheesecake cookies, today’s recipe ranks high on our must make list.
Why This Recipe Works
My no bake cheesecake recipe is a dream come true when you want a fuss-free dessert without having to turn on the oven!
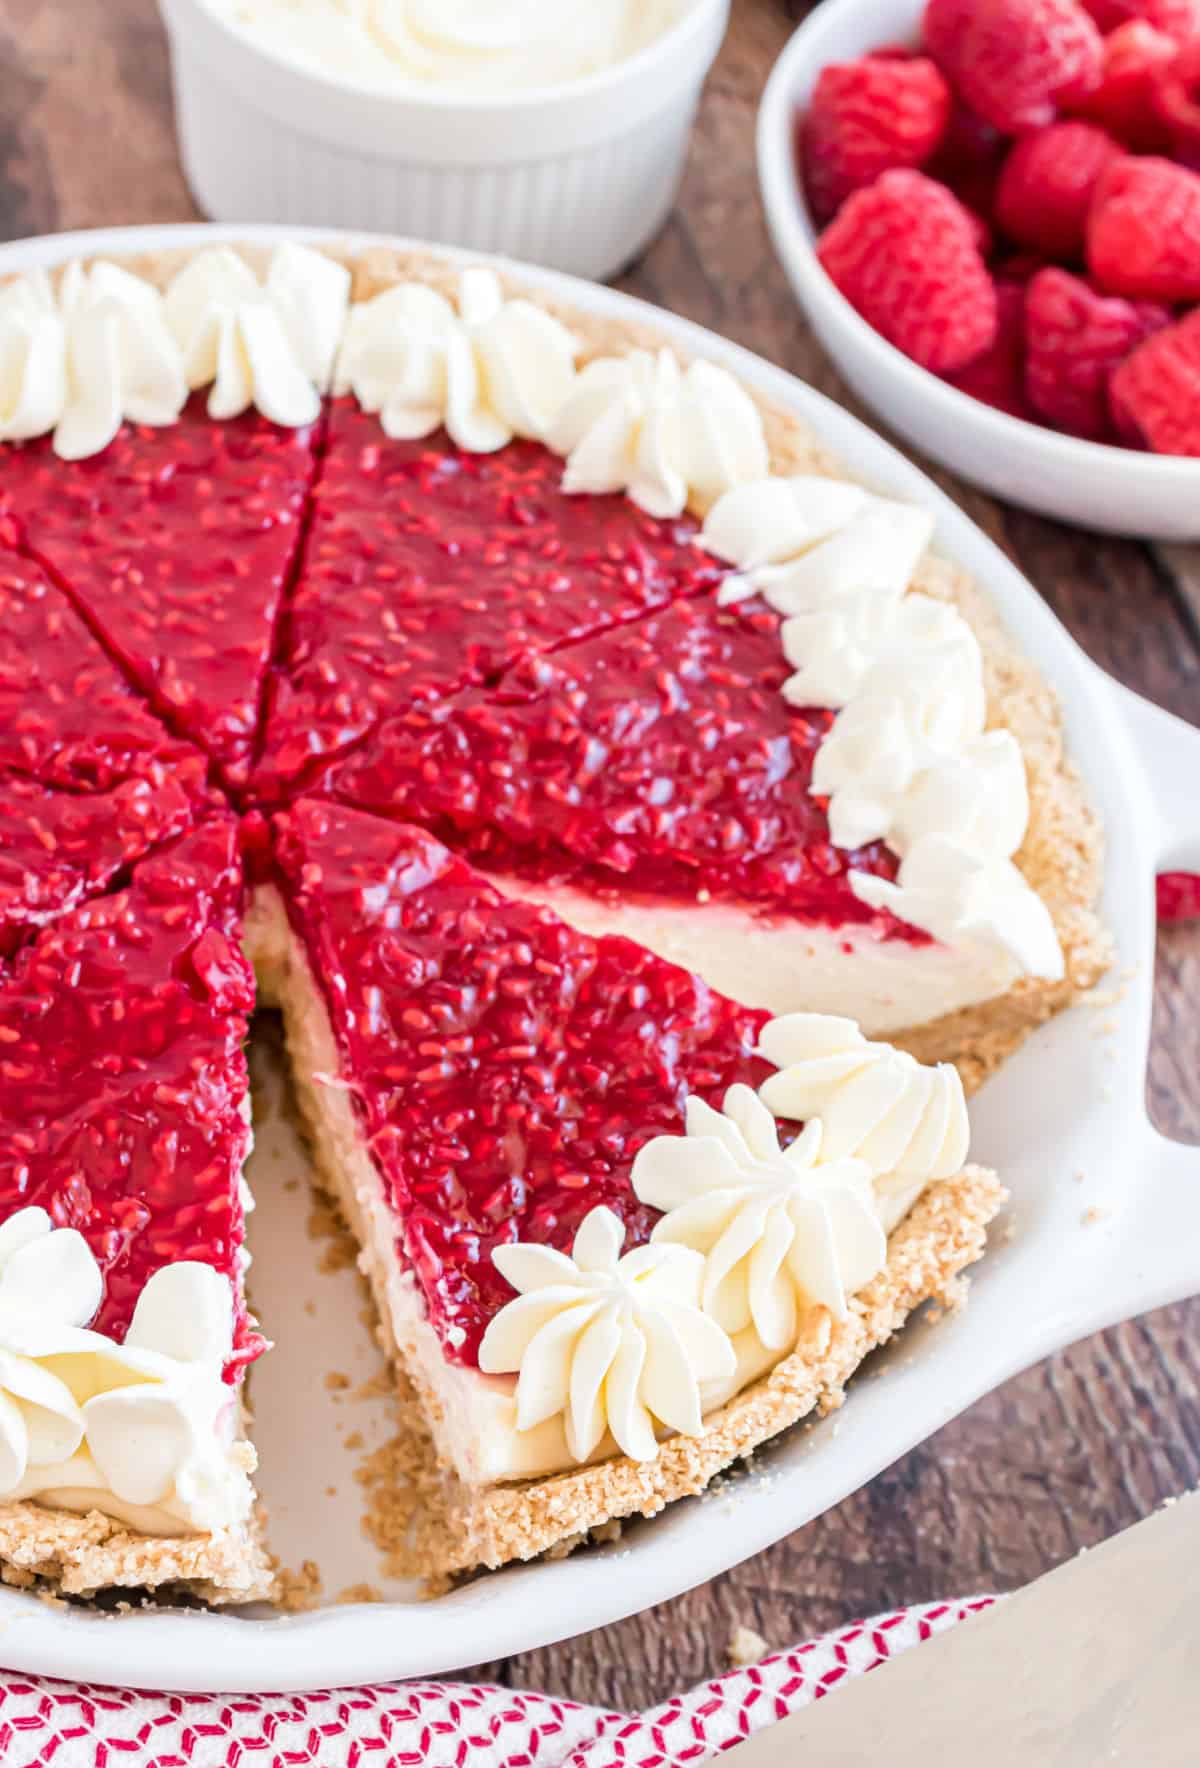
This recipe has 3 layers of deliciousness – the crunchy graham cracker crust, the creamy, dreamy cheesecake filling and the fruity raspberry topping.
- No baking needed! Both the crust AND the filling are no bake.
- Served in an easy, homemade graham cracker crust.
- An easy to make cheesecake layer that is just 5 ingredients.
- A gorgeous raspberry topping takes this to the next level!
If you love easy cheesecake recipes, you’ll want to try my no bake strawberry lasagna. Beautiful presentation too! OR give my no bake funfetti cheesecake a try, with your choice of colorful sprinkles for any holiday or party!
Ingredient Notes
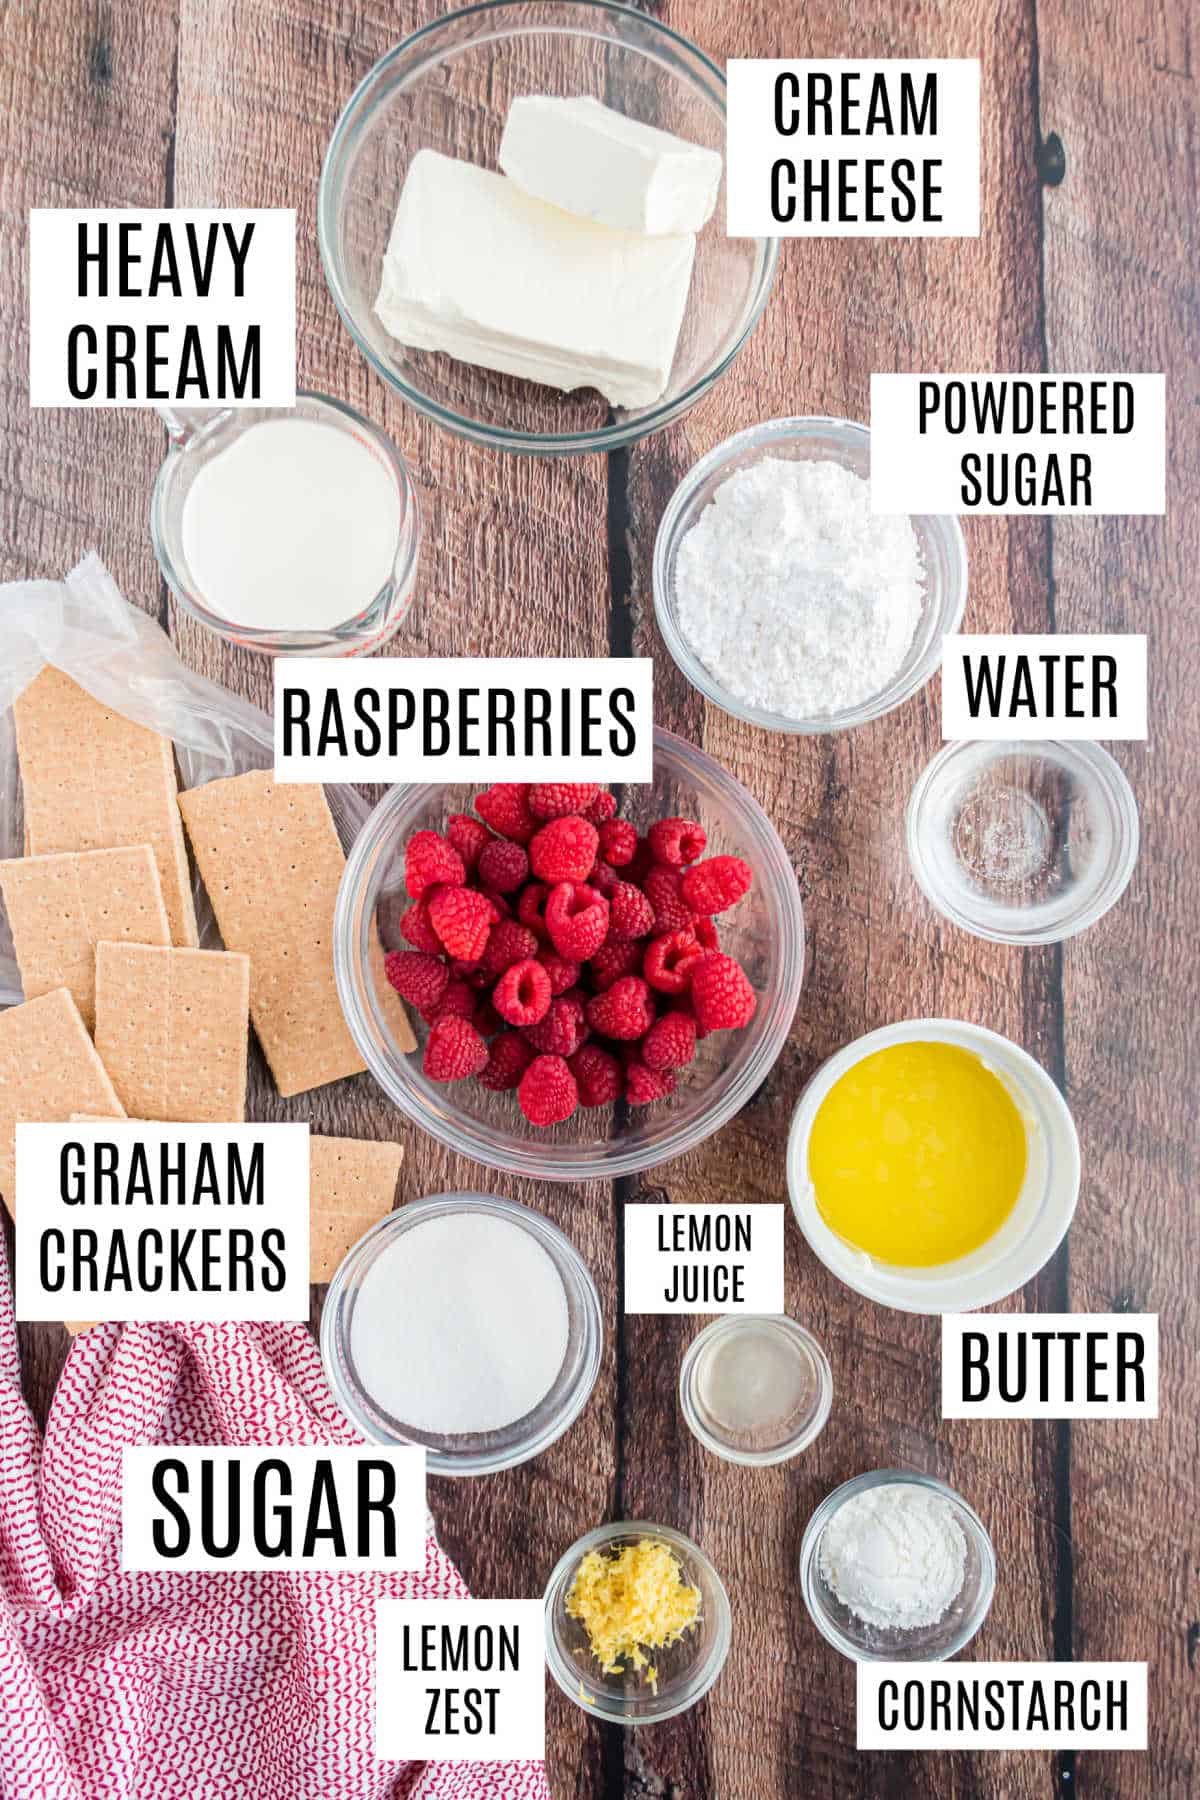
- Graham cracker crust – Check out all our tips and tricks for how to make a graham cracker pie crust for this no bake cheesecake recipe. You could also use Nilla Wafers or substitute a store-bought graham cracker crust if you prefer.
- Heavy cream – We’re whipping this until it forms stiff peaks to add to the cream cheese mixture for a super light and fluffy cheesecake filling.
- Cream cheese – Make sure to use the full fat variety and let it soften on the counter for a few minutes so it’s easier to blend. Also, be sure to use the block cream cheese, not the kind in the tub.
- Raspberries – Feel free to use fresh or frozen (thawed) raspberries for this recipe.
- Lemon zest – Use our tips and tricks on how to zest a lemon for best results.
Easy Instructions
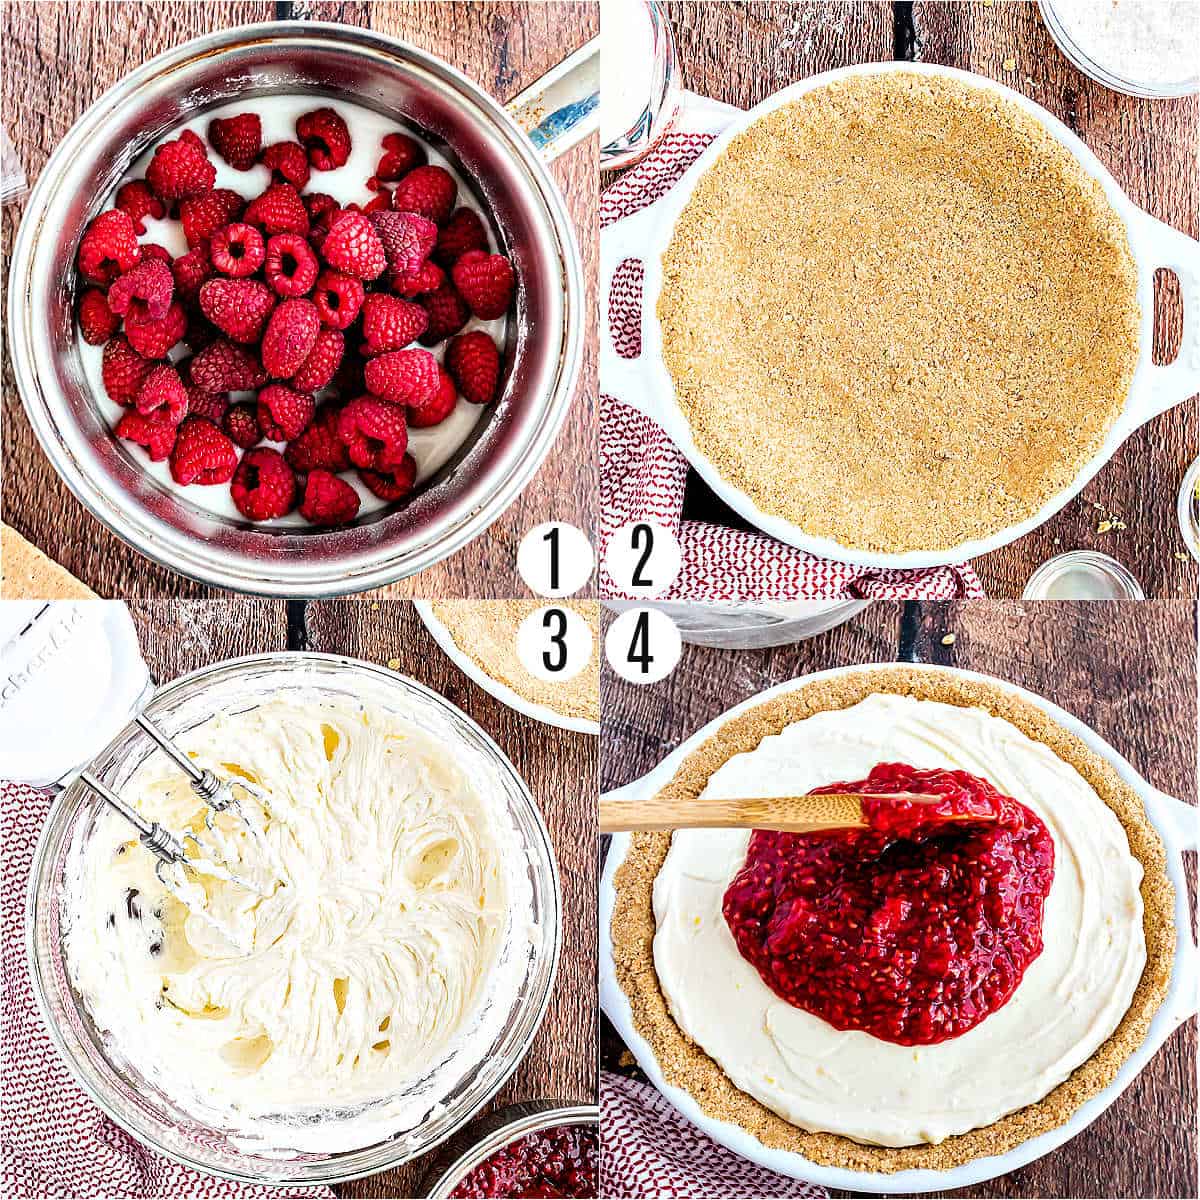
Make the raspberry topping. Whisk the cornstarch and sugar in a large saucepan until no lumps remain. Add raspberries, water and lemon juice and stir gently to combine. Cook over medium until the mixture thickens and becomes translucent. Remove from heat and let cool completely before topping the cheesecake.
Make the crust. Pulse the graham crackers in a food processor until they’re in crumbs, then mix in the sugar and butter. Press the crumb mixture into the pie plate. Use the bottom of a cup or the heel of your hand to press firmly in – and make sure to go up the sides of the plate.
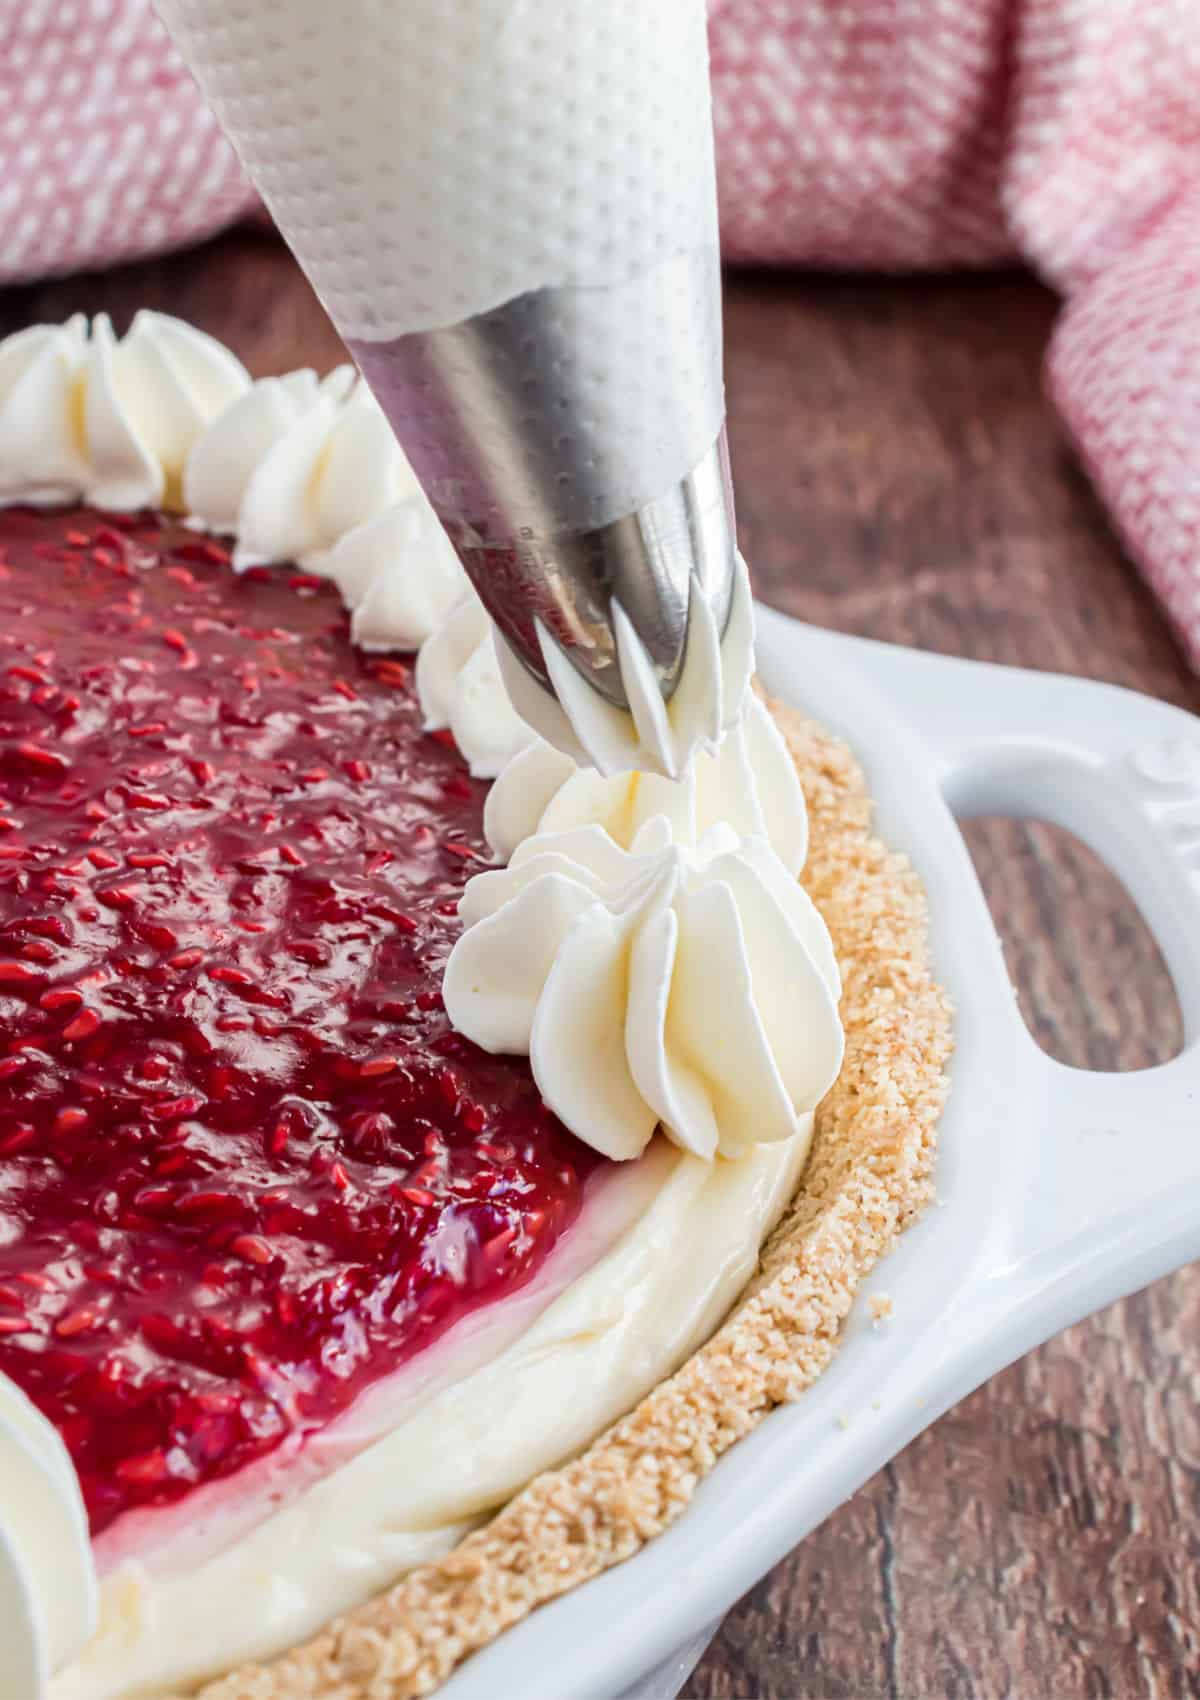
Make the filling. Beat the heavy cream until it forms stiff peaks. In a separate bowl, beat the cream cheese, powdered sugar, lemon zest and lemon juice until smooth. Fold in the whipped cream then pour over the crust.
Chill then serve. Add the raspberry topping on the cheesecake. Chill the cheesecake in the refrigerator for at least 8 hours – or overnight. Then slice and serve!
Tips and Tricks
- Make the raspberry topping FIRST so that it can cool completely before topping the cheesecake. Or you can refrigerate it separately and assemble right before serving.
- Use softened, room temperature cream cheese for the creamiest, smoothest filling. Also, be sure to choose the block of cream cheese, not the spreadable kind in a tub.
- Be sure to chill for at least 8 hours. This allows the filling to set to a sliceable consistency.
- Feel free to add homemade whipped cream or fresh raspberries as toppings.
Recipe FAQs
Sure. Instead of the homemade graham cracker crust, you could use an Oreo Pie Crust instead. Or swap out the homemade crust for a store bought version to make this recipe even easier!
Store the cheesecake, tightly covered, in the refrigerator for up to 4 days.
Yes! Wrap tightly in plastic wrap, then in aluminum foil, and freeze for up to 2 months. Thaw in the refrigerator overnight.
More Easy Dessert Recipes
- This easy No Bake Strawberry Cheesecake dessert is bursting with real strawberry flavor!
- A classic dessert like this Banana Pudding Recipe is exactly what you need on the menu soon!
- This Coconut Cake is just my classic white cake with a nutty upgrade!
- This warm, ooey gooey, Slow Cooker Chocolate Cake is full of rich chocolate flavor! Prep it in only 5 minutes!
- Red Velvet Cake is a delicious layered cake with a tangy cream cheese frosting to put this cake on top of my love list!
Pin this now to find it later
Pin It
No Bake Raspberry Cheesecake Recipe
Ingredients
For the Crust:
- 1 ½ cups graham cracker crumbs about 10 full size crackers
- ⅓ cup granulated sugar
- 6 Tablespoons unsalted butter melted
For the Cheesecake:
- 1 cup heavy whipping cream
- 12 ounces cream cheese softened
- ¾ cup powdered sugar
- 1 Tablespoon lemon zest
- 1 teaspoon lemon juice
For the Topping:
- 2 Tablespoons cornstarch
- ⅓ cup granulated sugar
- 2 cups fresh or frozen raspberries
- ⅓ cup water
- 1 teaspoon fresh lemon juice
Instructions
For the Crust:
- In a food processor, pulse graham crackers (about 10 full size crackers) to make 1 ½ cup crumbs.
- Add sugar and melted butter and pulse until blended. Press crumbs into the bottoms of an 8 or 9-inch pie plate. Use the bottom of a cup or the heel of your hand to press firmly (make sure to go up the sides of the plate).
For the Cheesecake:
- In a mixing bowl, beat the heavy whipping cream until stiff peaks form. Set aside.
- In a separate mixing bowl, beat cream cheese, powdered sugar, lemon zest, and lemon juce. Beat until smooth, scraping down the sides of the bowl as needed.
- Using your mixer on low speed, fold the cream mixture into the cream cheese mixture. Do this slowly (or by hand) so you keep the fluffy whipped cream.
- Spread into graham cracker crust.
For the Topping:
- In a large saucepan, whisk cornstarch and sugar until no lumps remain. Add raspberries, water, and lemon juice and stir gently to combine.
- Cook over medium heat, stirring frequently to prevent it from burning, until the mixture thickens and becomes translucent. This will take about 10 minutes.
- Remove from heat. Cool completely before topping the cheesecake. Use a slotted spoon so you don't have extra juices. See notes below.
- Referigerate cheesecake for 8 hours, or overnight.
Notes
- Make the raspberry topping FIRST so that it can cool before topping the cheesecake. Or refrigerate it separately and assemble right before servings.
- Cream Cheese- make sure you are using block cream cheese, not the spreadable cream cheese in tubs. You’ll need 1 ½ blocks of cream cheese.
- Not a fan of graham cracker crust? Use our favorite pie crust recipe instead!
- Granish with whipped cream, if desired.
- Store cheesecake in refrigerator for up to 4 days. Or freeze by wrapping in plastic wrap, then foil, for up to 2 months. Thaw in refrigerator overnight.


Everyone loved it! Made an Oreo crust.
Happy to hear this. LOVE the idea of chocolate crust!
Would this work in a 9 x13” pan ?