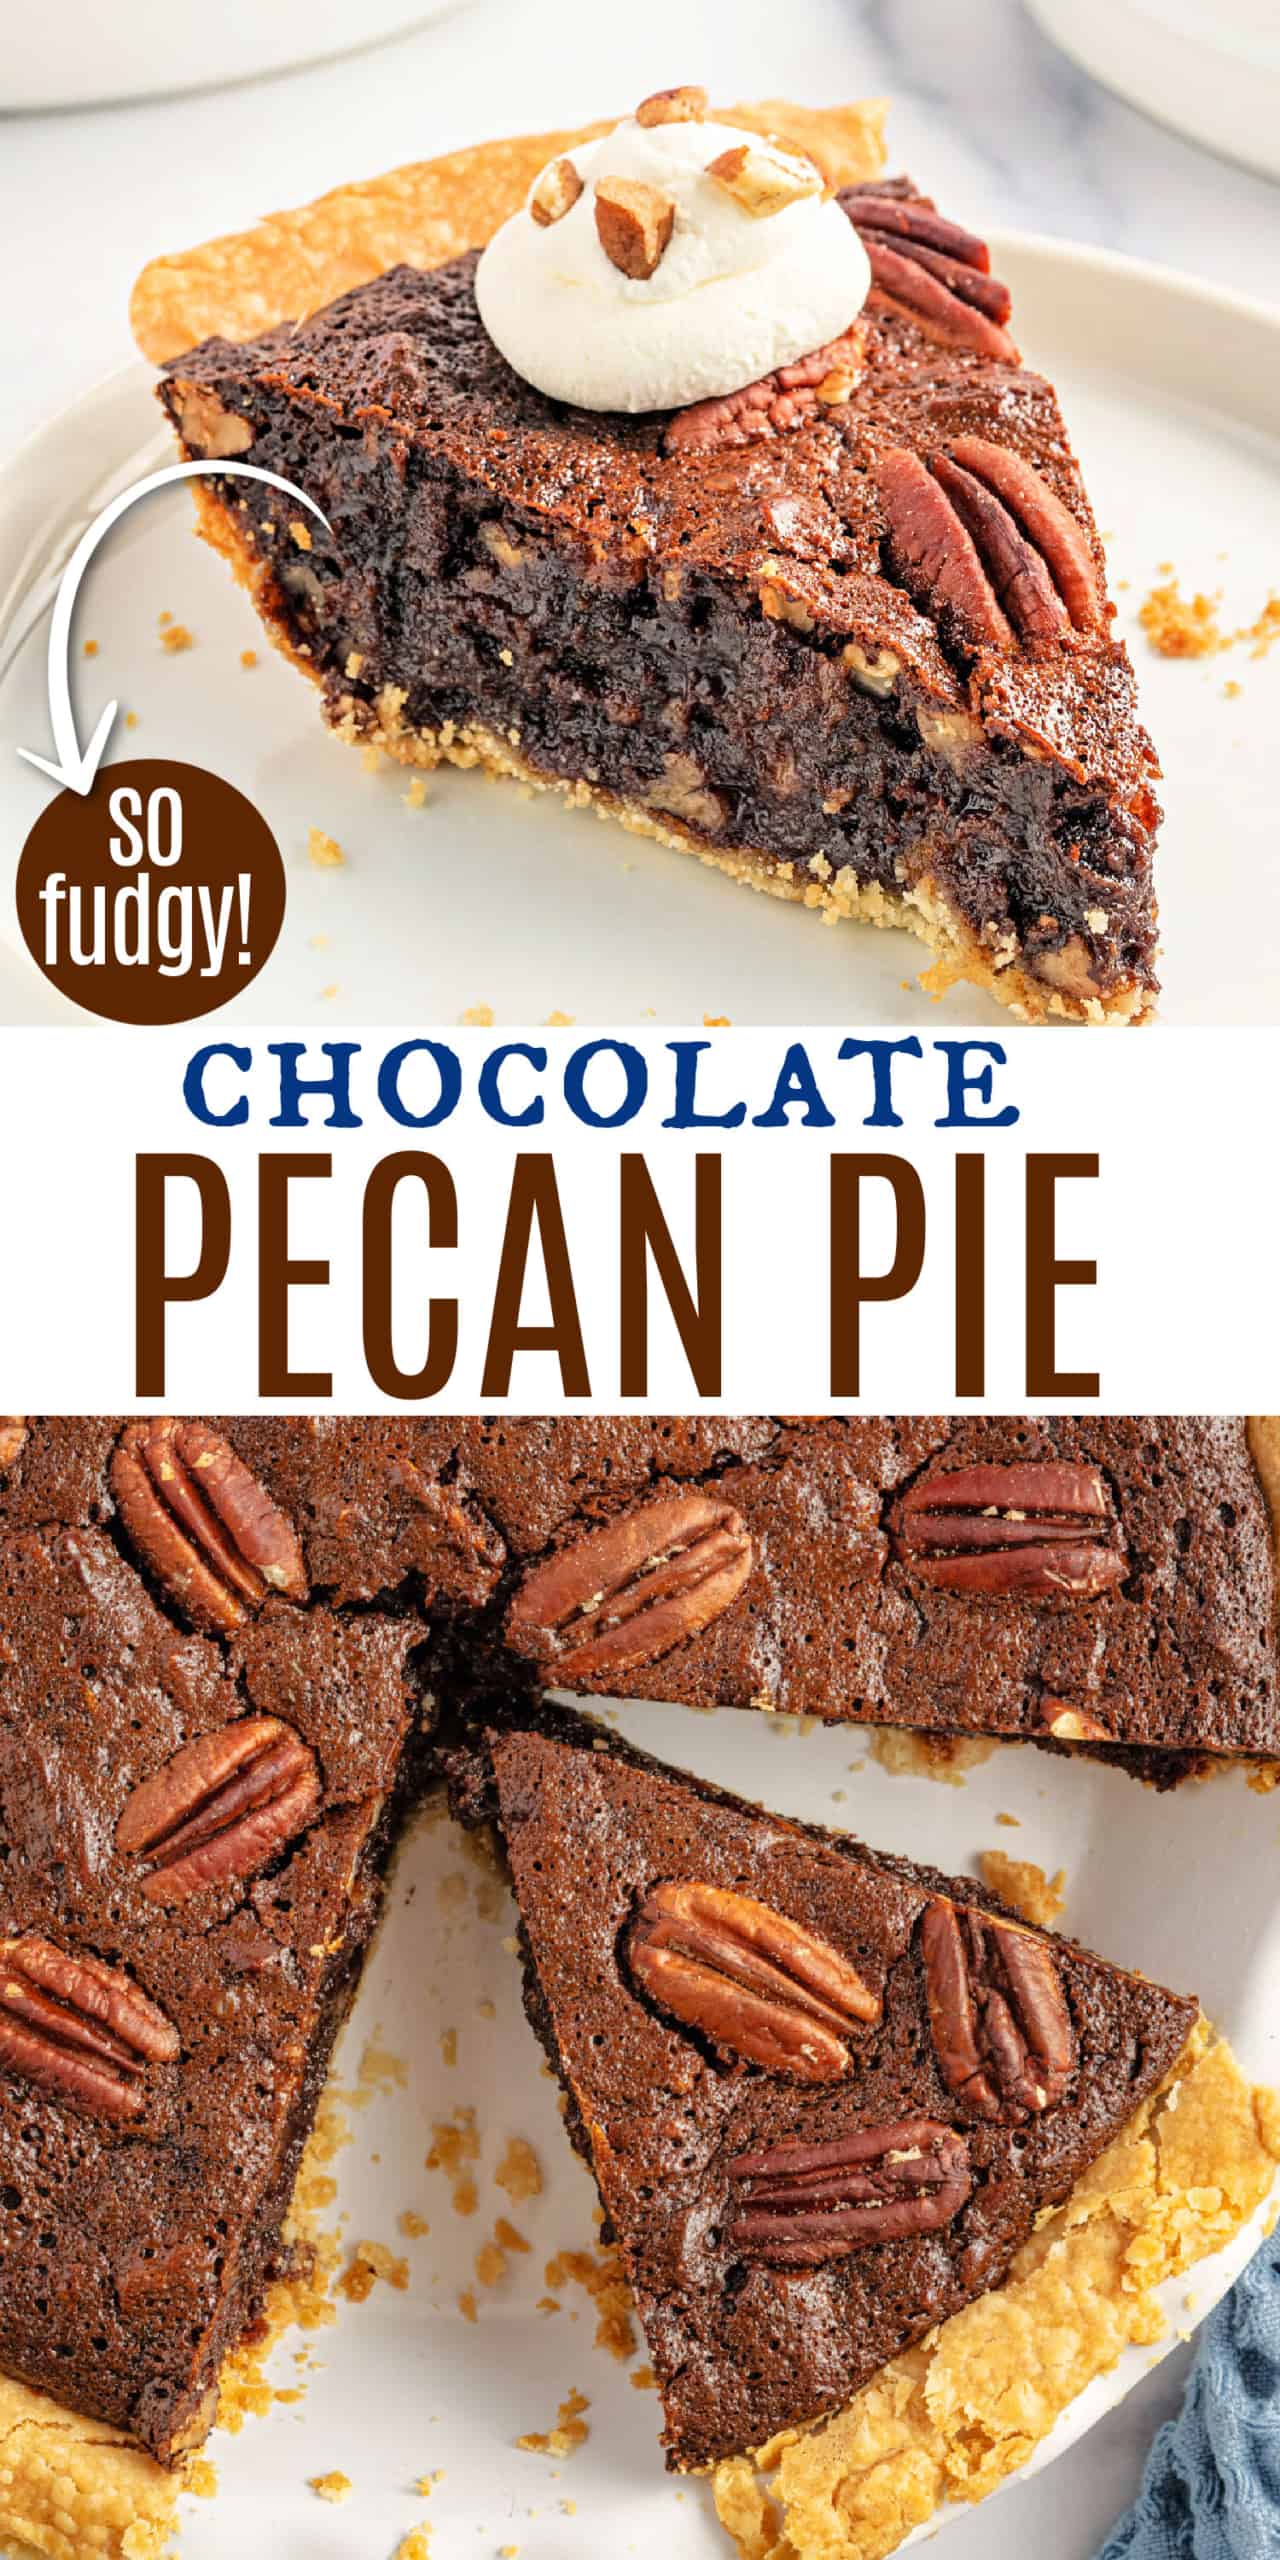
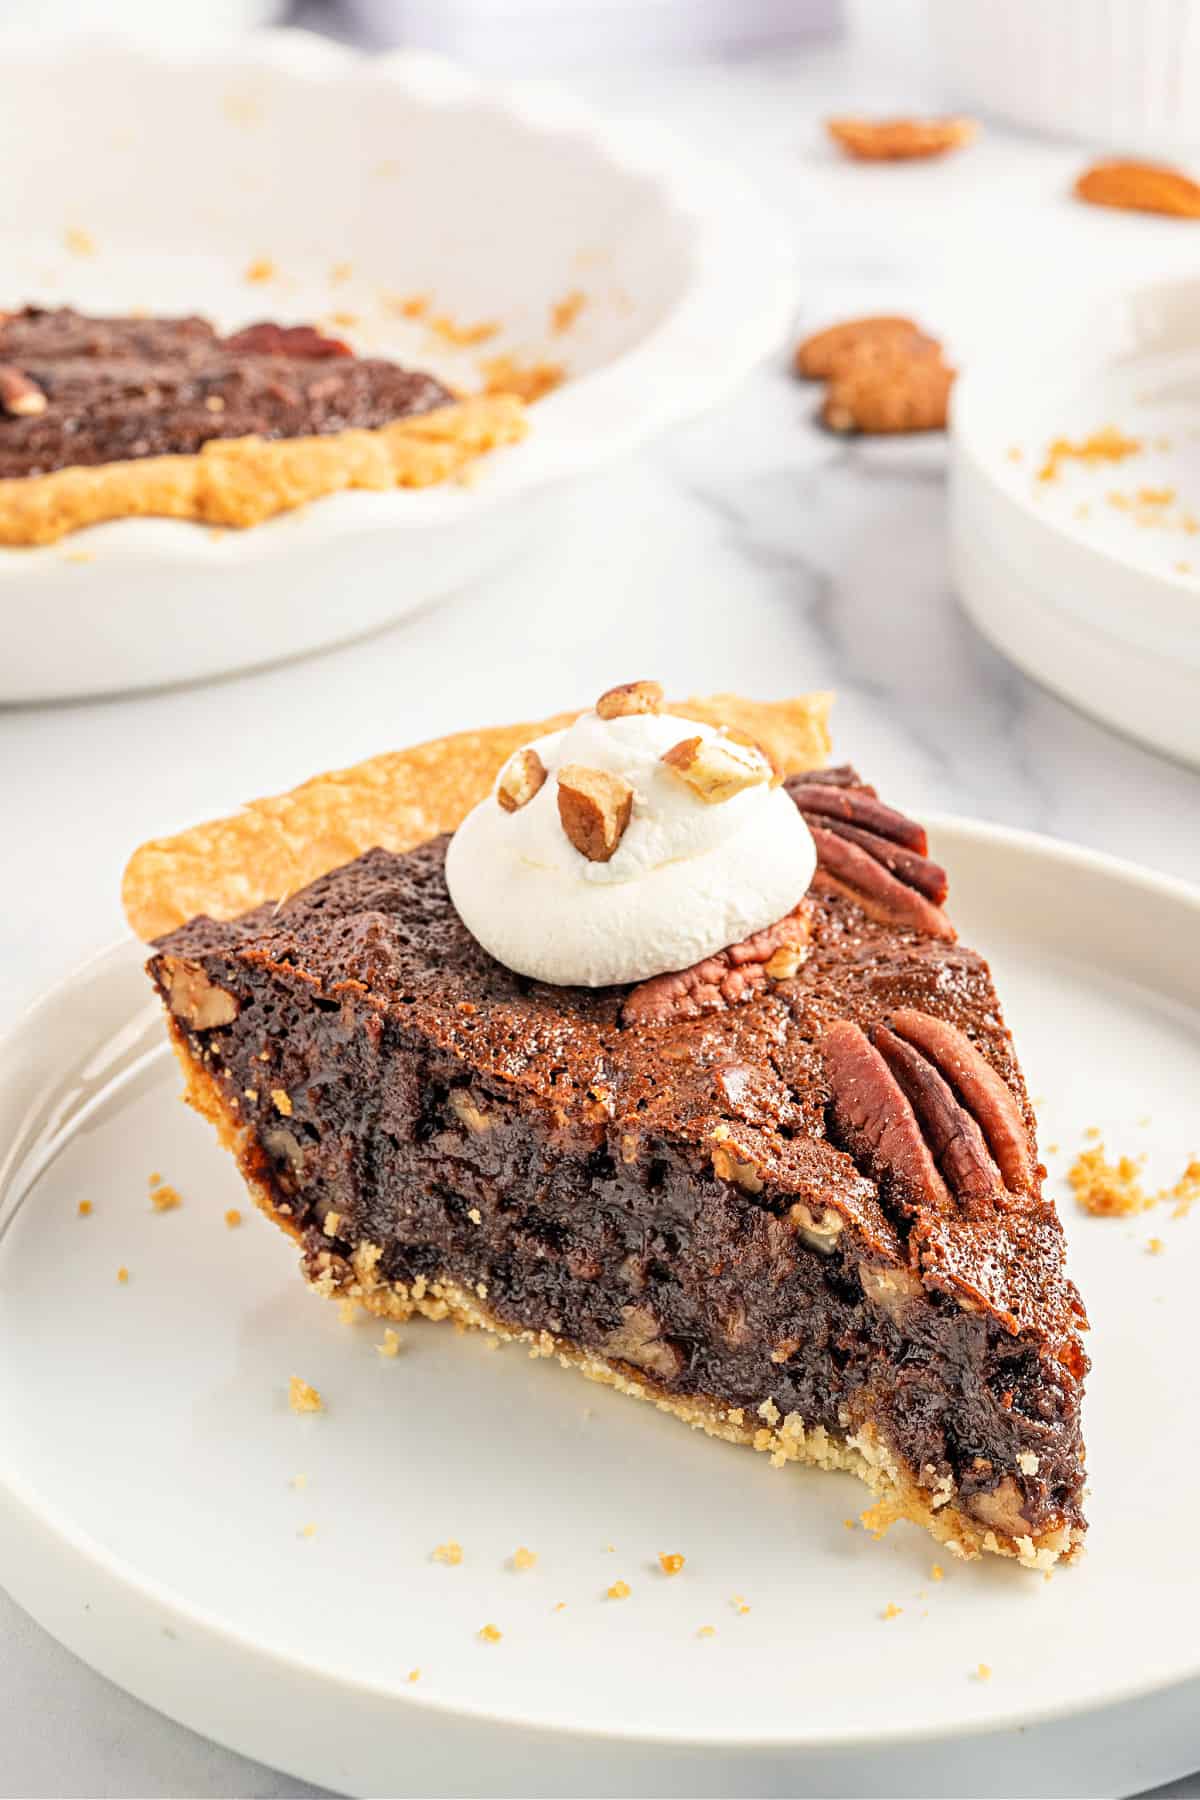
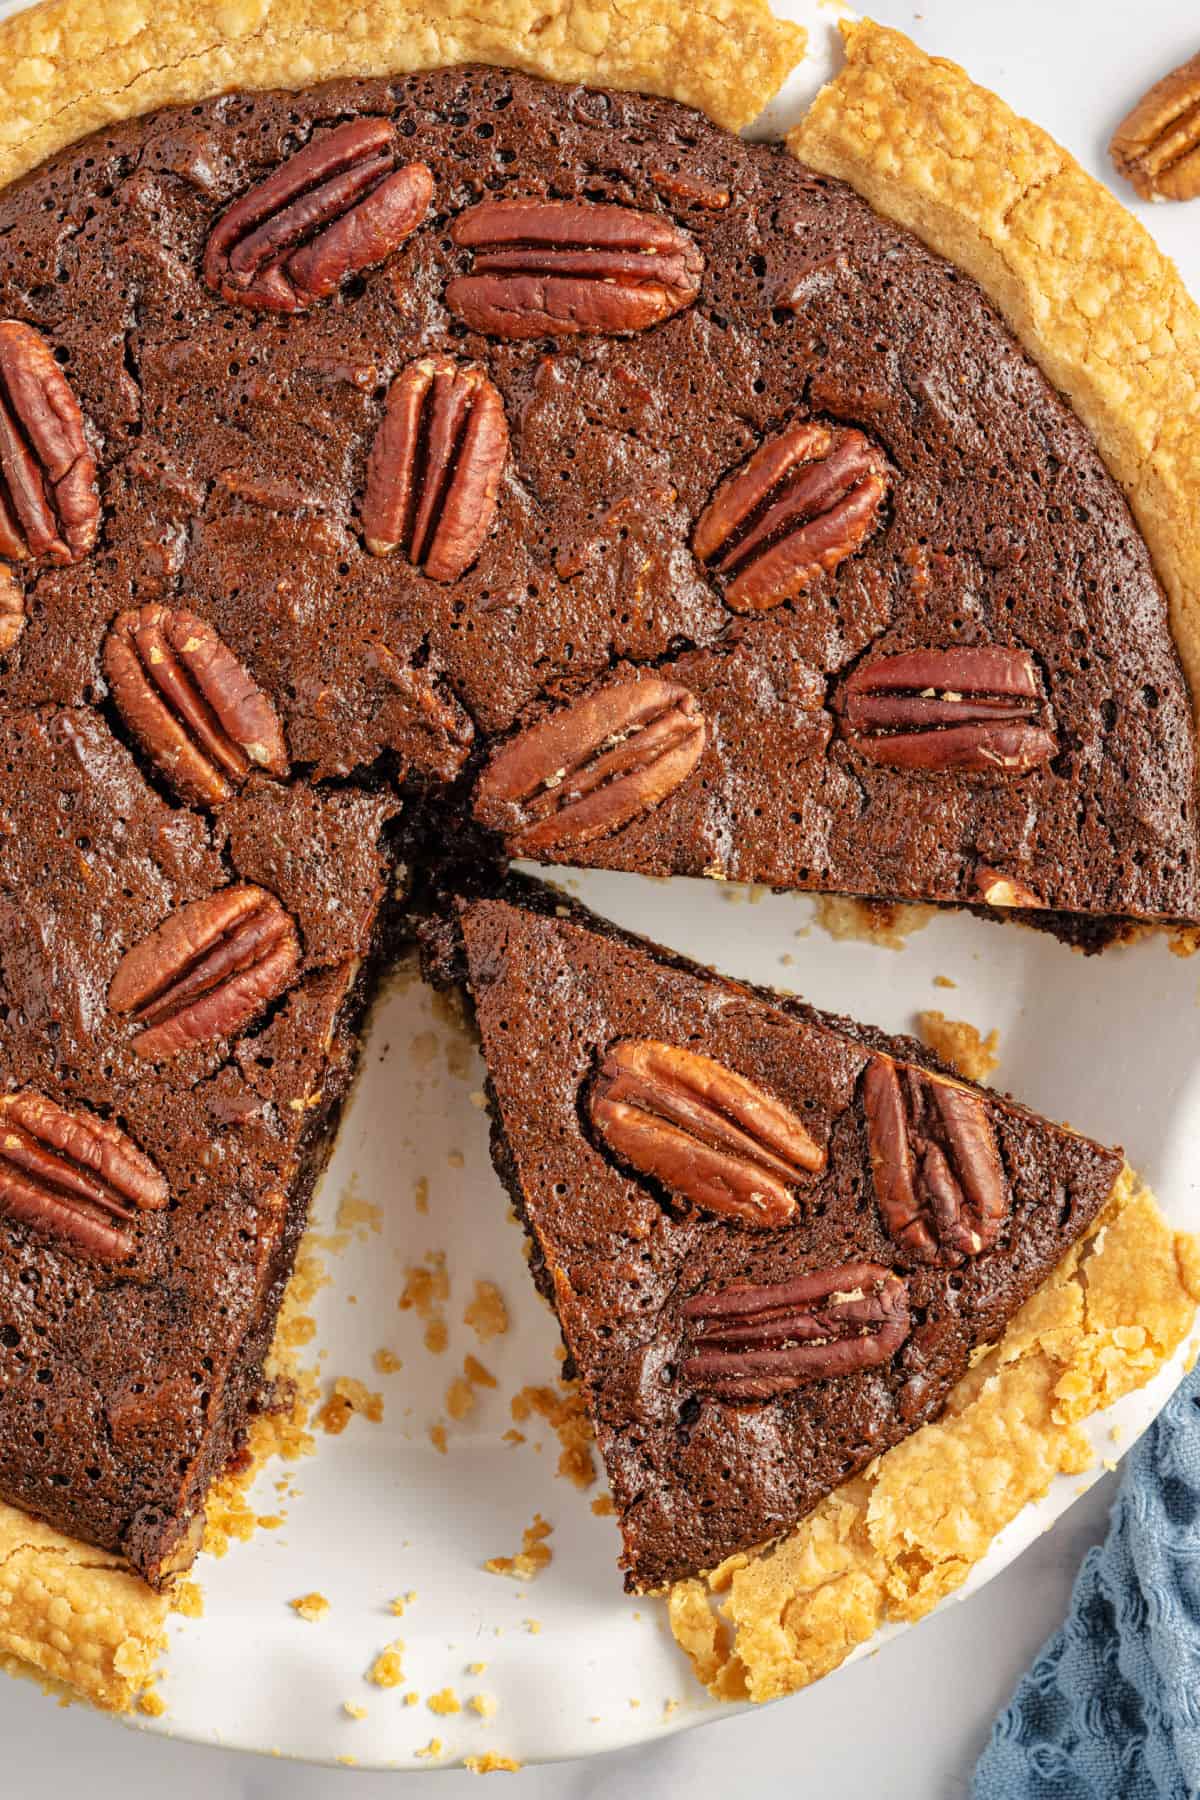
My decadent Chocolate Pecan Pie takes a holiday classic to new heights! Classic sweet and sticky pecan pie filling is blended with semi-sweet chocolate for a dreamy taste and texture.
Love chocolate and pecans? We do too! Our pecan pie brownies are a match made in heaven! Impress your guests with our easy pecan pie truffles dipped in a dreamy white or dark chocolate coating.
Why Chocolate Pecan Pie Works
This Chocolate Pecan Pie is simply to die for.
Our homemade pecan pie recipe is absolutely delightful.
I simply love the irresistible combination of gooey, caramel-flavored filling with crisp pecans and flaky pie crust. Today’s recipe we added in chocolate, for the ultimate treat.
Here are a few more reasons why this recipe works so well,
- It’s a cinch to make. With a pie filling that gets mixed in one bowl and doesn’t require a stand mixer, you can get this pie in the oven pretty quickly.
- Save time with a pre-made crust. You have the option here to use a store-bought crust if you don’t have time to make your own (or don’t want to!).
- It’s the perfect holiday pie. Impress all your guests over the fall and winter holidays with this rich and delectable dessert.
Still looking for the perfect dessert to follow your turkey and sweet potato holiday feast? Look no further than our classic pumpkin pie. Or try our creamy pumpkin cheesecake recipe for a winning finish.
Ingredient Notes
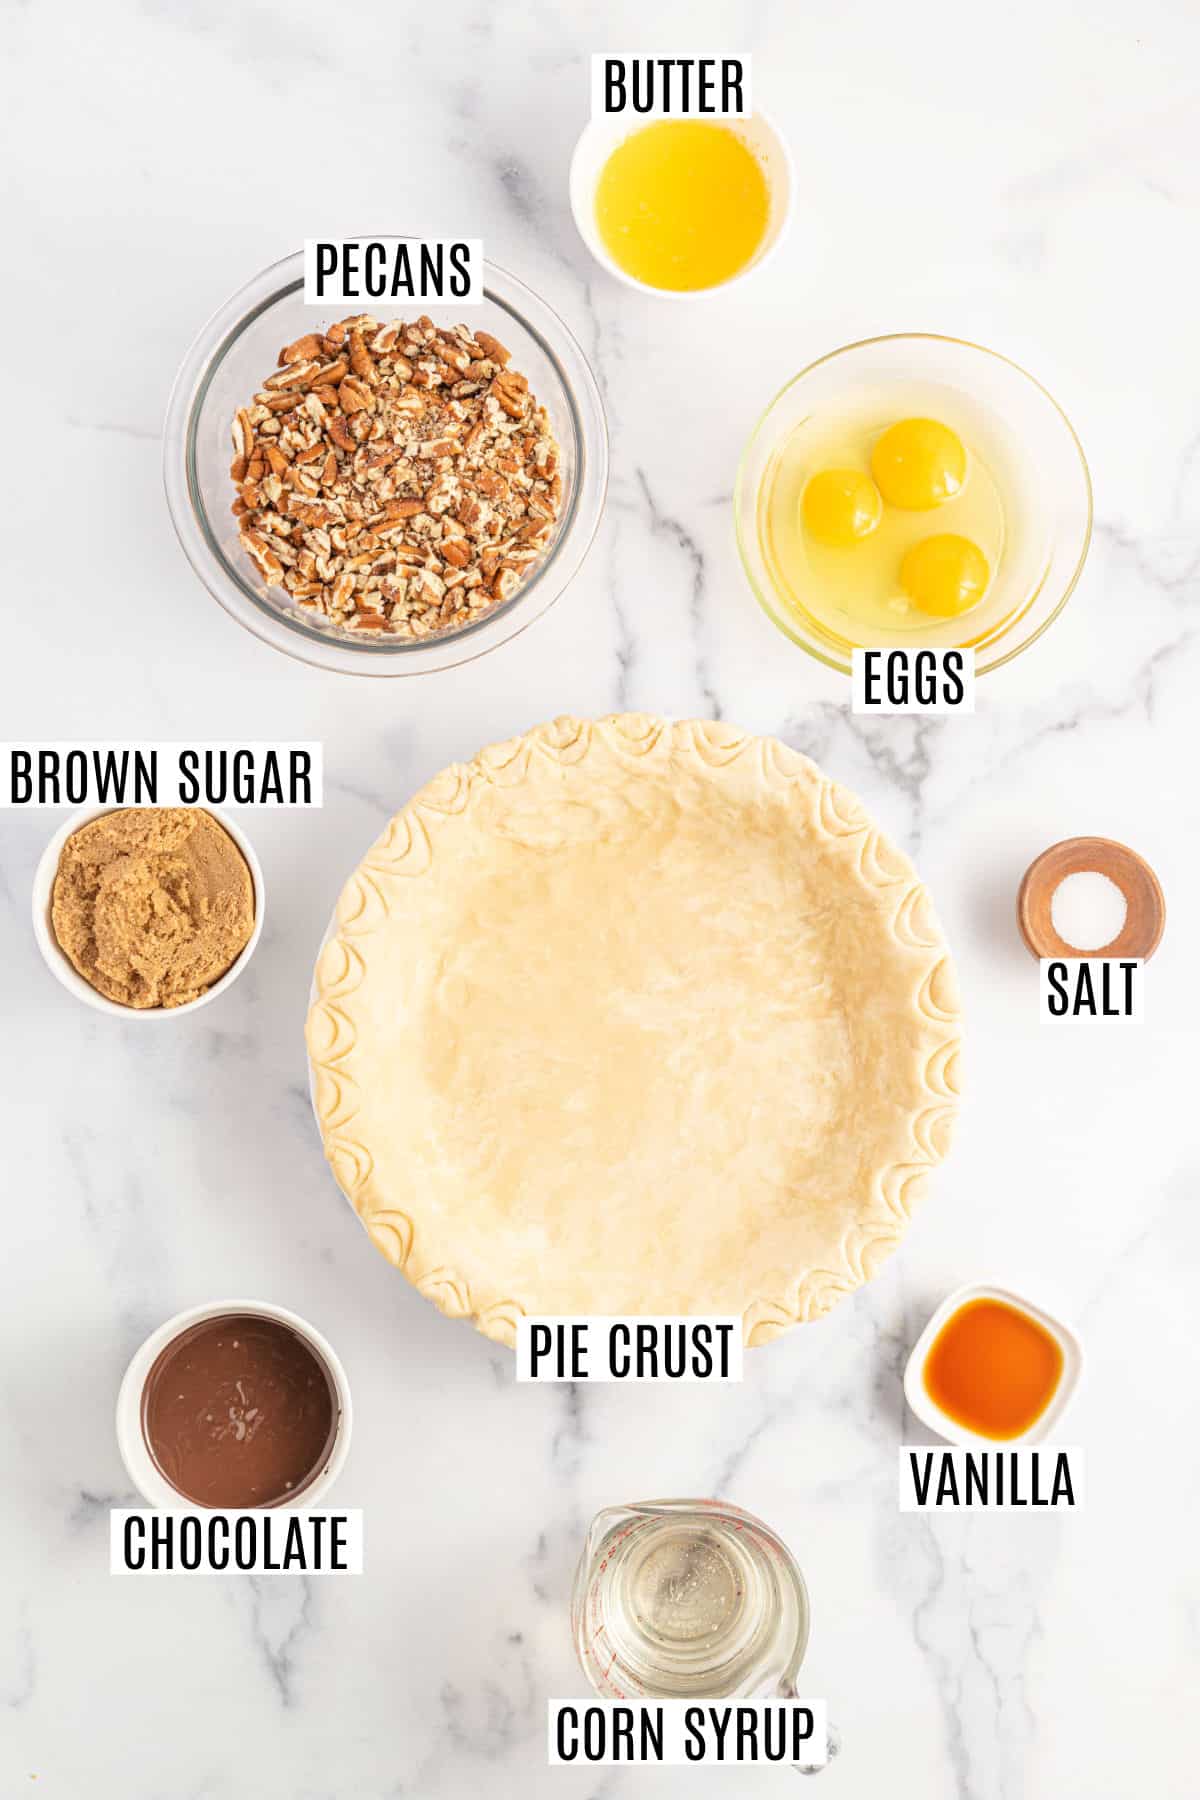
- Pie Crust – Use a store-bought crust or my Homemade Pie Crust recipe.
- Pecans – Naturally sweet and delicious pecans are crucial in this pie. Use pecan halves or pieces. Be sure to toast the pecans for best results.
- Semi-Sweet Chocolate Bars – I love Baker’s brand semi-sweet bars. Or you can use 6 ounces of semi-sweet chocolate chips instead if you prefer.
- Light Corn Syrup – Creates a soft, gooey, and sweet filling.
- Light Brown Sugar – Adds a warm hint of caramel flavor and keeps the filling nice and soft.
- Unsalted Butter – Adds rich, buttery goodness to the pecan filling.
- Eggs – Helps the pie filling set to an almost custardy texture.
- Vanilla – Adds essential flavor to the filling. Be sure to use real vanilla extract, not vanilla flavoring. Our homemade vanilla extract is the perfect addition.
- Salt – Helps balance out the sweetness and enhances the nutty pecan flavor.
How to Make Chocolate Pecan Pie
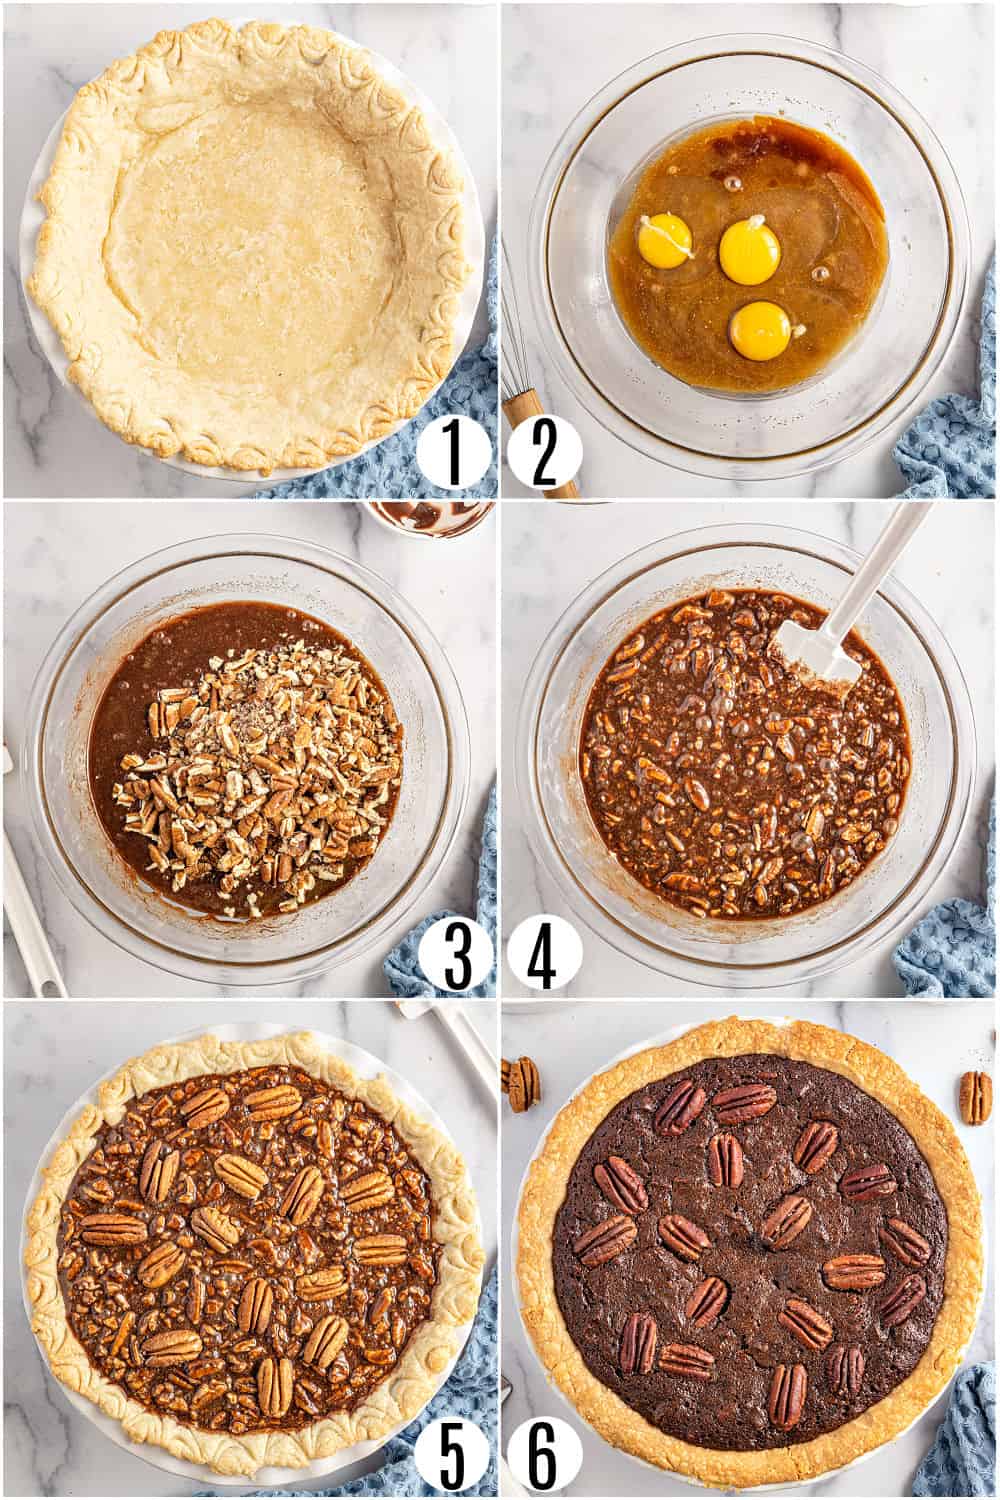
- Prepare the crust. Press the rolled pie crust into the pie dish. Blind bake it for 10-15 minutes at 400°F. Then remove the crust from the oven to cool. (photo 1)
- Make the pie filling. As the crust bakes, mix the corn syrup, sugar, butter, and salt in a large bowl. Whisk in the eggs and vanilla until smooth. Stir in the melted chocolate. Then fold in 2 cups of pecans. (photos 2, 3, and 4)
- Bake. Pour the filling into the prepared crust and place a few pecan halves on top. Bake for 30 minutes at 350°F. (photos 5 & 6)
- Cover the crust and continue baking. Place foil strips or a pie crust shield over the crust to keep it from getting too dark. Bake for 30-40 more minutes, until the center of the pie is just set and no longer jiggly.
- Cool before serving. Let the whole pie cool on a cooling rack for 2-3 hours before serving.
Tips and Tricks
- Don’t skip the blind baking. Blind baking the crust prevents it from getting soggy once you’ve added the heavy, wet filling.
- Toasted pecans taste better. For the best flavor, lightly toast your pecans before using them.
- Let it cool uncovered. Pecan pie takes several hours to fully cool, and the filling will continue to set as it cools. If you cover it while it’s still warm, the steam from the pie can make the crust soggy.
- Wrap it up. Once your chocolate pecan pie has cooled, cover the whole pie tightly with foil or cling wrap. Or you can keep it in an airtight container.
Serving Suggestions
A slice of this pie can’t go wrong with Homemade Whipped Cream on top. To top your pie with piped rosettes of whipped cream, my Stabilized Whipped Cream keeps its shape long after piping!
If you have an ice cream maker on hand, try a batch of my Homemade Vanilla Ice Cream to enjoy with this pie. Don’t have an ice cream maker, but still want to make ice cream? Try my No-Churn Vanilla Ice Cream recipe for a soft, creamy treat that’s perfect with pie.
Love chocolate and pecans? Our German chocolate brownies and German chocolate cake are top notch treat!
Recipe FAQs
If you’re planning to eat chocolate pecan pie within a couple of hours of baking, you can store it at room temperature. Otherwise, cover it with plastic or foil and store it in the fridge. It will last up to 3 days.
Keep in mind that for a pecan pie to set up completely, it needs to cool completely. If you like your pecan pie warm, reheat it in a 250°F oven for about 15 minutes.
Because of the egg-based filling, freezing pecan pie gets tricky, so I wouldn’t recommend it. Thankfully, it’s a quick and easy pie to make the day of serving, even on a busy holiday. Just plan to allow plenty of cooling time before slicing.
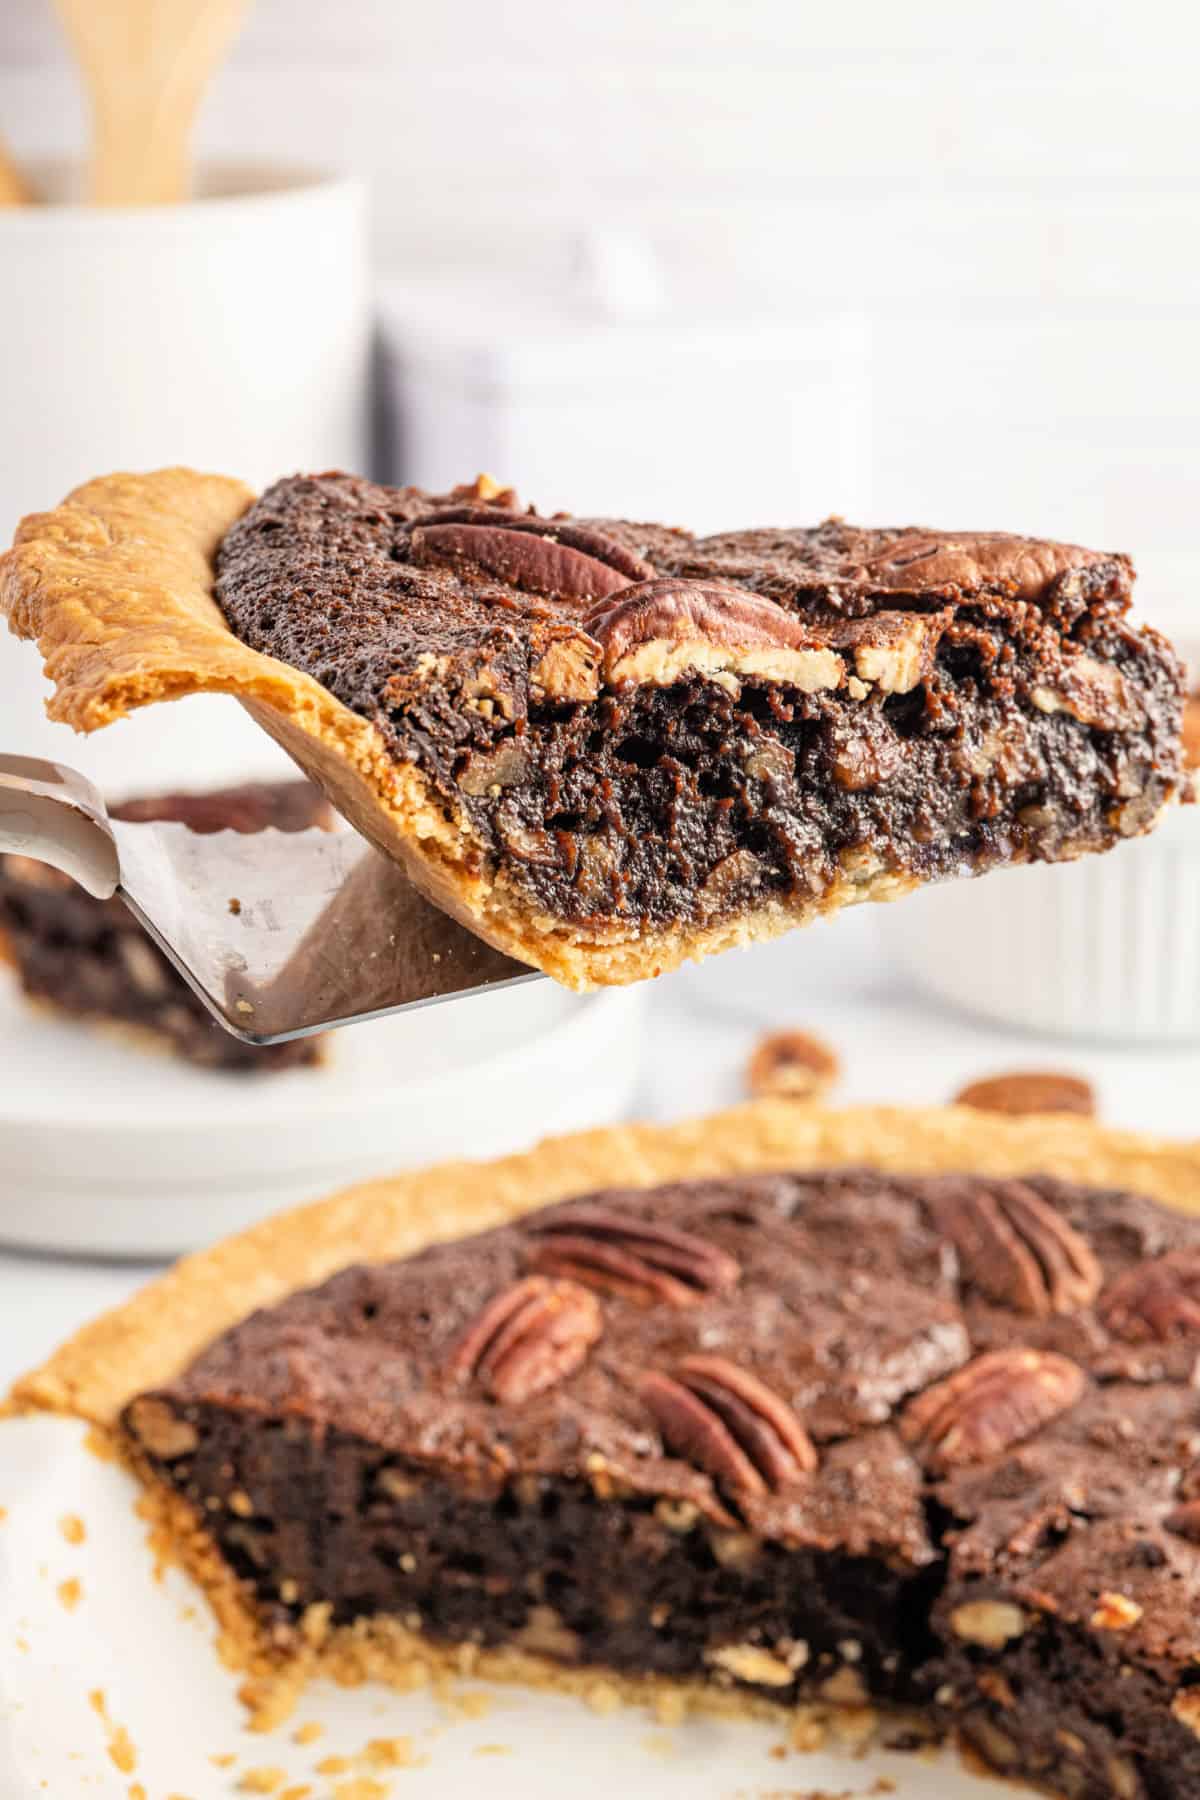
The pie will be done when the center of the pie is just-set and doesn’t jiggle anymore. You can also poke the center with a paring knife to test it. If it’s ready, it should come out clean. Be careful not to overbake it since it continues to set as it cools.
More Holiday Favorites
- Hashbrown Casserole is true comfort food! Easy with frozen potatoes, and plenty of cheese, great for any family event!
- With just a few ingredients, make this delicious Turkey Gravy! Serve it with stuffing or mashed potatoes for dinner!
- Smooth and rich, this French Silk Pie is topped with silky chocolate!
- This Chocolate Meringue Pie has a flaky crust, and sweet chocolate filling. Top it with a fluffy meringue for a classic recipe!
- Two delicious pies in one! This Pecan Pumpkin Pie is freezer friendly and loved by all!
- The perfect blend of sweet and salty with this Sweet Potato Casserole! With a nutty, brown sugar crunch on top, this dessert is definitely sweet!
Pin this now to find it later
Pin It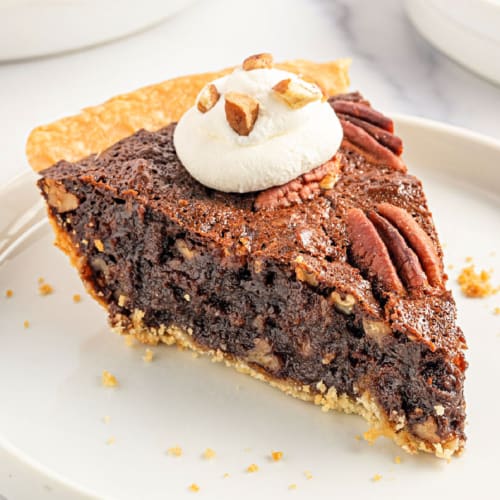
Chocolate Pecan Pie Recipe
Ingredients
- 1 9-inch pie crust, homemade or store-bought
- ¾ cup light corn syrup
- 1 cup light brown sugar packed
- 4 tablespoons unsalted butter melted
- ½ teaspoon salt
- 3 large eggs room temperature
- 2 teaspoons vanilla extract
- 1 ½ bars semi-sweet chocolate, melted 4-ounce each
- 2 ¼ cups of pecans halves or pieces, divided
Instructions
- Preheat the oven to 400°. If you are using a homemade or refrigerated pie crust, roll it out, if necessary, and press it into a 9-inch pie dish. Place a piece of parchment paper over the crust and pour pie weights or uncooked, dry beans into the crust. Bake the crust for 10-15 minutes.
- Take crust out of oven, remove parchment paper and pie weights, and set aside. Lower oven temperature to 350°F. Adjust oven rack to the lower third position.
- While the crust is baking, mix the corn syrup, light brown sugar, butter, and salt in a large bowl. Add the eggs and vanilla extract and whisk until the eggs are completely blended, then stir in the melted chocolate. Finally, fold in 2 cups pecans.
- Pour the pie filling into the pre-baked pie crust, then place a few pecan halves on top, if desired.
- Bake the pie for 30 minutes. Place a piece of foil or pie crust shield over the crust to keep it from turning too dark, and continue baking for another 30-40 minutes or until the center of the pie is just set and no longer jiggly.
- Place the pie on a cooling rack, and let it rest for 2-3 hours before serving.
Notes
- Chocolate- We love using Baker’s semi sweet baking chocolate. But you can also use 6 ounces of semi-sweet chocolate chips, if desired.
- Blind baking the crust before adding the filling prevents the crust from getting too soggy from the heavy, wet filling.
- Pie Shield. You may want to use a pie shield on your crust to prevent burning of the edges.
- Toast the pecans. For best flavor, learn how to toast pecans! PRO TIP: You can use chopped pecans or pecan halves. Or a combination of both!
- Let it cool uncovered. Pecan pie takes a while to fully cool. If you cover it while it’s still warm, the steam from the pie can make the crust soggy. The filling will continue to set while it cools completely.
- Wrap up. Once cooled, cover the pie tightly with foil or cling wrap.
- Chill. If you’re planning to eat the pie within two hours of baking (like for breakfast the day after Thanksgiving), you can store it at room temperature. For longer storage, keep pecan pie in the fridge. It will last for up to 3 days.
- Don’t freeze. Because of the egg based filling, freezing pecan pie gets tricky and I wouldn’t recommend it. Thankfully, it’s a quick and easy pie to make the day of serving, even on a busy Thanksgiving day.
- Reheat. In order for a pecan pie to set up completely, it needs to cool completely. If you like your pie warm, reheat it in a 250 degree oven for about 15 minutes.
- Serve with whipped cream or ice cream if desired!
- See blog post for more recipe tips and tricks and ingredient substitutions.